321830704
collect Bug Rock stone Flower Herb feather collection
Building a Nature Collection
Is there a part of the yard that you hate to take care of? LET IT GO...and see what grows. You can still have tons of fun in it with a bit of imagination and a hefty dose of curiosity.
We moved to Florida when Hope was four. Until that point Russ and Hope had always lived on an open prairre. Our new home had a overly o rnamental yard and we had a rough and tumbly girl that loved to explore nature and play outside.
So we researched how to make it more adventurous space for our budding naturalist. If you find yourself in a similar situation, here are a some wild wild ideas for play in a natural environment. We had a new mission to rewild our yard with native plants and to create open space to run play and explore in. So, we were off hunting Florida's nature treasures to include in our yard every weekend.
Make nature collecting fun by turning it into games and projects, like scavenger hunts or creating nature art with your finds. You can also enhance the experience by bringing an explorer's kit with tools like magnifying glasses, keeping a nature journal to document discoveries, or creating a designated nature display table to showcase your treasures.
Make Collecting a Game
Scavenger Hunt:Create lists of specific items to find, like different colored leaves or unique rocks, to add an element of challenge and purpose.
"I Spy":Play "I Spy" using colors, textures, or features of natural objects you see.
Photo Scavenger Hunt:Use a camera to capture interesting things you see, creating a photo collection from your adventures.
Get Creative with Your Finds
Nature Art:.Use collected items like leaves, petals, and sticks to create collages, mosaics, or sculptures.
Nature Journals:.Document your adventures by sketching or writing about the plants, animals, and weather you encounter.
Decorated Sticks:.Collect sticks and decorate them with paint, washi tape, or yarn to create unique wands or decorative pieces.
Pressing & Rubbings:.Press flowers and leaves to preserve them, or use a crayon to create bark and leaf rubbings on paper.
Enhance the Experience
Explorer's Kit:Pack a bag with tools like a magnifying glass, binoculars, a bird guide, and a small collection box to make your nature walk more interactive.
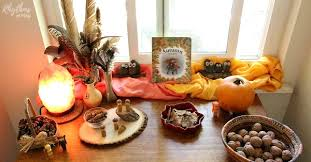
Nature Table: Set up a dedicated table or shelf where you can display your collected treasures, adding a magnifying glass and books for further exploration.
Sensory Bin:For younger children, create a sensory bin with collected materials like leaves, rocks, and pinecones for hands-on exploration.
Night Walks:Add a new dimension by going on a torchlit night walk to discover different plants and animals.
Be a Good Steward
"Leave No Trace":Be mindful of the environment by avoiding disturbing living things or their habitats.
Collect Responsibly:Only collect fallen items or plants from your own garden. Also, be sure to check park rules, as collecting may be forbidden.
Be Choosy:Encourage a "less is more" approach by selecting only a few special items to take home, rather than filling a whole container
Things to Hunt for Your
“Wild Safari” Adventure Space
There was so much to see and discover outdoors especially when you are in a whole new outdoor habitat! So many new things to discover in its wild spaces and parks. Our favorite explorations were the natural springs that feed the crystal-clear waterways all over Florida.
The mangroves were absolutely intriguing.
We could plan a day trip to explore and discover all the wild plants and wildlife in or out of the water every weekend. When we decided to go wild in the backyard I envisioned big seashells and big driftwood in the mix. They will also make fabulous loose parts for open ended play.
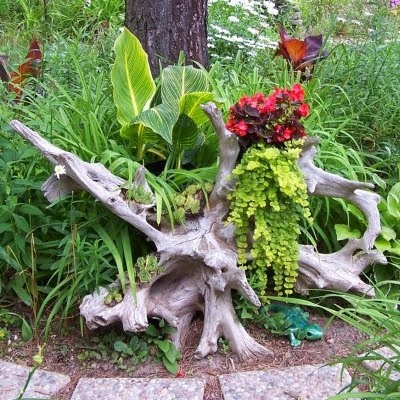
Driftwood is an excellent material to use as garden décor for a wide variety of reasons. While the things to do with driftwood are limitless, using driftwood and seashells in the yard also allows for an organic and natural approach to decorating both large and small corners of the landscape.
Driftwood and seashell art are also quite durable, as it has naturally been exposed to water, wind, and other factors which often condition the wood before use. When it comes to using driftwood and seashells from the beach, ideas for garden décor are endless. From understated designs to large focal pieces, the combined use of driftwood and shells in the garden is worth consideration. As always, never collect driftwood for art pieces until you have checked local laws and regulations regarding its collection.
Succulent Planters
Driftwood and large shells serve as an excellent container for succulent plantings. Specifically, the shape and drainage ability of driftwood pieces make them ideal for creating centerpieces with succulents in the garden landscape. In addition to succulents, air plants fit well in decor made with larger shells and pieces of driftwood. This is especially true since air plants do not require soil. These types of arrangements offer growers a unique and interesting addition to the garden.
Garden Sculptures
Artistic gardeners may choose to tackle a more skilled driftwood or seashell décor project. The creation of small or large sculpture pieces using driftwood and seashells is sure to add personal and individual style to the garden landscape.
Rain Chains and Hanging Art
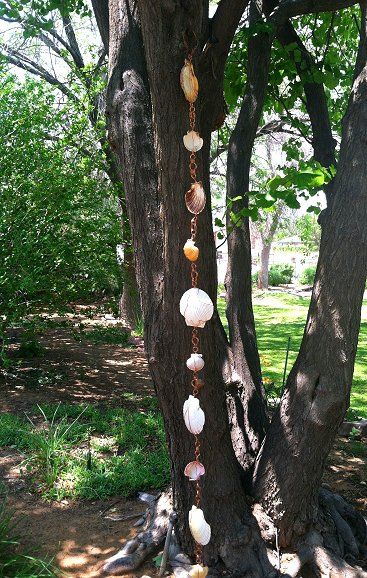
Hanging driftwood and shells from the beach in rain chains,wind chimes, and other vertical creations are a great way to add dimension to home garden décor. These pieces not only help to create a welcoming backyard atmosphere but also use natural elements to enhance the overall appearance and mood of the garden.
Nature’s Loose Parts
Have you ever noticed that if you leave loose bits lying around, kids will almost inevitably play with them? Whether it be old cardboard boxes, wooden pallets, pieces of wood, old tires, bits of rope or string, kids will use their imagination and ingenuity to make something. This may make your garden look like a junkyard sometimes, but the experience for the kids is invaluable and it will keep them occupied for hours.
Try not to and direct the kids in their play, just let them get on with it. On this day, (in the pictures above) our yardwork somehow turned into their amusement and play. It wore them out but they loved every minute of their rough and tumble play. It was fun to watch them play during our lemonade break.
Add Some Maintenance-Free Grass or Natural Ground Cover
As far as plants and ground cover go, we kept the fruit trees and the bushes on the edge of the yard. There were no aloe plants in the whole yard. My kids and the whole neighborhood used the aloe in my yard there. Hope is exactly careful, so it was a must have. I fell in love with the neighbors periwinkle. Hope loved the ferns. Creeping Phlox is a great flowering ground cover that doesn’t need mowing. Mondo grass fills in quickly and is really low maintenance. Here is a link for a quick read on a low maintenance yard for you.
Most of Florida’s vegetation and animals were fascinating but some were downright scary to learn about online. So, we stuck to the parks and official green spaces for our wanderings and adventures for the first year or two. Our nature walks, and visits to Florida’s natural springs had a purpose that was new to my family…we were creating an adventuresome playspace for my favorite kids and giving us first hand experiences in the history and wildlife of Florida.
I used a list I dug it out from my summer day camp box from the YMCA for learning about wildlife environments. I was determined to learn about, collect or photograph the nature’s treasure in our new home state and across the handy websites for local or native plants and wildlife as well as the neighboring nature buffs.
Most of Florida’s vegetation and animals were fascinating but some were downright scary to learn about online. So, we stuck to the parks and official green spaces for our wanderings and adventures for the first year or two.
Some of the Florida native things we collected on our nature hunts of and then learned about include:
Native Bits That She Loved to Collect or Wanted in the Yard
Leaves
Flowers
Buds
Mosses
Sticks
Pine needles and pine cones
Fruit trees- such as apples, pawpaw, orange, lemon and mango
Edible plants, such as cattails, wild garlic, and dandelions
Aromatic plants, such as wintergreen
Stones
Bark
Shells
Coral
Acorns
Pine cones
Milkweed pods
Shelf fungi
Mushrooms
Slime molds
Lichens
Fossils
Nests, such a bird and squirrel
Cracked seeds or shells
Munched leaves (leaves with holes)
Shells
Bones
Some Man Made Things Were Also Collected For Garden & Yard Decor
Trail markers
Stone cairns
Carved tree sections
Buildings
Fairy homes
Bird feeders
Birdhouses
Bat houses
Bridges
Materials for shelters, forts, and tree forts
Containers, bins, and bottles-shoeboxes, trays, baskets
DIY Nature Collection Containers and Printables
Hope’s discovery play always involves the same process in using as many of her senses as possible so she would remember the details.
Three simple steps guided her:
Explore-Take a walk and examine the environment, look, listen, smell,
Discover- Identify it by looking for its unique features and learn why it is in that spot, Is it edible or touchable, learn if the animals need it for food and if it can be used in art projects or play after baking them or pressing them-
Collect in pockets, socks, bag, basket, small container, water bottles, field bag, back pack etc.
DIY Adventure Backpack
Packing an older explorer’s backpack (perfect for Brandon’s small frame) but it does pack full and can get pretty heavy! I recently purchased this hiking backpack for myself, so that I can carry my own things and a few of Brandon’s to lighten his load.
Color Appeel Crayon Sticks or colored pencils
A Kids Camera
Sun block
Ziplock bags
Bandana- (there are many articles online for the many uses of Bandanas in nature)
A Golden Guide (There are so many great ones!)
Here are four of the children's nature books I purchased.:
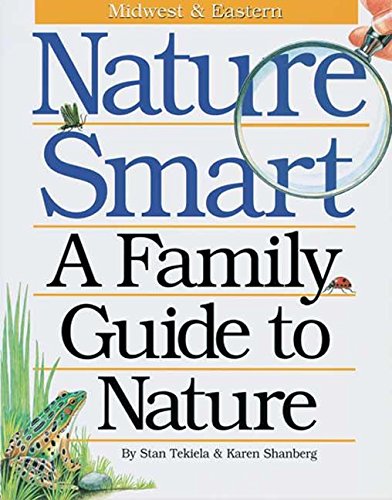
-Nature Smart A Family Guide to Nature
-The Kid's Nature Book: 365 Indoor/Outdoor Activities and Experiences
These books feature real animals and real information nestled in living stories that can inform your children’s everyday lives. You will quickly memorize the rhyming ones without even realizing it. Meaning you can quote them while you’re on your outdoor adventures together. Or you can recall certain elements of a story while wading through the woods, driving down the road, or peaking around your own backyard together. Your children will learn about diverse animals and can even start learning about their scat if they’re a real little nature explorer!
RELATED:
Nature Books for Toddlers Age 2-3
These nature books for toddlers lay a wonderful foundation for a love of creation. Take your toddlers along on these little adventures and maybe even find some of the animals yourselves!
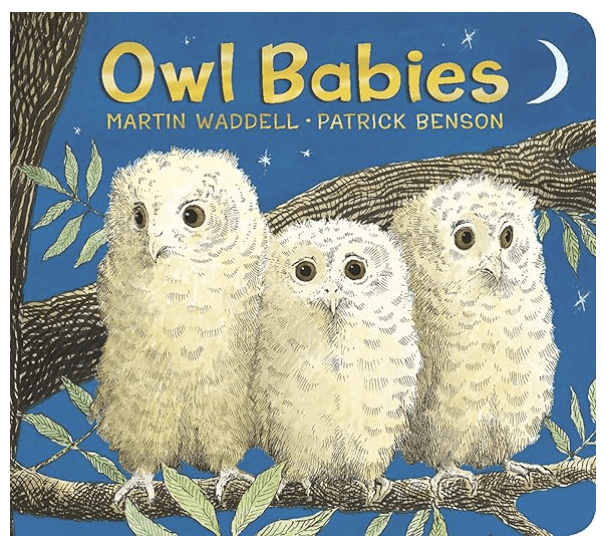
Owl Babies
One of the cutest nature books for toddlers is Owl Babies. Owl Babies is about three baby owls awaiting the return of their owl mother. The illustrations are beautiful, the baby owls are adorable, and the story itself is relatable for toddlers and moms alike.
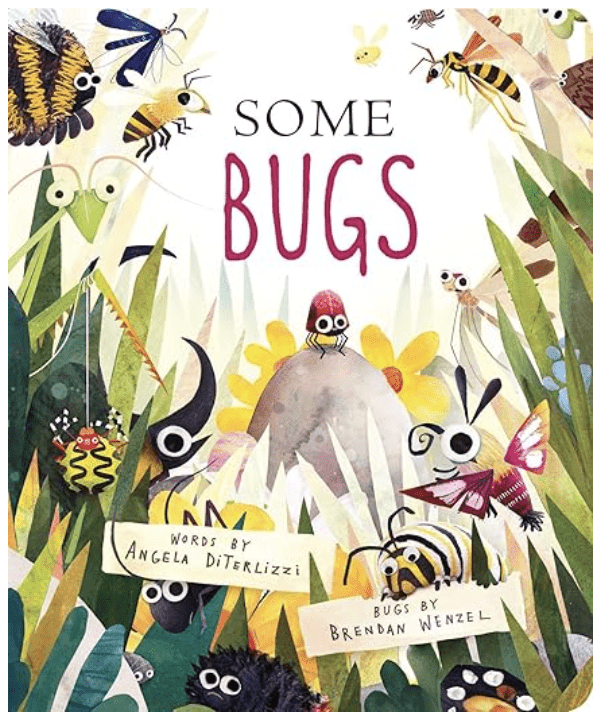
Some Bugs
One of our early favorites in my own family is Some Bugs. This board book is a fun rhyming tale about all the different kinds of bugs your toddler can find in their own backyard. “Some bugs build, some bugs make, some bugs hunt, and some bugs take.” What bugs will you find?
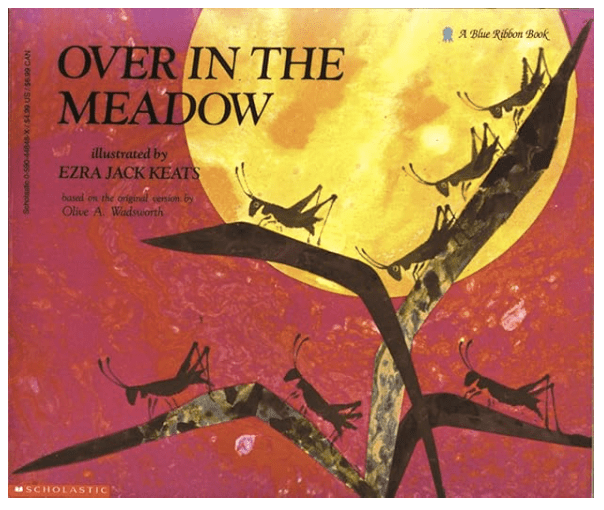
Over in the Meadow
Over in the Meadow is another rhyme book. It is famously illustrated by Ezra Jack Keats in a unique collage art style. This book features all different kinds of animal mothers and their babies, all numbered from one through nine.
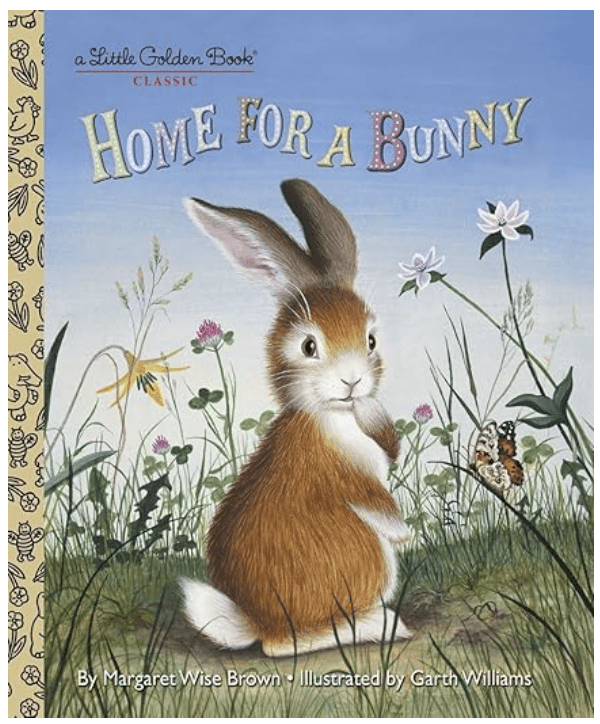
Home for a Bunny
An old classic nature book for toddlers is Home for a Bunny by Margaret Wise Brown. Home for a Bunny follows a little bunny on his journey to find a home suitable for him. Can he live in a nest with the birds or a bog with a toad? What is a home for a bunny?
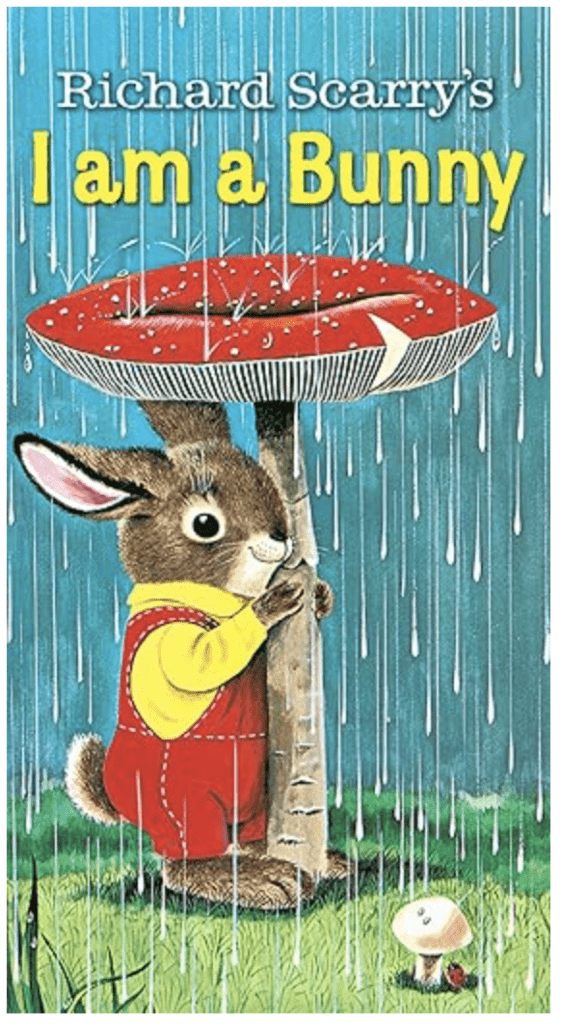
I Am A Bunny
Another classic, I Am a Bunny by Richard Scarry follows Nicholas, a bunny who lives in a “hollow tree” through all four seasons as he chases butterflies, watches the rain under a toadstool, and, when the snow falls, nestles back into his hollow tree to “as he awaits the”dream about spring.”
Related Posts
Nature Books for Toddlers Age 3-5
These nature books are perfect for your older toddlers to foster their affection for creation. These books require a little bit more attention, go more in depth, and ignite the imagination ever so deeper. The younger toddlers can of course enjoy these amazing books as well, while you read to their older siblings!
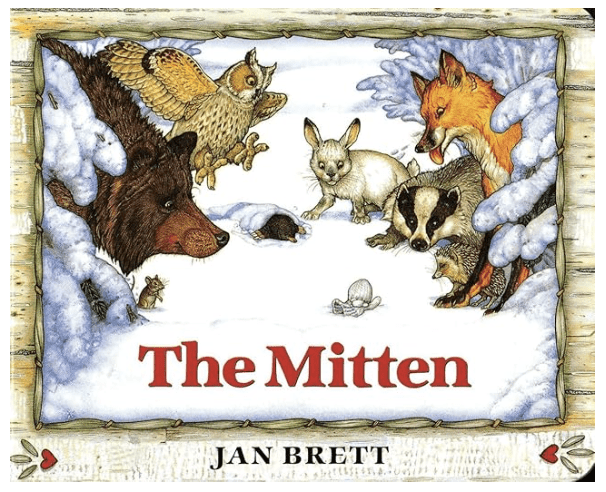
The Mitten
Jan Brett’s amazingly illustrated The Mitten, is about a boy who loses a mitten and the different kinds of snow animals that attempt to stretch it into their cozy new home. From a mouse to a bear, and even a badger, your toddler will love seeing who is squeezing into the mitten next!
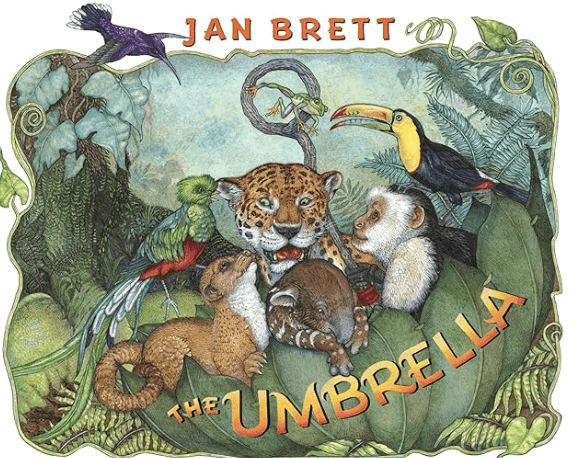
The Umbrella
The Umbrella is another Jan Brett tale. It is essentially the same story as The Mitten but set in a rainforest. This time a young boy sets out on an adventure to spot a kinkajou, a shy tapir, and even a jaguar!
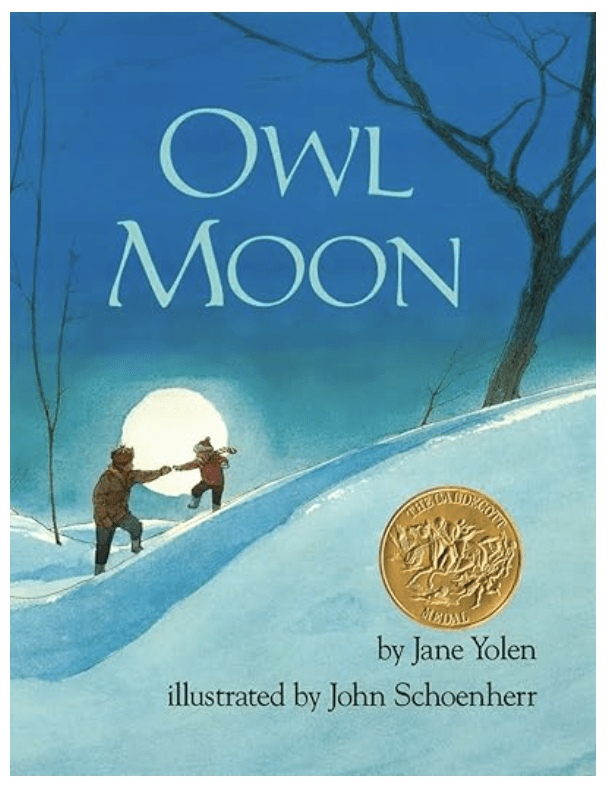
Owl Moon
The poetic Owl Moon is a nature book for toddlers who love adventuring in the woods. What will a boy and his dad discover on their night time winter walk together?
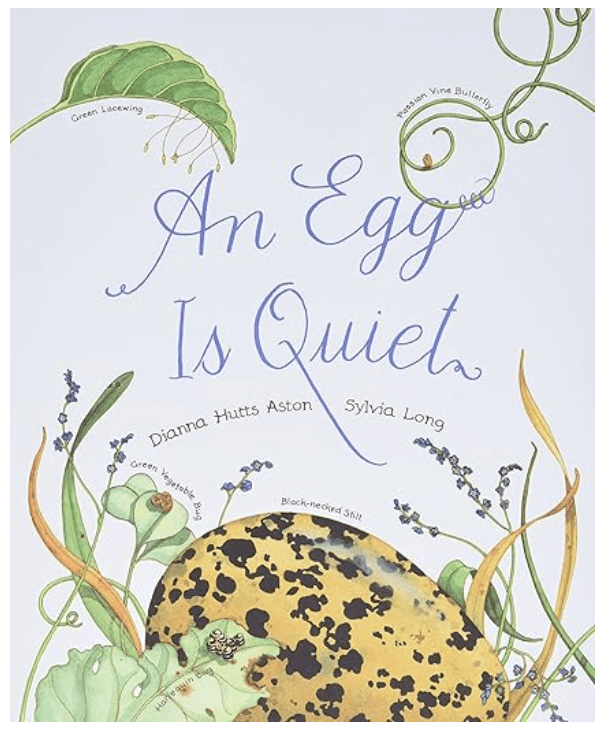
An Egg is Quiet
A more scientific nature book for toddlers is An Egg is Quiet. This book has fun facts about all different kinds of eggs from a robin to a shark egg. While I don’t often recommend so called “learning books” very often for toddlers, I like this one because of the, you guessed it, illustrations. The watercolors in this book are a gorgeous representation of creation.
Take Along Guides
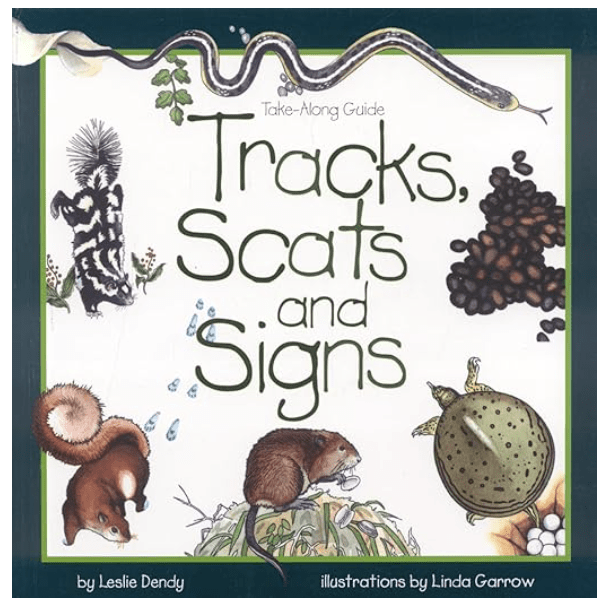
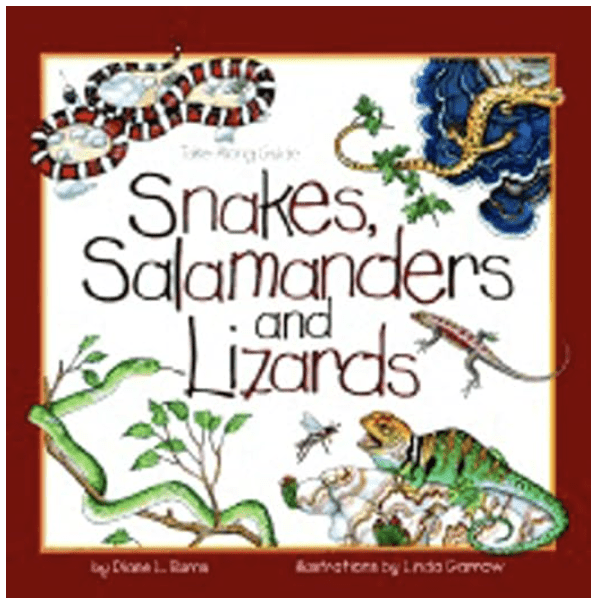
My top recommendation of nature books for toddlers who are older and love going outside is these toddler Take Along Guides. These are little field guides of common animals, bugs, leaves, etc that your toddler can actually identify within the natural world! Each page has a place for you child to check off that they found that animal. I will be starting these Take Along Guides with my three year old this spring.
Create, Save or Display Nature
-Like most kids, my boys loved to collect leaves, sticks, stones and all kinds of treasures from the great outdoors. While playing, they often find these special pieces of nature that they want to save so we decided to make a simple nature collection bag craft to give them somewhere to stow all their treasures while they are playing.
I put together a quick printable too for them to use to document their finds. You can download this printable at the end of this post.
To make our nature collection bag, we used a selection of ribbons and felt flower and nature shapes and a plain white paper bag. We stuck everything together using a Bostik Glue Pen. We just laid out everything how we wanted, then used plenty of glue to stick it into place and left it to dry so that everything was stuck on firmly. The bag was so easy to make, and your kids can use whatever decorations and designs you prefer to easily customize it to themselves. You could also try using fabric scraps and Bostik fabric glue.
Just add this free printable, or make your own list, and the kids will be ready to go and find a nature collection outside.
Nature Collection Printable
Kids can use this printable to write and draw the special things they have found outdoors and collected in their nature bags.
Click here to download the printable in PDF format to print at home
Happy nature collecting!
You might also like this printable nature scavenger hunt
Prepare some fun ways to collect nature on a wildlife safari
You could simply give your child a list of things to collect on a nature walk or you could try one of these different ways. They are still all about collecting nature but they add a creative element to it. Sometimes they even add a competitive element too if you have more than one child to entertain. Shopping or gift bags with handles, baskets, ziploc baggies, shoulder bags, backpacks, trail bags and plastic containers with a tight seal are popular with beginners.
Making hobo sticks and bags add a sense of adventure and homemade cloth tote bags made in a print that suits their interests can encourage the reluctant collector. But one of my favorites is to use the water bottle that they had their water in. That way it doesn’t become litter on your trail.
Nature weaving
I saw this gorgeous idea on one of my favorite blogs for nature crafts, Little pine learners. All you need it some cardboard and some rubber bands or string/wool.
Create a journey stick
We love to creating journey sticks on walks. They’re a really fun way to collect things on a walk. All you need is a stick and some wool or string to tie your nature finds to your stick as you walk.
Use Adventure Games
Why not make collecting nature into a game using a set of go find it cards. We love our set and use them regularly on walks.
I'm not sure what the attraction is with hunting, does it attach us back to our prehistoric roots and make us hope that we could survive even if everything wasn't handed to us on a plate?
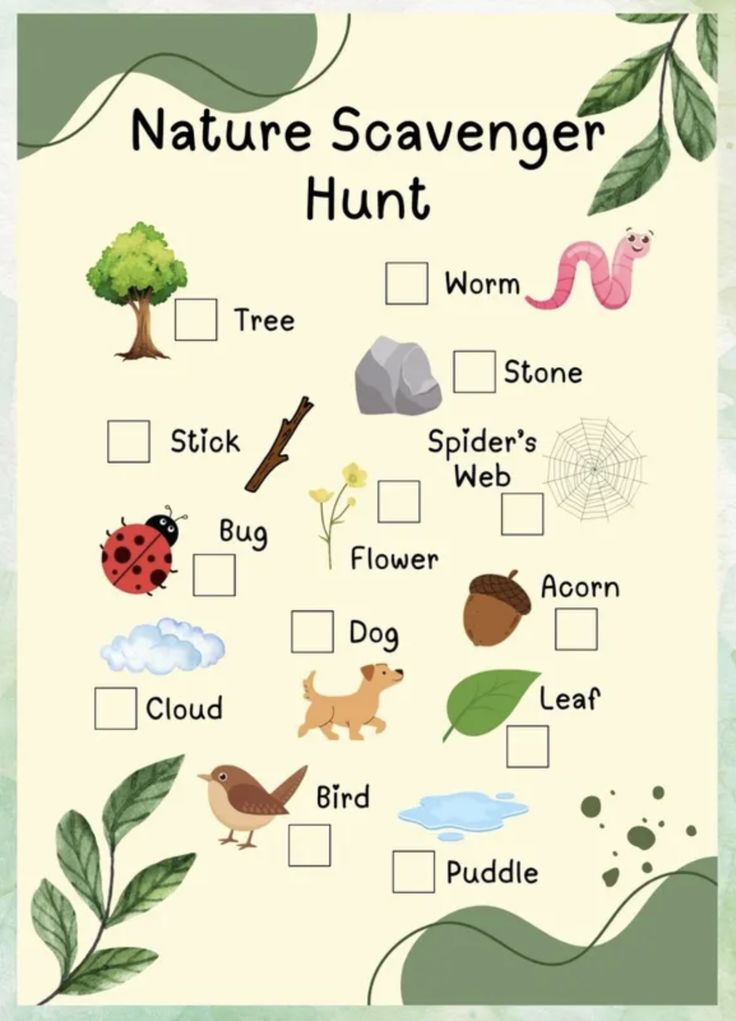
The boys definitely enjoy all kinds of hunts and games to explore and discover new things. The pursuit of collectables is just as fun as the displays and creative experiments. Examples of nature and outdoor activities include outdoor physical pursuits like hiking, cycling, and swimming; creative and educational activities such as nature photography, birdwatching, and journaling; stewardship activities like gardening or community cleanups; and playful experiences such as scavenger hunts, nature walks, picnics, and geocaching. These activities offer a way to interact with the natural environment and can improve mood, reduce stress, and foster a deeper connection to the natural world.
Here are some categories of nature activities with examples: Physical Activities like hiking and walking: Exploring local parks, woodlands, or trails for native, natural and fascinating treasures.
Cycling: Go for a bike ride in a park or through nature.
Water Sports: Enjoy swimming, kayaking, or paddleboarding on a lake or at the beach.
Outdoor Exercise: Try yoga, running, or a workout in a green space.
Camping: Spend time outdoors overnight to connect with the environment.
Creative & Educational Activities
Photography & Sketching: Capture and record nature scenes and wildlife.
Birdwatching: Learn to identify and observe different bird species.
Nature Journaling: Write or draw your observations and thoughts in a nature journal.
Collecting & Pressing: Gather leaves, flowers, or rocks to press and preserve them.
Stargazing: Look up at the night sky to recognize stars and constellations.
Nature Detective Work: Use tools like magnifying glasses to find and identify plants and insects.
Playful & Social Activities
Picnics: Enjoy meals outdoors in a park or garden with family and friends.
Scavenger Hunts: Create a list of natural items to find, such as different colors, textures, or shapes of leaves.
Geocaching: Use a mobile device to find hidden outdoor caches or treasures.
Outdoor Games: Play classic games like tag, or design an obstacle course.
Stewardship & Wildlife Activities
Gardening: Create a wildlife-friendly garden or plant native flowers.
Build a Bee Hotel or Birdhouse: Provide habitat for local wildlife.
Community Cleanups: Participate in events to help keep local parks and beaches clean.
Volunteer for Restoration: Get involved in projects to restore natural habitats.
Set up a collection and investigating nature lab space…outside
Kids love repurposing familiar household items for collecting or storing nature!!! Make sure you encourage and praise their clever thinking.
Become an expert at inspecting, drying, and preserving natures treasures.
Create a nature collection space or table…wait she is old enough to help in this step now… A trip to a local family owned garden center has us headed to Rockledge where another family from Denver have settled in a teacup community… so a smoothie sipping playdate is on the schedule too. We ended up with three science spaces.
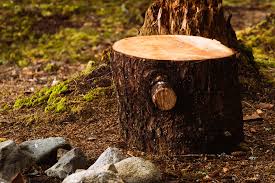
We used an old stump for science, a wooden table for art and sorting, and the light table because she liked seeing if you could see them better on the light table. But the rules were she had to have them in sample containers or in between 2 sheets of clear contact paper so they were sealed before putting them on the light table on the porch.
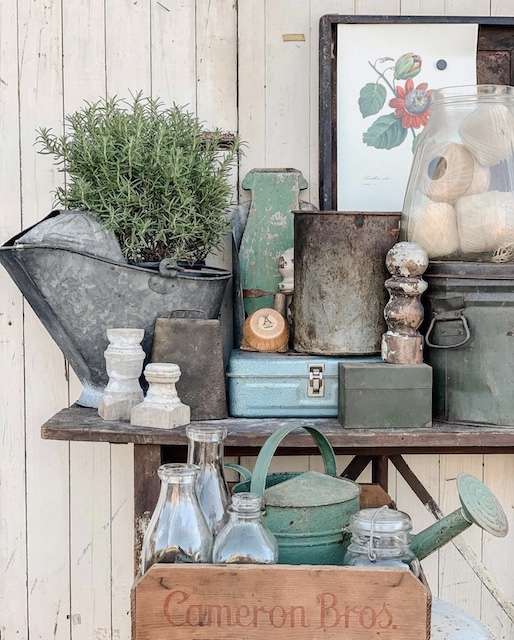
Have your children display their discoveries—perhaps a collection of shells, feathers, plant material, living invertebrates, etc. that they find on their own. When they find something new, put something back from where it came. This way the table changes over time!
We figured out a few ways to use the fence as a part of our nature area:
More Recycled Outdoor Table Ideas
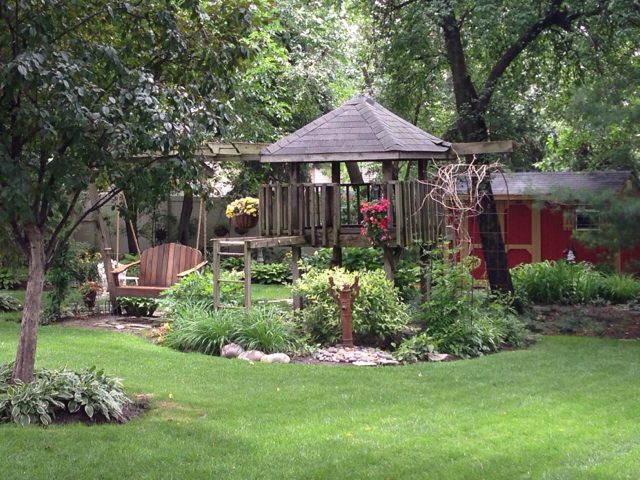
SETTING UP A NATURE COLLECTION LAB
Outside fences became part of our display and drying space
Want a science kit that is “real science” and not just a box of kitchen ingredients that you can do science with? Well, you are in the right place, we’ve tried and tested some of the best science kits we’ve found and wanted to share them with you. So here you go.
Biology Science Tools for Kids
Trust me when I say there are lots of biology kits out there that are for kids. But, finding great ones that actually do more than just pop some kitchen ingredients in a box or you mix up some materials and calling it science isn’t exactly going to take your kids science to the next level.
As an ex-science teacher, marine biologist, and mum of 2 science mad kids we’ve had lots of different kits over the years. Some have been really poor, a few bored the kids silly, others have made them go WOW. To help you avoid the poor and the boring kits we’ve finally put together our list of fantastically fun, real science kits for kids that teach biology.
Biology Kits for Kids
Of the different sciences, Biology is the one that I have found the hardest to find “kits” for that actually do real science and aren’t just a one-hit-wonder. So here you go my pick of the best biology kits for kids that they can use to do multiple experiments or reuse time and time again.
With some of the kits recommended you may be put off because of the packaging e.g. the Nancy-B range. From using, exploring, and learning with these kits they are some of the best I’ve found and really teach. If the packaging will cause a problem then I recommend buying and packaging it in your own way to avoid kids missing out on these excellent kits and science experiments.
Microscopes
Any biologist needs a microscope and once you start looking there are so many different sorts and varieties. As a family we have more than our fair share of them as I have inherited a few, have a few of my own and the kids have had different ones as they have grown.
Microscopes for Young Kids
For young children this one is ideal, it has larger knobs a great light source and it’s got a selection of slides that have already been prepared so they can see something immediately. It also has a mini rock kit making it cross to earth sciences as well. We love that it includes plant samples slides especially – plant cells are much easier to view with a lower magnification than animal cells so it’s great way to see features easily.
Microscopes for Older Kids
When your kids get older there are 2 we recommend. For those that are interested in science but possibly won’t pursue it further then a good option is this microscope. It’s a step up from the young kids but with a binocular eyepiece, it’s easier for kids to use. The set pictured comes with prepared slides which unlike the basic younger kids model above also include animal specimens. However, more exciting it comes with everything you need to prepare your own slides so your child can start exploring their own microscopic world.
For a little more money you have an investment microscope that has even more possibilities with it. This is the microscope that we got our daughter when she expressed an interest in wanting one after using some of my old ones. It comes with 2 different eyepiece lens and 3 objective lenses giving you a huge range of different magnifications, adding in the teleconverter you can magnify up to x1600, making even small cells and features of cells possible to view. With 2 different LED lights above and below the stage, single slide and 3D objects can easily be magnified. One of the highlights for our daughter is the fact that there is a smartphone adaptor so she can easily share her finds with friends and family.
As a biologist I was amazed at how many drawings was involved – from copying microscope slides to profiles of shorelines and even dissections, to encourage your kid’s love of drawing check out our Gift Ideas for Kids that Love to Draw too!
More Microscope Ideas for Kids
As you can tell this is something that has been a huge hit in our house, we have added to it further with this fantastic book about Microscopes and the Microscopic world, as well as a big collection of prepared slides. The microscope and slides have gone with our daughter to various clubs, field trips and friends houses as she loves to show her friends the amazing world under the microscope.
Microbe Lab Kit
Germs, bacteria and more this is such a fantastic science kit for kids that I’ve ordered a second one to share with my oldest after getting it for my youngest a little while ago. It has easy to follow instructions, great experiments, wonderful results – who doesn’t want agar plates with bacterial and fungal growth around. After the microscope, this has been one of the best biology science kits we have found and used.
Butterfly Growing Kit
One of the best ways to learn about biology is to watch it happen, whether you raise tadpoles in the spring (putting together a kit for this would make a great DIY present that can be reused year after year), or buying a butterfly growing kit to see the amazing metamorphosis from caterpillar to beautiful butterfly.
We bought the kit one year and used the voucher to get some caterpillars. Since then we have found caterpillars in the garden and grown them, as well as the enclosure currently being used to house our ever-increasing stick insect population.
Ant Farm
Learn about the amazing life of ants with an ant habitat, we love observing what happens under the soil (US version, UK version). Both the kits come with a voucher to get a colony of ants, but you can equally use ants from your environment to observe them and watch them create their intricate homes. A great way to see how a colony of animals works together that is very different than others.
Wormery
Do you know how important worms are to the health of your soil and the natural environment? What impact does that have on plants? A worm farm is a great way to explore and investigate whilst learning about these fascinating creatures. You can of course make your own wormery, but it is very temporary. We’ve found that the best kits allow plenty of viewing and have multiple investigations outlined in books to do whilst you nurture your worms (UK Version, US Version).
Check out our books about earthworms great to accompany the worm farm as a gift for your younger kids.
Decomposing & Environmental Impact
Explore a little bit about life cycles and environmental impact with this fantastic kit from Nancy-B. This Compost kit looks at what is biodegradable, which objects decompose easily, and more. Similar to the microbe kit above this is excellent for teaching your kids as experiments, write-ups, and more are included in the booklet that comes with it.
Plant Science Kits
If you have a budding botanist then these 2 plant science kits are fantastic to get up close with growing plants. The first, a traditional soil method where you can observe root growth in the soil – it takes our bean in a jar experiment to the next level. From a young age, kids will start to learn about plant growth, however, it’s repeated time and time again with more in-depth study as they get older throughout science at school. So a way to observe the growth makes it great for kids and can be reused time and time again.
If your looking for something a little different then a Hydroponics Kit is fascinating. Learn about growing plants without any soil, observe roots, and more as you go through the activity booklet that is included. Our favorite combing little cress heads with the kit at Easter time!
Other Ideas for your Budding Biologist
Although these kits are fantastic here’s a few more ideas to help your budding biologist on there way to a bright future.
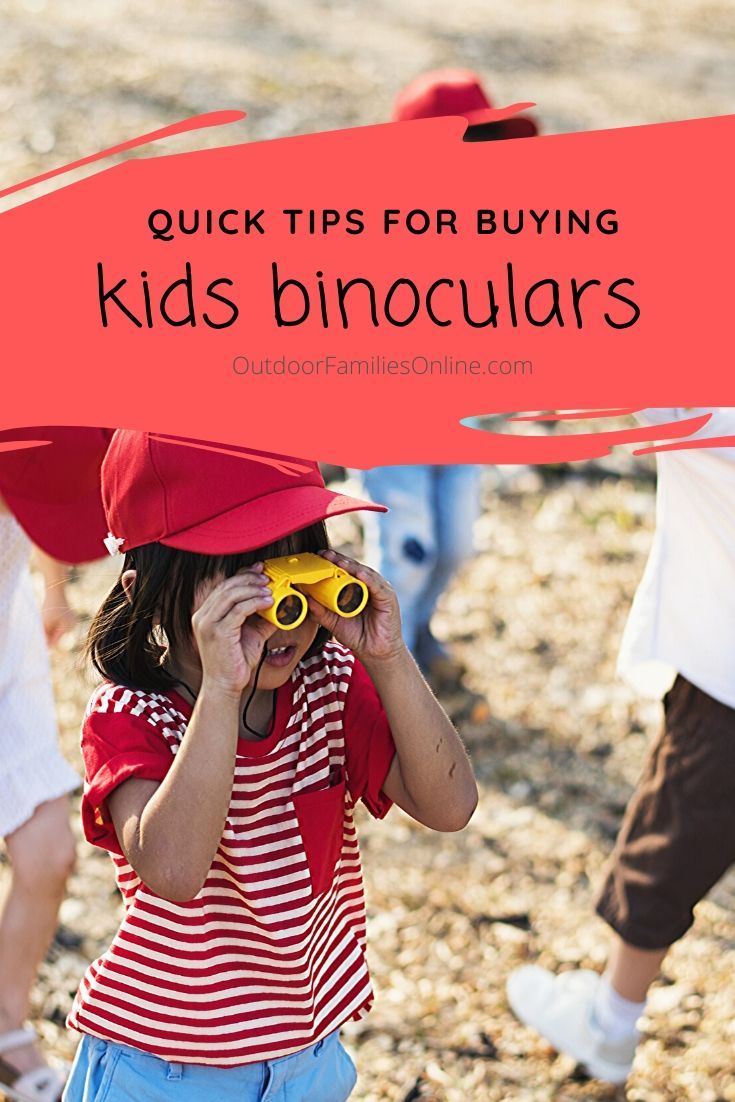
Spot wildlife easily when out and about with some good quality kid sized binoculars – why not combine with a bird book for your area of the world and their own bird watching journal FREE printable you can download and bind into a book for them.
Catching and observing bugs is great fun – however, depending on where you live in the world and what bugs your kids want to observe they may not always be friendly, a safe bug catcher means that they can observe without ever holding the bugs as a vacuum picks them up.
If it’s marine or freshwater biology your kids are interested in, then a great way to get them started is with an aqua scope – take it to the pond, river, lake, or shore and observe what is happening below the water. We love taking ours to the rock pools and going on a scavenger hunt.
Looking for other science kits check out our favorite Chemistry Subscription suitable for your tween and teen kids with our review of Mel Science Chemistry.
The underwater scope
Our pond is one of B’s favorite spots and we spend a lot of time around the pond throughout the year and have been pond dipping on a number of occasions as well as exploring the life cycle of the frog by raising tadpoles in a tank at home.
Nancy B’S Science Club Aquascope provided B with another way to observe the underwater world.
First off it’s really nice size. I’ve used underwater scopes with my secondary school science classes in the past and they have always been small for use once you have pond dipped however this one is to be used in situ and it’s solid and large.
Saying it’s solid though doesn’t mean it’s heavy – this was my one surprise it was lovely and light perfect for kids to hold and carry to where you want to observe.
It needs 3 AAA batteries – but this gets you light via 3 LED’s at the end of the scope, really helping to view in our pond as it’s very shaded with trees at the moment and also covered in duckweed having the lights meant that we were able to see in the dark what was going on.
At first it took B some time to work on the focusing – probably not his fault more mine as I hadn’t read the instructions fully before he got so excited he had to head out to try it out. It needs you to twist and also move the focusing scope up and down to get the fine focusing needed. Once we had this worked out we were very excited to spot a froglet swimming away under the water.
We’re off rock pooling in a few weeks over the school summer holidays and we will be taking the underwater scope with us along to see what’s living under the water at the seashore.
Looking for more nature ideas for the kids check out these nature study activities and ideas for more inspiration.
Supplies for Displaying
Nature Collections Inside
I get asked a lot about what kind of science work I do with my kids. Or, what kind of work parents should do for their kids. And if I have any ideas for science shelves.
One of the easiest answers to those types of questions is to look to nature. The natural world provides so many amazing opportunities for small children to learn that we don’t even have to create anything elaborate.we just have to observe and give our children time with nature. And often, a collection or two will spring up out of this time together.
HOW DO YOU SUPPORT A CHILD'S NATURE COLLECTION AT HOME?
Provide wonderful boxes. baskets, trays, or other places to safely store a collection
Do lots of outdoor exploration experiences WITH them
Clear some space - dedicate a nature table or desk
Bring a lunch bag or large ziplock with you when you’re outside
Look closely with your child - share their excitement
Keep it local - doesn’t have to be a vacation thing
Teach your child responsible collection techniques
- we don't take living objects for example
Children are attracted to the beauty of the natural world and seem to find it everywhere so it’s no surprise that nature collections seem to be a natural part of childhood. Supporting that collection can give children so many possibilities for work that you don’t have to add much else to your shelves.
At our house, an interest in dead beetles last summer has changed into an interest in all dead bugs. Sara looks for them everywhere. Our collection has grown to include several moths, butterflies, dragonflies, a wasp, and several beetles. Recently, her interests have expanded to a toad skin she found while biking. Somewhere a long the way feathers have been added to the things she eagerly collects and shoves into her pockets.
WHAT CAN YOU DO WITH A NATURE COLLECTION?
Read about related topics
compare textures
measure and weigh
examine under a microscope or magnifying glass
tracings, rubbings, and other art projects
just talk and connect over the items - share in your child's joy
share information about the items with siblings, friends, or classmates
organize or preserve items - I love these ideas for preserving bugs
search for more!
visit a local museum where you can learn more about the objects collected
decorate the area together - Sara's favorite in summer is adding fresh flowers
We keep them in these clear plastic bottles. I love them because they help to keep the specimens safe while also keeping them out of other little mouths. The only downside of these boxes is that it is harder to look at the insects under a microscope once they are in the box and they are a bit of a splurge. But, they can be removed and replaced, and provide nice practical life work in opening and closing.
I hope Sara's desire to expand her nature collection doesn't stop anytime soon. The joy she gets when adding to her collection is absolutely contagious. And, I love these glimpses into her world and the things she finds interesting!
How to become an expert in cleaning, drying, and preserving nature's treasures by researching it yourself.
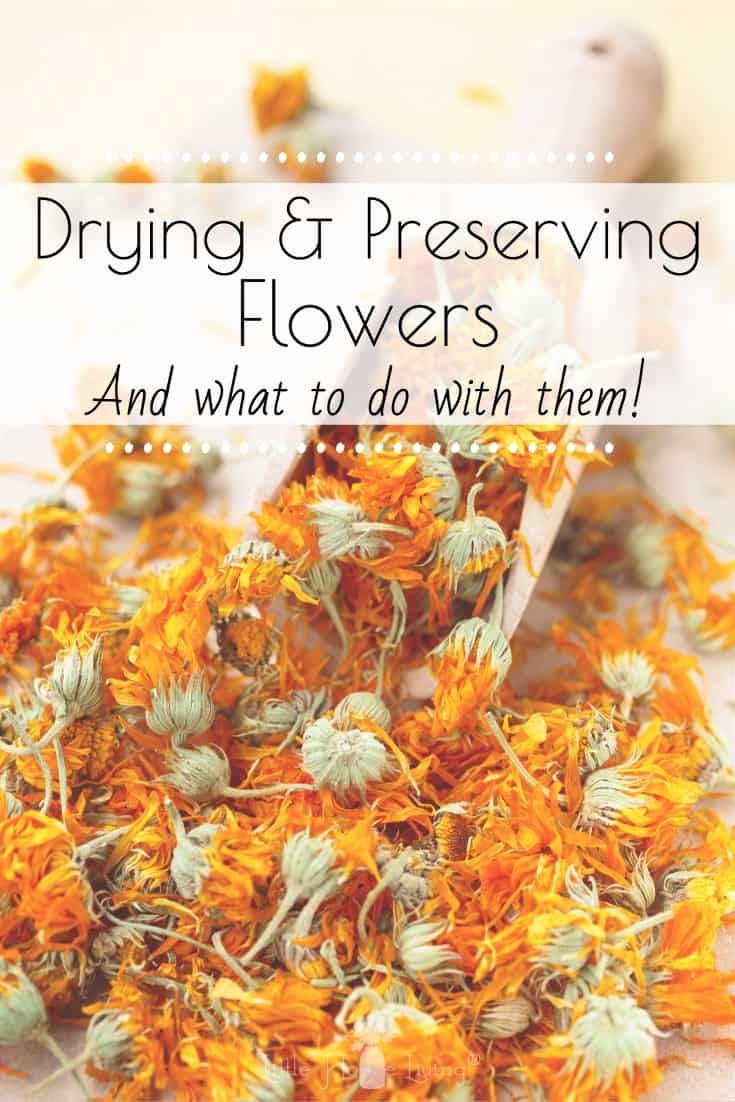
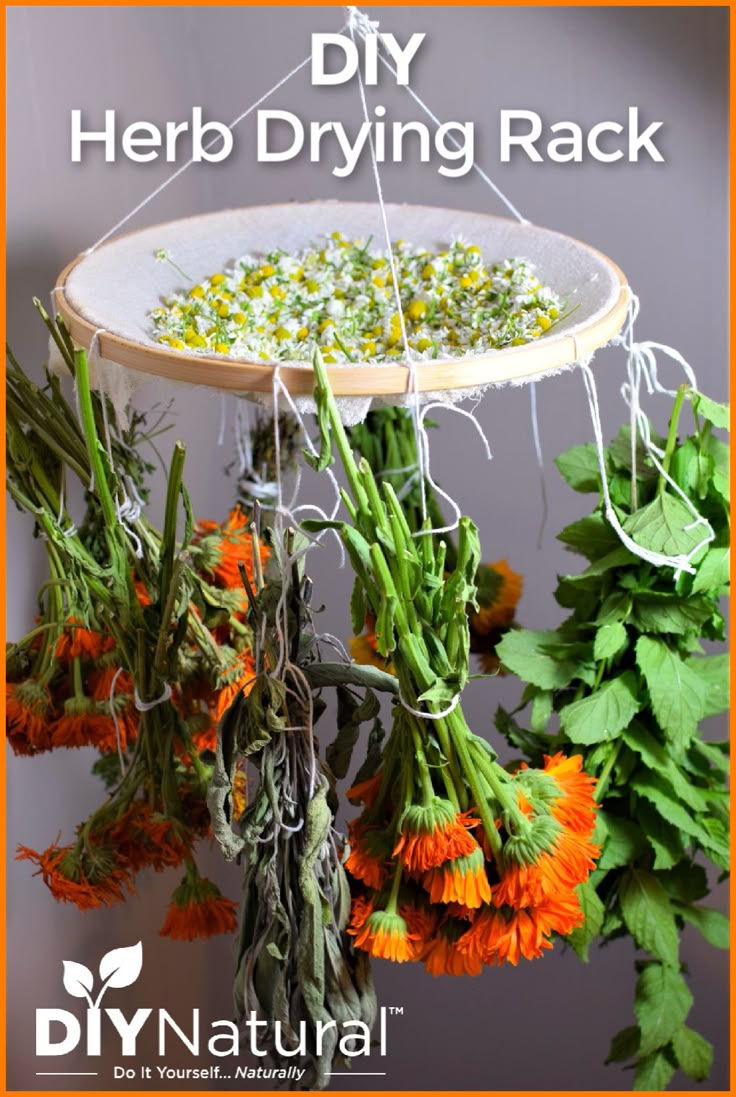
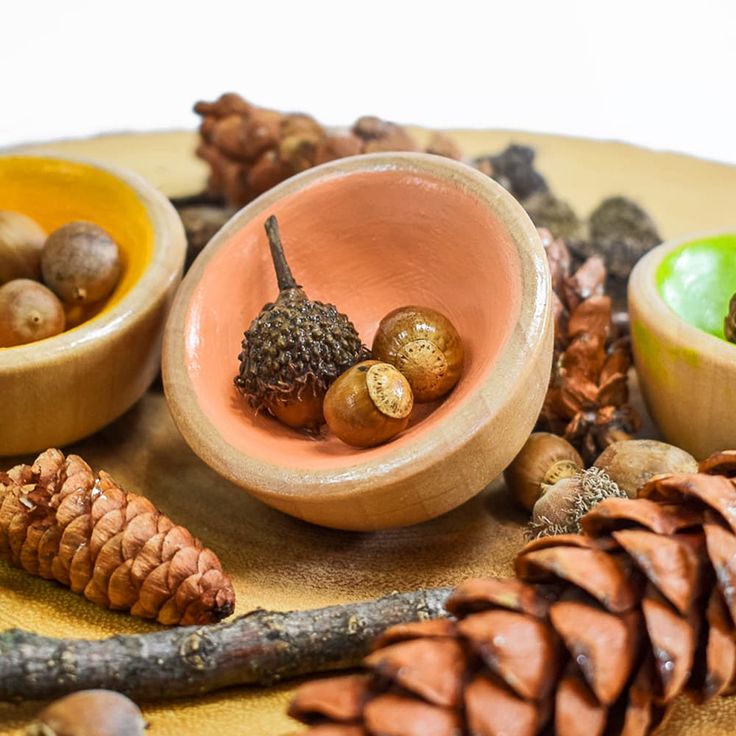
How to Prep and Preserve Woodland Nature Supplies for Play and Crafts
Learn how to easily prepare and preserve fall nature supplies like acorns, pinecones, and sticks for long-term indoor nature play, classroom study, and kids crafting.
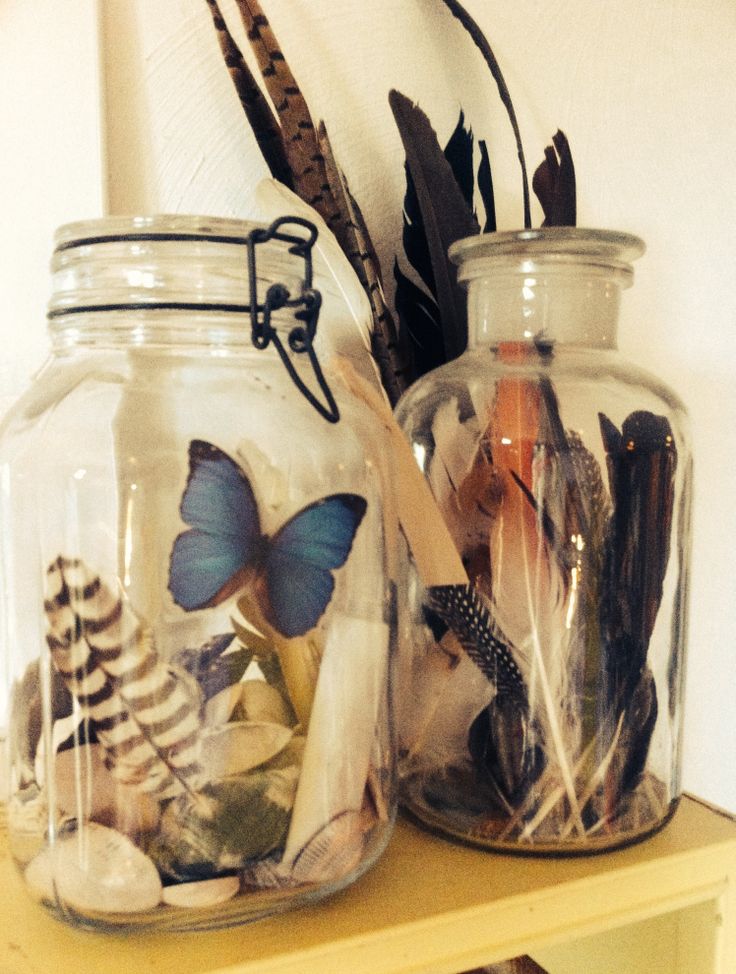
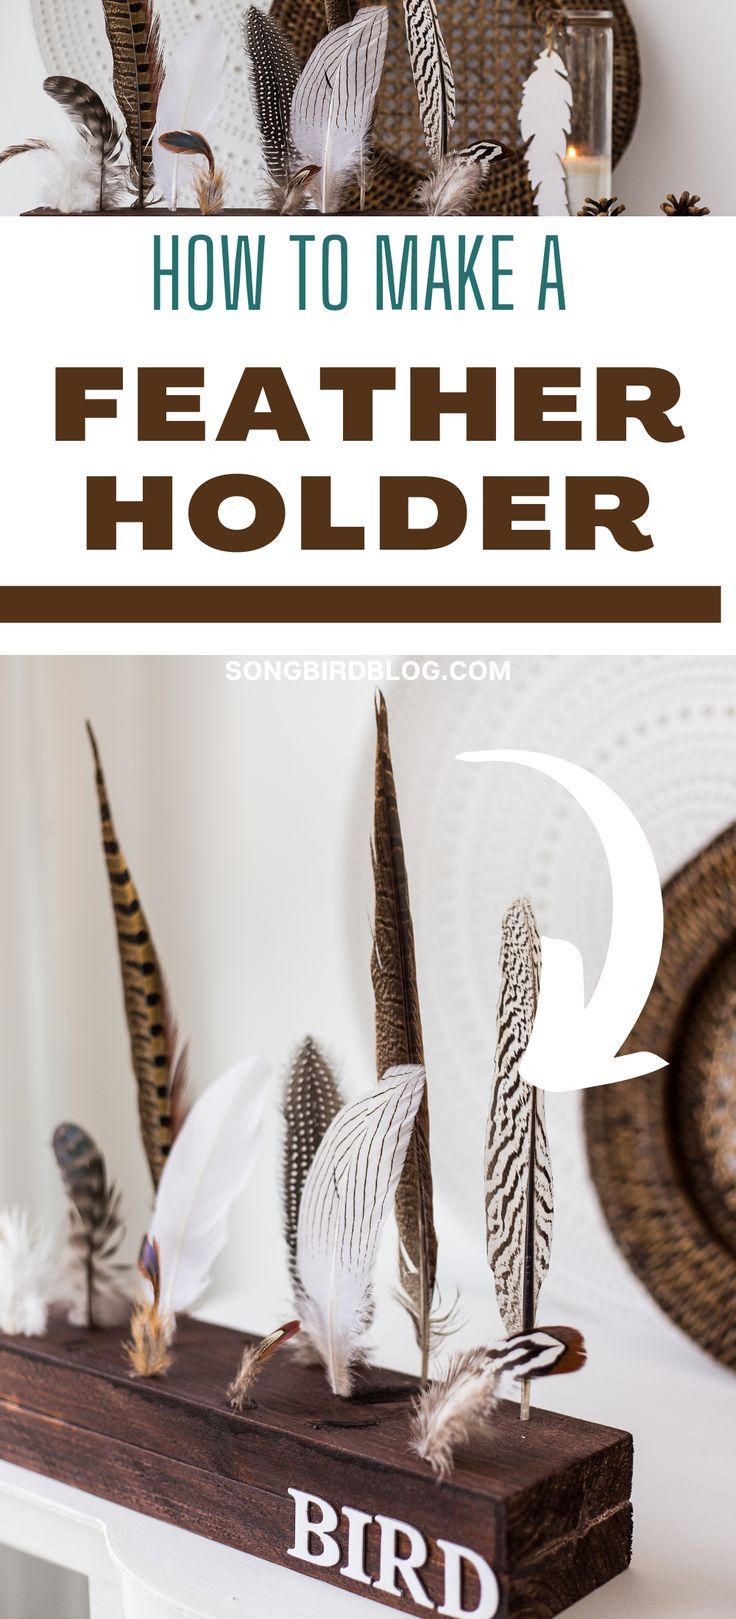
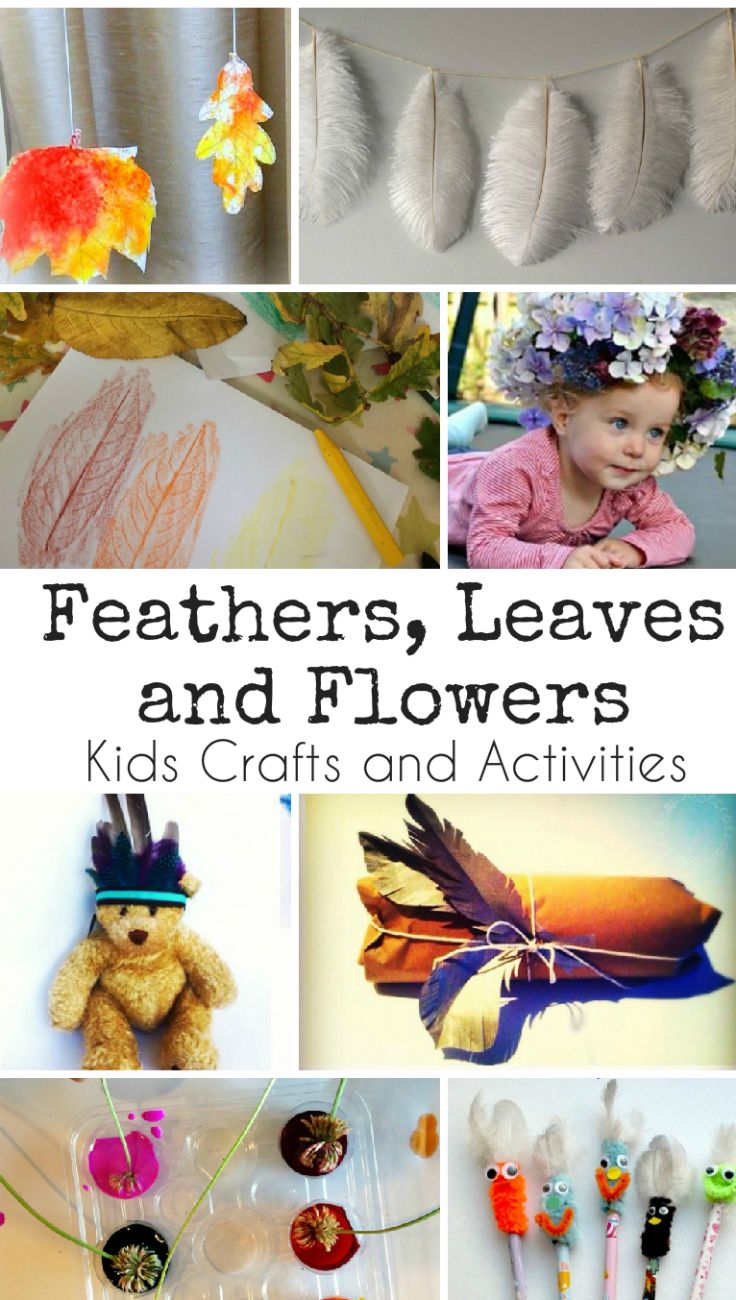
Feather crafts
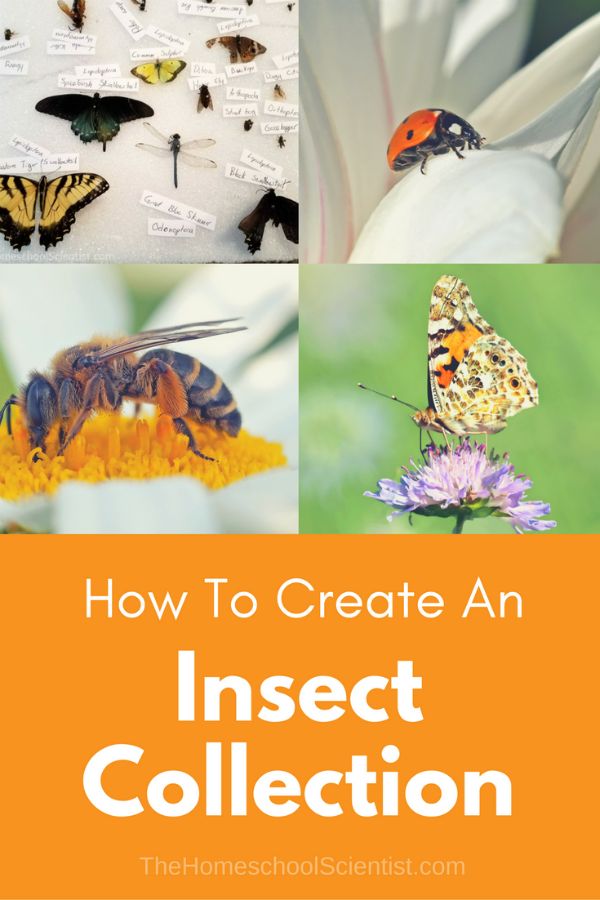
How to create a Insect collection
Easy Ways to Display and Store Nature Inside
Rock & Nature Collections
Now that we are all in the midst of collecting rocks for our rock collections, I want to share my Favorite Ways to Display Rock Collections. There are ways of attractively displaying your rocks and still leave them available for inspection and closer observation. Most of the methods do not require big investments of money since you can recycle containers and other materials needed.
I like keeping our rocks out in the open because it does encourage our children to look at them and I have found visitors to our how stop to take a look and ask about them as well. This gives us a chance to share what we know about our rocks...love that kind of learning and sharing.
Jar - We love this simple way of collecting rocks when we are traveling. I simply bring along a container or two with lids (look for them at your local dollar store). I prefer plastic to glass for obvious reasons. If you wanted to you would collect the rocks in the plastic jars and then when you got home you could transfer them to pretty glass containers. I use a Sharpie marker to label the top for future reference.
Tray - Placing rocks on a tray on our nature table makes it super easy to view them, study them, and keep them organized. I have found that using a tray is much easier if you place a cloth or placemat on top before adding your rocks. This keeps the rocks from rattling around and sliding onto the floor. You can rotate the rocks on the tray to spark interest. I also add a magnifying lens or loupe to the tray so we can take a closer look at our rocks.
Window Sills - This was our method of displaying rocks when we wanted them handy for study. My sons would gather the rocks from our collections and then place them all in a line on the windowsill. The secret advantage to this method of displaying rocks is that you are limited to the space on the window sill. If you want to add a rock and the sill is full, you must remove a rock.
Vases - Many of the rocks we collect are found at the river's edge or at the seashore. They look so very pretty when they are wet, showing the variations in color and composition. By the time we get them home, they are dry and dull and sometimes I even wonder what attracted us to a certain rock. But, I have found that if you get them wet again your see the beauty shine through. Using the rocks in the bottom of a clear glass vase, filling it with water, and then adding a splash of flowers is one of my favorite ways to bring those rocks alive again.
Shelf - In the past we have dedicated a shelf to our rock collections. The collections were either contained in nice specimen boxes or in other recycled boxes with labels. I found this the least attractive of the methods of displaying rocks because it does not really let you see the rocks easily. But, if you have younger ones who collect lots of rocks, you may for a time, need to display your rock collections in this way. I also have a shelf that has a collection of very unattractive shoe boxes with rocks stacked inside....not shown in the images above...not a preferred method.
Tiered Make-up (or tackle) Organizer- Need a portable way to store your crystals? One of my favorite crystal educators, Hibiscus Moon, shared a method from one of her healers, Lexi, that I absolutely love. Lexi used acollapsible makeup box to keep her crystals safe, organized, and dust free. Each category has a separate compartment to prevent scratches and chips.
DIY Framed Rock Display Case
50 Magical Crystal and Rock Display Ideas
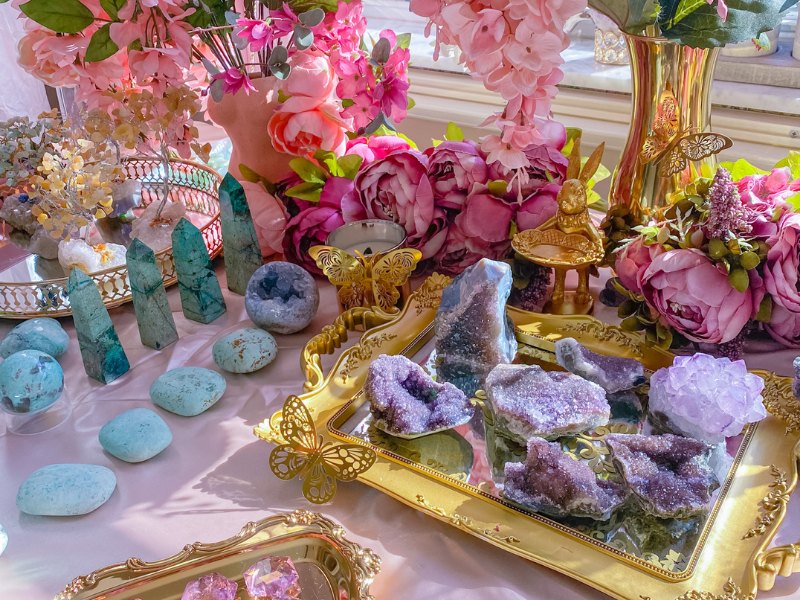
Bringing Nature Inside
Make A Terrarium To Bring Nature Indoors
Using a glass bowl, jar or other container you could make one of these amazing terrariums.
They can be any size or shape, and are mostly self watering.
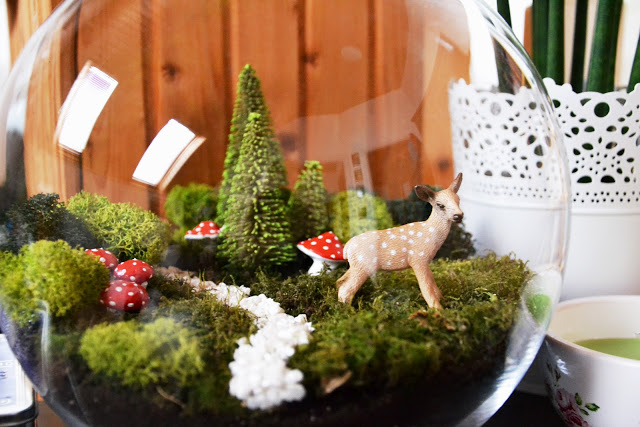
Check out morningchores.com for some fantastic terrarium ideas
Set up a collectors box or rack.
This idea from photoshop.com is a great way to display anything the kids love to collect when they’re outside. This works great for treasure’s to be used in art.
Encourage the kids to collect all sorts of pretty bits.
Pinecones
Feathers
Leaves.
Twigs etc.
Then display them indoors where the kids can play and explore with them.
A tray of conkers and pinecones, recently became a feeding tray for a group of zoo animals the kids were playing with.
You could display your nature ‘bits’ in a small basket,
I have also used cutlery tray inners and a muffin tray before. Have fun with it.
So, I hope you have found a few ideas you can try.
Bringing nature indoors can be so rewarding.
Start an indoor nature treasure shelf
Start a ‘treasure shelf’ where kids can display their outdoor finds like rocks, leaves, pine cones, etc. Instead of them ending up in the washing machine… encourage your kids to leave them on the treasure shelf instead! Consider leaving a magnifying glass or kid’s microscope like this one on this or this shelf or on a nearby table.
Nature Treasure Boxes
Preschoolers and toddlers usually really enjoy playing with random loose parts. You can make them a nature-themed bin full of all sorts of natural treasures for them to build and play with.
Consider filling a small tub with smaller containers that they need to open and explore and fill and empty. Think shells, pretty stones, pieces of drift wood, maybe some paint brushes and small scoops too.
For an added task, give them some water to paint these treasures and watch how their colors and textures change.
Or, for the older kids, you could pull out the nature field guides and let them identify rocks or shells from their collections.
Checking out Grandma and Grandpa’s shell collection!
Make DIY Nature Jars
Shells and rocks can be displayed as part
of a fairy or pirate garden.
Nature to use as loose parts with the building blocks
Heading Out on an Adventure
Heading out into nature is a great way for the family to enjoy quality time together. It's also a fantastic opportunity to put down the tech and learn to appreciate the world around you. If you happen to have some public woodland near your home, it's a great destination for a family day out. You can pack a picnic, get some exercise, and reconnect with each other away from the stresses of busy family life.
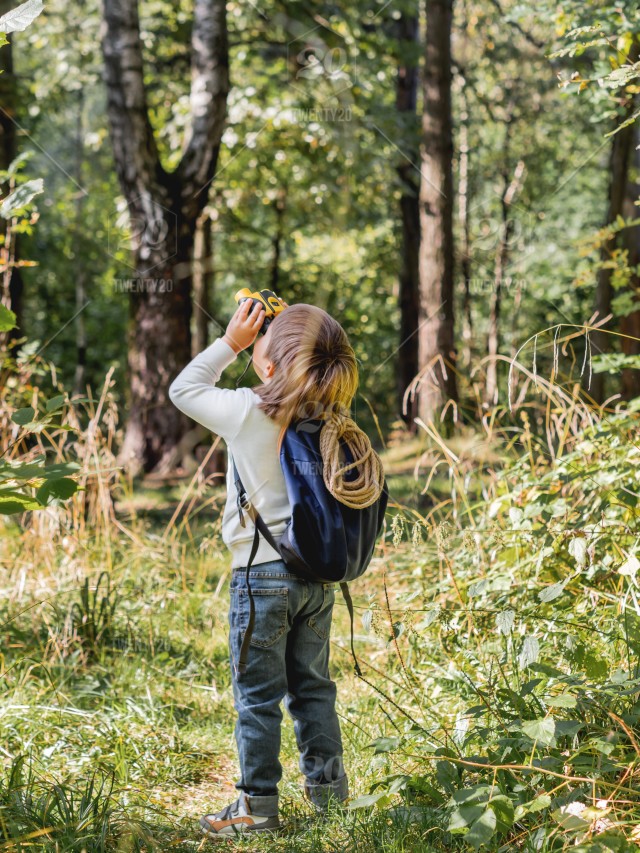
Nature collecting never fails to interest and entertain kids. The idea is simple—take a basket, field bag or bucket, and get outside to see what you can gather from the natural world. Kids love collecting bits of nature—from rocks and sticks, leaves and nuts, to flowers and discarded insect exoskeletons (or even bleached animal bones!). Nature offers something for everyone.
The child who is drawn to beauty will find marvels wherever he or she looks. The child who delights in the unusual will find strange and wondrous things. So, when you take the time to slow down and intentionally look for nature specimens, your child can safely collect and study. It brings so much fun and wonder to a very basic walk.
A word about nature collection
There are places you can collect nature specimens, and there are places where you can’t. This activity works great, even just in your own backyard. But, it’s important to teach your kids that what may be appropriate in your backyard may not be okay in a public place—or even someone else’s yard.
Some areas, like nature preserves, are intended to be enjoyed without touching or taking any part of nature. In other places, like a public park, it might be okay to pick up fallen nuts or leaves, but not to pick flowers. And then you may have access to places, like private property or woods, where your child can gather all kinds of bits of nature with the owner’s permission.
