Superscript
pLAYING wITH nATURE
How to look like an expert outside
Sometimes it just takes a little bit of reading…
Start Small. Never Stop.
FLOWERS & bOTANY
I have spent my entire life trying to get rid of the universal notion that any type of family walks and hikes are all about getting to a certain destination. When in reality walks like beach combing are really all about the adventure and the the things that fascinate us along the way. Just ask any of your children and you can count on them to find the fun stuff along the way. They are outside to discover and find joy in the process of exploring the plants and animals that are right in front of them. So add in some spontaneous "Natural STEAM" activities and enrichment that are featured below.
By letting your child's interest levels set the pace for walking the shoreline or in forests, while we are being totally open to their natural curiosity, we can definitely help any child to develop a healthy love of not just the beach or forest but of the entire great outdoors.
Why Your Kids Need Outdoor Time
This article by children’s wellbeing author and psychotherapist Becky Goddard-Hill will help you understand the powerful impact playing outside can have on a child’s mood and wellbeing.
Becky is the author of the brand new book ‘How I Feel’, a feelings-focussed activity book for children aged 3-7. Its primary aim is to encourage younger children to become more emotionally literate and better able to both understand and manage their feelings.
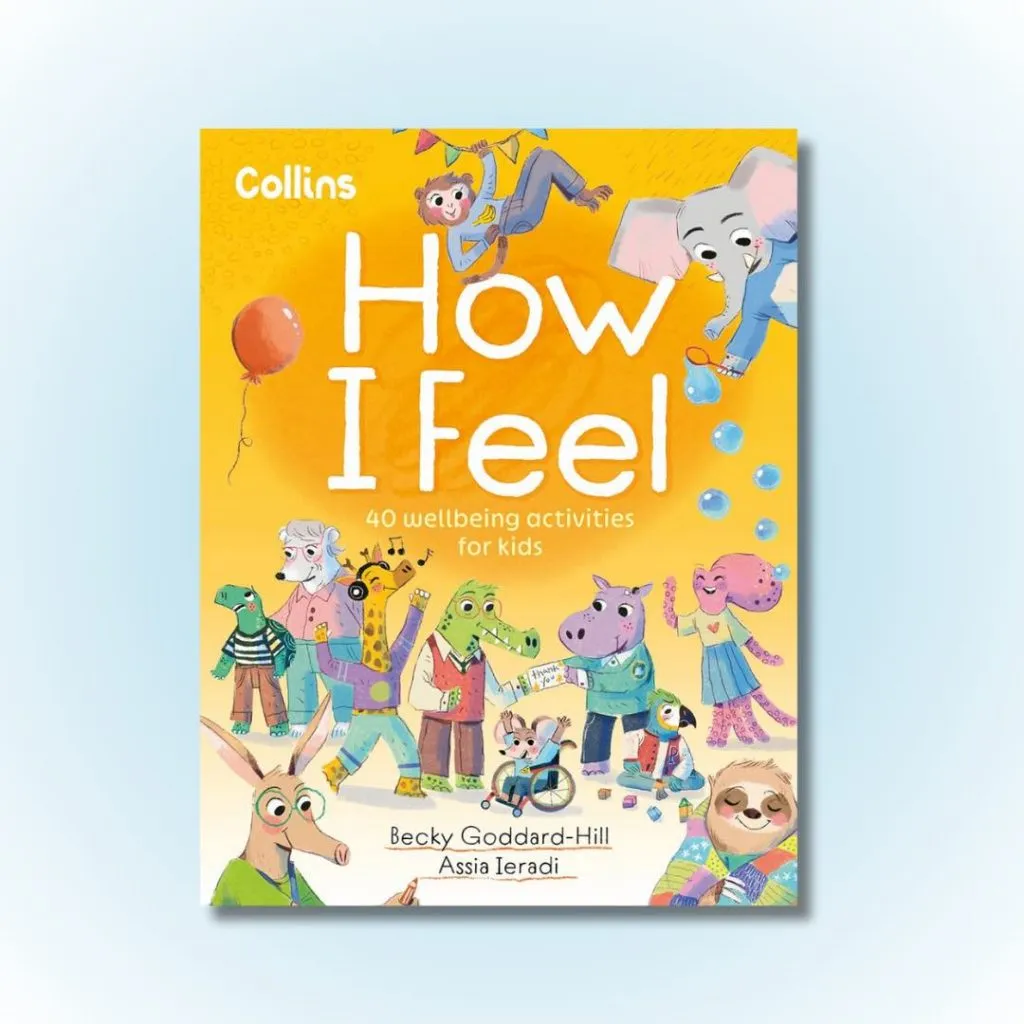
The book contains 40 play-based activities to help young children talk more coherently about their emotions, encouraging them to be kinder, happier, calmer, and braver. It aims to encourage self-belief and growth mindset and help children to understand and manage their feelings better.
It’s beautifully illustrated and packed full of lovely things to do. It has been written so children in KS1 will be able to read a lot of it themselves, and it contains lots of great parenting tips too.
Becky shares why encouraging kids to get outside matters so much for a child’s mental health.
Building & Displaying A Nature Collection
Discovering Forest Collectables
Incredibly Easy Nature Program

Why Outdoor Time Matters for a Child’s Mental Health
1. Stress Reduction: Spending time outdoors has been shown to reduce stress levels and promote relaxation, leading to improved mental well-being.
2. Increased Vitamin D: Sunlight exposure helps the body produce vitamin D, which plays a crucial role in mood regulation and may reduce the risk of depression.
3. Enhanced Cognitive Function: Outdoor play stimulates creativity, problem-solving skills, and cognitive development, contributing to overall mental resilience.
4. Improved Mood: Physical activity and exposure to nature release feel-good chemicals in the brain, such as endorphins and serotonin, which can uplift mood and combat feelings of sadness or anxiety.
5. Connection with Nature: Time spent in natural environments fosters a sense of connection with the world around us, promoting feelings of peace, wonder, and gratitude.
6. Social Interaction: Outdoor play encourages social interaction, cooperation, and communication skills, which are essential for healthy emotional development.
7. Reduction in ADHD Symptoms: Research suggests that outdoor activities may help reduce symptoms of attention-deficit/hyperactivity disorder (ADHD) and improve focus and attention span.
8. Resilience Building: Overcoming challenges and experiencing risks in outdoor environments helps children build resilience and coping skills, preparing them to navigate life’s ups and downs.
In summary, encouraging children to spend time outdoors is essential for their mental health and well-being. By providing opportunities for outdoor time, exploration, and connection with nature, parents and caregivers can support children’s holistic development and help them thrive emotionally and mentally.
*How I Feel is available from all good bookshops and is out now.
THINGS TO KNOW
Foraging & Botany for Beginners
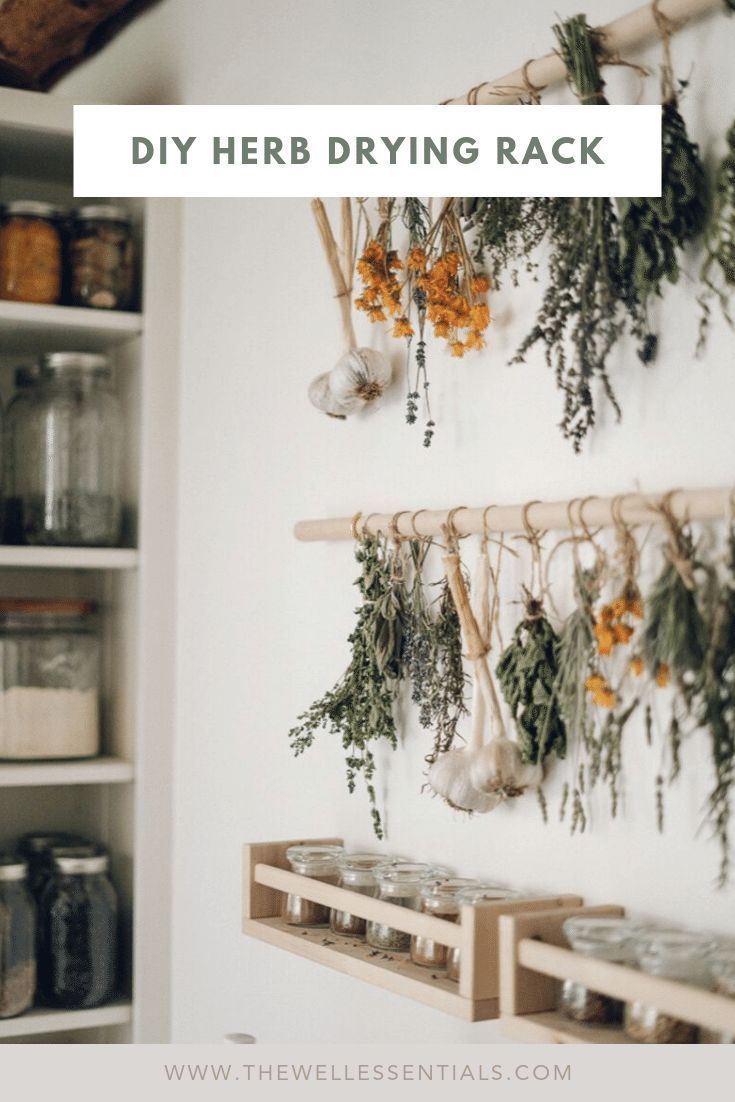
Simple DIY Herb Drying Rack For Your Garden Herbs Herbal tea blends, Homemade tea and crafts
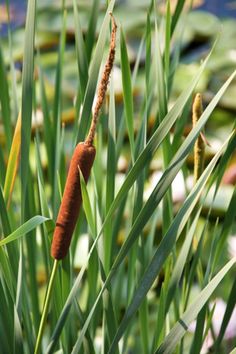
How to Weave & Preserve Cattails | ehow.com
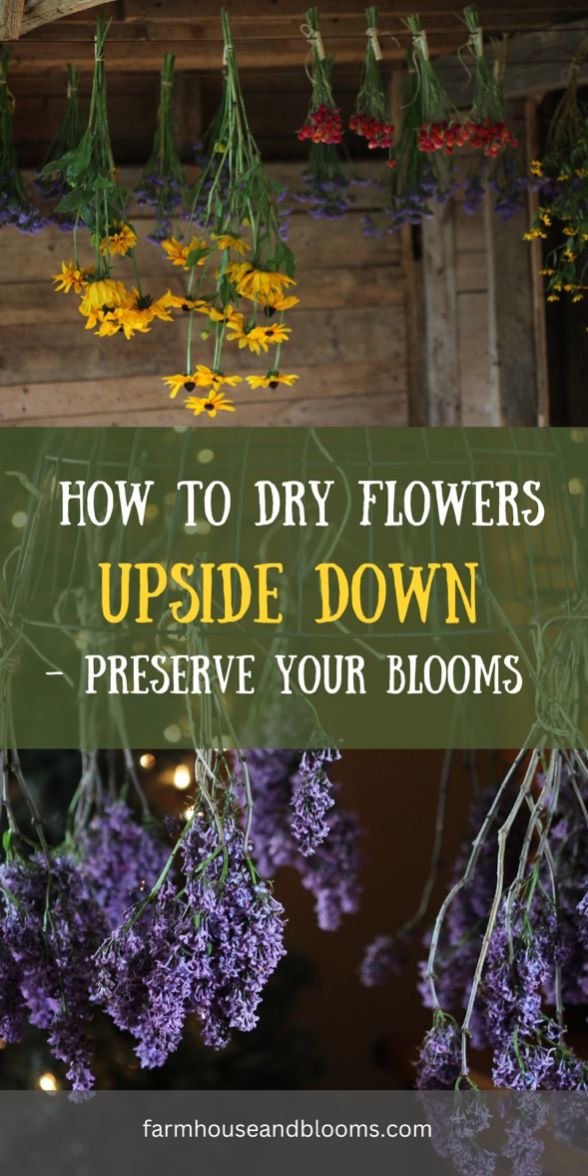
Learn How To Dry Flowers Upside Down

Observing Nature With The Discovery Scope
Identifying & Processing Herbs
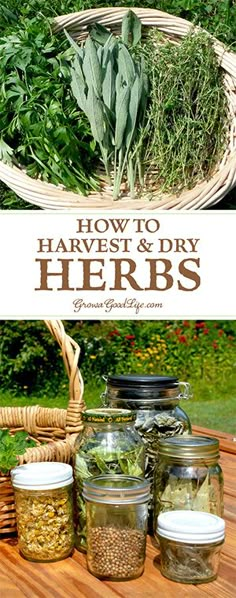
How to Harvest and Dry Herbs for Storage
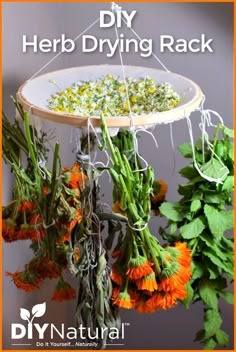
A Tutorial For A Simple DIY Herb or Floral Drying Rack
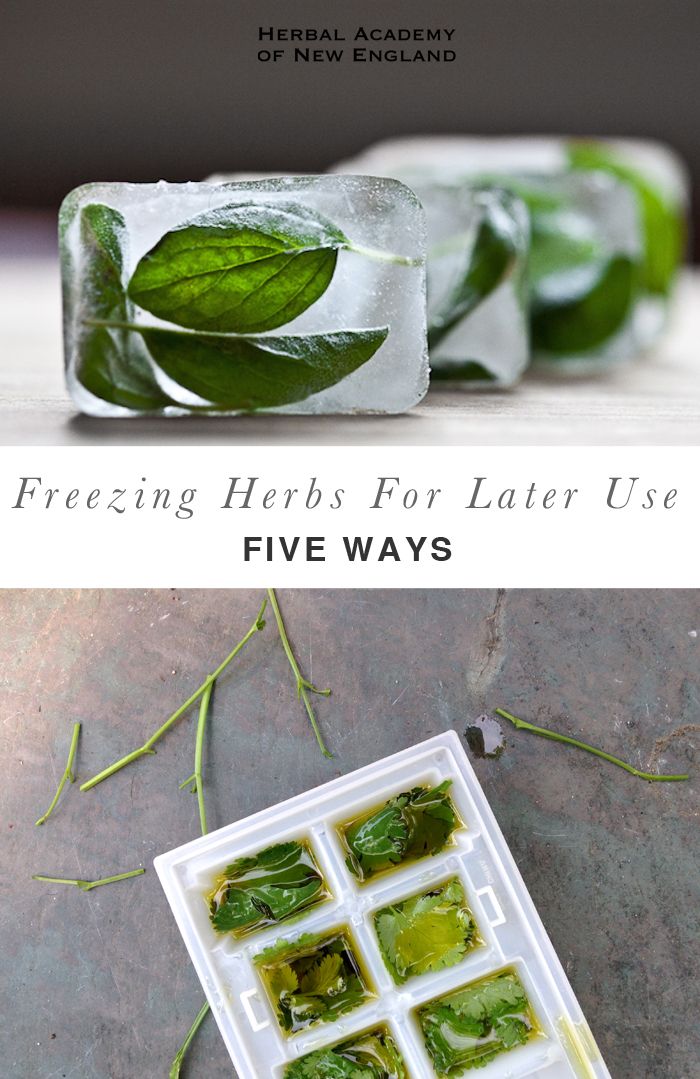
Freezing Herbs For Later Use – 5 Ways
Freezing herbs allows you to store your fresh herbs longer,
How to Preserve Nature Supplies for Kids' Play
Learn how to easily prepare and preserve fall nature supplies like acorns, pinecones, and sticks for long-term indoor nature play, classroom study, and kids crafting. ... more
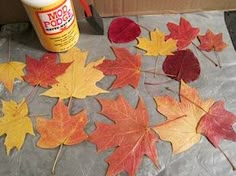
Preserve Fall Leaves & Pressed Flowers with Mod-podge
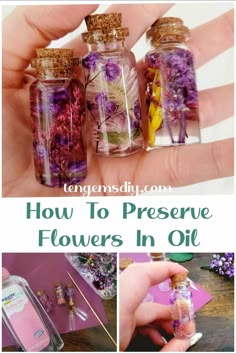
How to preserve flowers in oil
Air Drying Wildflowers & Herbs
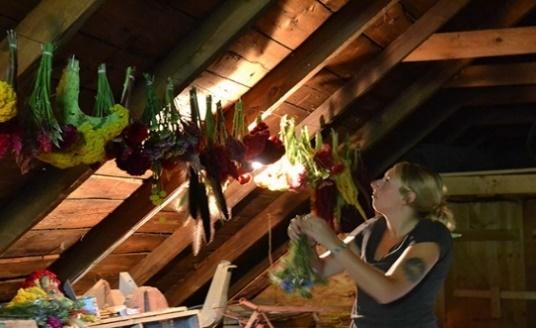
Drying is even better than pressing for preserving wild flowers. It keeps their shape as well as their color, and in some cases dried flowers are hard to tell from fresh ones.
Members of the daisy family, like daisies, thistles, and dandelions all dry well. Thistles, Field Scabious, and roses are good too. Always pick the flowers just before they are in full bloom.
Don't pick any flowers that are beginning to fade or wither, unless of course you wait until they go to seed. Poppies, Teasel, and many other seed heads look very attractive dried. So do grasses.
Continue to see how to air dry your own flowers!
Air-Drying Wildflowers
The easiest way to dry flowers is simply to tie them up in a bunch, hang them upside-down, and dry them for a few weeks.
What you will need to get started
Rubber bands
Dry airy place to hang the flowers
Steps
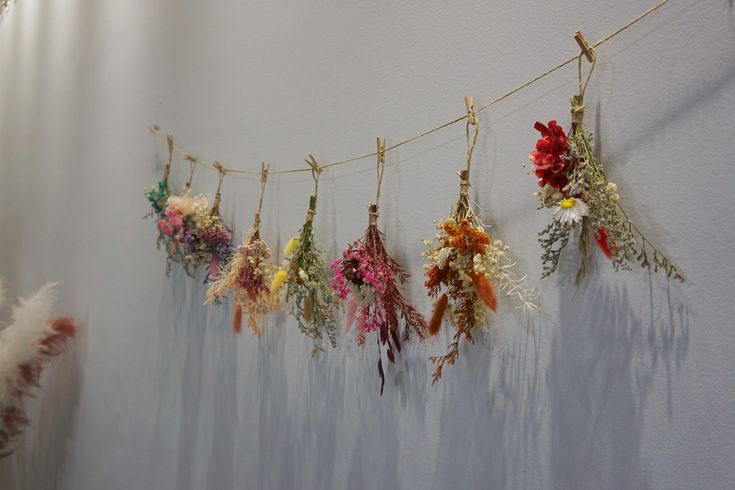
Tie the flowers into a bunch with a rubber band. Don't put more than 8-10 stems into each bunch.
Hang them upside-down in a dry, airy place for a few weeks. A linen cupboard is ideal because you can hang them easily. An attic, spare room, or garage is also fine, but you will need to fix up a pole or line to hang them from.
Continue to learn another way dry more delicate flowers.
Drying More Delicate Flowers
Some flowers lose some of their shape and color if they are just air-dried. It's better to dry roses, lilies, and anemones using a mixture of cornmeal and borax, which you can buy from a supermarket or grocery store. This way preserves leaves better too.
What you will need to get started
Shoe box
Borax
Cornmeal
Flowers
Paintbrush
Step 1
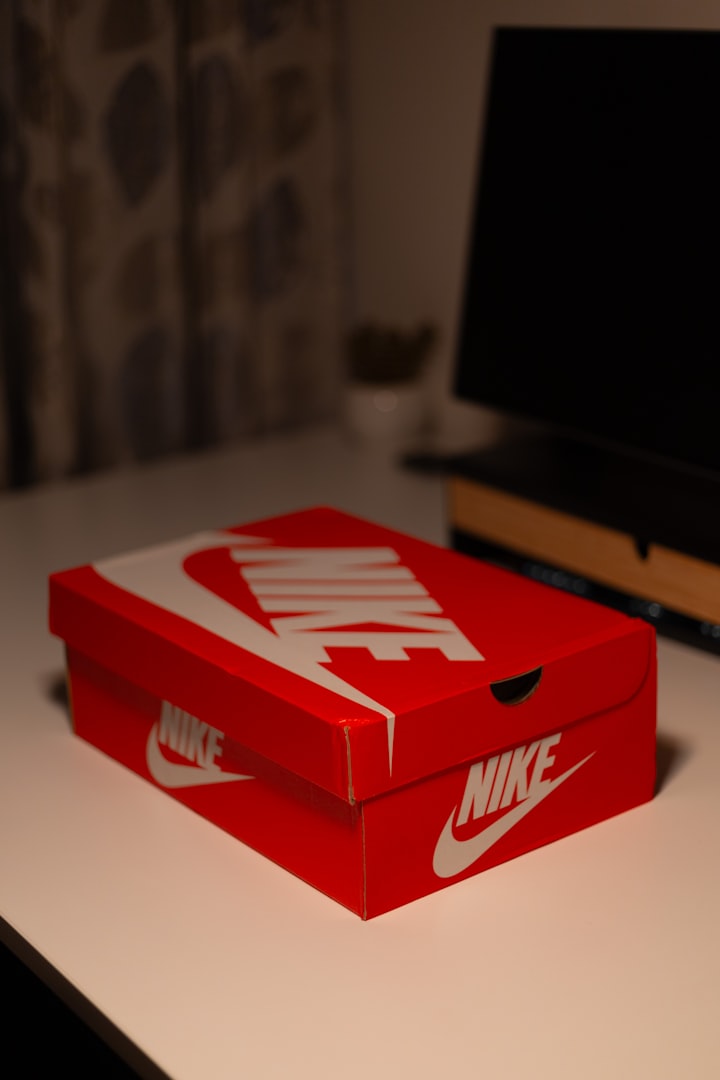
Find a box,like a shoe box, which is large enough to hold the flowers easily.
Step 2
Mix equal parts of borax and cornmeal together, enough to half fill the box.
Pour some of the mixture into the box to make a layer 1 inch deep.
Step 3
Cut the flower stems so they fit into the box, and carefully arrange the flowers on top of the mixture without overlapping each other.
Gently sprinkle some more of the mixture over the flowers until they are covered by a layer about 1-inch deep.
Step 4
After a week, gently take the flowers from the box and dust off the drying mixture with an artist's paintbrush.
Preserving Flowers Plus 14 Ways to Use Them
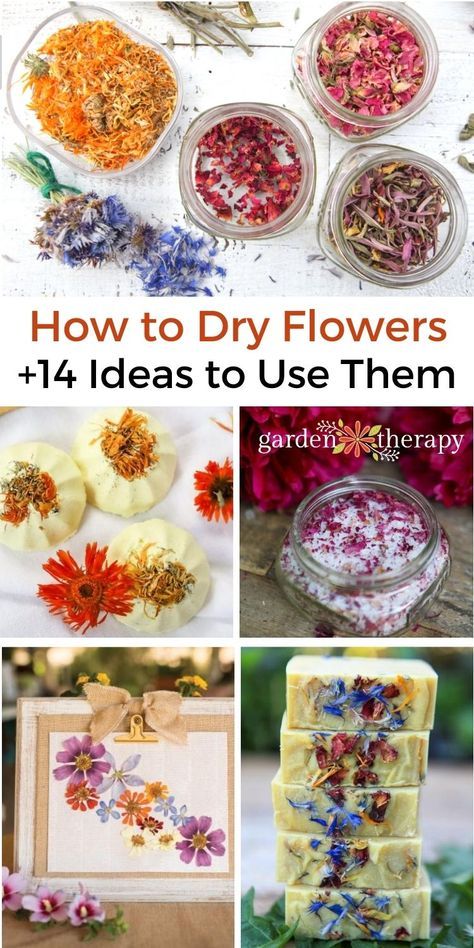
How To Press Flowers -
5 Ways To Press Everlastings
Pressing flowers is an ageless and creative form of floral art. All you need are some fresh flowers or leaves, and something to press them with. Learn how to press flowers and experience this wonderful form of dried flowers in their pressed state.
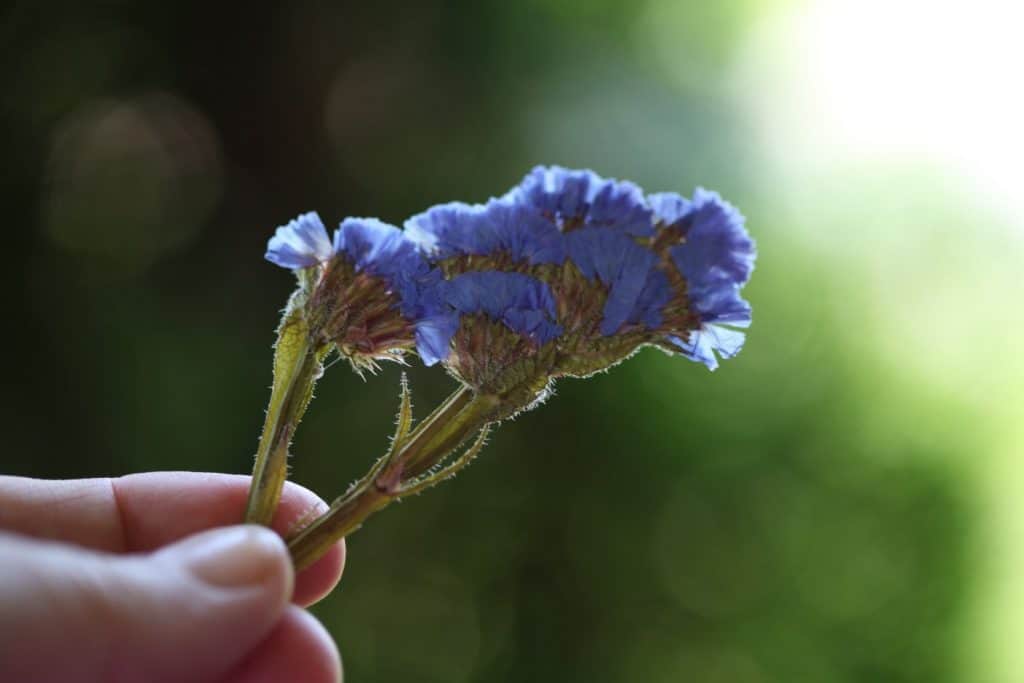
pressed statice
Many years ago I pressed my prom corsage between the pages of a book in my parent's small library. These small yellow roses and buds, tied with a satin ribbon, were just too beautiful to waste and toss away.
I checked on them frequently as they started to transform, checking the drying process every couple of days, keeping an eye out for anything that might go awry.
On some level I was a bit worried that they might damage the book, but was also amazed at what was happening to the flowers themselves in such a short period of time.
It's hard to describe the beauty of pressed flowers, as they are so unique and individual in their presentation. As petals and leaves are folded and pressed, each bending of a blossom or wrinkling of a bloom is captured, and highlighted in the pressed state.
In my case, the end result of pressing the flower corsage was absolutely perfect. The flowers pressed flat and dried, and preserved in a gorgeous state.
My parent's book had a few little marks, but not too bad I thought, and it certainly could have been worse. I made a mental note to myself to make sure to use an unimportant book the next time, just in case.
I was able to enjoy these wonderful flowers long beyond their fresh state. This was just the beginning of my journey into pressing flowers throughout the years.
In This Article:
What Are The Best Flowers For Pressing?
How Long Do Pressed Flowers Last?
How Do You Keep Pressed Flowers From Going Mouldy?
How To Press Flowers Without Turning Brown
How Do You Display Pressed Flowers?
What are Pressed Flowers?
Pressed flowers are dried flowers that are preserved by the process of being pressed flat. The preservation of the flowers and leaves occurs as they are pressed, and the moisture in the cells of the blooms and foliage is removed.
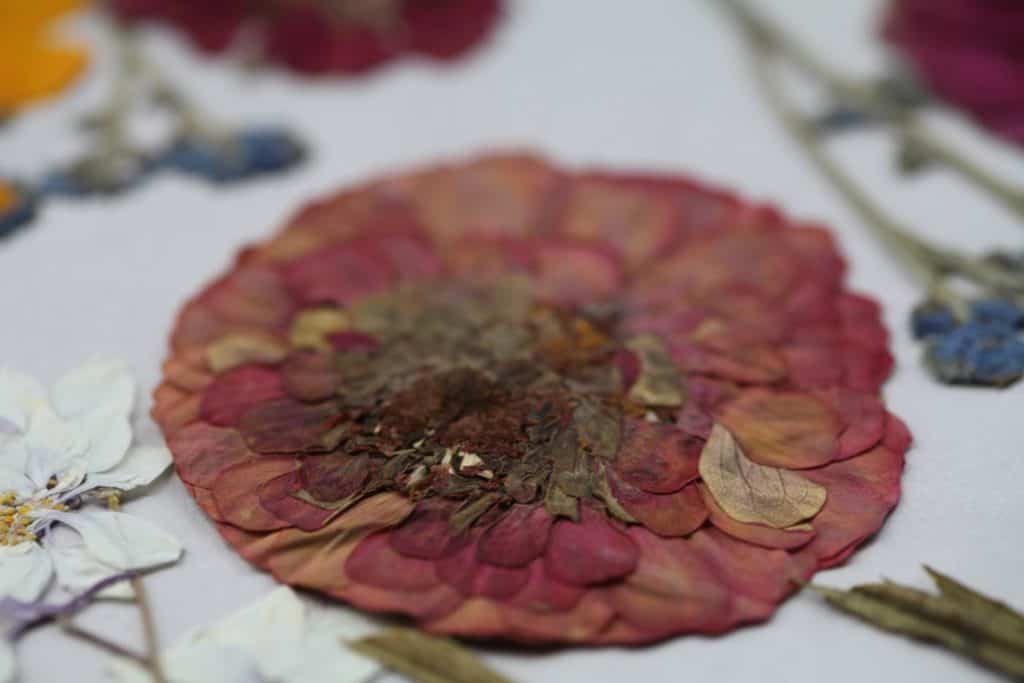
pressed flowers- with a pressed pink zinnia in the center
Dried flowers have a beauty that is magnified in their dried state. They offer a different version of their fresh self, and are beautiful in their very own way.
I have always been intrigued by blooms in their pressed state. To me they are ethereal, beautiful, and well, almost magical.
Pressed and dried flowers allow us to enjoy the beauty of the blooms long after the growing season is done. They offer continued beauty when the winter season is once again upon us, and remind us of the promise of seasons yet to come.
Pressed flowers and other forms of dried flowers are sometimes referred to as everlastings.
Most often, the flowers referred to as everlastings will have been preserved so that they retain some of their beauty from their fresh state, whether through their colour or their form.
What Are The Best Flowers For Pressing?
Not all flowers are equal in their ability to shine and be preserved by the pressing process.
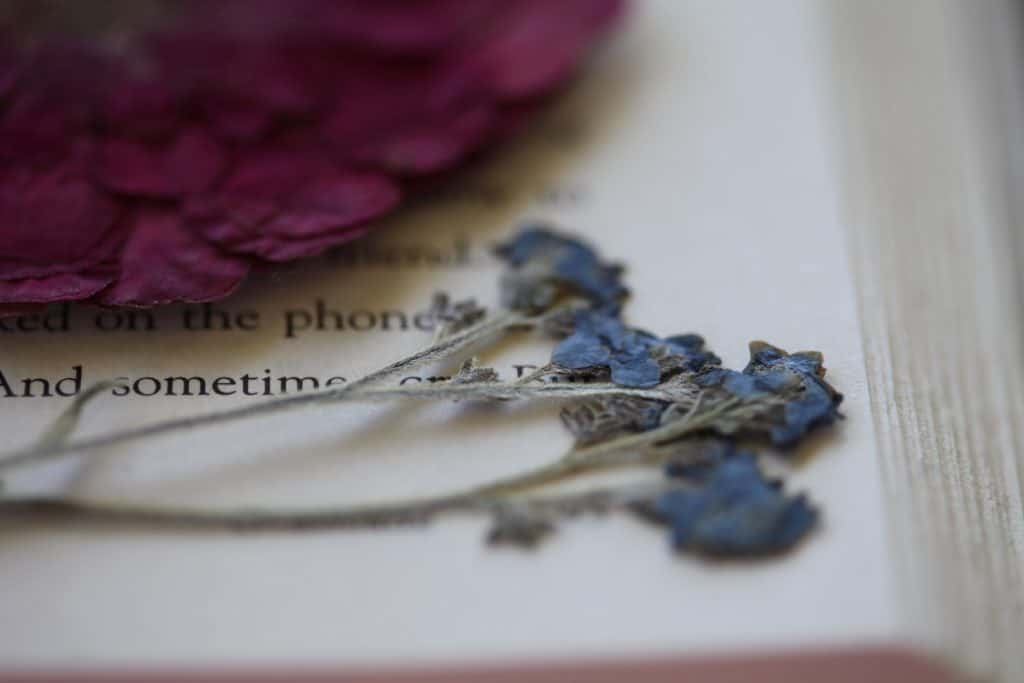
Pressed Chinese forget me nots in a book
The best flowers for pressing are those that have a lower water content in their petals and foliage.
Higher water content can lead to moulding and discolouration. These flowers can also turn brown in their pressed state.
Most blooms however can be pressed, although sometimes not always in their full form, especially with the larger flowers with high water content.
Examples of higher water content flowers include:
Dahlias
Snapdragons
Chrysanthemums
Lisianthus
Lilacs
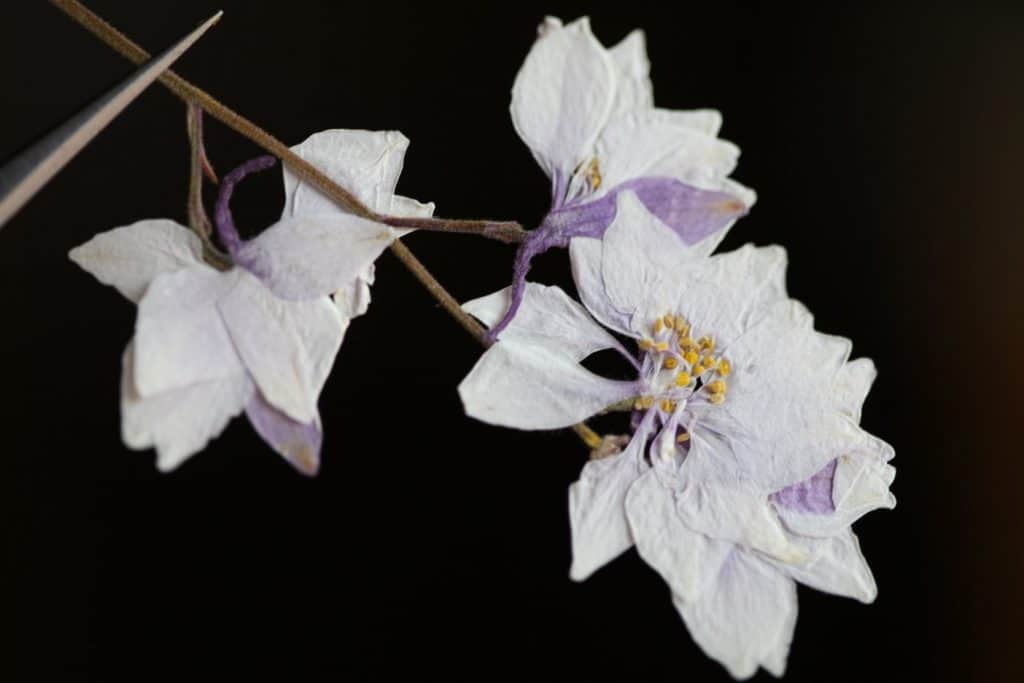
pressed Larkspur flowers
Flowers with lower water content can be dried more quickly and be preserved more efficiently. Flowers with little moisture content in their fresh form are the best flowers for pressing.
Examples of lower water content flowers and foliage include:
ferns
eucalyptus
Baby's breath
Daisies
Nigella
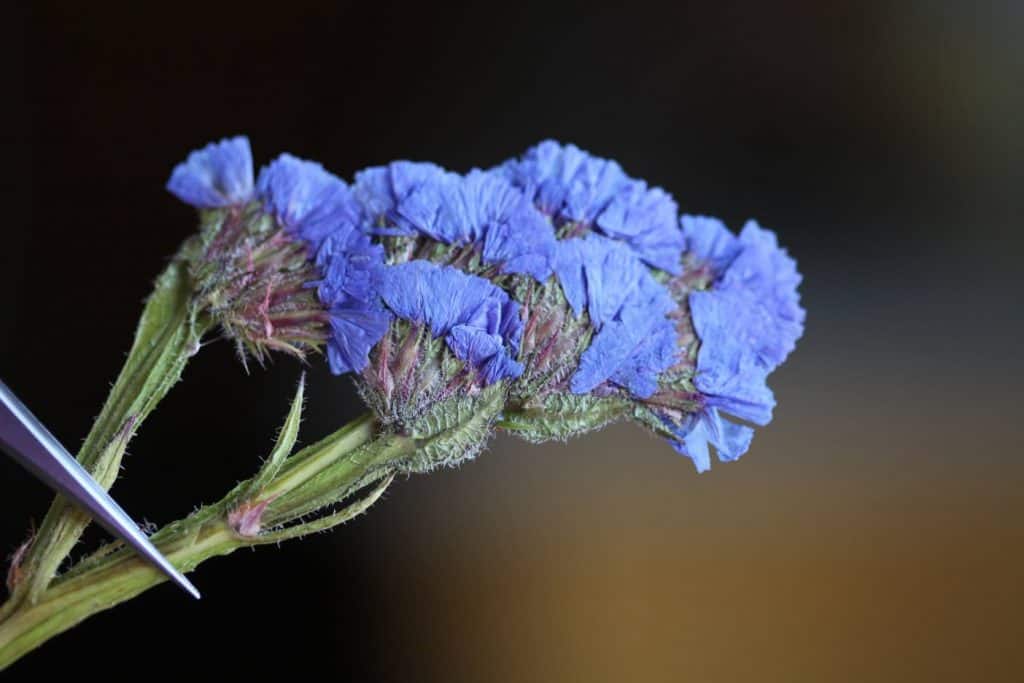
pressed statice flowers- held with reverse action tweezers
You can always experiment, especially if there are some blooms that you really want to try pressing. Just know the risks, and that you will have some wonderful successes and some other interesting outcomes.
How To Press Flowers
There are a number of different ways or techniques that you can use to press flowers, and we will review five different methods.
Several of the methods will involve heat during the pressing process. Other methods are slower, and involve simply pressing using pressure, and wicking the moisture from the flowers using an absorbent paper.
Remember that the process of pressing flowers preserves them in their freshest state by removing moisture from the blooms, while simultaneously pressing them flat and wicking the moisture away while they dry.
Choose the best blooms and foliage for pressing, as the imperfections will be magnified in the final product.
Press the freshest, healthiest flowers for best results.
Pressing is an art. Think about how you want to display your blooms in their final pressed state, even before you lay them out to press.
For example, do you want:
parts of the stem attached
what about some of the foliage
blooms alone
or individual petals.
Remove all pieces from the blooms that you do not want pressed, such as stems and leaves. However leave them in place if this is the look that you are going for.
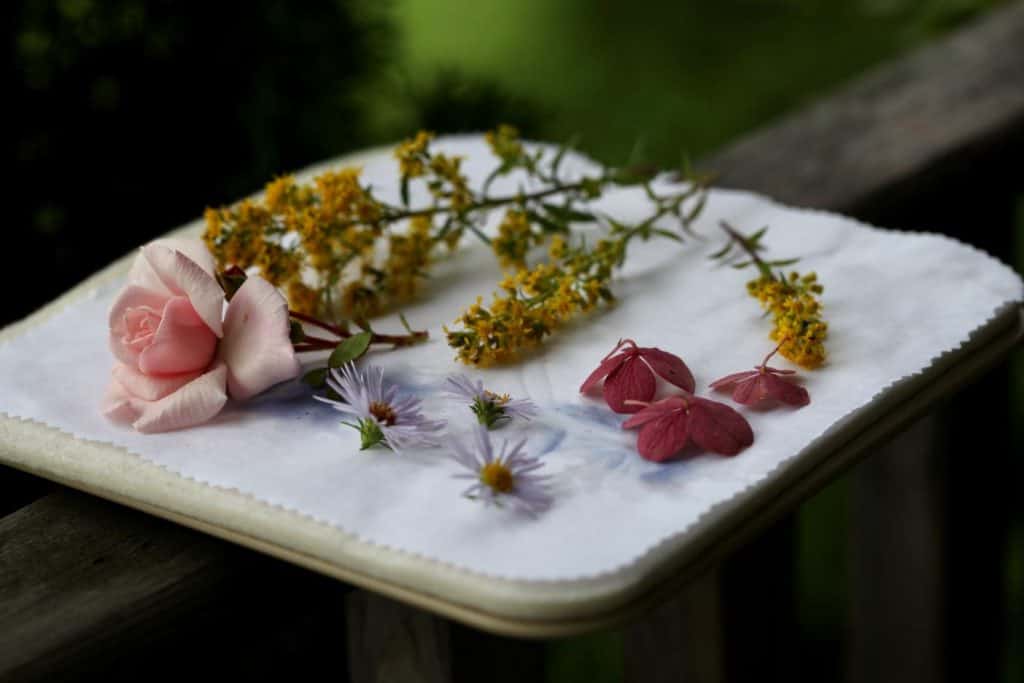
prepared flowers for pressing on a microwave press
Types Of Paper To Use For Pressing
If using a technique which requires paper for wicking the moisture from the flowers, consider the type of paper you will use. They are not all equal in their effectiveness.
Some of the best paper for pressing flowers includes construction paper, craft paper and unprinted newsprint. You can even use printer paper.
You can also use old phone books or catalogues. Line the pages with other paper next to the flowers if you find that the print is getting onto the pressed flowers.
Types of paper to avoid include anything with a glossy or waxed surface, as these papers will not readily absorb moisture. This can contribute to the development of mould in your pressed flowers.
Examples of these types of paper include parchment paper, waxed paper, and glossy newsprint or magazine pages.
Best Time To Harvest Flowers For Pressing
Press your blooms as soon as possible after harvesting for best results.
The best time to harvest flowers for pressing is when they are dry. This will help prevent moulding.
Consider the time of day to harvest your flowers.
In early morning or late evening flowers tend to be covered with dew. The best time to harvest is at a time when the dew has evaporated, and the flowers are fresh and dry.
If you do happen to harvest while wet, set the flowers aside in a container of water until they dry out.
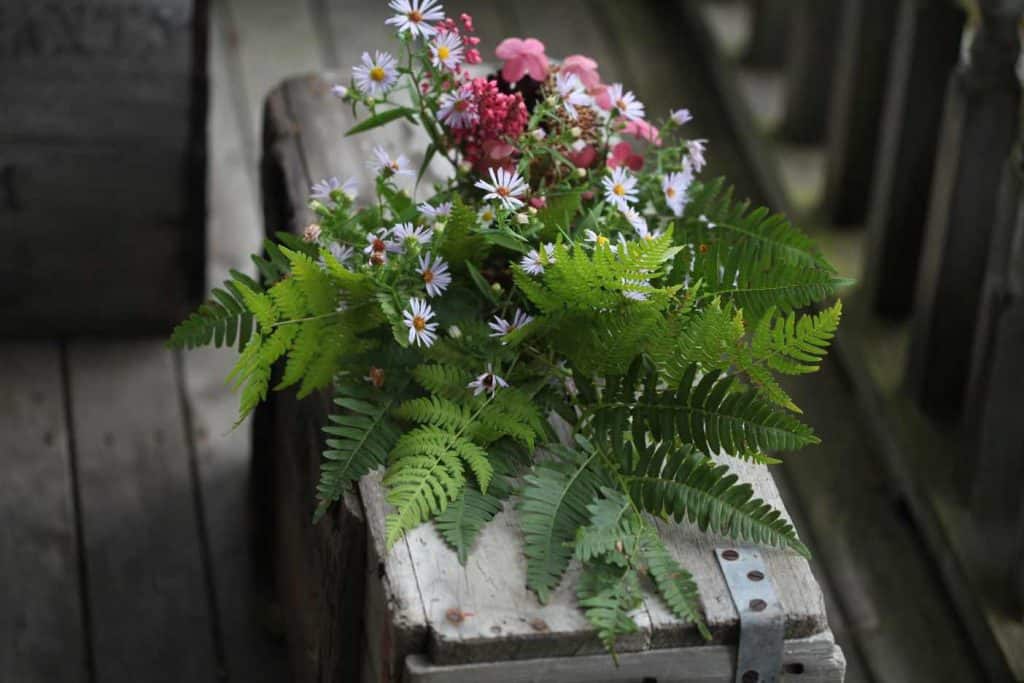
foraged flowers and leaves for pressing
The other issue to consider for harvesting your flowers and foliage is the stage of development.
Flowers in bud stage or foliage unfurling (such as ferns in spring ) can be denser, have more moisture, and may require extra time for pressing and drying.
As well, flowers past their prime or spent and developing seeds, will likely not preserve as well in the pressing process. Choose flowers at their peak for best results.
Pressing Flowers Without Heat
There are a number of different ways to press flowers without using any heat application.
These methods are probably the easiest ways to press flowers, and are tried and true techniques that get you great pressed results.
We will discuss three methods of pressing flowers without using heat.
1. An Old Fashioned Technique- Press Flowers With A Book
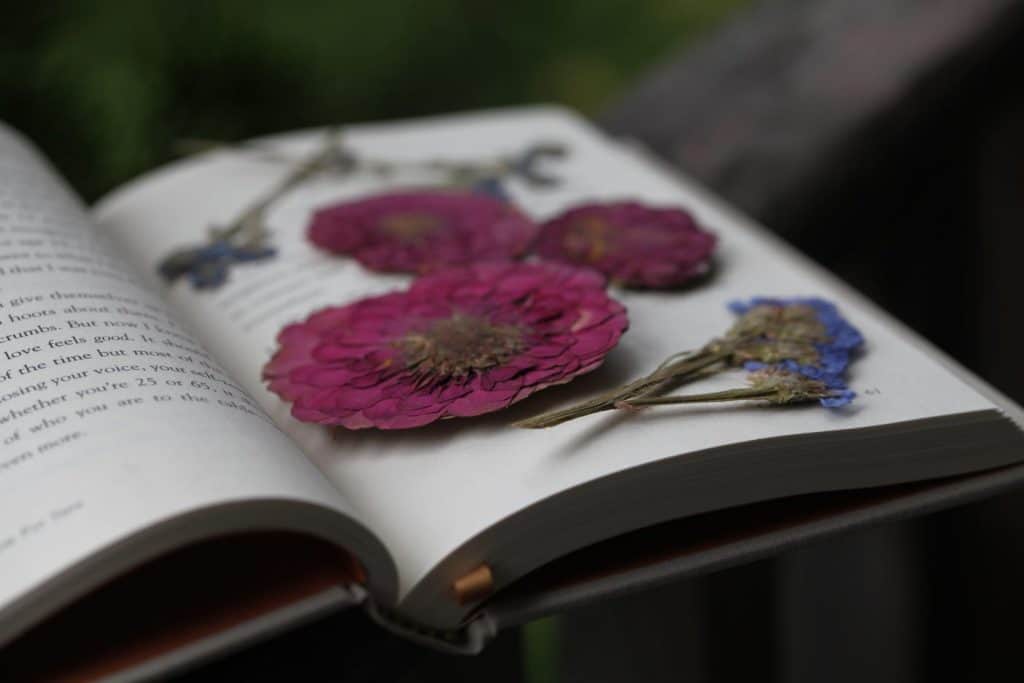
press flowers with a book- the classic romantic method
The first and probably most popular way of pressing flowers is that old fashioned technique that I spoke about during the beginning of this post. It may even be one that you have already tried.
Pressing flowers with a book is a romantic technique practiced for generations.
However one important thing to know about pressing flowers in a book is that it can also make a bit of a mess on the book pages.
The moisture and dyes in the flowers can seep out during the drying process, staining the pages. Keep this in mind if you are using a favourite or valuable book to press your flowers in.
You can place the flowers directly between the pages off a book, or use a folded piece of paper into which to tuck the flowers, which is then placed between the pages of the book.
Using books that are disposable, such as old telephone books or catalogues without glossy pages are great books for pressing. These books are larger and you can press lots of flowers at once within the pages.
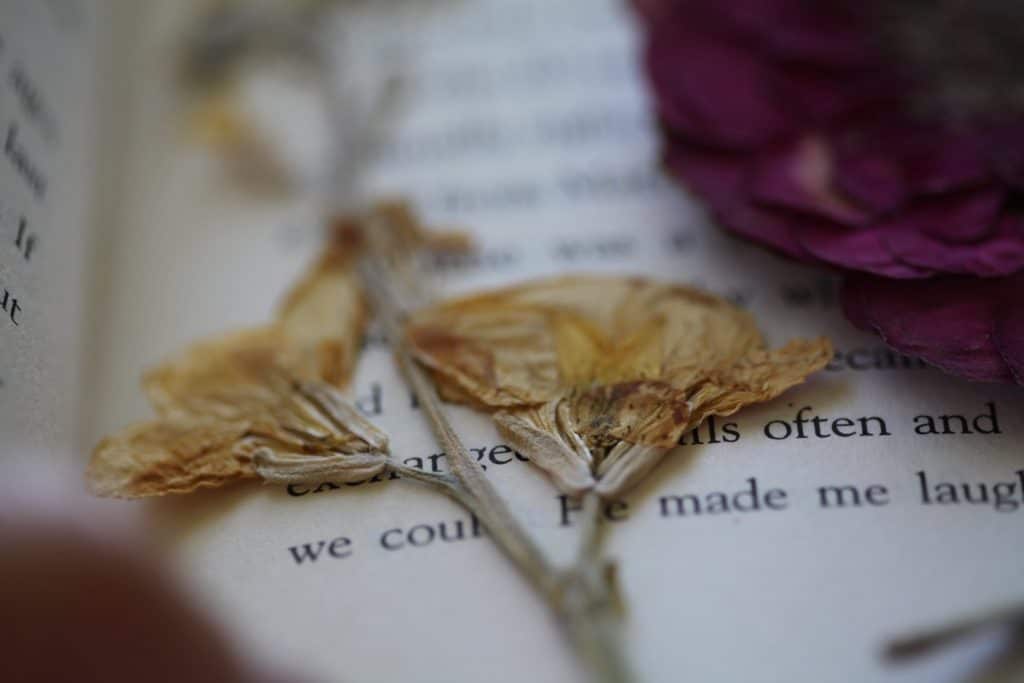
pressed yellow stock in a book
Here is the technique for pressing flowers with a book
Simply position your flowers, petals or foliage on the page of a book, then close.
You can place absorbent paper on either side of the flowers if you so choose, and this may prevent discolouration of the pages of the book.
After the book is closed, store it on the bookshelf with the pressure of other books surrounding it.
Alternatively, you can just put it at the bottom of a heavy stack of books.
Within two weeks to a month the flowers will be pressed and dried, and ready for storage.
2. Press Flowers With A Flower Press- Purchased Or DIY
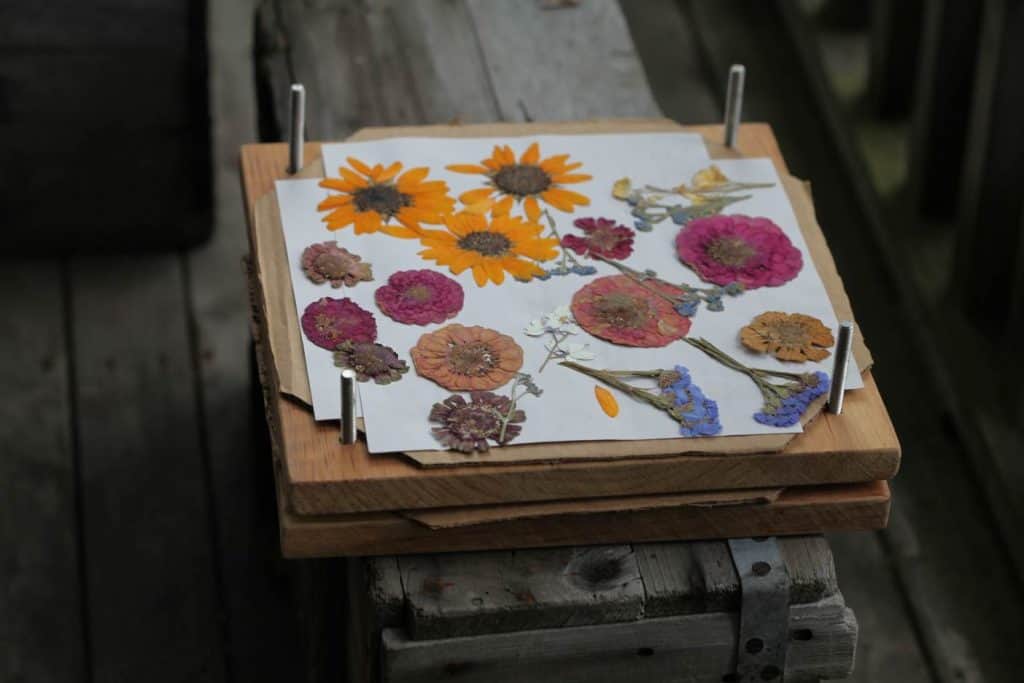
flowers pressed in DIY press
Flower presses are much more practical for pressing flowers, as they allow you to directly apply pressure to your flowers with the flower press setup.
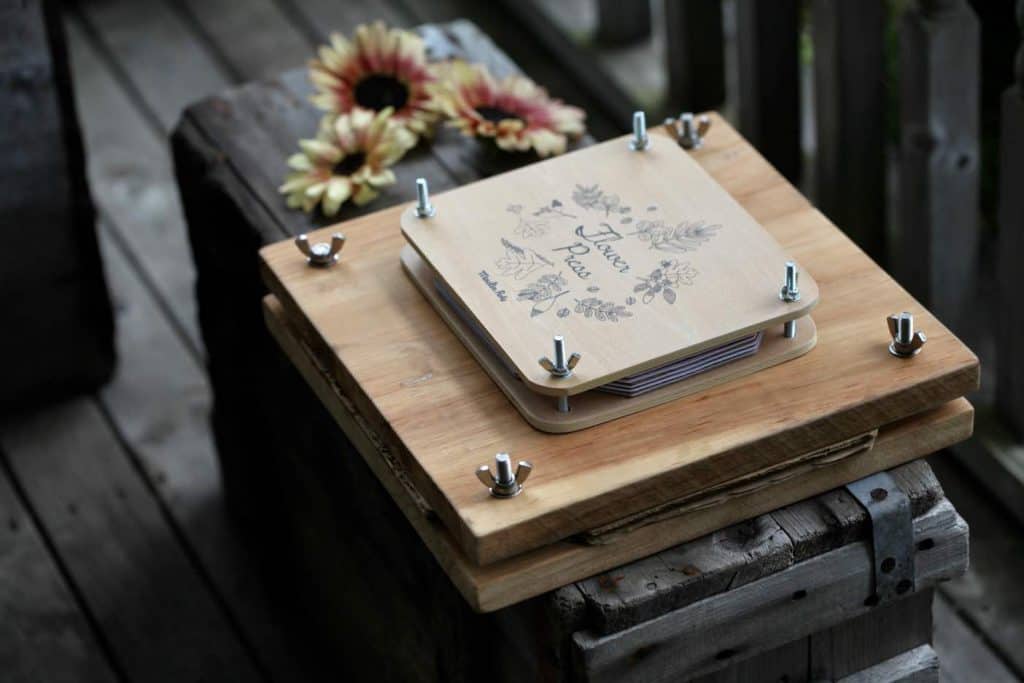
two flower presses- the top press was purchased, the bottom one is a DIY flower press
You can purchase your flower press, or easily make a DIY flower press.
Flower presses come in different sizes and shapes, and are filled with multiple layers of absorbent paper and cardboard. These layers sandwich the flowers while they are being pressed flat.
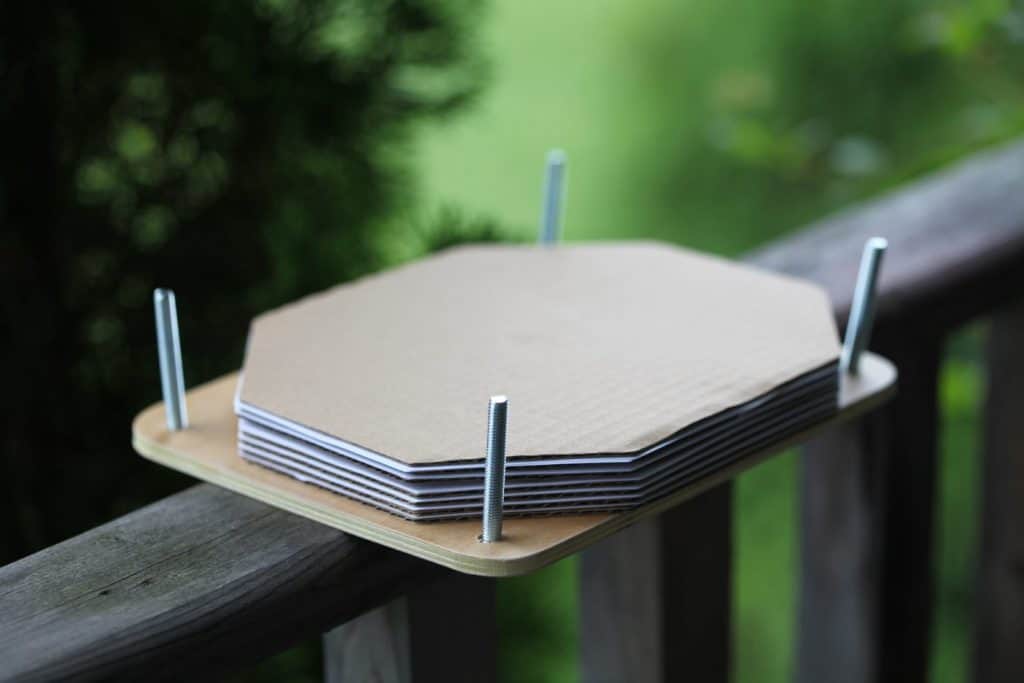
a glimpse of the inside of the flower press- notice the multiple layers of cardboard and paper
After placing your flowers inside the press, you can tighten the bolts or belts of the press ( depending on your setup) and gradually flatten the flowers inside the unit.
There's a little more to it however than just tightening the bolts, so let's review.
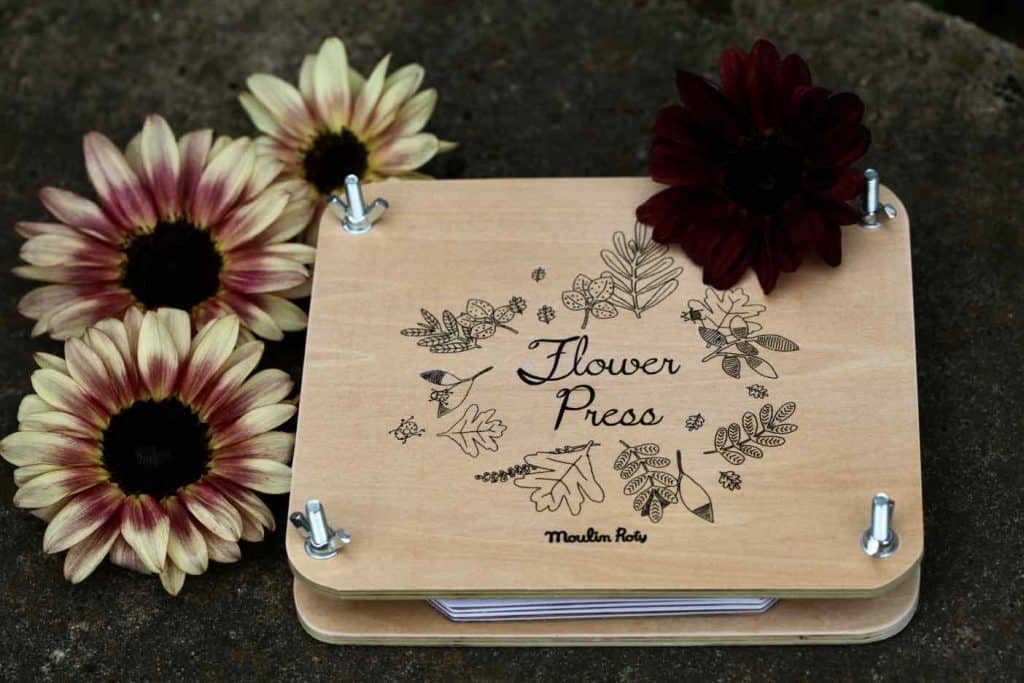
sweet little wooden flower press and sunflowers, ready to be pressed
Here is the technique for pressing flowers with a flower press:
Place the outer board of the flower press on a flat surface.
Add a piece of cardboard, and then a piece of absorbent paper.
Next add the flowers and foliage, making sure they do not touch each other.
Cover with absorbent paper and then another piece of cardboard.
Add the outer board to the top, inserting over the bolts, and place the washers and wing nuts onto the bolts.
Tighten and press.
The flowers are sandwiched between the paper and cardboard.
You can add multiple layers if you can fit them into the press.
Press for two weeks to a month for best results.
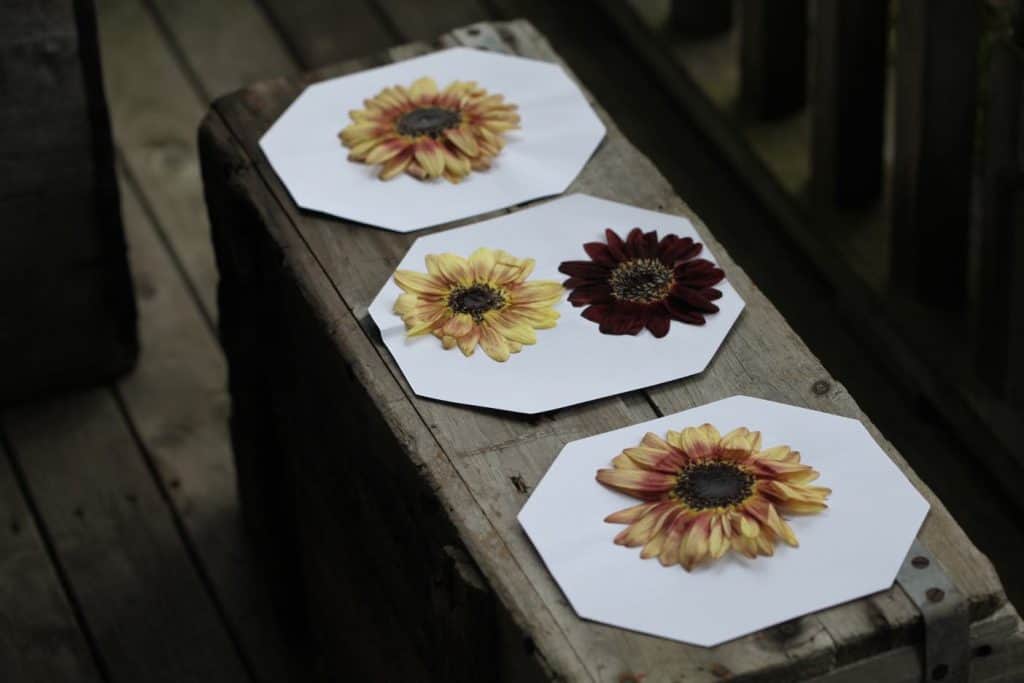
sunflowers pressed for twenty four hours- a few more weeks to go
Pressing with a flower press is by far my very favourite way to press flowers. The resulting pressed flowers are pristine and safely pressed.
It just takes a little more time than some other methods.
If you are not in a rush, consider this method!
3. Press Flowers With Cardboard And A Weighted Object- Another DIY
If you don't have a book, and you don't have a flower press, you can still press flowers.
All you need are the inside components of the flower press, namely:
two pieces of absorbent paper
two pieces of cardboard
and of course some flowers
You will also need a heavy object to place on top of this setup, such as a stack of heavy books, or a flat heavy object with a wide base.
I considered using my printer as the heavy object. It is pretty heavy, has a flat base, and is not at risk of fall or rolling off the pressed flower unit. I stuck some flower filled cardboard units under that location.
I also used heavy cement bricks to lay on some of the flower filled cardboard units. Essentially, any heavy object will do.
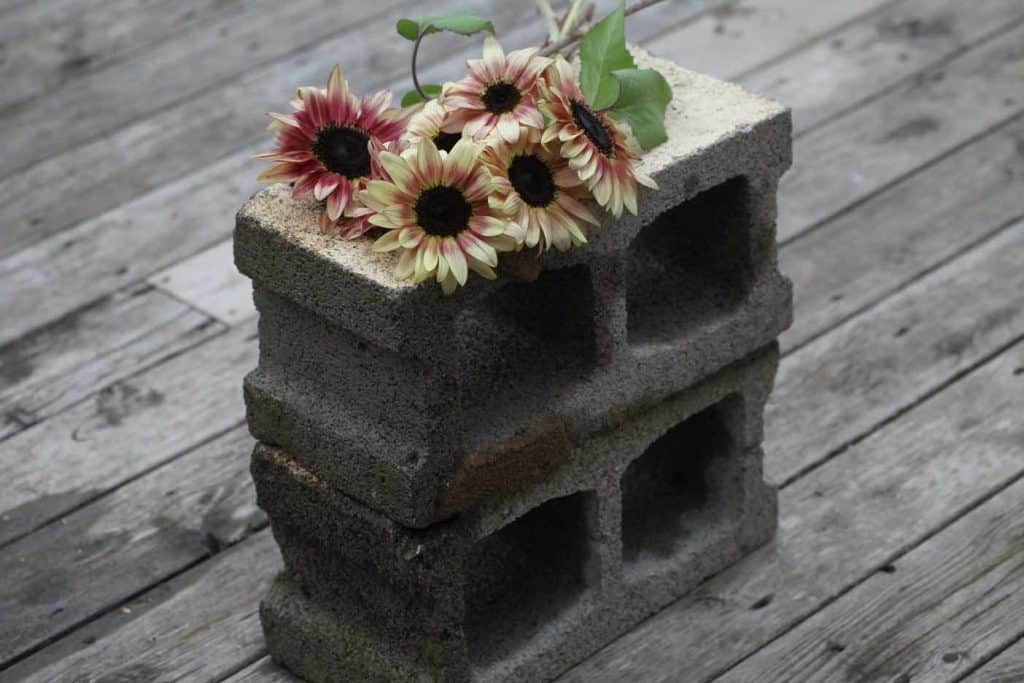
pressing flowers with a heavy object- sandwich the cardboard unit between the bricks- sunflowers are waiting to be pressed
Here is the technique for pressing flowers with cardboard and a weighted object:
Place a piece of cardboard on a flat surface.
Next add a piece of absorbent paper on top of this.
Add your flowers and foliage, placing on top of the paper.
Cover with another sheet of absorbent paper, then cardboard.
You can use elastics to hold this unit together if you wish.
Place under a heavy object in a dry location for several weeks to a month.
It's as simple as that.
Pressing Flowers With Heat
Pressing flowers with heat is certainly one of the quickest ways to preserve flowers.
These techniques will also require some special care and caution, due to the risk of burning the flowers. There are several ways we will look at using heat to press flowers.
These include pressing flowers:
in the microwave
and pressing flowers with an iron
So here are the fourth and fifth ways to press flowers.
4. Press Flowers In The Microwave
Pressing flowers with a microwave press is another way to remove moisture from flowers and foliage in a fairly quick fashion.
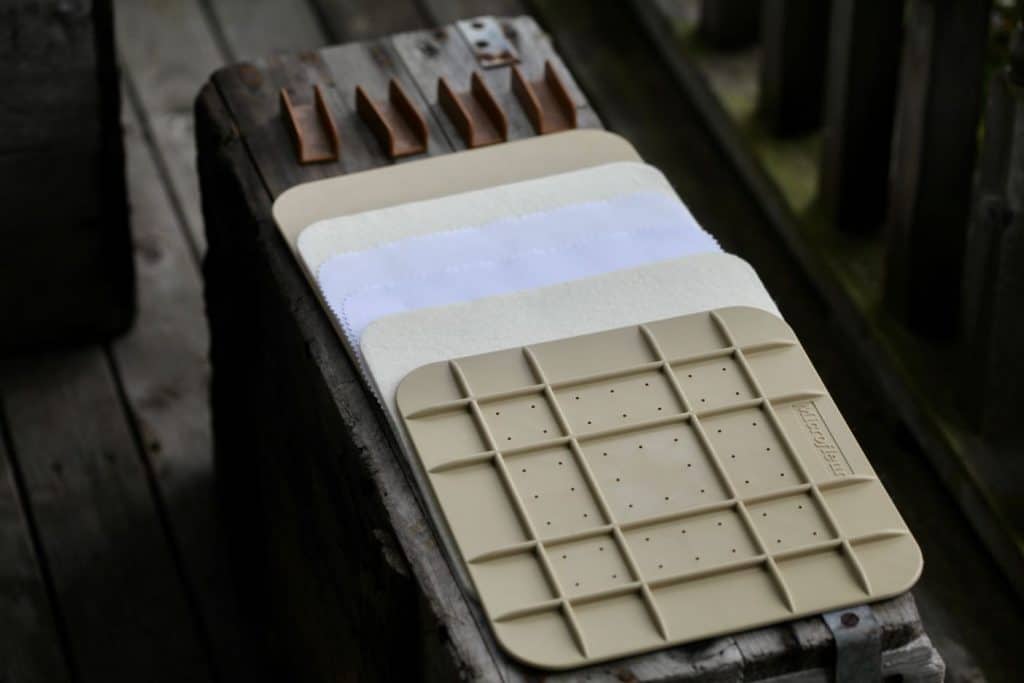
microwave flower press with the inside parts revealed- note the clips at the back
It does take some practice however.
You have to figure out what works best for your own microwave depending on it's power level. You also need to determine the tolerance of the individual flowers and leaves that you are pressing, so there's a bit of a learning curve.
I strongly recommend a ready made microwave press for this project, as they are designed to be microwave safe.
These units can be quite expensive however, and remember, you can press flowers for no cost at all if you use some of the other methods.
All in all, I am glad that I tried out the microwave press, and will experiment with it until I get it right.
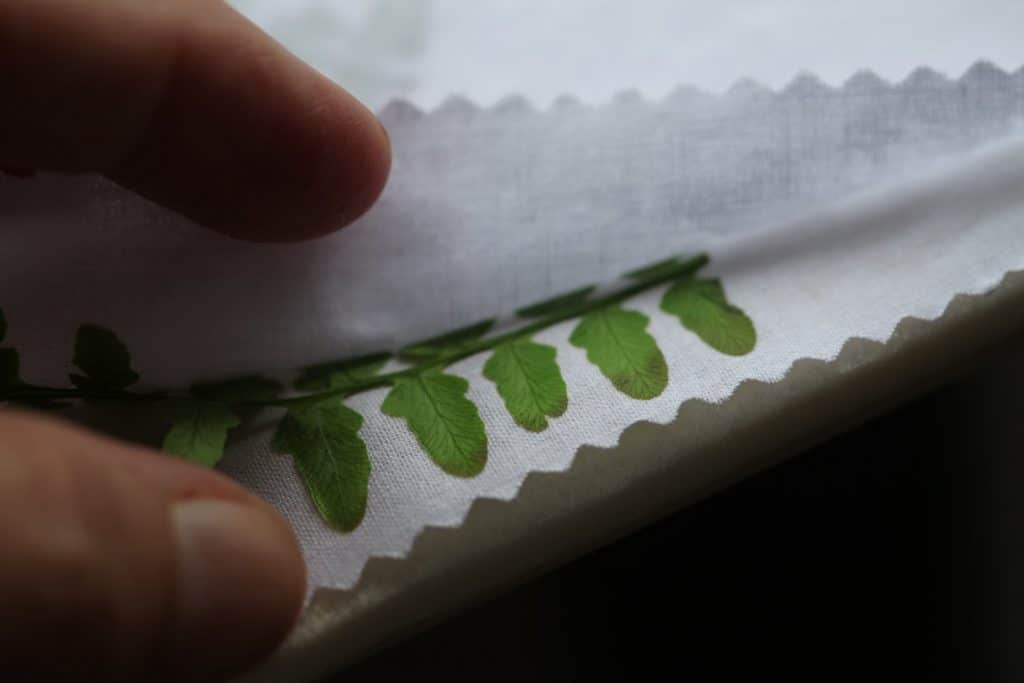
revealing ferns pressed with the microwave press
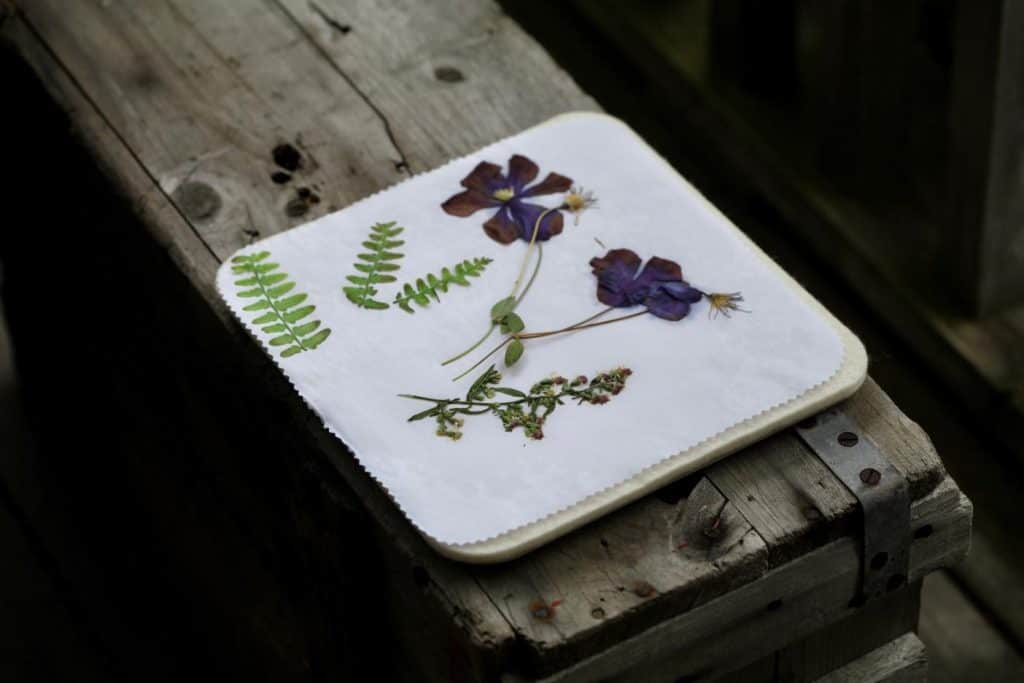
flowers and foliage pressed with the microwave press
Microwave Press:
The press itself came with two outer sides which are safe for microwave use.
The insides consisted of two thick heat absorbent pads and two cotton pads.
The absorbent pads were to be spritzed with water when first used.
Here is the technique for pressing flowers in the microwave:
Open up the microwave press.
Place one of the outer sides on a flat surface, add an absorbent pad, and then add a cotton pad.
Place the specimens for pressing on top of the cotton pad.
Then layer up again with the second cotton pad, absorbent pad, and outer surface.
With the flowers safely sandwiched in the middle, clip all units together with the clips provided.
The next part is totally dependent on the strength of your microwave and the type of flowers that you are pressing.
It involves microwaving in short bursts to remove the moisture from the flowers. The flowers should be checked between bursts, as it's easy to overdo it.
I found this process very interesting. The flowers and leaves definitely flattened out quickly to paper thin consistency.
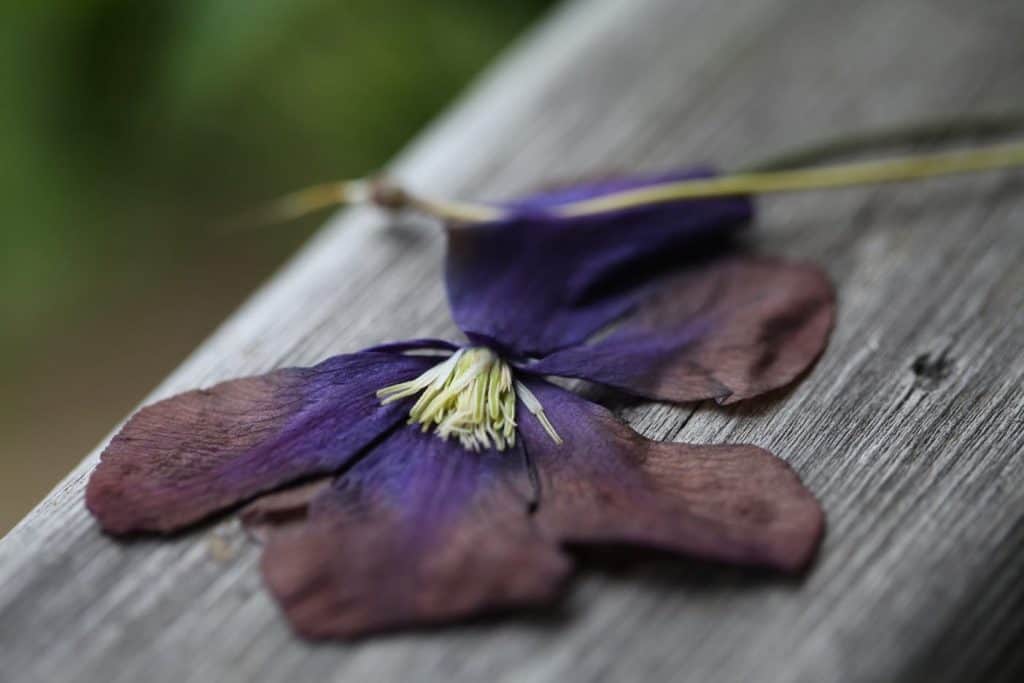
the clematis bloom may have burned, but the look is intriguing
They were somewhat fragile at the beginning when first removed from the press however. Expose them to the air to dry a little further, and then dry press them for a day or two until they are completely dry and rigid.
5. How To Press Flowers With An Iron
Pressing flowers with an iron can definitely be done, however it is the least predictable method of pressing.
With some experience, and knowing your iron and flowers, you may be able to master this project.
Pressing with an iron is fast and the moisture in the flowers is easily removed.
The problem lies with getting the right heat without burning your specimens.
I have to admit that this was my least favourite technique, although it was only my first time using this method of pressing.
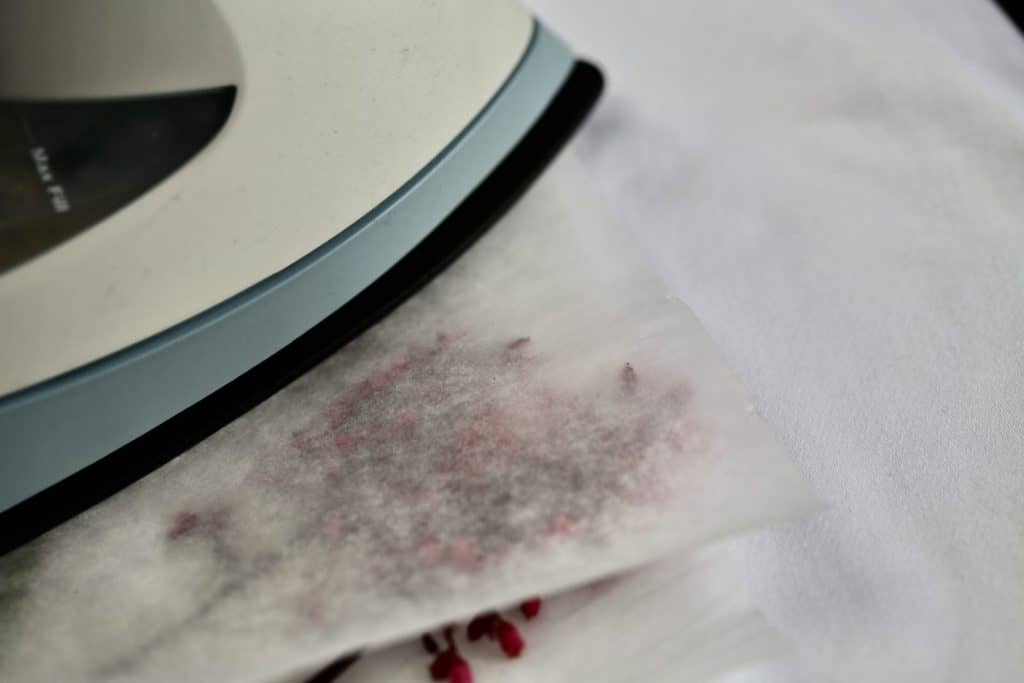
pressing flowers with an iron on low heat
Here is the technique for pressing flowers with an iron
Cover your ironing board, as the flower juices can make quite a mess and stain your board.
Place the flowers between two pieces of absorbent paper, then sandwich these between heat absorbing parchment paper.
Press this unit with a firm object, such as a book, to start the flattening process.
Then press with an iron on low heat for approximately ten seconds.
Allow to cool for the same amount of time, then press again.
Repeat the process until the flowers are dried.
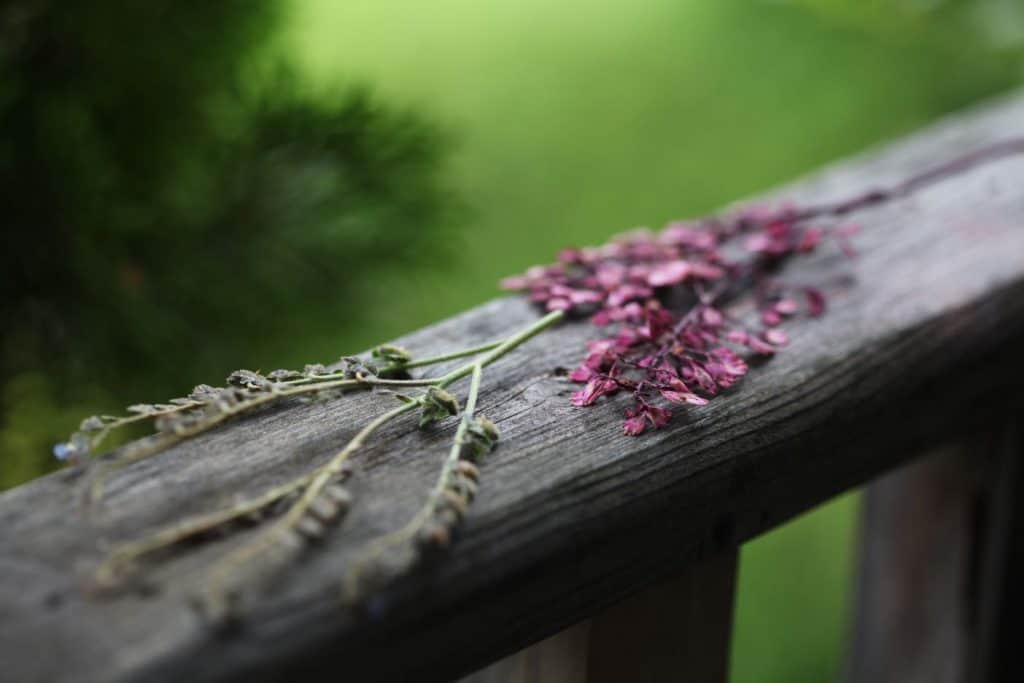
these flowers were pressed with an iron- they did not tolerate the process well
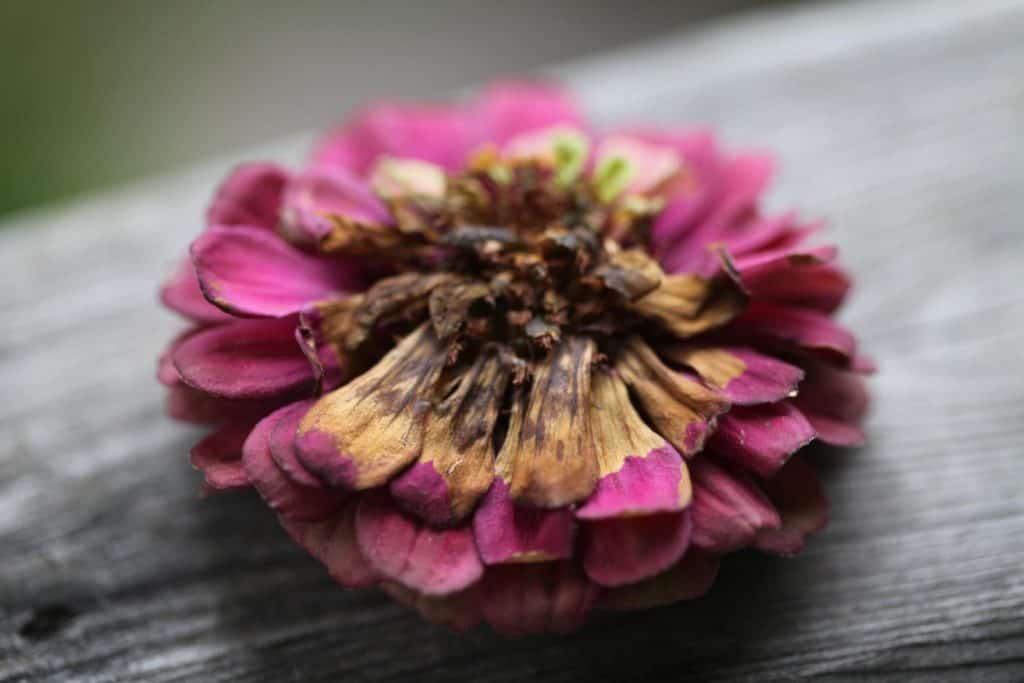
another flower pressed with an iron- notice the burn mark even before pressed flat
This process definitely requires some practice. I found it hard to get a balance between getting that pressed look and totally cooking the flowers.
It will take some practice but is definitely doable.
How Long Do Pressed Flowers Last?
Pressed flowers can last for years with a bit of extra care.
Make sure to keep them out of sunlight, and to store in an area free of moisture and humidity.
To keep them fresh and free of dust when on display, store under glass, or blow with cool air gently from a hair dryer.
Storage Of Pressed Flowers
Once flowers have been pressed and dried, they can be stored until ready to use.
Place them carefully in containers or large envelopes, storing in layers separated by tissue paper.
Remember that they are fragile, so store with care and handle them gently.
Can You Press Dried Flowers?
Dried flowers cannot be pressed, because the moisture in the flower tissues of dried flowers has already been removed. Dried flowers would shatter or break apart if you tried to press them.
The best flowers to press are those that are freshly picked and in their prime. There is lots of moisture in the tissue of fresh flowers, allowing them to be pressed without breaking apart. They are more flexible and able to withstand the process of being pressed.
How To Press Thick Flowers
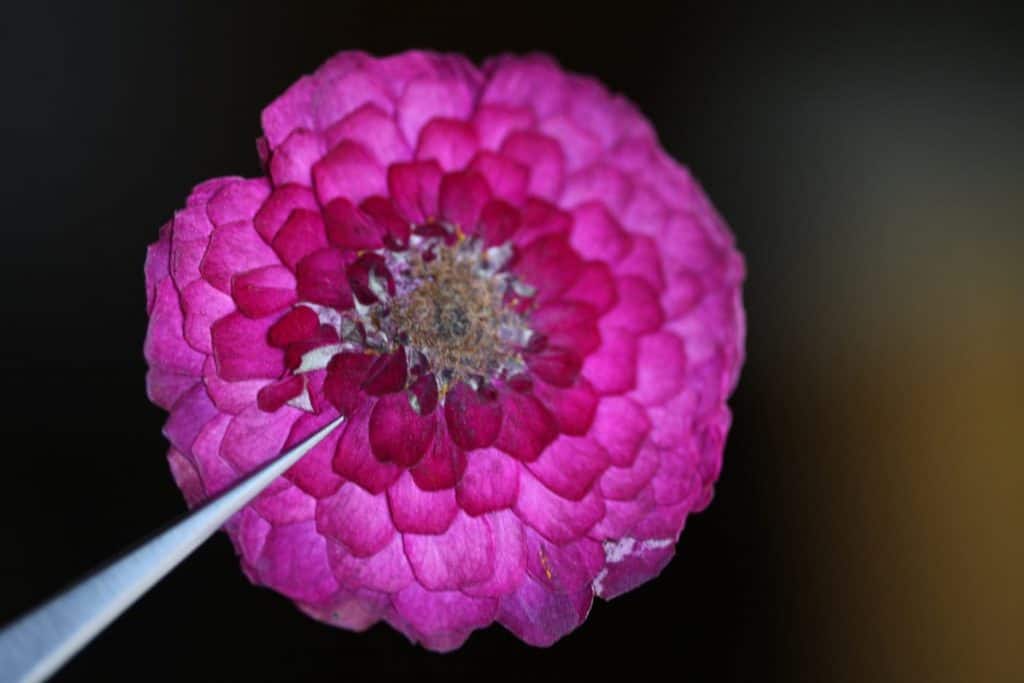
pressed zinnia bloom, held with reverse action tweezers
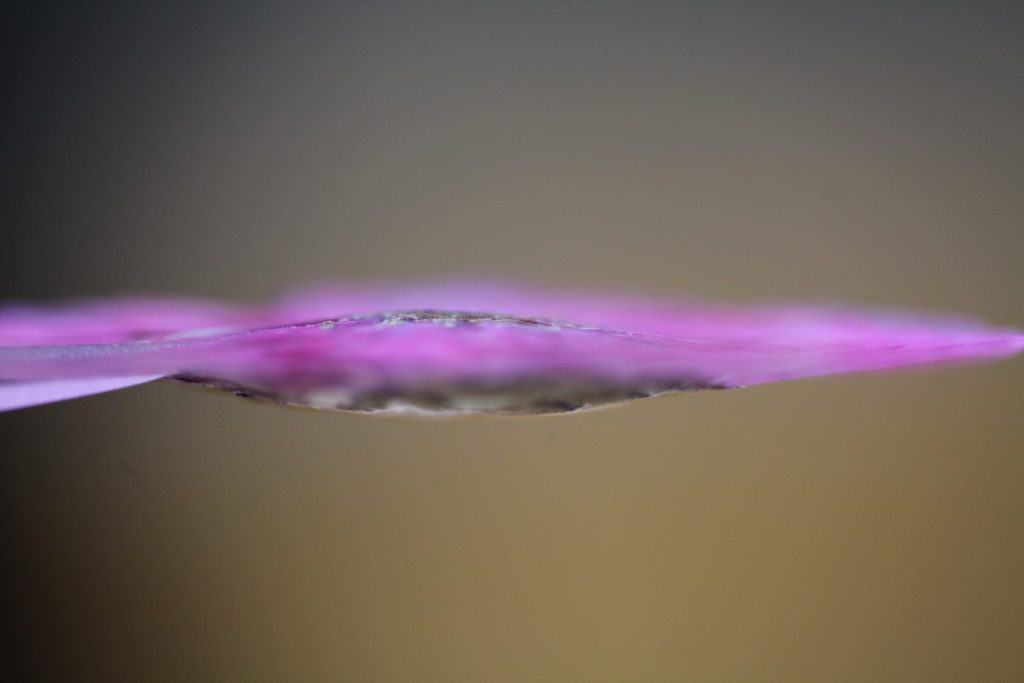
side view of pressed zinnia bloom- it's quite flat
Thick flowers can be pressed, although it is sometimes easier to remove the centre portion of the flower before pressing to remove it's bulkiness. If you do remove the centre parts, try pressing them down separately, as they may still press quite beautifully.
As well, if the flower is very large and thick, consider pressing individual petals or blossoms from the larger flower. Break it down into smaller parts, which can still be used in pressed flower projects.
Some examples of the large clusters of flower blossoms include lilacs, hydrangeas, and viburnums. Each individual blossom can be pressed and preserved this way.
Another helpful tip that some may not be aware of is reducing the size of some flowers by cutting them. Cutting a thick stem, halving a bud, and reducing a flower to half it's size is a great way to enable the pressing of thick flowers and foliage.
How Do You Keep Pressed Flowers From Going Mouldy?
One of the factors for mould development is moisture.
There are a number of different considerations to help reduce the moisture on pressed flowers:
Press the flowers when they are fresh, but dry ( free of dew or rain droplets).
Take special care with high moisture flowers, knowing that they are more at risk. These flowers will require extra drying time.
Keep away from high humidity areas.
Ensure that all the moisture is out of the flowers before they are stored away.
Keep layers of pressed flowers apart while in storage, by layering with tissue paper between layers of flowers.
Try your best, knowing that there may still be some loss.
It is still worth the effort.
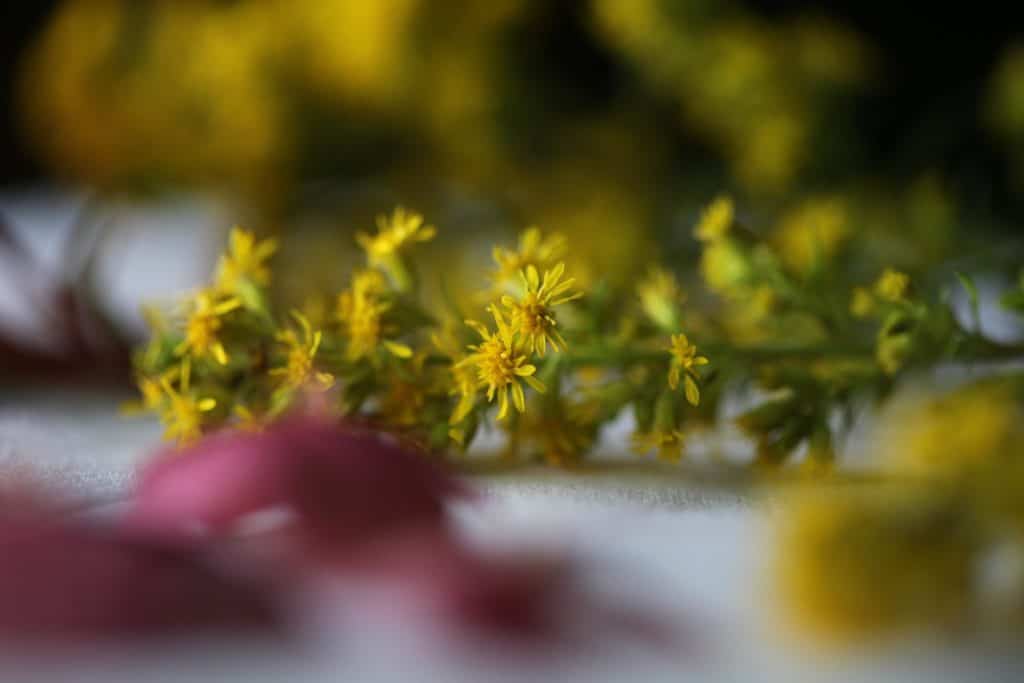
yellow wild flowers waiting to be pressed
How To Press Flowers Without Turning Brown
Keep in mind that most often, the pressed flowers that turn brown are those with higher moisture content. To preserve flowers without turning brown, select the types of flowers which will be less apt to do so.
However, this may not always be possible, as you may be trying to preserve a special bouquet from a special event or occasion that you wish to preserve as a memento.
In this case, try to chose a technique to press that will preserve the flowers in their freshest state. As well, follow any tips that would help to reduce moisture during the pressing process.
If you have the time, allow the flowers to dry naturally while pressing, without the application of heat.
Heat truly does make pressing more risky for burning the flowers. When flowers are burned, they turn brown.
How Do You Display Pressed Flowers?
There are so many creative ways to display pressed flowers.
Pressed flowers can be incorporated into many different types of craft projects and tasteful art displays.
If pressing a sentimental bouquet of flowers, the final product can be displayed in a shadow box or between glass in a picture frame, and hung on the wall.
You can create wonderful homemade cards and bookmarks using your very own pressed flowers.
Consider making homemade paper like fellow blogger over at My Journey To Green. She made homemade paper from recycled paper, then went on to create special projects with her paper and pressed flowers and foliage.
Make cards with homemade paper and pressed flowers for a unique and special touch.
Favourite Pressing Techniques
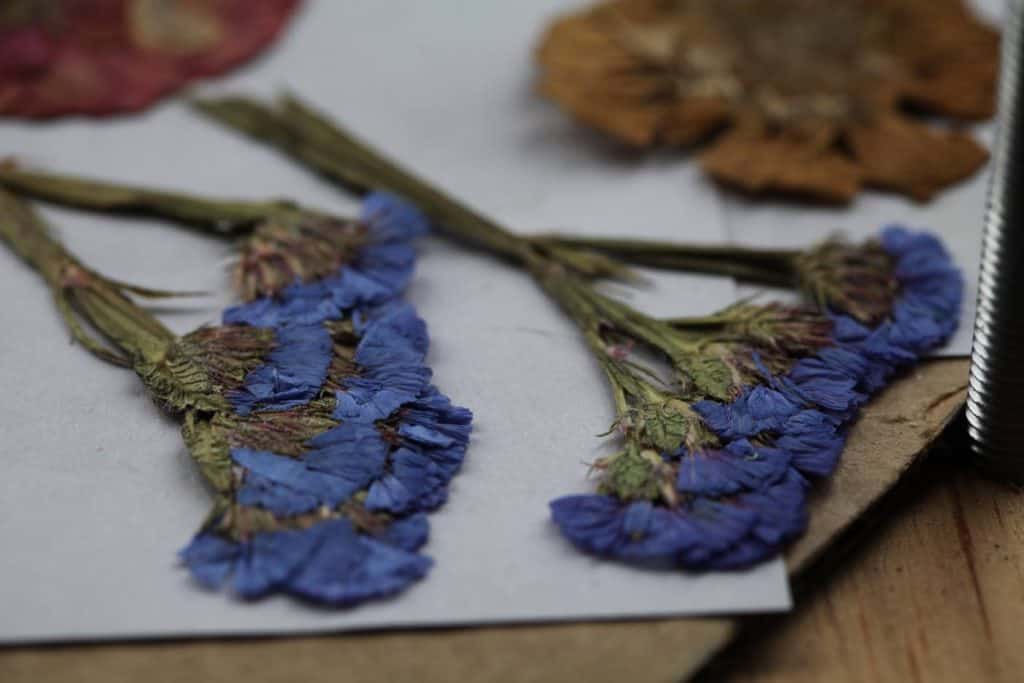
pressed flowers including statice and zinnias
My very favourite method of pressing flowers is with my own DIY flower press. The reason for this is the thickness of the press itself, and the power behind the pressing system.
The store bought flower press was fun, though not as sturdy or efficient as the DIY press. It tended to bend somewhat with thicker blooms, however still works well.
The book method is my next favourite. It's a classic, and it works.
I love the heavy object method, just because it's so easy and inexpensive, so that's next on the list.
The final two are the heat applications, with the microwave press first, then the iron press.
To be frank, I probably won't be using the iron to press my flowers again, as I love the other methods, so will likely choose them.
Have fun pressing flowers. It's an amazing way to preserve your blooms!
Have you tried pressing flowers? Be sure to leave a comment below to share your experience!
OTHER POSTS YOU MAY LIKE:
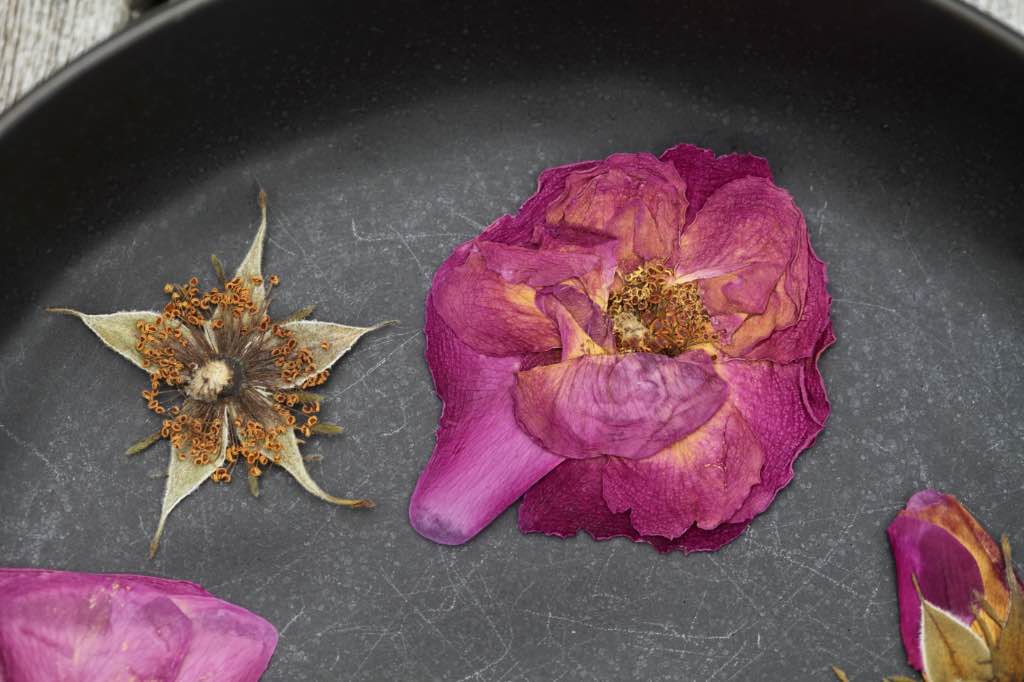
HOW TO PRESS ROSES- PRESERVE YOUR BLOOMS
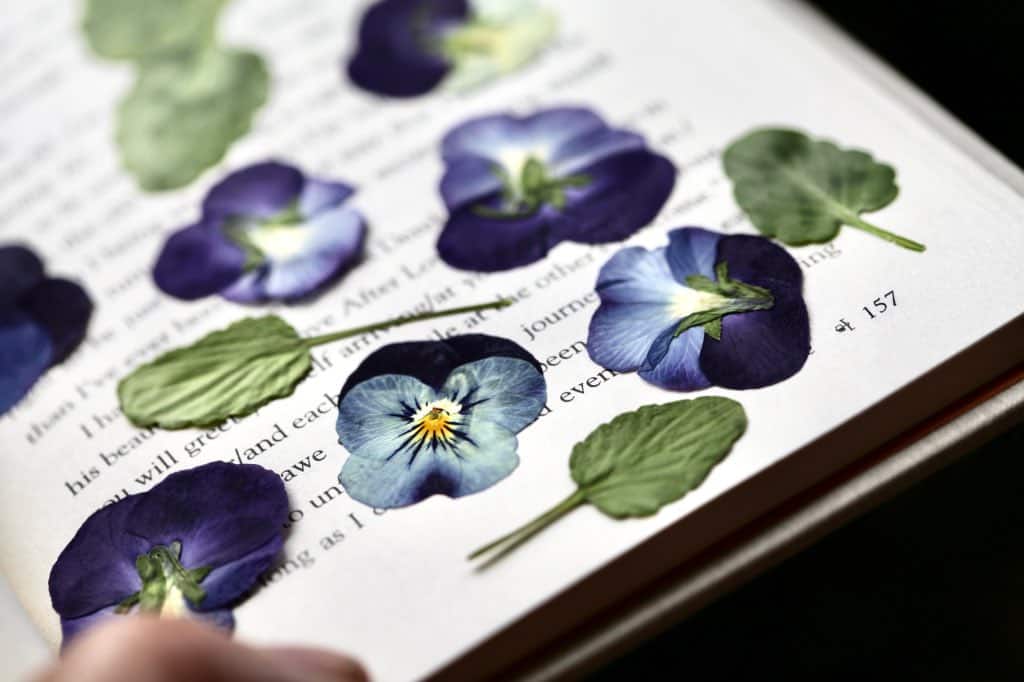
HOW TO PRESS PANSIES AND VIOLAS- PRESERVE YOUR BLOOMS
PERENNIAL BACHELOR BUTTONS IN THE GARDEN
Other Dried Flower Posts:
Flower Cutting with Great-Grandma {Montessori on the Go} – Montessori Monday
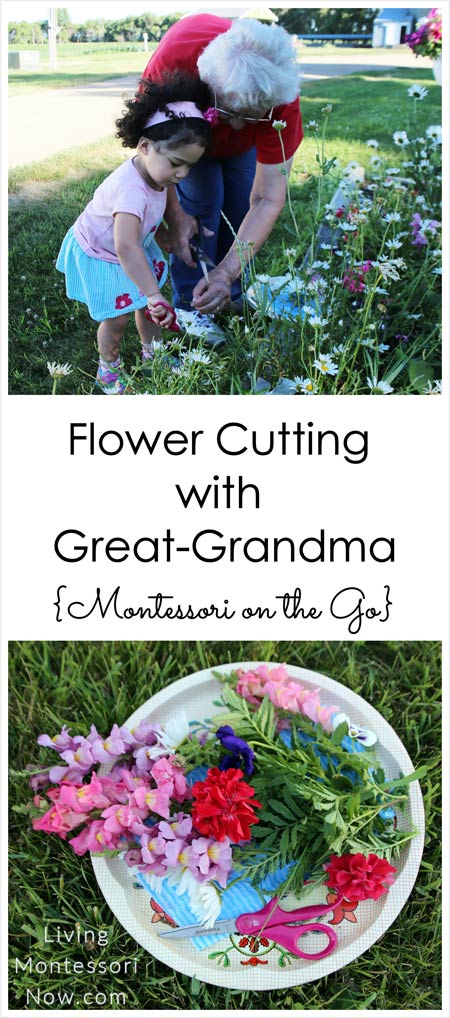
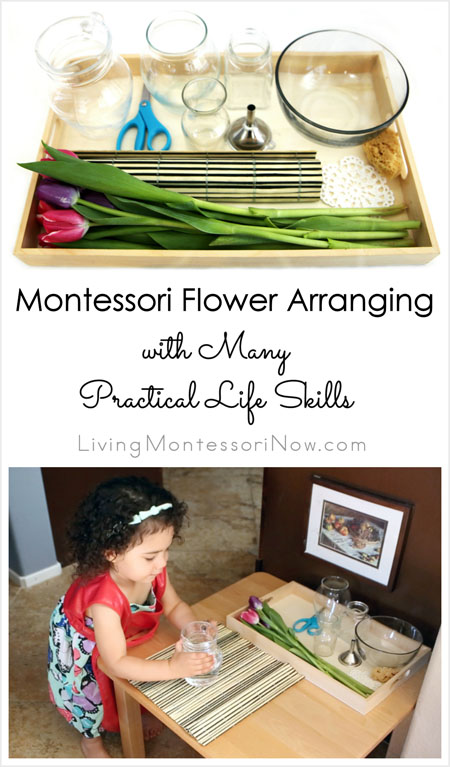
Montessori Flower Arranging with Many Practical Life Skills
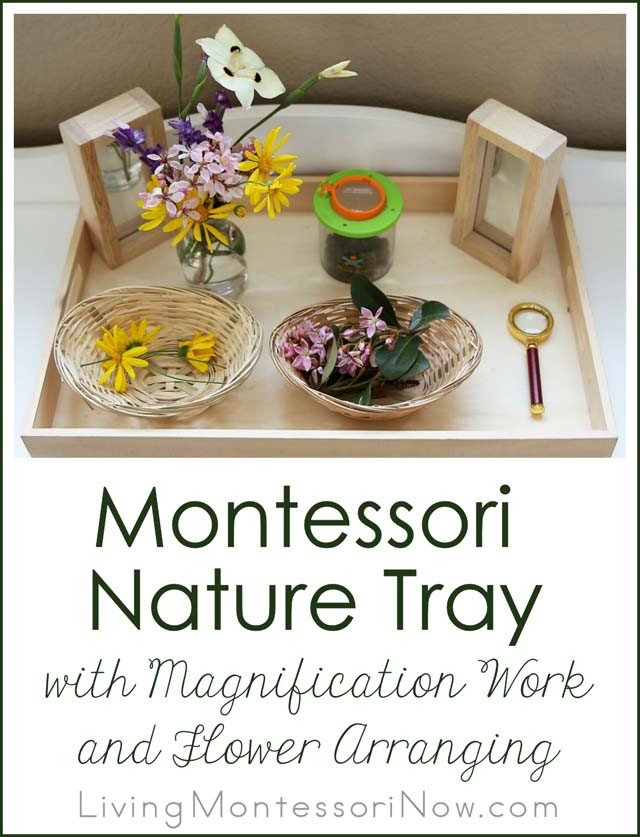
Montessori Nature Tray with Magnification Work and Flower Arranging
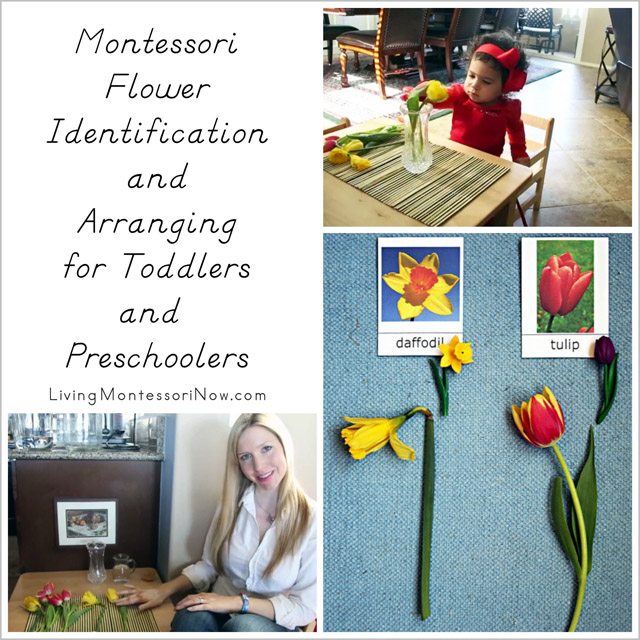
Montessori Flower Identification and Arranging for Toddlers and Preschoolers
THINGS TO MAKE OR DO
Outdoor Sticky Mural
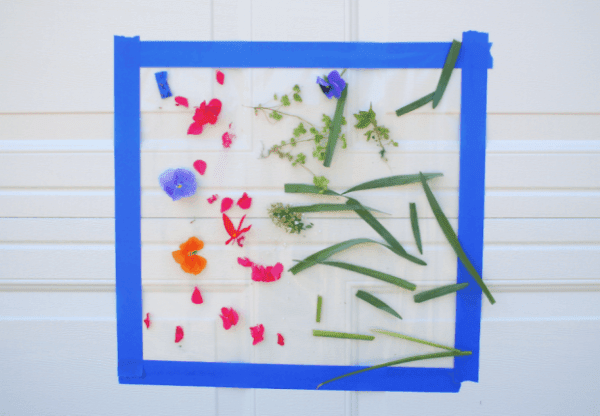
Nature is art, and you can also create your own custom art with elements from nature! I can Teach my Child has a lovely idea for an outdoor mural where toddlers can stick leaves, petals and whole flowers in any pattern of their choice. You’ll need contact paper for this activity, which you can stick to a wall or solid gate outside. Hand the children the materials and let them create art!
Threading Garland
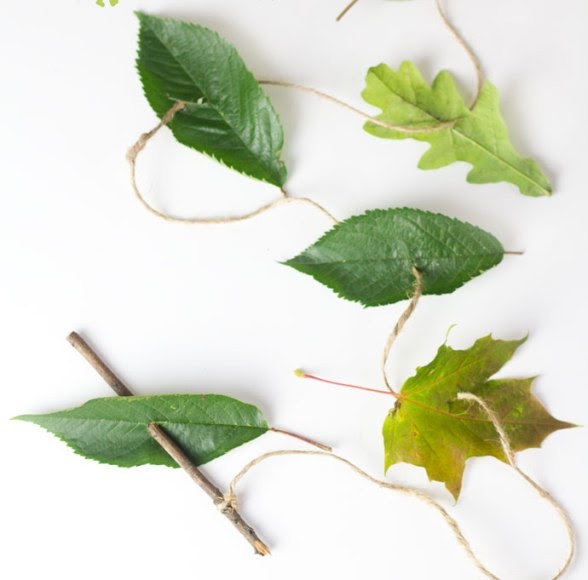
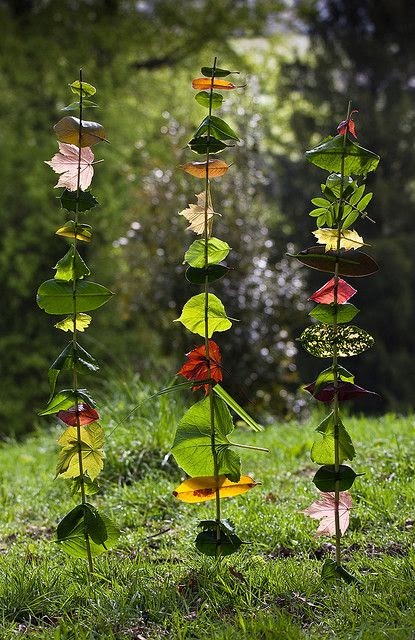
If you’ve tried threading beads with your little one, then this one is sure to be a hit! Kids Craft Room has a fun gross motor activity that involves 100% natural materials. Make a twig ‘needle’ if you don’t have a needle, tie on some twine ‘thread’ and you’re all set to thread your way through some flowers, herbs or leaves! This project has a Hungry Caterpillar feel to it, so reading the book along with this is a good idea.
***We often made mobiles from shorter strings of leaves or flowers. Or Hope hung some from a tree that her grandmother sat near. She had a hard time getting around so Hope strung all the different types of flowers from her yard. She hung them under a shady tree: that way my mom could see them all at once and they would last longer. When they started to get wilted Mom had me hang them in her room to dry.
Nature Sensory Bag
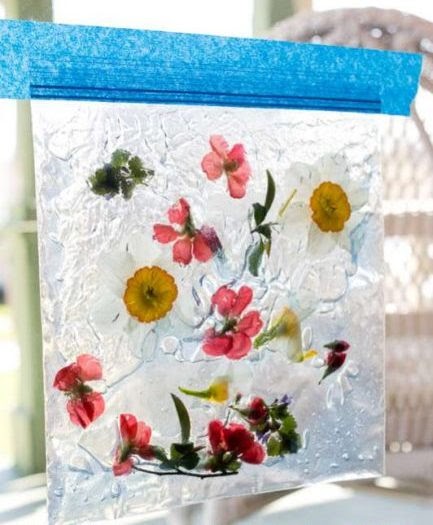
Sensory bags are a great way for babies to explore and learn to focus their attention. This sensory bag from Hands On as We Grow also doubles as a sun catcher – just stick it on the window! Gather the materials by doing a scavenger hunt or a nature walk and use double bags especially if you’re dealing with over-excited toddlers or babies! You can focus on using different textures here, so it’s more fun to squish and move around!
Botanical Sun Catchers
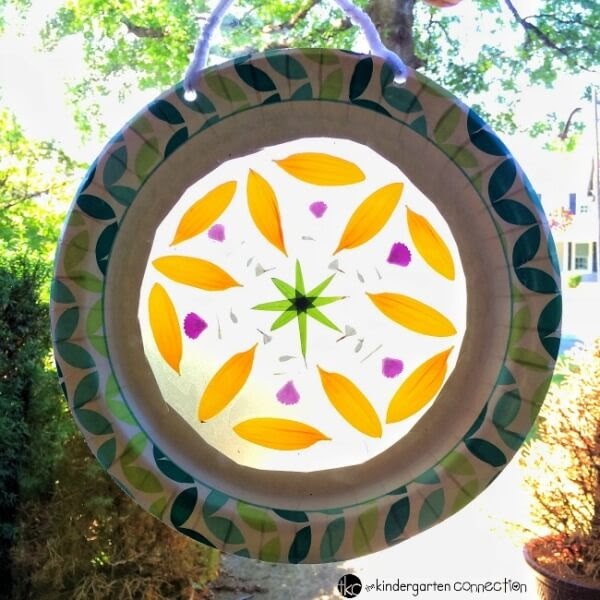
This activity from The Kindergarten Connection is more of a big-kid activity, but toddlers can do it with help from Mom or Dad. With paper plates, self adhesive transparent sheets and lots of pretty petals and leaves, you can create a beautiful sun catcher to hang by your window. What’s more, as the sun shines through the leaves, kids can clearly see the veins and other parts of the leaf and marvel at Nature’s attention to detail!
Hope's Favorite-
Nature Sensory Bottles
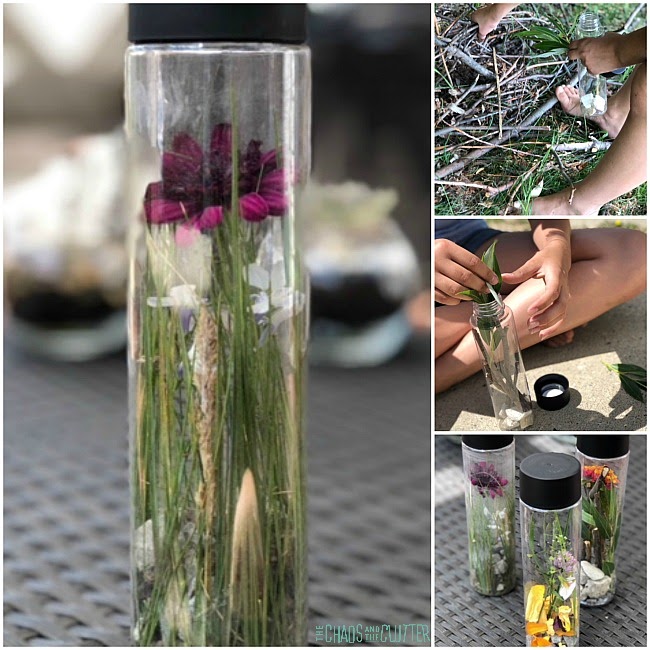
The sensory input on this activity happens throughout the activity. Each individual nature sensory bottle is unique.
Begin with a trip outside to explore nature. Bring a plastic water bottle with you. Follow your child's interest and suggestion.
NOTE: If you are using an expensive bottle- hold onto the lid. The kiddos are sure to loose it!
If they find things that catch their eye, they can add them to their sensory bottle. They can either gather all of the items before and add them to the bottle later or they can add the items as they find them.
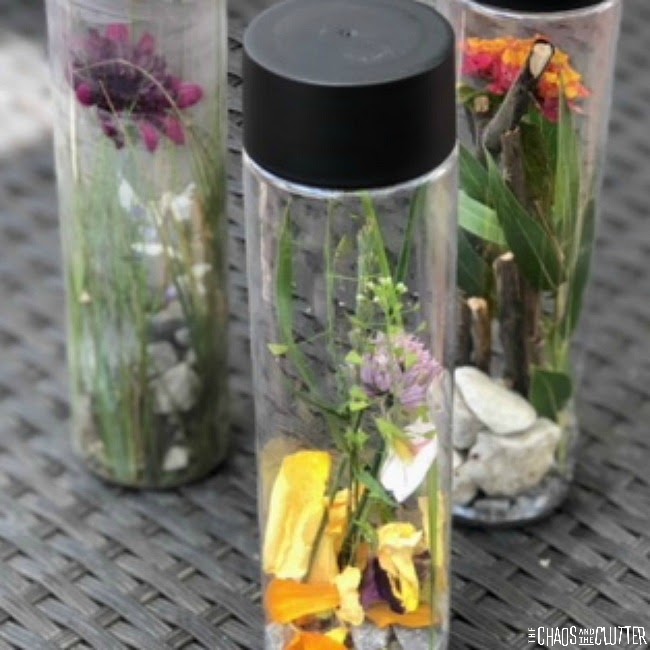
My kids really enjoyed creating their natural sensory bottles. They enjoyed climbing through the trees looking to discover items to include. I love how each one of them came out so differently and yet all were lovely. We filled ours in the spring and the colors were so beautiful. The flowers, flower petals, and purple clover contrasting against the white rocks, green leaves and stems, and brown twigs made them quite striking.
Nature Sensory Bottle
Materials needed:
empty unbreakable bottle (I used 1 liter clear soda bottles)
items found in nature
Instructions:
Go on a nature walk or hike to gather items for your nature sensory bottle. As you are outside, ask your child questions designed to help them become more aware of their sense.
“How does that rock feel?” or for younger kids, “Does that rock feel rough or smooth?”
“What do you smell?”
“Can you feel the wind?”
“What sounds do you hear?” or for younger kids, “Can you hear the birds chirping?”
“What colors or shapes do you see?”
As they gather items to fill their bottle, have them describe the items to you. See if they can incorporate their senses into the descriptions. Really, any item they find can be added to the sensory bottle, so this list is not comprehensive.
When complete, place the lid on the bottle. Some of the items in these sensory bottles can mold over time due to moisture, so the bottles only keep for a few weeks. Or you can fill the bottle up and empty it right away and head back out on another nature hike to fill it again.
What to put in a nature sensory bottle:
sticks
rocks
pussy willows
leaves
snow
water
flowers
flower petals
weeds
pebbles
seeds
dirt
mud
sea shells
pine cones
pine needles
feathers
herbs
grass
acorns
sand
berries
insects (only if you poke holes in the bottle of course)
wheat
You can do this sensory activity in any season. Encourage interest in the different colors and textures as the opportunity arises. The nice thing about that is that the natural sensory bottle you make in winter will be very different from the one you make in spring. My favorite season is fall because of the colors of the leaves. They make beautiful sensory bottles!
Nature Portraits
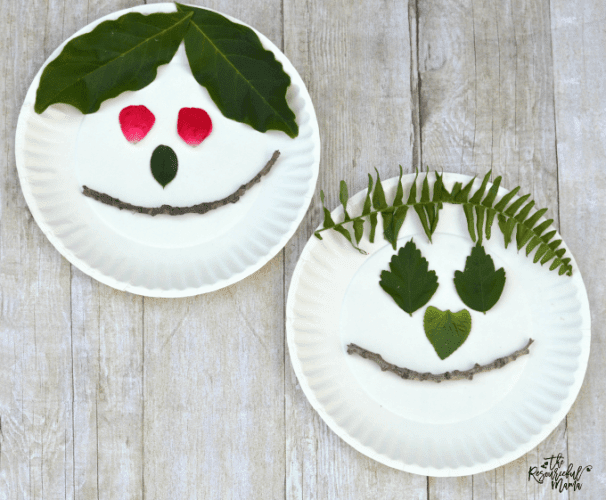
Does your toddler like making faces? Well, then this activity from the Resourceful Mama is perfect for her! With paper plates and lots of leaves, flowers, berries and more, you and your toddler can make some hilarious looking faces! Gather twine or long grass for hair and go crazy with some weird hair styles! Just hand the materials to your little one and let her create a face to her liking.
Nature Collage
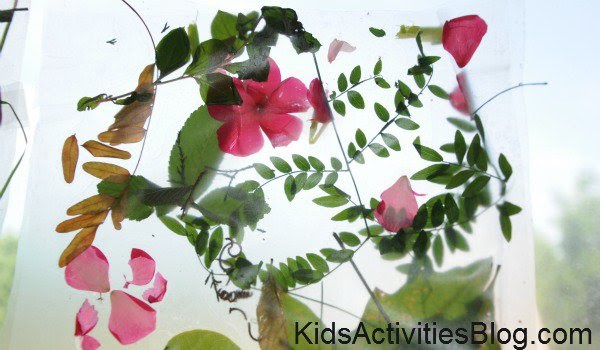
Collages are among the easiest craft projects for toddlers and kids, and this one from Kids Activities Blog is no different! However, what’s special here is that you use only natural elements to make the collage! They have used contact paper to make the collage do double duty as a sun catcher, but you can just use a sheet of thick paper or card stock as well. Use fresh flowers or dried ones – they’ll all look pretty!
Turn a Family Scavenger Hunt into a Nature Mobile Fall Craft for Kids
Today we have a fun nature mobile fall craft for kids that doubles as a great way to get your family active. Strap on your hiking shoes and get ready to forage through the wilds to get the supplies for this easy craft! Winter is on its way, my friends. There is no denying it. The temperatures are dipping and some of us have to turn on our heat at night! Soak up the last of the warm remnants of summer and spend some time outdoors before the icy temps hit. While you’re out there, keep an eye out for some great supplies in nature for this craft!
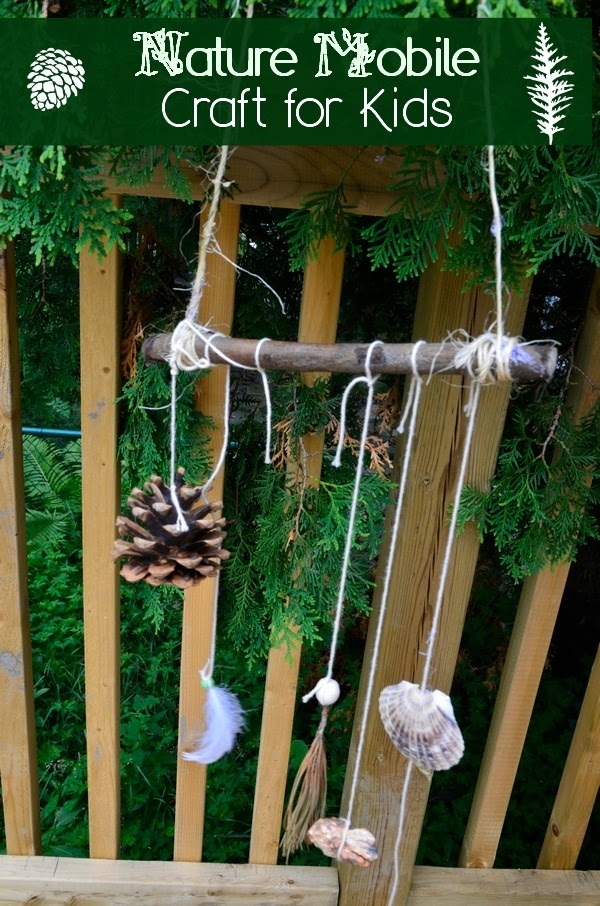
WHAT YOU’LL NEED:
Pinecones, seashells, feathers, cool rocks and any other natural elements that you find on your journey.
Twine or other natural-looking rope
Beads, if desired, preferably in browns, greens and other forest colors.
A thick stick or twig
SUPPLIES FOR CITY DWELLERS
Live in the city and can’t get to nature? We don’t want to leave you out! You can find most of the supplies at a craft store. Take a look at our suggestions.
HOW TO MAKE IT:
Start by gathering your supplies for this fall craft for kids. This is the really fun part! If you live in a woodsy area, you could find everything you need in your own front yard. For the seashells, dig into your family memory box from past trips to the shore. Don’t have seashells? No big deal, you can really use any natural elements here. The key is to make it meaningful to your family.
Lay everything out in front of you so you can see what you have. Take the thick twig and place it at the top of your surface. Arrange your other elements until you have everything where you want it.
Cut your twine in varying lengths, enough pieces for each item.
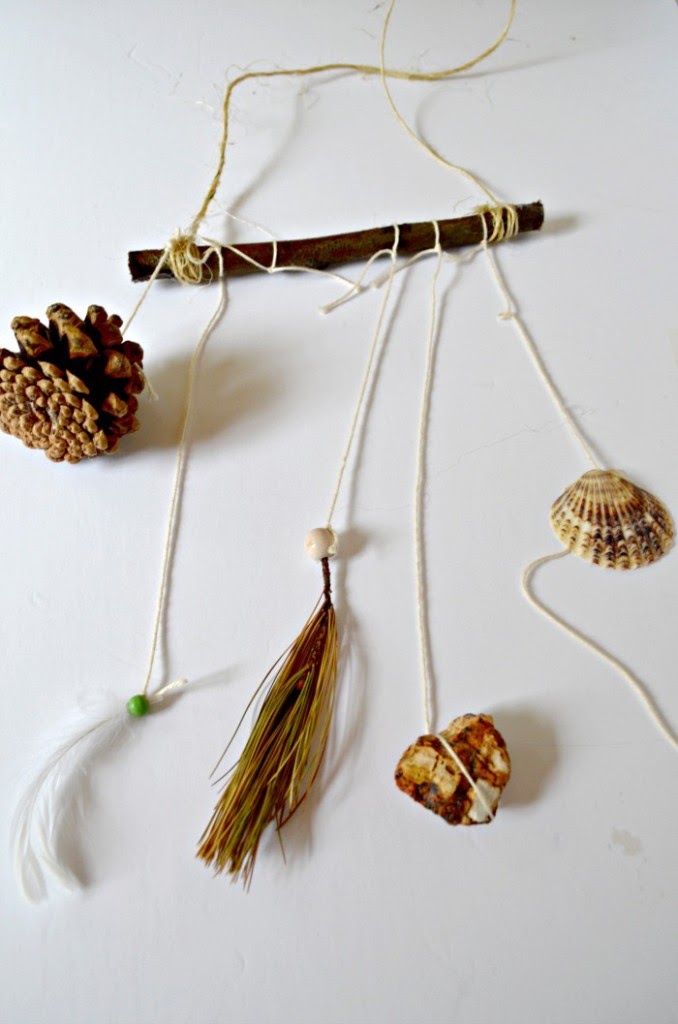
4. Use the twine- and beads, if desired- to attach each piece to the thick stick.
5. Create a hanger by tying the twine to each ends of the stick, with enough give in the middle to let it dangle from your hook.
6. Hang your nature mobile someplace where everyone can admire it!
That’s it! Easy, right? You could take this nature mobile fall craft for kids in so many different directions. Make one each season and bring it out to celebrate the change in weather. Make it a new tradition: when you go on vacation, search for items for another mobile. The great thing about this fall craft for kids is that it has the potential to bring the entire family together.
DIY Pressed Nature Suncatcher Craft for Kids
This activity was inspired by our DIY Nature Slides for the light table. It uses simple materials and not only teaches kids about the environment in their area but it’s also a fun activity to work on fine motor skills.
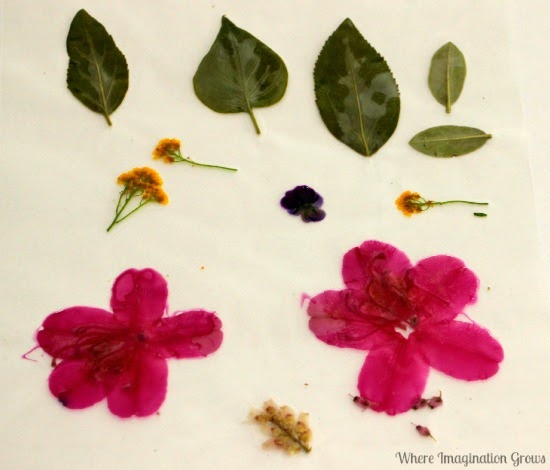
Materials:
Flowers/leaves from your yard or local park
Laminator
Laminating pouches
String
Scissors
Hole punch
Tape or suction cups
Start this activity outside by collecting flowers and leaves from your yard or local park. My daughter calls this part a “nature adventure” as we take magnifying glasses and bag for our finds with us and walk around the neighborhood. It’s a great way to begin discussions about local plant life and the life cycle of plants.
Once we collected a few different types of flowers and leaves we took them home and laminated them.
For this activity, we just laid the flowers on the laminating pouches and ra, cut off the excess stems, and sent them through the laminator. If you have more time I’d recommend pressing the flowers first but my daughter didn’t want to wait a week or two to see her nature suncatchers so we just did them as is.
Wax Paper Pressing Method
One of the most common ways to preserve leaves is by pressing them between wax paper.
What You Need:
Leaves
Wax paper
Thin towel or paper
Iron
Ironing board
What You Do:
Place some leaves or flowers or between two pieces of wax paper.
Put a towel or a piece of thick paper over the wax paper.
Press on the towel or paper with a warm iron to seal the wax sheets together. This takes about 2-5 minutes on each side, depending on how moist the leaf is. Once you have finished one side, flip the leaf over and do the other side.
Cut around the leaf, leaving a small margin of wax paper to ensure that it will stay sealed.
Rather than cutting out the leaves, you may want to try to peel the wax paper off the leaves, leaving a coat of wax behind to protect the leaves. Try this on one leaf first to see if this method works for you.
FLORAL PLAY-DOUGH MEDALLIONS
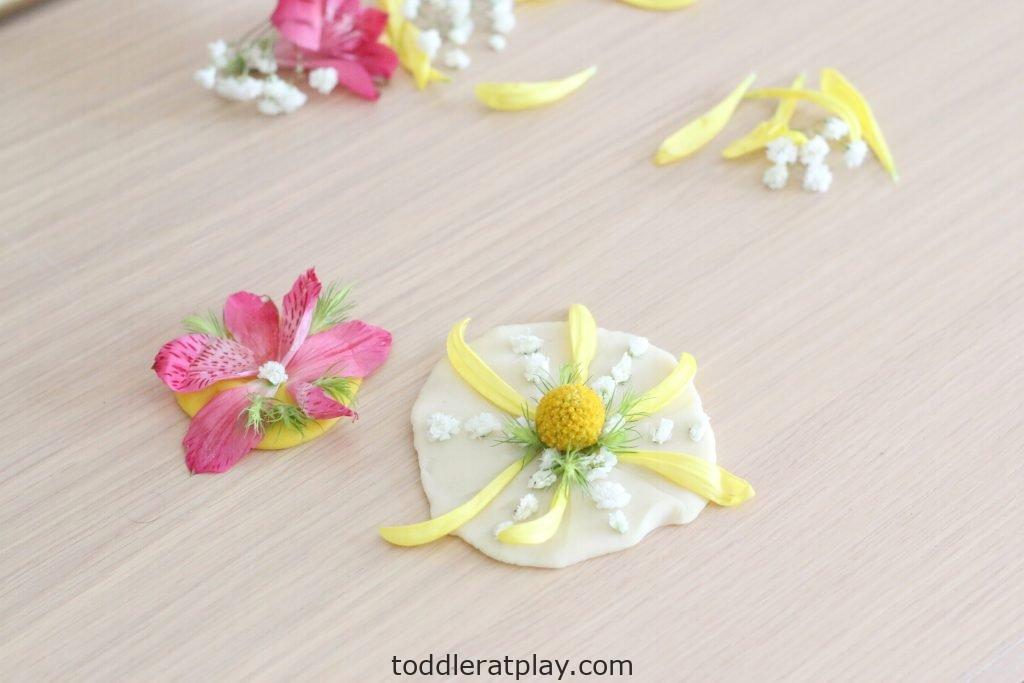
These Floral Play-dough Medallions are a creative way to use play-dough (even old scraps of it) and withered florals and create something beautiful and unique!
MATERIALS:
Flowers (withered, dried, fresh)
Tray with sections
INSTRUCTIONS:
Super simple to set up. Place flower petals, leaves, cut-up stems into each section of a separated tray. Also add the play-dough.
Tip #1- Setting up the petals, leaves, stems and play-dough out on a separated tray gives the kids a visual of all the materials they’re able to use! Super helpful with toddlers as they get to see all the things they’re able to use.
Tip #2- Using a play-dough rolling pin makes it easier to create the medallions perfectly round, but I prefer the kids (especially the younger ones) to use their fingers to spread out the play-dough (fine/small motor skills).
Autumn Mandala Suncatcher
These Autumn Mandala Suncatchers are so pretty, you’ll never believe how quick and easy they are!
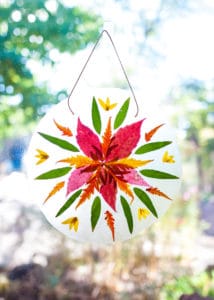
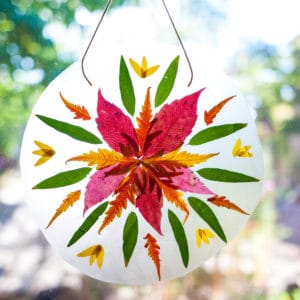
HOW TO MAKE AN AUTUMN MANDALA SUNCATCHER
yield:1prep time:10 MINUTES active time:10 MINUTES
total time:20 MINUTES difficulty:EASY
These Autumn Mandala Suncatchers are so pretty, you'll never believe how quick and easy they are!
MATERIALS
Autumn Leaves
Contact Paper
Yarn
TOOLS
Pencil
Scissors
Dinner Plate
INSTRUCTIONS
1. Collect the supplies and materials. When collecting the autumn leaves, look for fresh leaves and avoid leaves that are dried out or crunchy and falling apart. Find as many different colors and sizes as you can, to create a more interesting pattern.
2. Place a large dinner plate upside down on a flat piece of contract paper. Using a pencil, trace around it the dinner plate. Cut out two identical circles.
3. Remove the backing on the contact paper and lay the circle on a flat work surface, sticky side up. Then choose the leaves you want to use and begin creating a circular pattern, working from the inside, moving out. Get as creative and elaborate as you like! Also, be sure that all the leaves stay on the inside of the circle.
4. Find some yarn, thread, or twine and cut off an eight inch piece. Place one inch of one end on the top of the sticky contact paper and then place the other end of the string across from the first (on the top, about three inches across from the first end).
5. Once your circular pattern is complete, grab the second contact paper circle, remove the backing, and place the circle on top of the pattern, sticky side down. Be careful to keep it as straight and flat as possible, so the leaves remain flat and in place and the edges match up. Using the palms of your hand, with gentle pressure, press the contact paper together and work out all the air bubbles.
6. Trim up the sides, so there are no sticky parts are visible and then grab some tape and hang it in a window that catches a lot of sunshine. Enjoy!
Here are some easy mandala crafts you can try with your children which feature an interesting collection of materials.
Play dough and flower mandalas
HOW TO MAKE NATURE BOOKMARKS
We love these Nature Bookmarks! They're really pretty and easy to make, but they also encourage creativity, reading, and a deeper connection to nature for your child.
MATERIALS
Pressed flowers
Card stock paper
Page from an old book
Contact Paper
Glue
Mod-Podge
Yarn or string
TOOLS
Scissors
Measuring tape
Hole punch
Paint brush
INSTRUCTIONS
1. First, you'll need to collect flowers, arrange them in between two pieces of wax paper, keep them inside a very big heavy book, and leave them alone to flatten and dry for at least a week. It takes about one week to press flowers.
2. Grab a few pieces of thick card stock paper and measure and cut it to 2 inches by 5 inches. You can also add a piece of paper from an old book to give it a little more character. This is optional, but if you decide to do this too, use a piece of paper about 1 1/2 inches by 4 inches big. Then glue it onto the middle of the card stock paper.
3. Once you've prepared your bookmark, it's time to arrange materials onto it. Carefully place your pressed flowers around your bookmark in any design you like.
4. This step is optional, but it will give a very secure hold so the flowers won't shift at all when you apply the contact paper. If you choose to seal with Mod-Podge, you'll need a paintbrush. Then, paint a thin layer of Mod-Podge onto the paper, arrange your flowers, and then paint another thin layer of Mod-Podge over the flowers. Wait at least 10 minutes for it to dry before moving on to the next step.
5. Cut out a piece of contact paper that is slightly larger than your bookmark. Peel off the back and then carefully place the contact paper, sticky side down, on top of your bookmark. Using your fingers, with medium pressure, smooth it out, to release any trapped air.
6. Once the contact paper is securely attached to your bookmark, grab a pair of scissors and carefully trim off the excess contact paper along the sides.
7. Adding a yarn tassel to your bookmark is totally optional, but it adds a really special finishing touch to the bookmarks. You will need to punch a hole at the top of your bookmark and then make a tassel. Follow the steps in our Shamrock Wall Hanging post to make a tassel. Tie your tassel to the hole at the top and your bookmark is complete!
Autumn stained glass
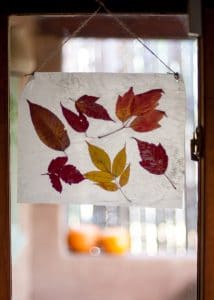
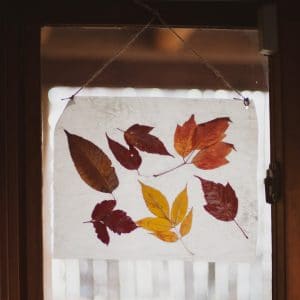
Creating Autumn Stained Glass with your kids is a really sweet and easy way to preserve a piece of fall and make a beautiful piece of art for your home.
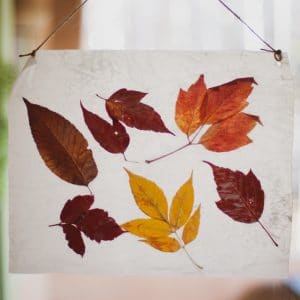
HOW TO MAKE AUTUMN STAINED GLASS
Creating Autumn Stained Glass with your kids is a really sweet and easy way to preserve a piece of fall and make a beautiful piece of art for your home.
MATERIALS
Leaves
Block of beeswax (or wax shavings)
Wax paper
Thin towel
Twine
TOOLS
Cheese grater
Iron
Scissors
Hole punch
INSTRUCTIONS
1. Gather several autumn leaves at their peak, in order to preserve the richest colors possible. Collect your autumn leaves wherever you can: your own yard, at the park, on a nature trail. Gather golden leaves, red, orange, and even green!
2. Lay one piece of wax paper down on a baking sheet covered in parchment paper. Then arrange your colorful leaves however you like on top of a sheet of wax paper.
3. Using a cheese grater and a block of beeswax, grate 1/4 cup of small shavings of wax. Sprinkle the wax shavings on top of the leaves you arranged on the wax paper.
4. Place your second piece of wax paper on top of the leaves sprinkled in wax.
5. Warm up an iron. As it is heating, put a thin towel over the top of the wax paper. Press on the towel with the hot iron to melt the wax and seal the sheets together. This will take about 2-3 minutes on each side.
6. Once you have finished one side, flip it over and do the other side exactly the same as the first side.
7. With scissors, cut the edges of the wax paper to form a square with straight edges.
8. Using a hold punch, create two holes on both top corners of the square.
9. Tie a piece of twine to each hole, so you can hang it up. Then display your "stained glass" in a window so that the colorful leaves catch the light.
18 Outdoor Nature Activities for Kids
Ideas for Having Fun Out in Nature!
Hey, it’s a nice day! Let's go outside and have some fun!
School is starting and schedules get so busy. But the nice weather is coaxing us outside on the weekends and evenings and we have to answer.
Check out these 18 fun-filled ideas that will help you enjoy the great outdoors with hands on nature activities. Choose a few and head outside, what are you waiting for?
18 Outdoor fun activities for the whole family!
Let’s grab the chances we have to get out and enjoy the last of summer and beginning of fall!
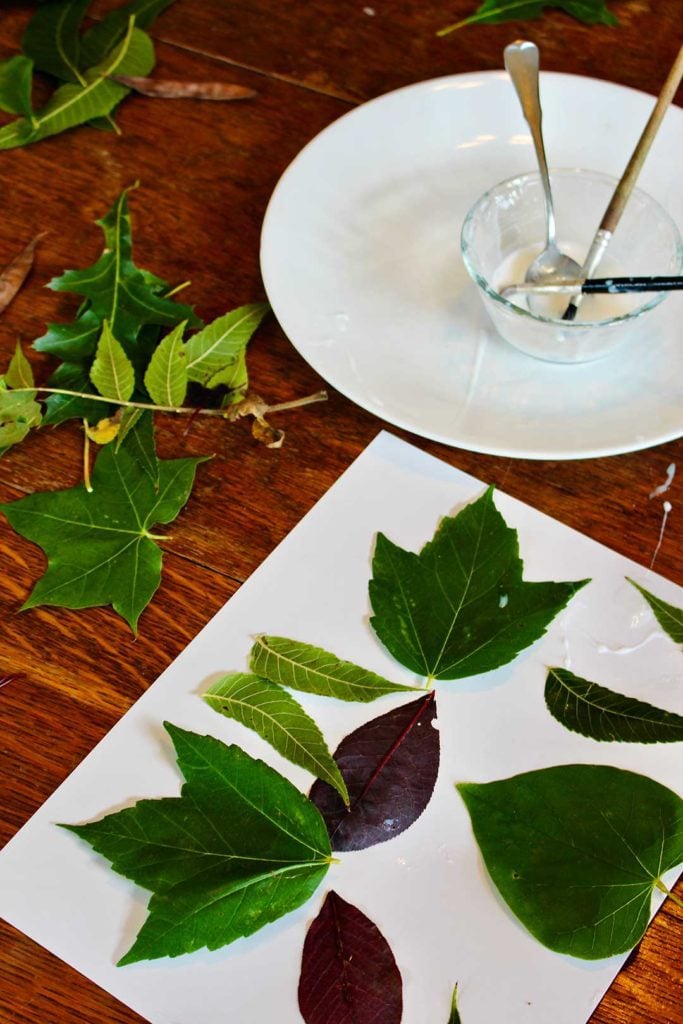
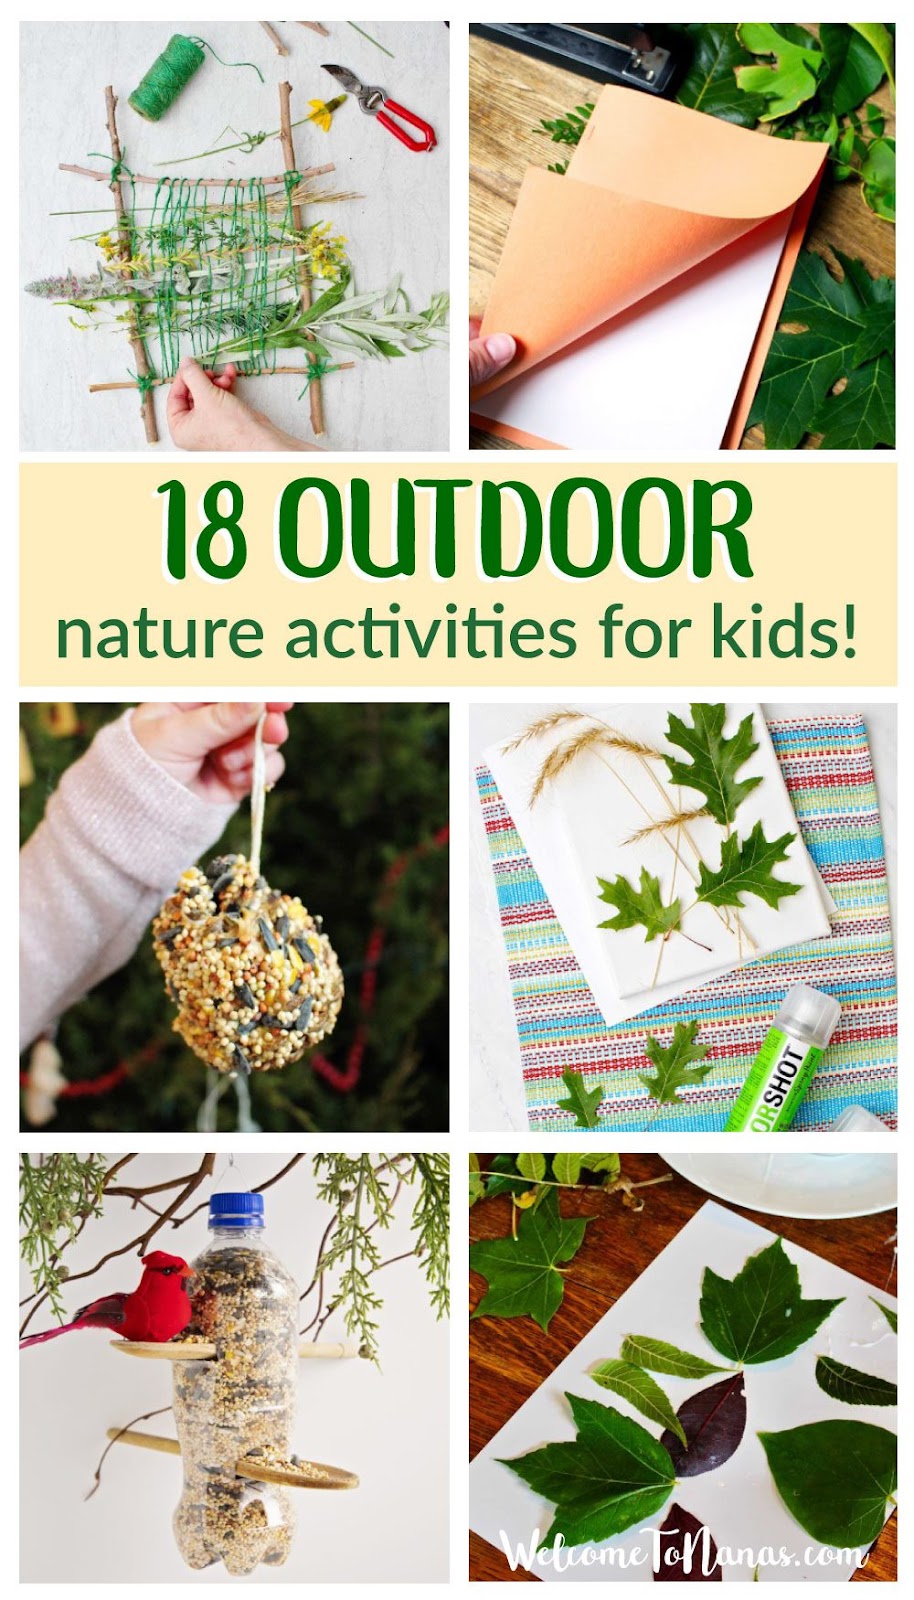
Make a Kids Fall Leaf Collage
Grab your grand and pick up some of those pretty leaves to make a kid’s fall leaf collage. It is amazing what ideas the kids will come up with using just leaves as their art medium when they make a leaf collage picture.
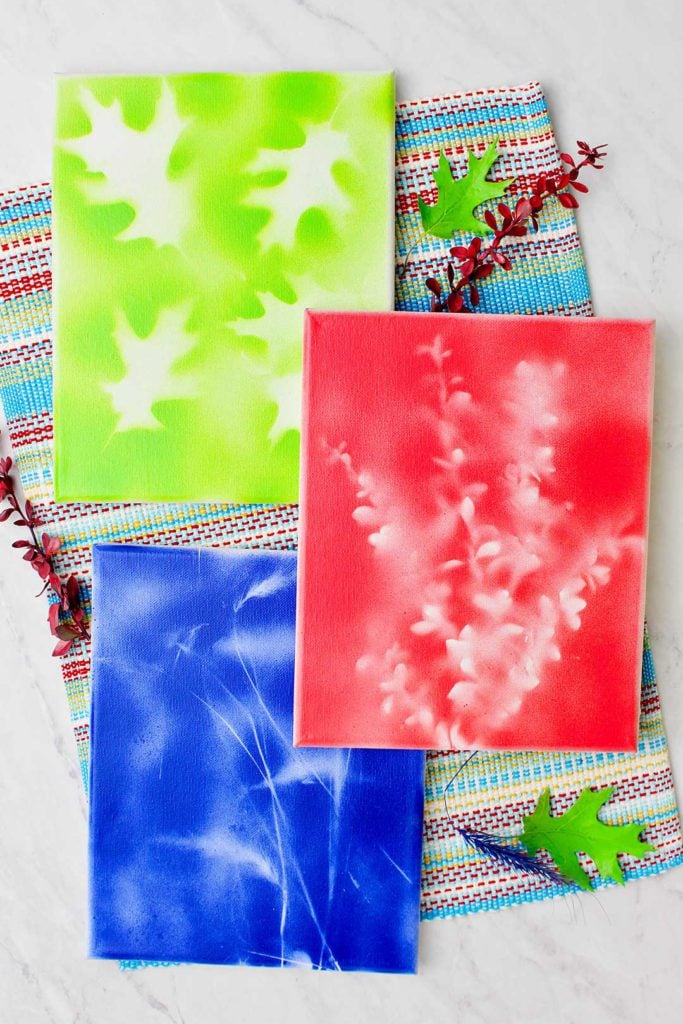
DIY Botanical Wall Art with Spray Paint
Use the DIY Botanical Wall Art with Spray Paint tutorial to help you make amazingly easy and modern botanical art for your home. This project is fast and fun with leaves & grasses from your own yard.
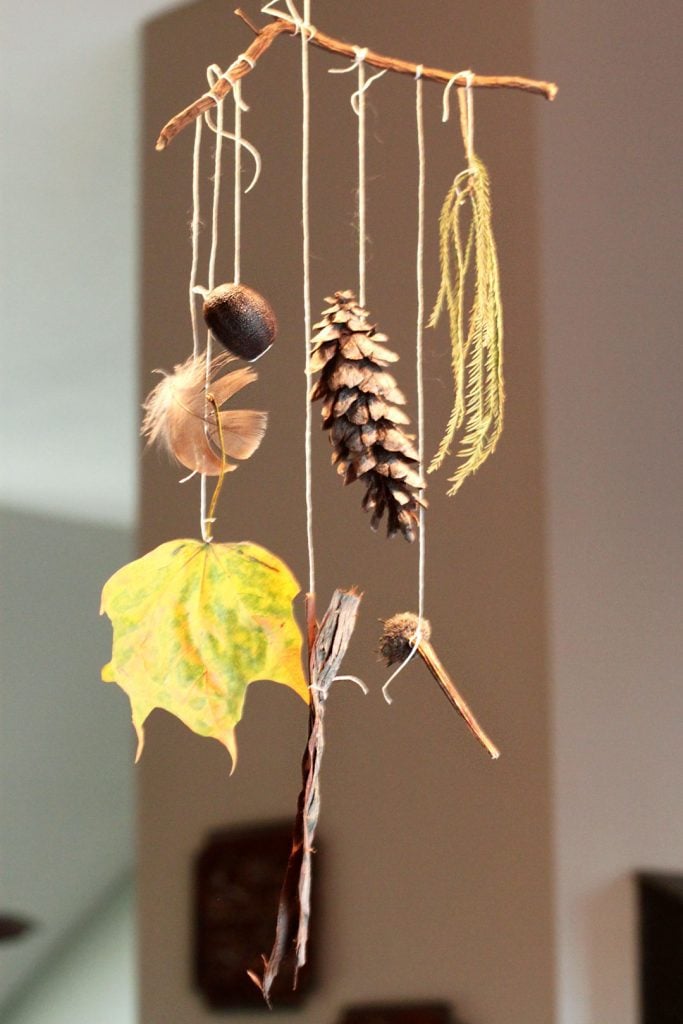
Treasure Hunt Nature Mobile
Check out this Treasure Hunt Nature Mobile. How fun and simple is this? Yet, isn’t it beautiful? Take advantage of these nice days and head outside for a picnic and/or a walk with your grands. The weather will be turning soon, these days are a treasure.
Flower art & craft ideas
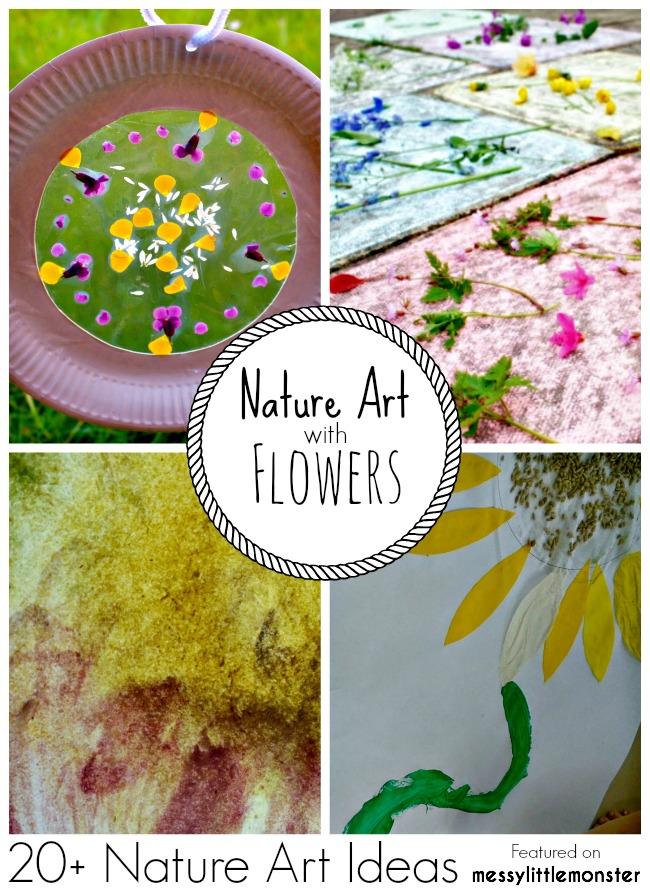
Make a flower sun catcher- Messy Little Monster
Use colorful flowers to practice color sorting or make nature mandalas- Learning and Exploring Through Play
Transfer color from flowers - Mini Monets and Mommies
Use sunflower seeds to make a giant sunflower picture - Crafty Kids at Home
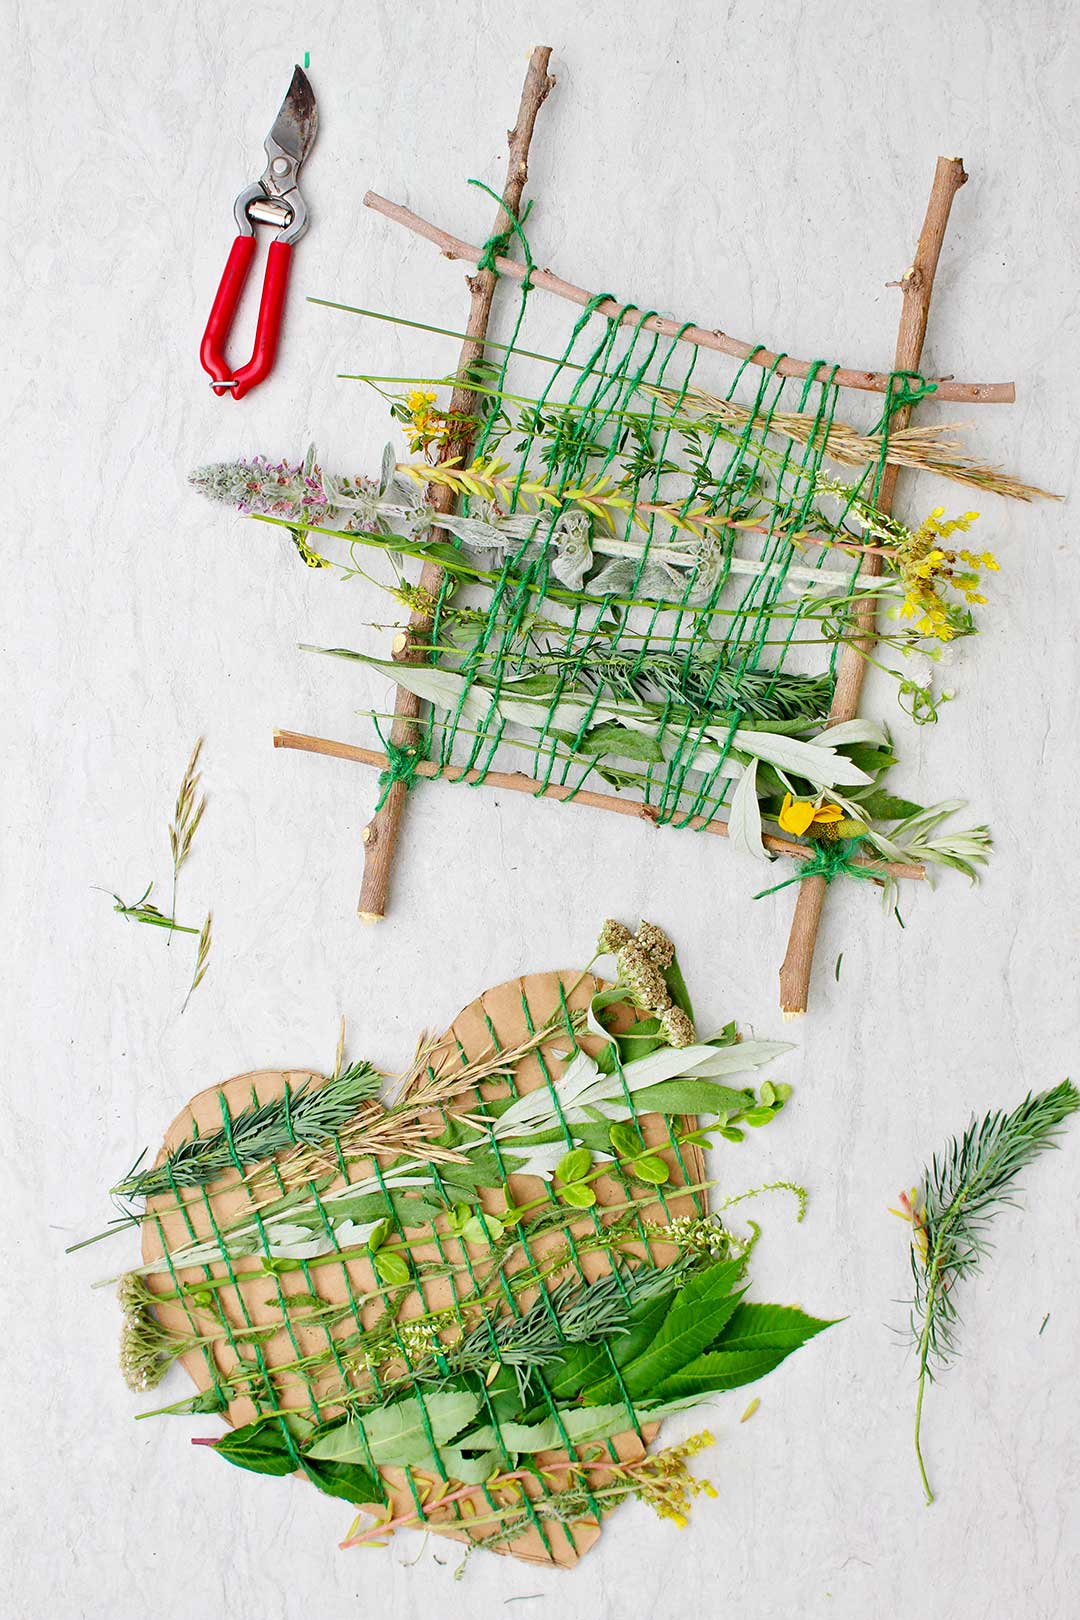
Nature Weaving with Kids (2 Ways!)
2 Ways of Nature Weaving with Kids shows you how to make 2 types of nature looms. Both are winners and give a lot of flexibility for you to choose what works best for different aged grands. Collect greenery on a walk with your children and fill your loom with grasses, leaves, and flowers.
Flower Crafts for Kids
What’s more beautiful in the world then flowers! You can find loads more of our favorite flower nature crafts for kids.
Gelatine Flower Suncatcher
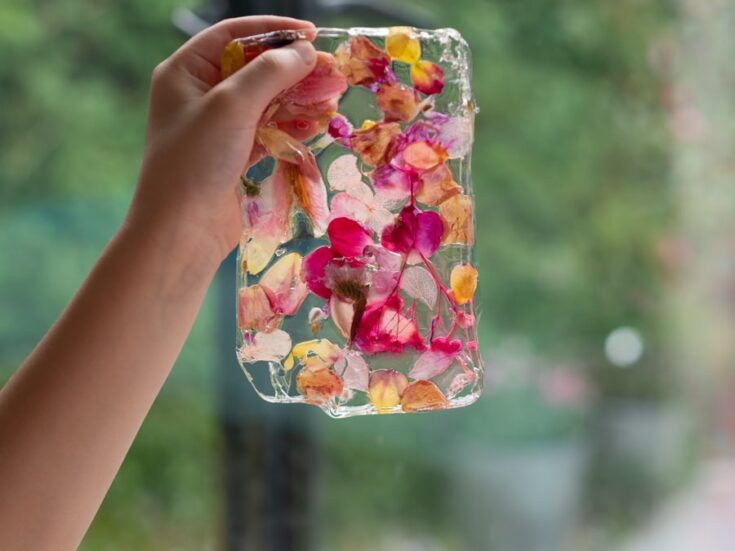
Gelatine Flower Suncatcher Nature Craft for kids
A gorgeous flower nature craft, a pretty, plastic free flower activity that can be made into any shape or size!
Flower Keyring
A gorgeous nature craft to save a memory from a treasured walk and fun flower craft to preserve flowers!
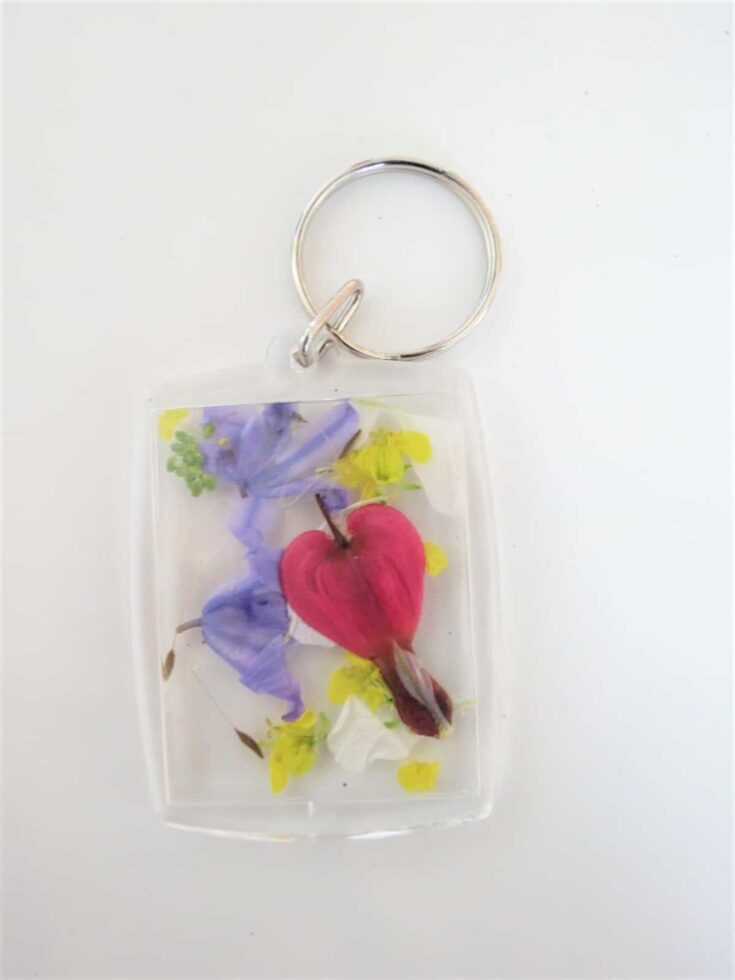
Dandelion Wishes Spring Flower Keyrings
A gorgeous nature craft to save a memory from a treasured walk and fun flower craft to preserve flowers!
Pressed Flower Pebbles
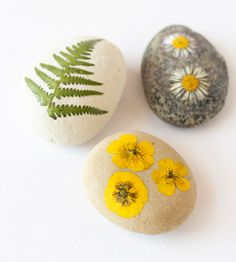
Try using a flower press to create these most beautiful pebbles. Press your flowers then attached them carefully with glue to your pebbles. Cover with varnish to secure the petals.
Imprint Nature Clay
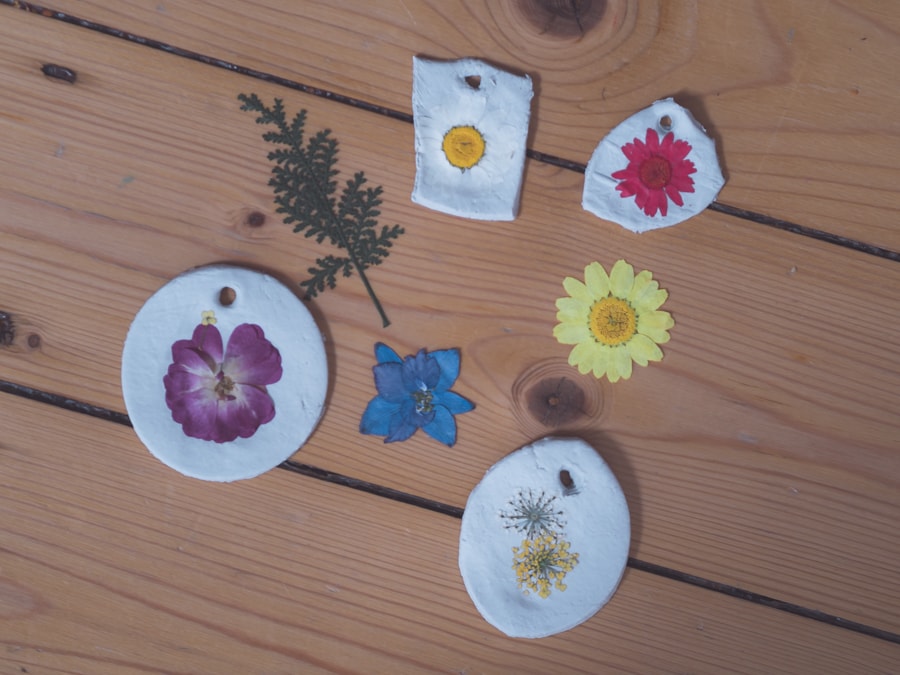
This is simple nature craft activity for preschoolers that can be done outside as part of your nature walk.Take some clay with you and create imprints by pressing nature items into your clay! Try acorns, leaves and pine cones! Here are our other good tips and tricks for things to take on a nature walk with kids.
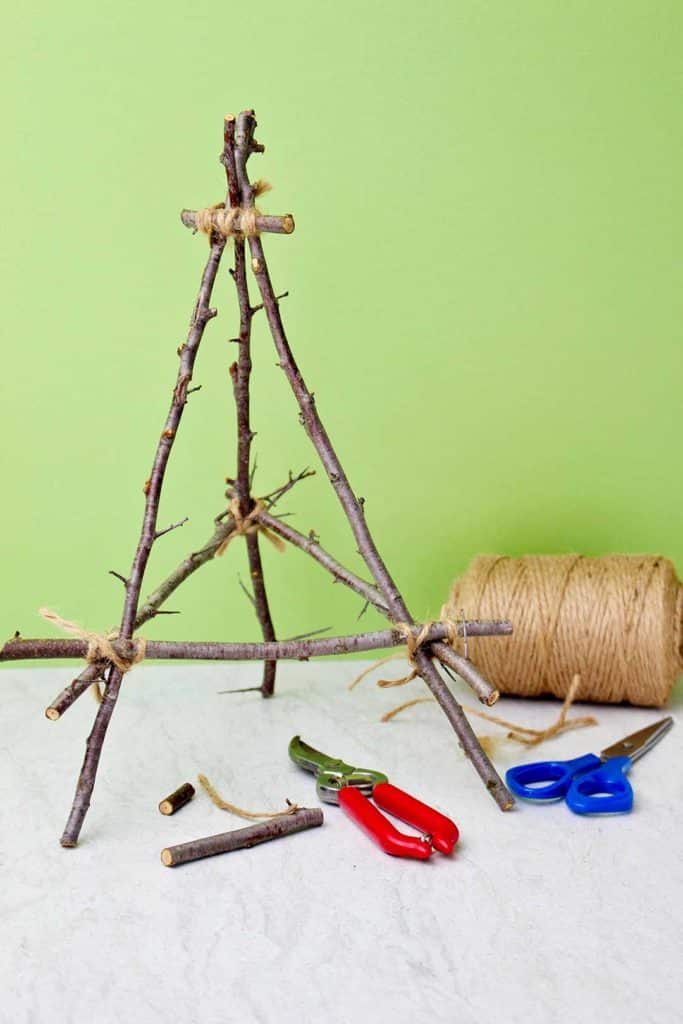
DIY Tabletop Easel from Twigs
I saw a Tabletop Easel from Twigs in a local restaurant recently. It was used to display a small piece of art. I was smitten and wanted to try making one right away. They are so cool! What a wonderful and useful DIY nature craft you can make from just twigs and twine! Come and check it out- you need one…or two.
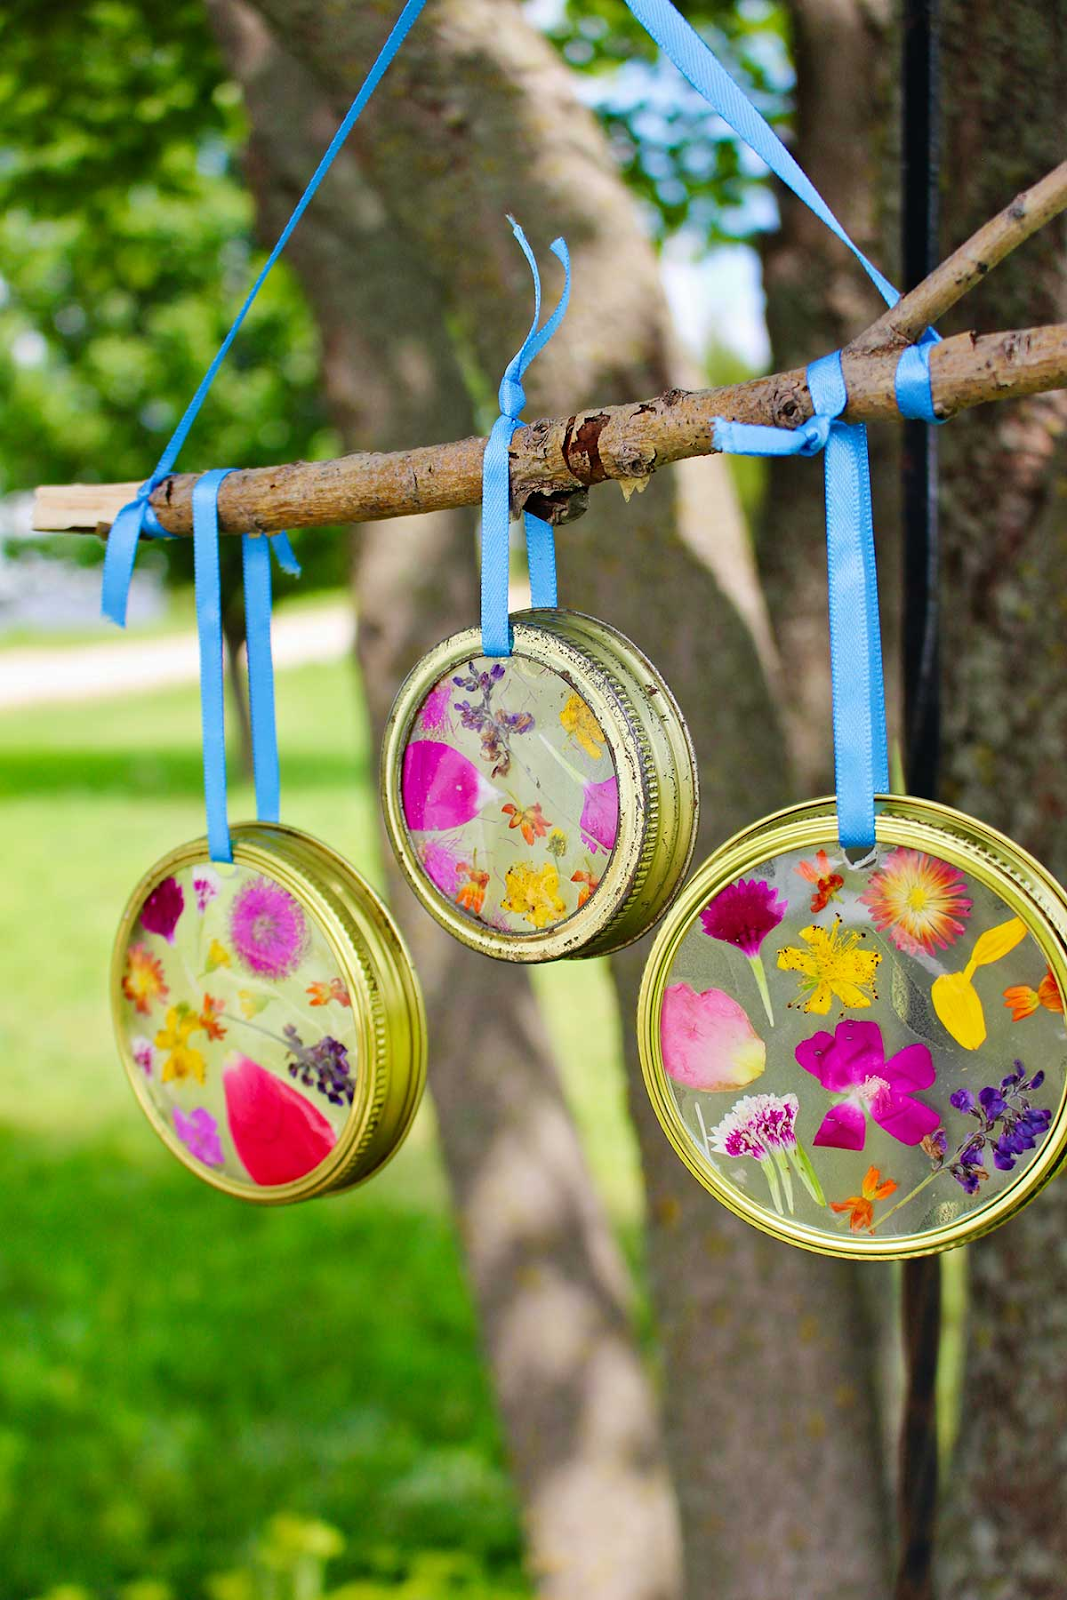
DIY Garden Suncatcher Wind Chime a Summer Kids Craft
Use flower blooms to make a DIY Garden Suncatcher Wind Chime. An easy summer kids craft on contact paper framed in Mason jar lid rings!
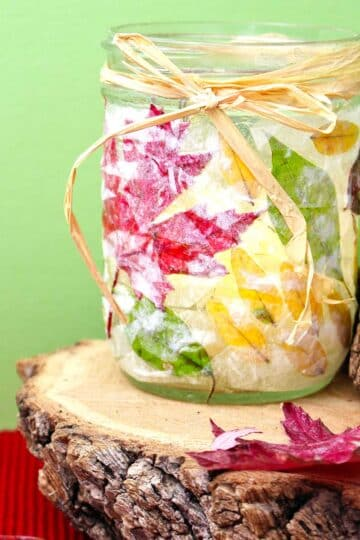
DIY Fall Leaf Mason Jar Candle Holder
Decorating this DIY Fall Leaf Mason Jar Candle Holder is a fun nature craft for kids! Get crafting with just Mod Podge, tissue paper, an upcycled mason jar, and some leaves from a nature walk!
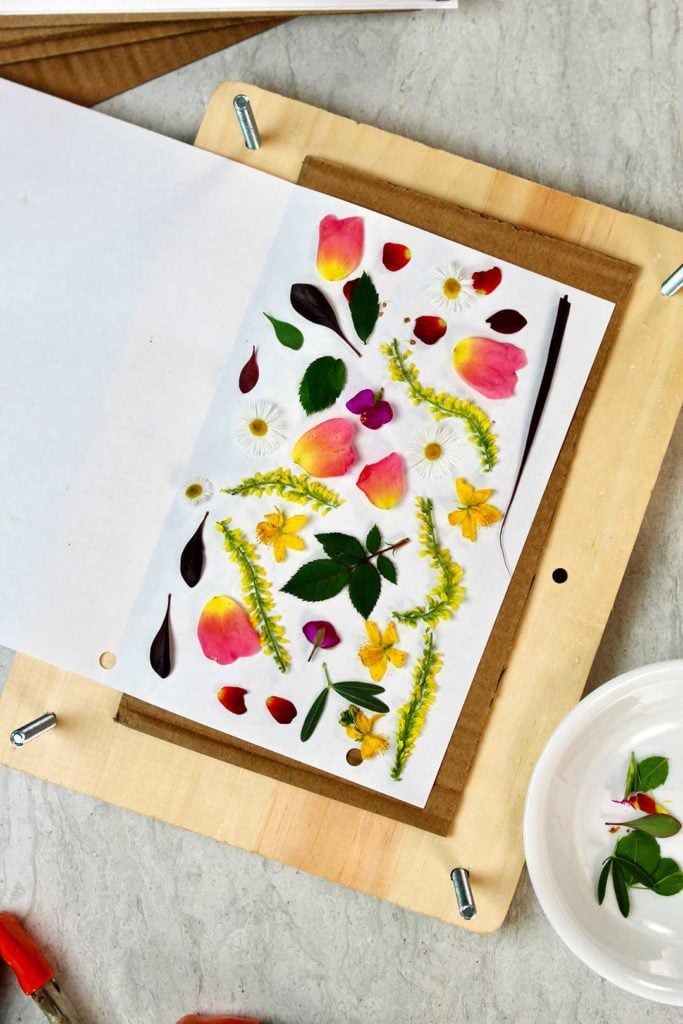
DIY Flower Press from Wood
This spring make a large DIY Flower Press from Wood that holds 10 layers of pressed flowers It’s strong and easy to make- kids will love it. Way cool! This DIY Flower Press from Wood for Pressing Flowers came out even better than I had hoped. I’m so excited for you to try this and have fun with the grands.
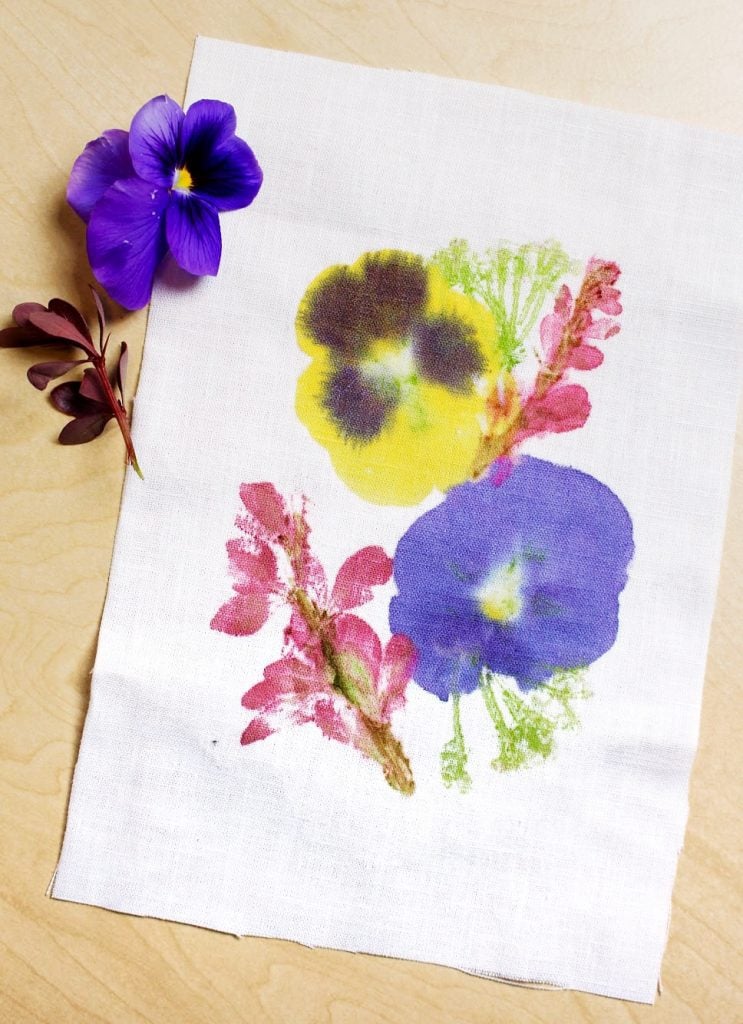
Hammered Flower Prints on Fabric
Do you have some last-of-summer flowers in the yard? Hammered Flower Prints on Fabric are a great way to preserve some of that beautiful color and make a great gift or card. People of every age respond to this craft, in making it or receiving it! It’s fun to pick flowers, hammer, squish things and come out with something beautiful.
How to Make a Pressed Flower Butterfly
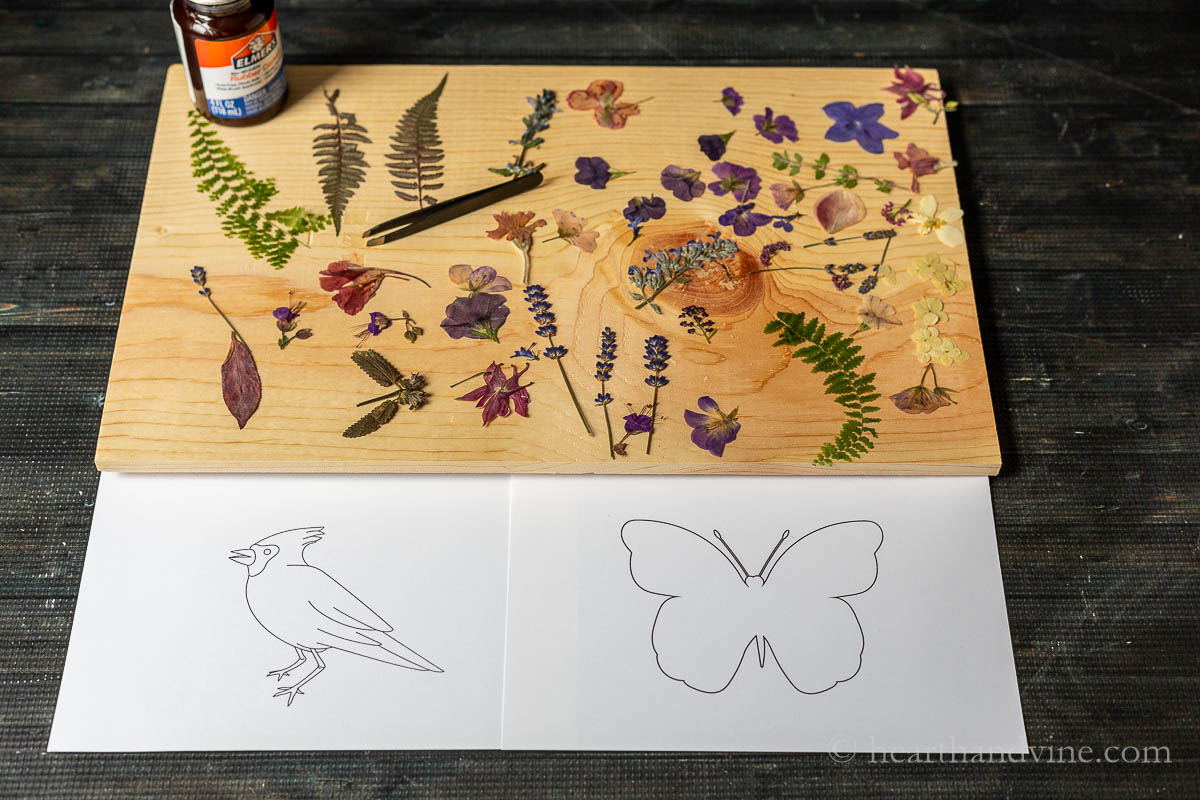
Learn how to make a beautiful pressed flower butterfly or bird with this tutorial. It's an easy way to preserve flowers and create art.
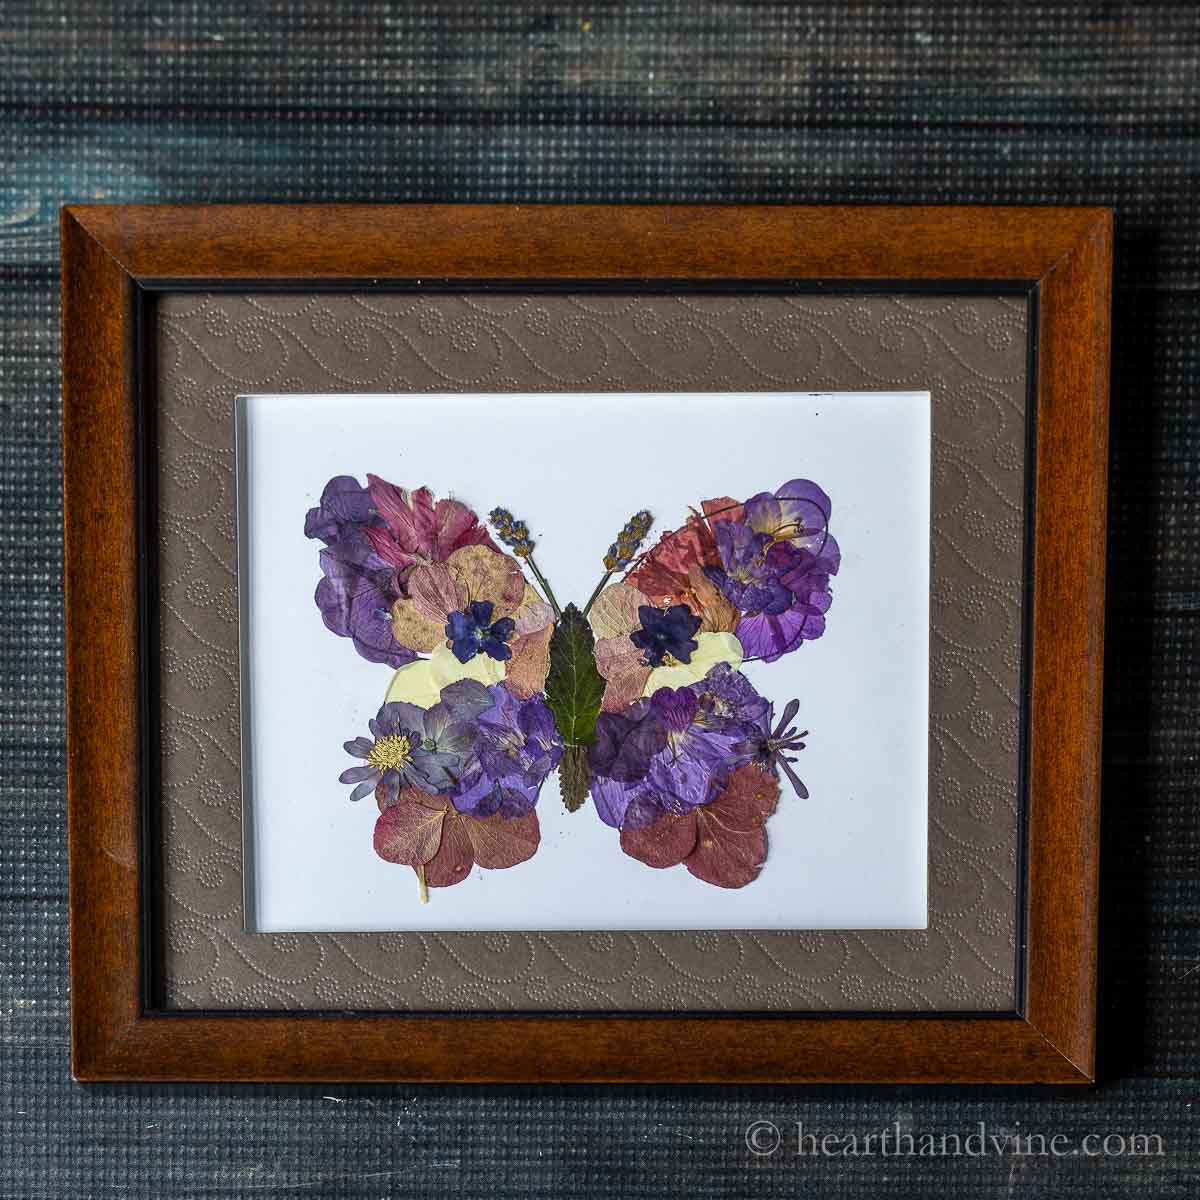
I've created many pressed flower projects over the years. It's one of my favorite flower activities. Today I'm sharing something slightly different. This time I'm using the pressed flowers and leaves to create a picture or in this case a butterfly and a bird.
This particular project uses outlines of the animals to help guide the flower placement. However, I have seen many beautiful landscape scenes using pressed flowers. They are quite beautiful but a little more challenging to create.
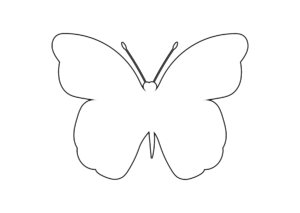
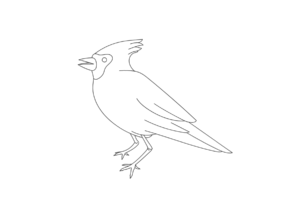
clip on the image for a pdf to print.
In this project, all you need to do is print out the butterfly and/or the bird and then glue on the plant material to make it a gorgeous work of art.
How to Make a Pressed Flower Butterfly
Step 1 - Gather Pressed Flower Material
Gather some pressed flowers or purchase some.
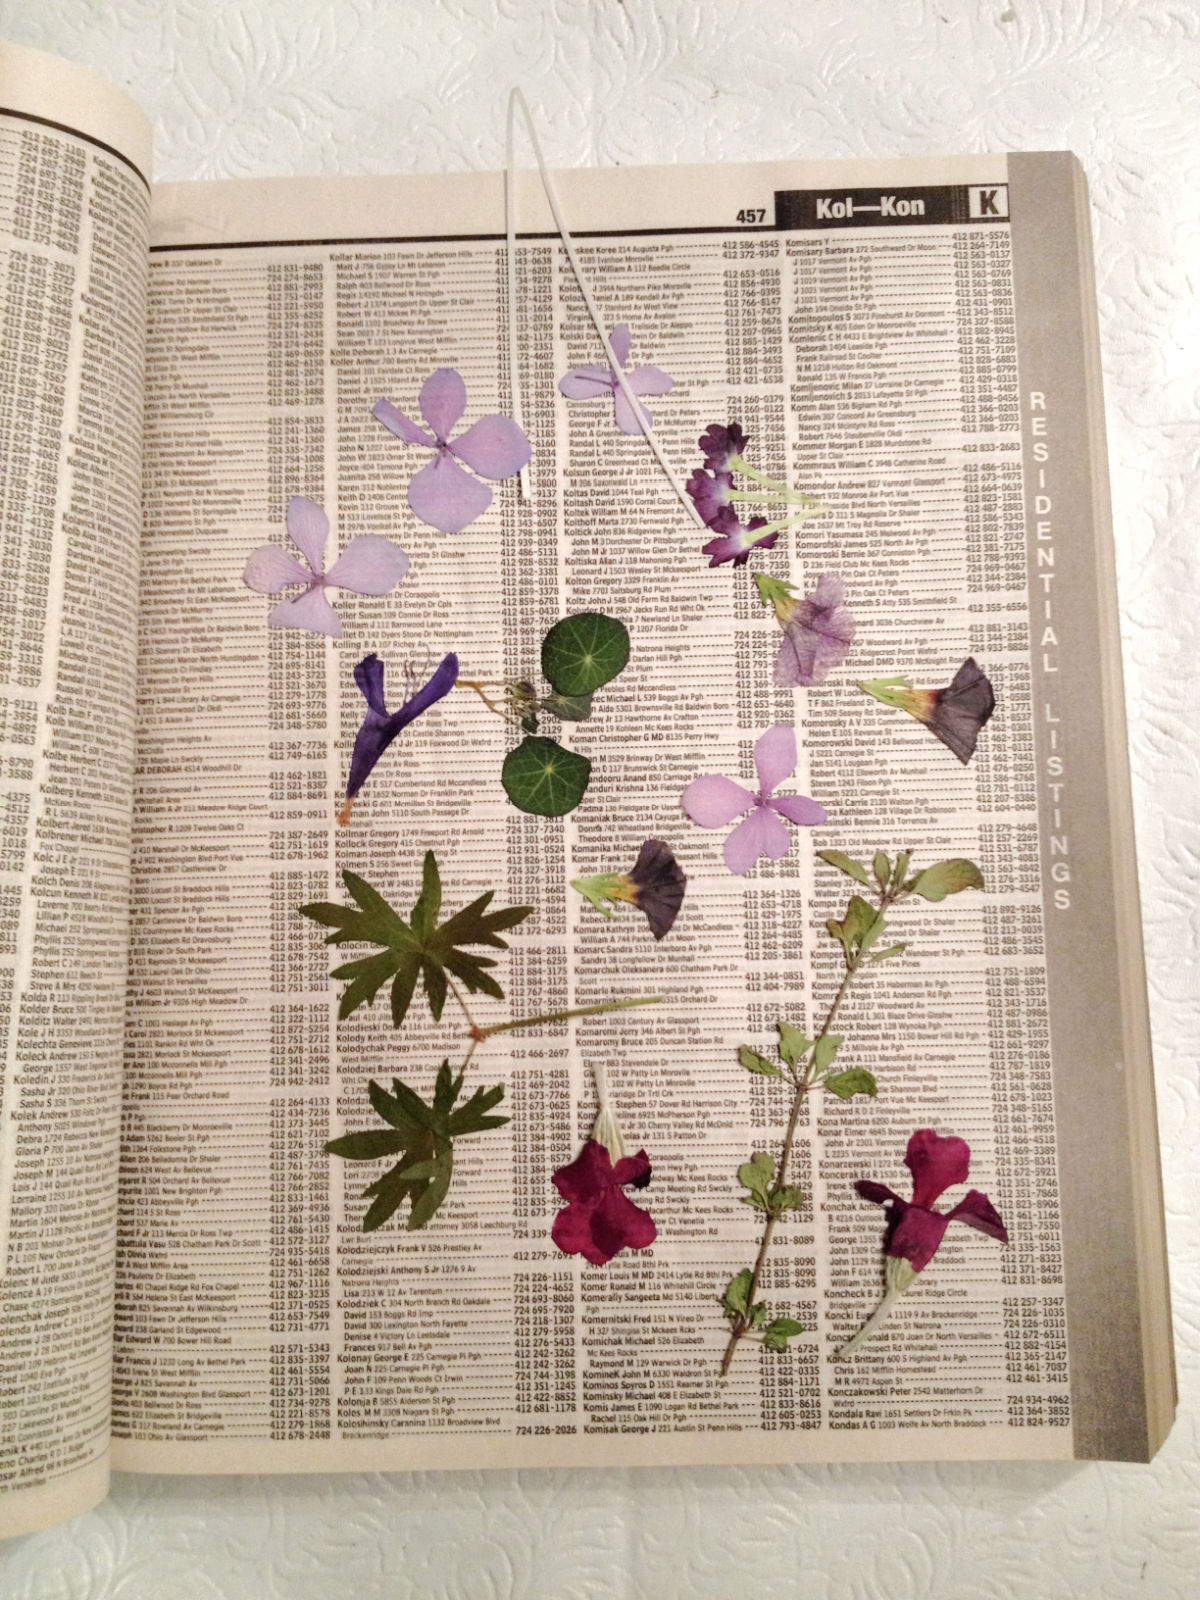
Where to Get Pressed Flowers
You can easily press fresh flowers at home by placing them between the pages of a heavy book. Some people will try pressing them in the microwave between paper towels. I pick flowers all season long and stick them in the pages of an old phone book or my handy dandy homemade travel flower press. Both have newsprint paper that's great for removing moisture from the plant material. Of course, if you are in a hurry you can also buy pressed flowers on Amazon.
Step 2 - Print Out Guideline Image
Print out the image outline you want to work with on some white cardstock paper. Simply click on the image above and it will take you to a PDF file with both images on it. You can find more simple shape outlines here.
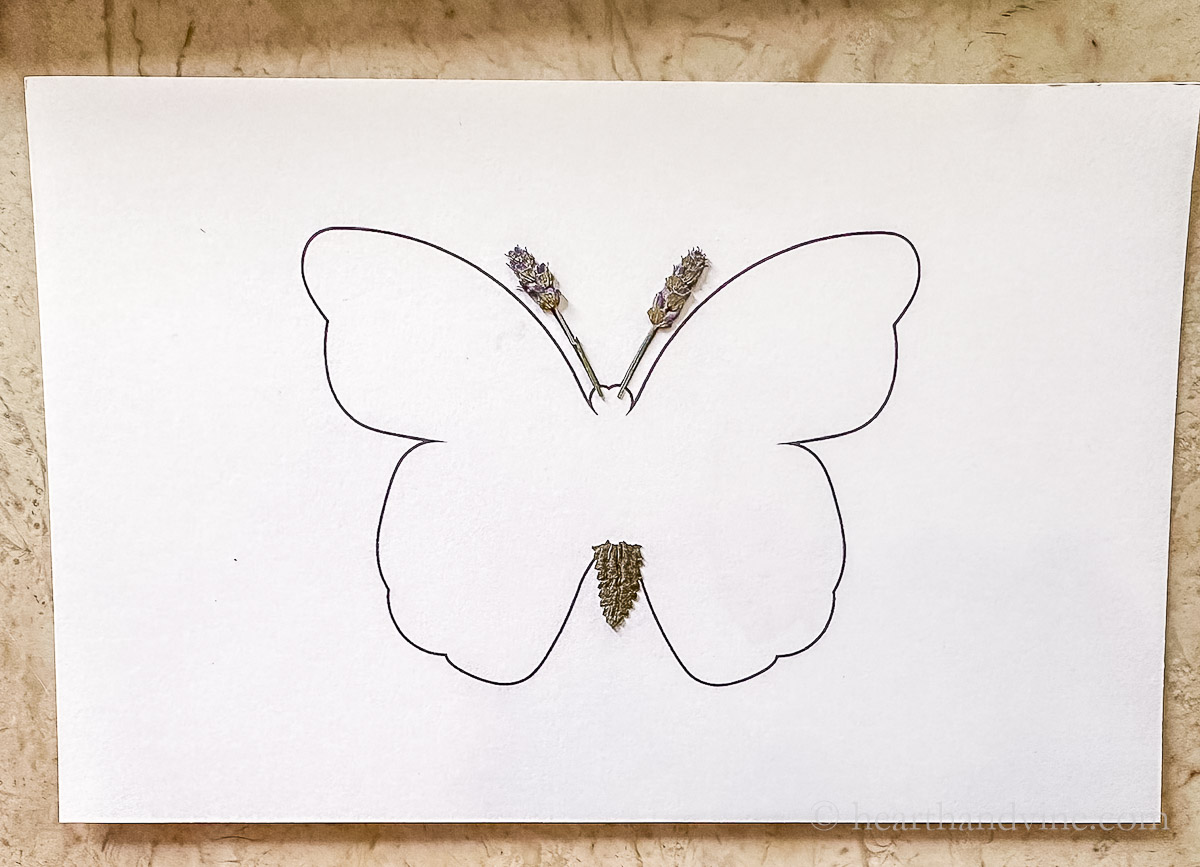
Step 3 - Glue Plant Material into Outline Image
Start gluing the plant material to the page. Choose some neutral pieces with depth for the antenna and abdomen. I used lavender and another flower with texture.
Also, I used rubber cement suggested to me by a reader as a good glue for working with dried flowers. However, you could use Mod Podge or white glue as they all dry clear.
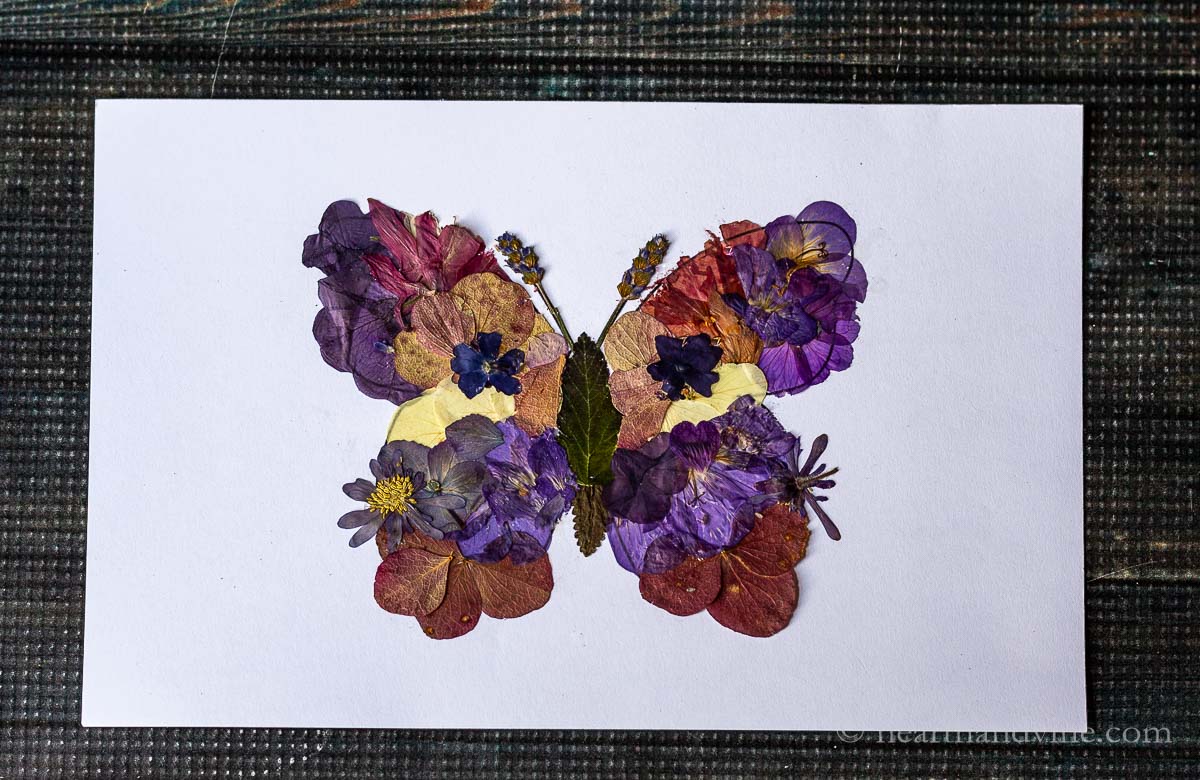
Continue filling in the butterfly with any flowers you like. If necessary trim the edges with small scissors to fit into the outline.
That's really all there is to it. Have fun and get creative. There is no wrong way to complete your floral masterpiece.
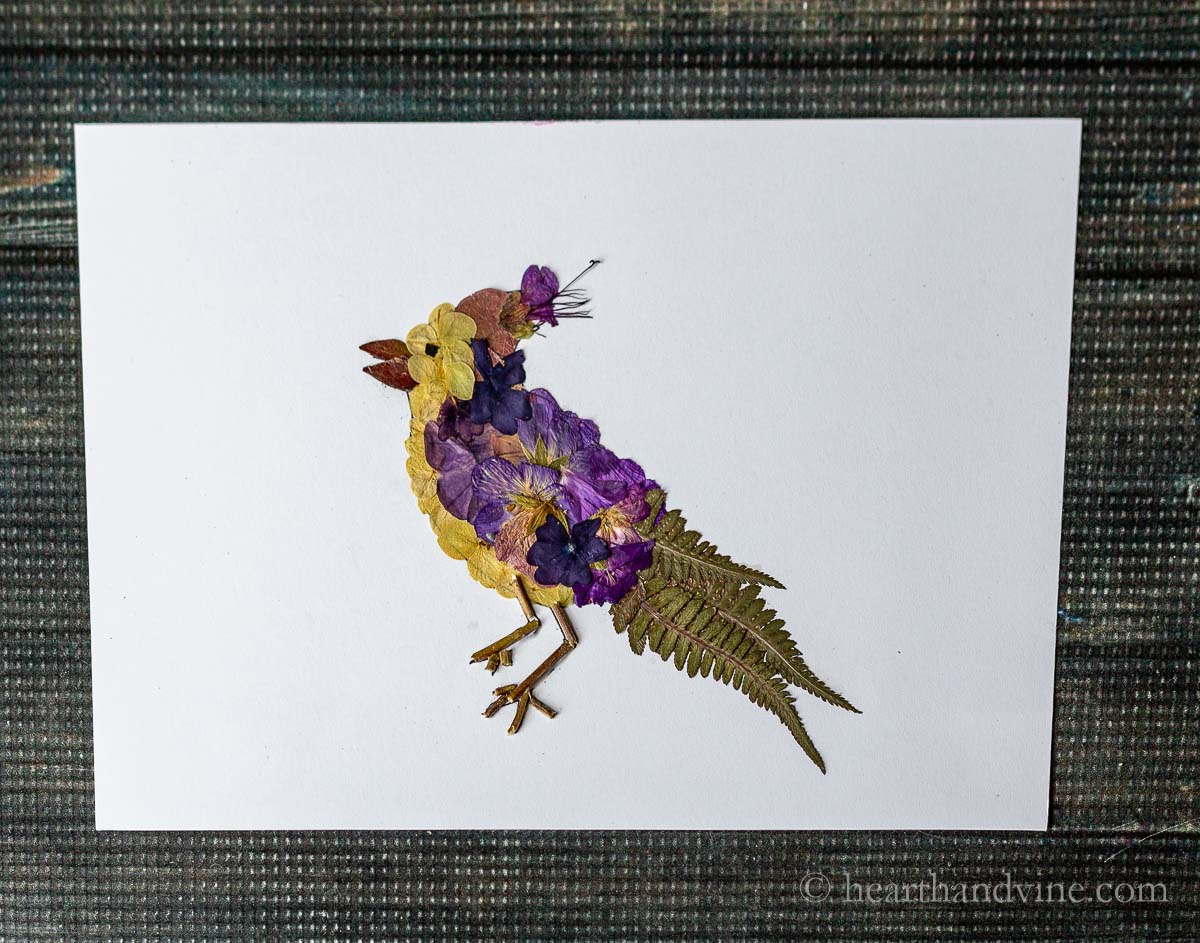
Here's one I made with the bird outline.
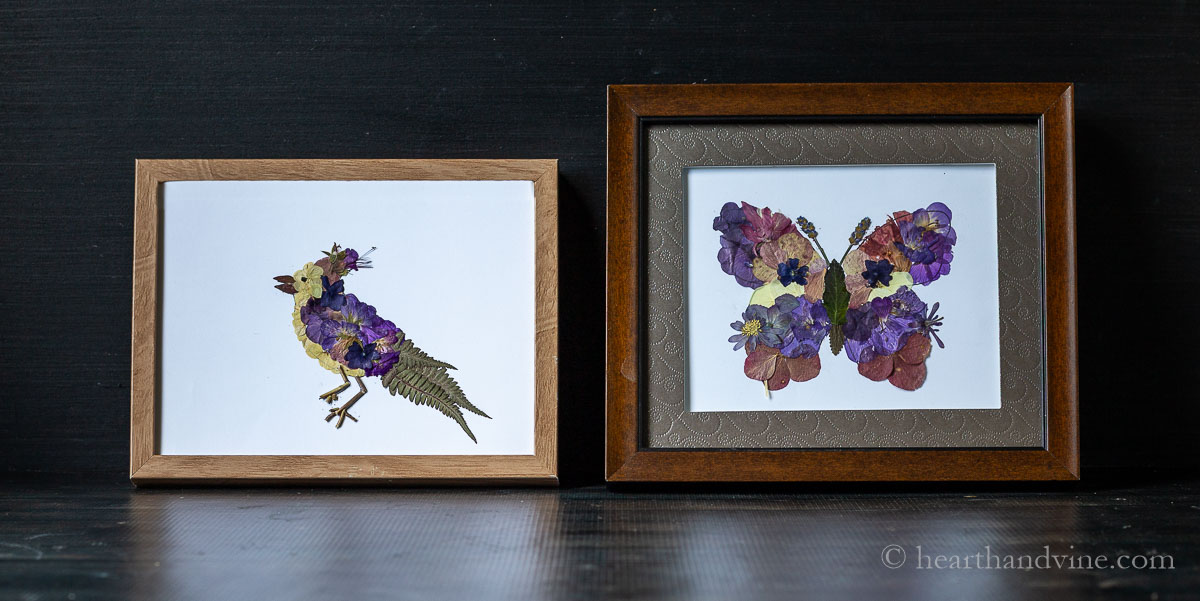
When you are finished place your pressed flower art into a simple or ornate picture frame and enjoy.
More Pressed Flower Projects

DIY Pressed Flower Butterfly and Bird Art
Here's a great way to create animals such as a butterfly and a bird with pressed flowers.
Active Time:1 hour
Equipment
Tweezers
small scissors
Small Paint Brush
Computer and printer
Small Picture Frames
Materials
Pressed Flowers and Leaves
Rubber Cement Mod Podge or White Glue
Instructions
Print out the image of the butterfly and/or bird onto white cardstock paper.
Start filling in the outline with dried flowers and pressed flowers by using rubber cement to glue them into place.
Continue gluing down the plant material until the entire outline is filled.
Place the art in a nice picture frame or gift it to another flower lover.
Free Flower Songs and Educational Videos

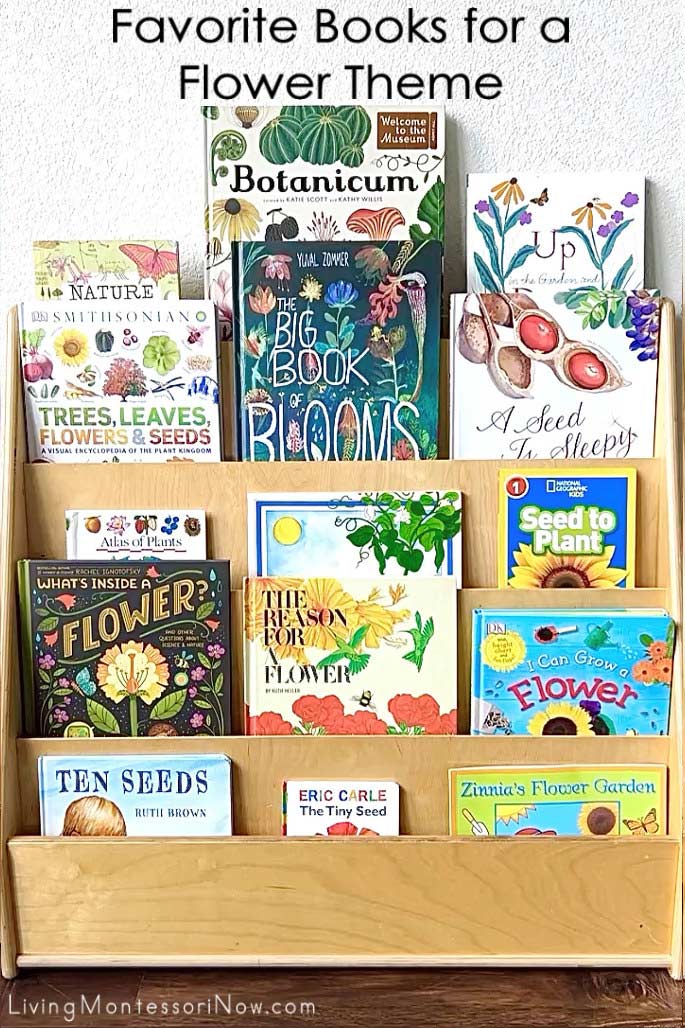
Favorite Books for a Flower Theme
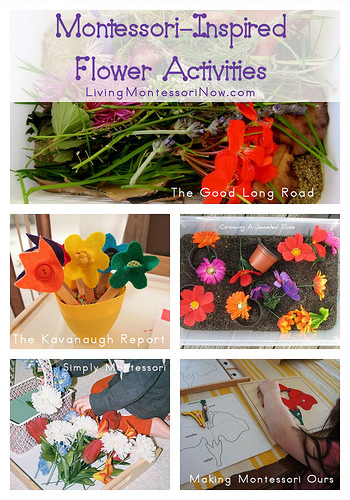
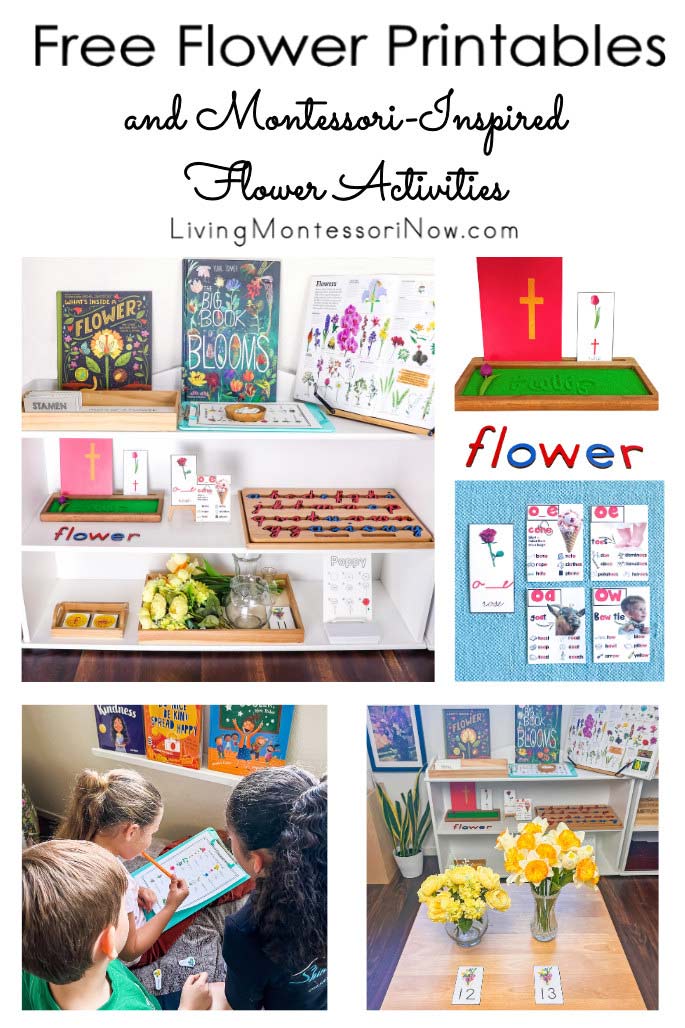
Free Flower Printables and Montessori-Inspired Flower Activities
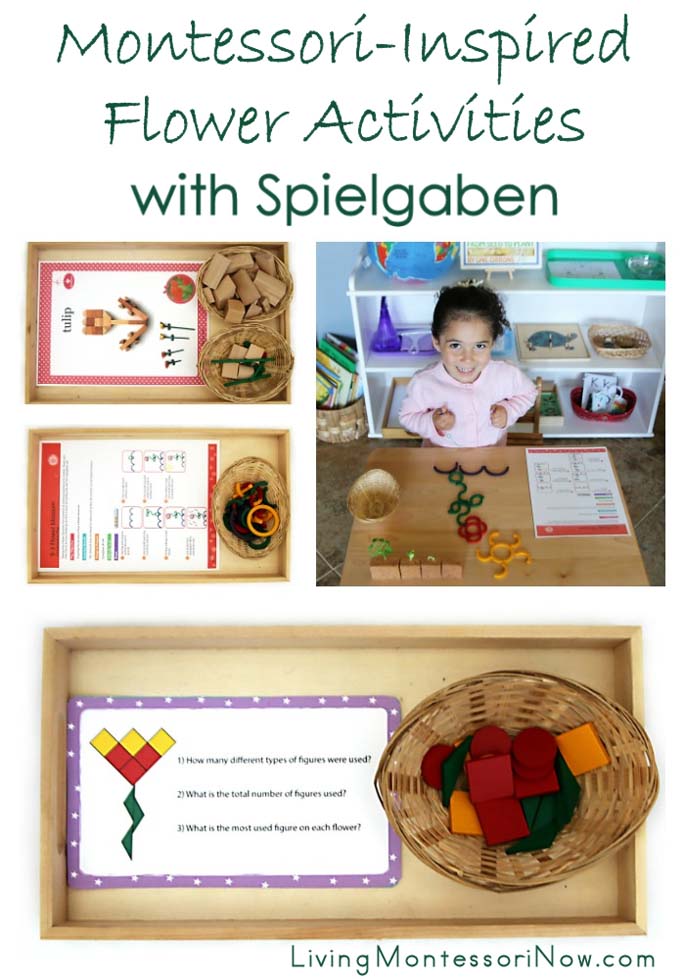
Montessori-Inspired Flower Activities with Spielgaben
Montessori-Inspired Flower Activities
