Nature Play that Rocks
Superscript

Garden and Backyard Activities

This is a block description. To edit, click and type the text or replace it with your own custom content

Forest School & Nature Activities

Welcome to NurtureStore’s index of forest school activities. Here you will find a ready-made nature curriculum, forest school lesson plans and free printables for teaching forest-school style lessons.
Forest school resources

Forest schools are a strong alternative or accompaniment to traditional schools. From physical to mental health, and academic to practical skills, there are many benefits of forest schools.

Whether you are a parent, teacher or forest school leader, if you are looking for forest school ideas, you’ve come to the right place. We have a wide range of nature-based lesson plans and activities you can use with your children, whatever the weather. Our best-selling The Forest Classroom: a beginner’s guide to forest school and Nature Explorers: Forest are also packed full of ideas to help you take your learning outdoors.

Choose the type of resources that best suit your needs: save time with our ready-made teaching kits or use our index of individual lesson plans to create your own DIY programme.

Save this page because it’s so full of resources you’re going to want to come back to it again and again. And share it with your friends and coworkers so they can use the lesson plans too – they’ll thank you for it!

Forest School Activities Index

You can use this index to find what you are looking for and plan your forest school lessons. You can use these quick links to jump to our forest school categories: Arts and CraftsBeginners Guide BasicsLiteracy ActivitiesMath ActivitiesPlant ActivitiesScience ActivitiesReady-made CurriculumWellbeing Activities.

Ready-made nature curriculum and forest school books

You can save time and teach better using our ready-made curricula and teaching kits. These give you complete programmes to teach forest school activities and nature study: open them up and you’re ready to teach! They include thoughtfully-curated lesson plans and free printables to give your children a broad programme of hands-on, creative learning. Choose your first kit:

The Forest Classroom: a beginner’s guide to forest school
The Forest Classroom is a practical beginner’s guide to running a successful forest school. It includes lesson plans, activities, and fantastic printables that make it easy for you to teach a nature-immersed curriculum.

Nature Explorers: Forest
Nature Explorers: Forest is the perfect way to add reading, writing, drawing, and science to your forest adventures.

The Complete Seasons School Year
The Seasons School Complete Year Program gives you a complete program of spring, summer, autumn, and winter learning, combining nature study, math, science, literacy, arts and crafts, sensory and play, recipes, and more.

The Spring Teaching Kit
The Seasons School Spring Curriculum gives you everything you need for spring learning, all in one place, based around the themes of eggs, birds, seeds and shoots.

The Sunflower School Teaching Kit
The Sunflower School curriculum is a full programme of learning, in rhythm with the natural growing cycle of sunflowers. It’s the perfect way for schools, families, and gardening clubs to include science, math, literacy, art and more into gardening with children.

The Autumn Teaching Kit
The Seasons School Autumn Curriculum gives you everything you need to teach a fall nature curriculum based on the themes of apples, pumpkins, leaves and twigs.

The Winter Teaching Kit
This 21 Day Winter Activities Countdown is one part educational curriculum, one part seasonal celebration, and one part family memory making. With a winter activity for each day it gives you a complete programme of nature, science, literacy, arts and crafts, sensory, and play.
Beginner’s Guide Basics

What is forest school?
For curious parents, teachers thinking about enhancing their provision, and anyone wondering about this unique way of learning, let’s answer the question: what is forest school?

What are the benefits of forest school?
Forest schools are a strong alternative or accompaniment to traditional schools. From physical to mental health, and academic to practical skills, let’s look at all the benefits of forest school.

Forest school lesson plans :: how to open the session
Use these ideas to plan a welcoming forest school session – includes free printable forest school welcome song!

Simple nature walk rules for children
Follow these simple nature walk rules for children so you can connect with nature and enjoy your time outdoors safely and respectfully.

17 easy nature walk ideas for children
Nature walks with children are a key forest school activity. Try these easy nature walk ideas and enjoy the great outdoors, with a different learning objective each time.

Forest school lesson plans for spring
Lead an engaging nature curriculum full of spring nature activities using these ready-made forest school lesson plans for spring.

Forest school lesson plans for summer
Try these ideas for forest school lesson plans for summer to enjoy your outdoor classroom at the height of the year.

Forest school lesson plans for autumn
Make back-to-school planning easy and start the term strong with these ready-made forest school lesson plans for autumn and fall.

Forest school lesson plans for winter
Get great ideas for outdoor lessons and nature activities whatever the weather with these forest school lesson plans for winter.

Forest school for childminders
Use this easy and practical guide to starting a forest school for childminders to bring more nature activities to your child care provision.
Back to index

Wellbeing activities for forest school

Sit Spot forest meditation
Try this sit spot mindfulness activity for forest school with your children and encourage peace and connect with nature. A great wellbeing activity to help children focus and relax.

Forest school lesson plans :: how to open the session
Use these ideas to plan a welcoming forest school session that is inclusive and supportive.

16 forest school recipes for easy camp fire food
Join the feast! Here are sixteen delicious forest school recipes that you can cook over a campfire to build connection and community in your forest school class.
Back to index

Arts and crafts for forest school

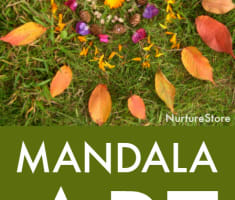
Forest school mandala activities
Celebrate nature and create outdoor art with these forest school mandala activities.

Nature Colour Wheel
This nature colour wheel activity is a great way to combine the colour theory of an art lesson with the careful investigation of a science lesson in your forest school outdoor classroom. It comes with a free printable colour wheel too.

Flower crowns
Flower crowns are a lovely nature craft and forest school activity. You can use them on a nature walk to explore the plants you discover along the way and tell the story of your walk through the treasures you find.

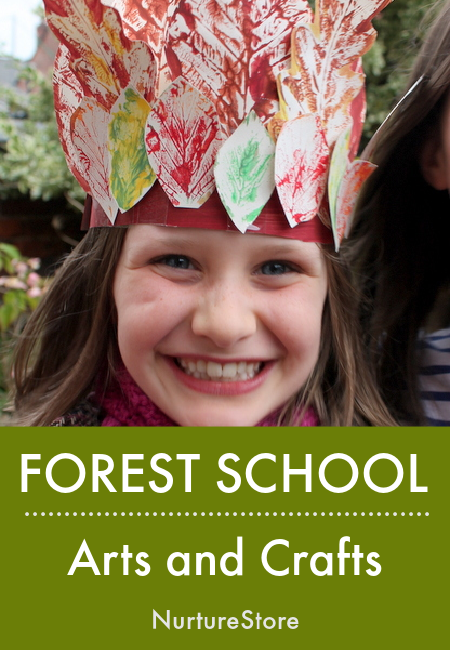
Leaf printing
A classic childhood craft – autumn leaf print art is a gorgeous now as it was when we were children. Here are some ideas to add some extra sensory dimensions, and craft ideas that make the most of your lovely leaf prints.

Leaf crowns
Celebrate the season in style with this easy autumn craft for forest school – make a leaf crown!

Twig weaving
Twig weaving combines natural materials and traditional craft to make a beautiful decoration for your forest classroom.

Apple or leaf print gratitude flags
Here’s a Thanksgiving craft for kids that’s fun to make, looks beautiful and sends out positive wishes to the world: Thanksgiving prayer flags.

Percussion stick musical instrument
This is a fun musical activity you can include in a forest school session.

Clay Faces
Here’s a fantastic outdoor art idea that’s perfect for forest school, using natural materials found in the forest to make clay faces on tree trunks.

How to make corn dollies
Reviving a traditional English craft, here’s how to make a corn dolly craft, perfect as a harvest celebration activity for children.

Leaf wreaths
Ten simple ideas for beautiful homemade fall wreath projects, using a variety of gorgeous art techniques, suitable for kids of all ages.

Leaf suncatchers
Make beautiful art taking the idea of leaf art and adding it to my Sticky Picture frames.

Flower petal suncatchers
Combine natural, sensory materials, art, math and a little meditation and make pretty flower mandala designs.

Twig magic wands
Here’s how to make a magic wand from natural materials for imaginary play.

Land art mandalas
This idea for nature mandalas for kids takes its inspiration from spring flowers.

Play dough leaf printing
Celebrate the change in season by adding a forest twist to our easy no cook playdough recipe.

Build stone cairns
Have you ever tried building stone cairns? If you have children who love building towers they’re a wonderful activity to try – combining natural materials, loose parts, construction play and just a little added dash of wow-factor!

Make a fairy land
A favourite spot in our outdoor classroom, this fairy garden design is great for promoting magical imaginary play, and a delight for the senses.

Leaf symmetry art
Let’s learn about leaf symmetry in this STEAM lesson that combines math and art.

Leaf colouring sheet
Use this free printable leaf colouring page as an easy autumn art project to explore pens, paints, pastels and pattens.

Leaf print Christmas tree craft for forest school
This leaf print Christmas tree craft is a beautiful way to make a nature-based Christmas card and a perfect forest school Christmas craft.

Flower printing garden art
Here’s one of our favourite ideas you can use for creative art and crafts based on a garden theme.

How to make mushroom spore print pictures
Learn about the structure of fungi and use them to create art as we make spore prints from mushrooms. A fun and fascinating nature art and science project!
Back to index

Math activities for forest school

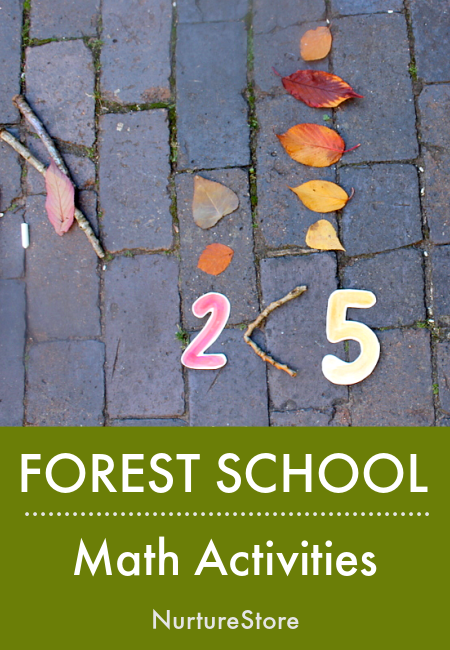
Forest school math activities
Gather your twigs and leaves and use these fantastic ideas for hands-on forest school math stations.

Leaf numbers and counting
These simple leaf math games for preschool let you take your learning outdoors for hands-on fun.

Number stones
Here’s a great idea for outdoor math making numbers stones.

Counting with sticks and playdough
Create this hands-on math game with just a few items inspired by flowers.

Counting with rocks and play dough
Combine play dough and natural materials to teach counting with rocks.

Explore nature shapes
This is a super idea for nature shapes outdoor math activities.

Leaf math games
Make a set of leaf numbers for math activities outdoors.

Nature counting treasure hunts
Here’s a fun idea to take math outdoors using chalk to set up a simple treasure hunt.

Leaf numbers printable
Celebrate the autumn season and fill your lessons with leaf-themed math activities.

Leaf number line
Make a beautiful leaf number line and use it with these ideas for autumn math activities.

Leaf symmetry art
Let’s learn about leaf symmetry in this STEAM lesson that combines math and art.
Back to index

Literacy activities for forest school

Nature Explorers: Forest
This interactive nature journal will get your children reading, writing, drawing and building their forest vocabulary.

How to make a forest nature journal for kids
Use our ideas, prompts and printable nature journal pages to make your own science book: a forest nature journal and a unique record of your time in your local woodland.

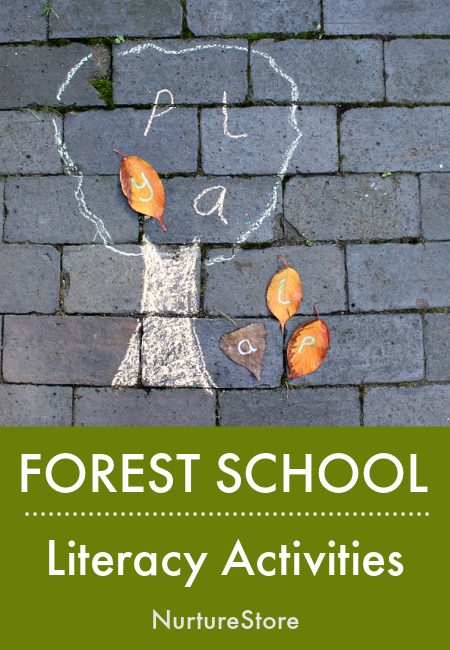
Forest school literacy activities
These forest school literacy ideas make use of twigs, leaves and seeds for fun, hands-on letter and spelling activities.

Story Stones
Story stones are a great art project and make pretty ‘loose parts’ toys to use for storytelling and pretend play.

Outdoor ABCs
Five fun ways to practice letters and words while enjoying some time outdoors.

50 favourite children’s books about nature
Grab one of these brilliant books about nature and take your reading outdoors to an amazing outdoor reading area.

Mud pie alphabet
How to make a glorious mud pie alphabet.

Leaf letters printable
This leaf alphabet printable is great for letter games, learning the alphabet, and spelling out words. Download the leaf printable and try out these forest-themed literacy activities.

Twig pens and sensory mark making
Set up a fall writing center with this forest-themed sensory writing tray and twig pen.
Back to index

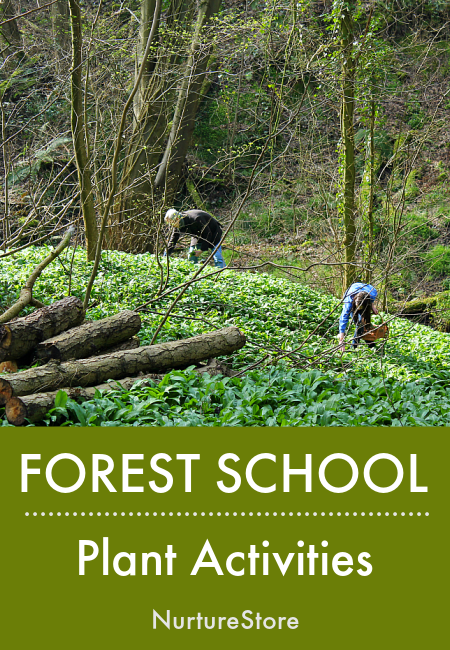
Plant activities for forest school

Forest school treasure hunt printable
This forest treasure hunt printable for kids is a great way to make the most of your visit to the forest. Prefect for families, forest schools, and outdoor community groups.

Learning about trees
Use this tree lesson plan to learn about the different types of trees in your forest.

Blackberry picking guide
Here’s a simple blackberry picking guide for children, along with a blackberry nature journal printable you can use to learn all about these delicious, seasonal fruits.

Elderberry picking guide
Show your children how to identify and forage for elderberries and cook up some delicious elderberry syrup.

Wild garlic picking guide
Learn how to forage for foods in season in spring, how to identify wild garlic, and try this deliciously easy recipe for wild garlic pesto. Includes a free printable wild garlic nature journal page.

Learning about apples
Let’s learn about apples with this apple lesson plan, apple investigation, and easy apple recipes.

Apple taste test lesson and printable
Use this printable apple taste test sheet to learn about apple varieties and discover which apple is your favourite.

Hawthorn foraging guide for children with hawthorn tea recipe
Use this foraging guide for children to learn how to identify hawthorn and try these easy hawthorn recipes.

17 easy nature walk ideas for children
Nature walks with children are a key forest school activity. Try these easy nature walk ideas to get to know the plants, animals and changing seasons.

Back to index

Science activities for forest school

Nature Explorers: Forest
This interactive nature journal will get your children reading, writing, drawing and learning as they create a unique science book about their own forest.

What is a biome? lesson for children
Introduce your children to biomes with this simple biome definition. Learn about the key world biomes and focus in on the three forest biomes, including where the are located and which animals and plants you can find there.

Leaf and seed cards
Let’s get to know leaves and seeds. Use these free printable three-part leaf and seed cards with these eight forest school activities to get to know your trees.

Deciduous forest food chain lesson
In this forest food chain lesson for kids you can teach your children about the forest food web using these printable animal and plant cards.

Cloud activities and printable ID cards
Let’s learn how to identify clouds as part of our learning about the weather unit.

Make a weather station
Here’s how to make a rain gauge to include in a forest weather station.

Bug Hotel
Use this guide on how to make a bug hotel as an animal conservation project.

Flower nature study
A complete unit of daffodil lessons for spring: use these resources to learn about daffodils and the parts of a flower, create daffodil arts and crafts, study the famous daffodils poem by Wordsworth and create your own, plus bonus printables!

Growing seeds experiment
In this growing seeds experiment we’ll be investigating seeds, and comparing bean and pea seeds as they germinate and begin to grow.

Weather Spinner printable
Let’s make a weather chart! Download this free weather spinner printable and learn about the climate in your outdoor classroom.

Autumn nature walk printable
Use this autumn nature walk treasure hunt printable as a nature spotters guide.

Nature table
Use these ideas to create a nature table discovery centre with your children that invites them to explore the forest with all their senses.

Easy forest school activity :: ten things in ten minutes
Need a quick forest school activity? Try this ten things in ten minutes investigation.

Parts of a tree lesson with printable
Learn about the parts of a tree with this free printable and tree lesson ideas – a great forest school lesson for any time of year.

How to use a nature journal with children
This guide to nature journalling will help you start your own nature journal. It includes ideas on what to include in a nature journal plus links to nature journal prompts and printable nature journal pages.

17 easy nature walk ideas for children
Use these themed nature walk ideas to study the plants, animals, and environment around you.

Printable forest animal picture cards
Let’s learn about the forest biome with these printable two-part forest animal and plant cards.

How to make a forest animal small world play set
Learn how to make a forest small world using loose parts and natural materials plus find out how you can get a set of forest animal model printables to play with. We’ll talk about how to use small worlds as a science activity, and how small world play develops language skills.

Wolf facts for children
Learn these fun wolf facts for children and download the printable wolf information sheet for your nature journal. Plus make your own wolf model using our cut-out printable puppets of forest animals.

Recommended
Recommended ContentRecommended ContentRecommended Content
Sensory Science and Art-Porch or Patio Play

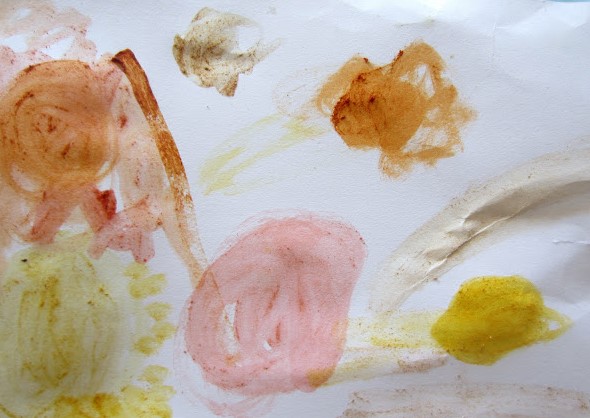
Babies and toddlers are so much fun because of their innate curiousity to explore things with all of their senses. Art allows their curiousity to be expressed as creativity and we encourage them at that age. So please allow them time to explore all the goodies on their own. Grab your camera, because one day it will be hilarious to watch. One day we used the berries near by to color watery mud from a puddle. It was fabulously fun to apply it to a piece of wood cut for making blocks.

PAINT ACTIVITIES

  1. Art allows kids to explore new sensory experiences and materials.

  2. Art helps kids experiment and problem solve!

My formula for an awesome art activity

  • Inexpensive materials

  • Easy to set up

  • Fun to repeat

Art Tips to remember with:

  • Toddlers and babies have short attention spans. Expect it for toddler art activities. Keep them simple. Leave art out so that they can come back to it if they want to try it again.

  • Toddlers and babies love repetition and it's good for their brains. They learn new things each time. It's ok to repeat the art activities they love over and over again.

  • Let the mess stay within your comfort zone. Your toddler wants to connect with YOU and that doesn't require doing art projects you don't feel comfortable with!

  • Focus on the process... not the end art product. As toddlers are creating, they are learning so much and exploring the process and materials.


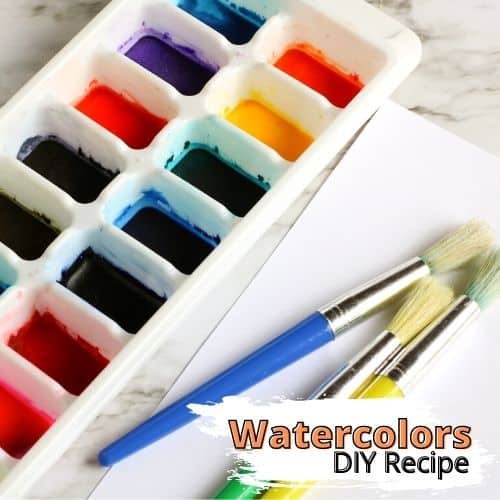
Whether you have a kiddo who is a budding Picaso or just want to keep a busy baby for the afternoon, homemade paint is super easy to make yourself. Better yet it is baby safe and non toxic for kids of all ages! Little ones will love the texture of homemade paints, and these paint recipes make for a fantastic and sensory-rich painting experience. 

A while back I collected some great ideas to keep your little ones entertained while in the high chair and it received so much positive feedback that I’ve decided to expand the list with 50 more high chair activities!

In an ideal world you want your baby or toddler to be able to move around freely. The reality of everyday life is that sometimes you need to contain them for those moments when you need both hands!

My babies were always next to me in their high chair when I was cooking. The result is I now have two kids who love to spend time with me in the kitchen when I cook – that used to be our “talking time” … and still is!

Often I get asked what is the best high chair? In my opinion, I am 400% convinced that the correct answer is: THE ONE THAT IS EASIEST TO CLEAN.

Great painting idea with an edible, taste safe, easy to make paint recipe for babies!

If you don’t have a high chair with a big-lipped tray table you could always put a shallow tray on a table in front of the chair!

This is not only a fantastic idea that will entertain while you start dinner but together you can make a special masterpiece!

Mess-free art for babies

:: For mess-free options, try this clever plastic bag art idea…

:: go for painting in a can

High Chair Activities: A few tips:

  • You want to set up activities that are not going to end up on the floor in seconds! Things get thrown and pushed off the high chair table – and often THAT becomes the game – not ideal whist you are trying to get something done! So stick things down, clip things on…

  • A high chair tray table works great, but a kitchen counter/dining table works even better. If the counter and the high chair work at the same height the space on the counter/table is bigger.

  • ALWAYS keep your baby/toddler strapped in. They learn to stand up in the high chair overnight!!

  • Some of the activities suggested include things that may be a choking hazard. You need to plan according to your child and their age

Art suggestions: creating art in the high chair

They might like to try using some chunky blocks which are easy for them to hold or trying some Wiffle ball art. You could set up some paper plate art, with a selection or colours to choose from or explore with paint and a spiky ball.

Arts Ideas with Cotton Balls

Cotton balls are typically a bathroom staple, but did you know that you can use them for art too? These are a favorite art tool because we always have them at our house! Check out these creative toddler art activities to try with cotton balls. You can also use pom poms for these art ideas too if you prefer those over cotton balls!

Here are some easy art projects using cotton balls:

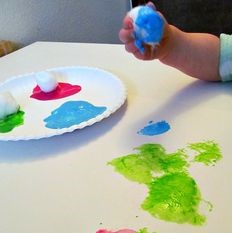
Cotton Ball Splat Painting by Toddler Approved

Painting with Water and Cotton Balls by Happy Toddler Playtime

Painting with Pom Poms by Toddler Approved

Cotton Ball Throw Painting by The Chaos and the Clutter

Cotton Ball Flower Painting by Happy Toddler Playtime

Rainbow Art with Cotton Balls by Simple Fun for Kids

Salad spinner Art Ideas

Do you have a salad spinner? Ours has never actually been used with salad, but we do love to do art activities with our salad spinner! If you haven't tried it yet, DO IT! It's always a fan favorite with my infants (and big kids!).

Here are some easy art projects using a salad spinner:

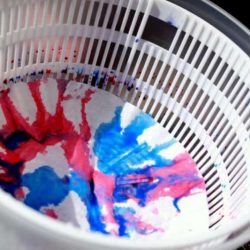
Rainbow Spin Art Painting by Toddler Approved

Spin Art Buffet Bar by Meri Cherry

Spin Art Butterflies by Toddler Approved

Spin Art Rocksby Meri Cherry

Spin Art Pinecones by Naturally Curious Children

Spin Art Heart Suncatcher by Toddler Approved

Cools Ways to Paint

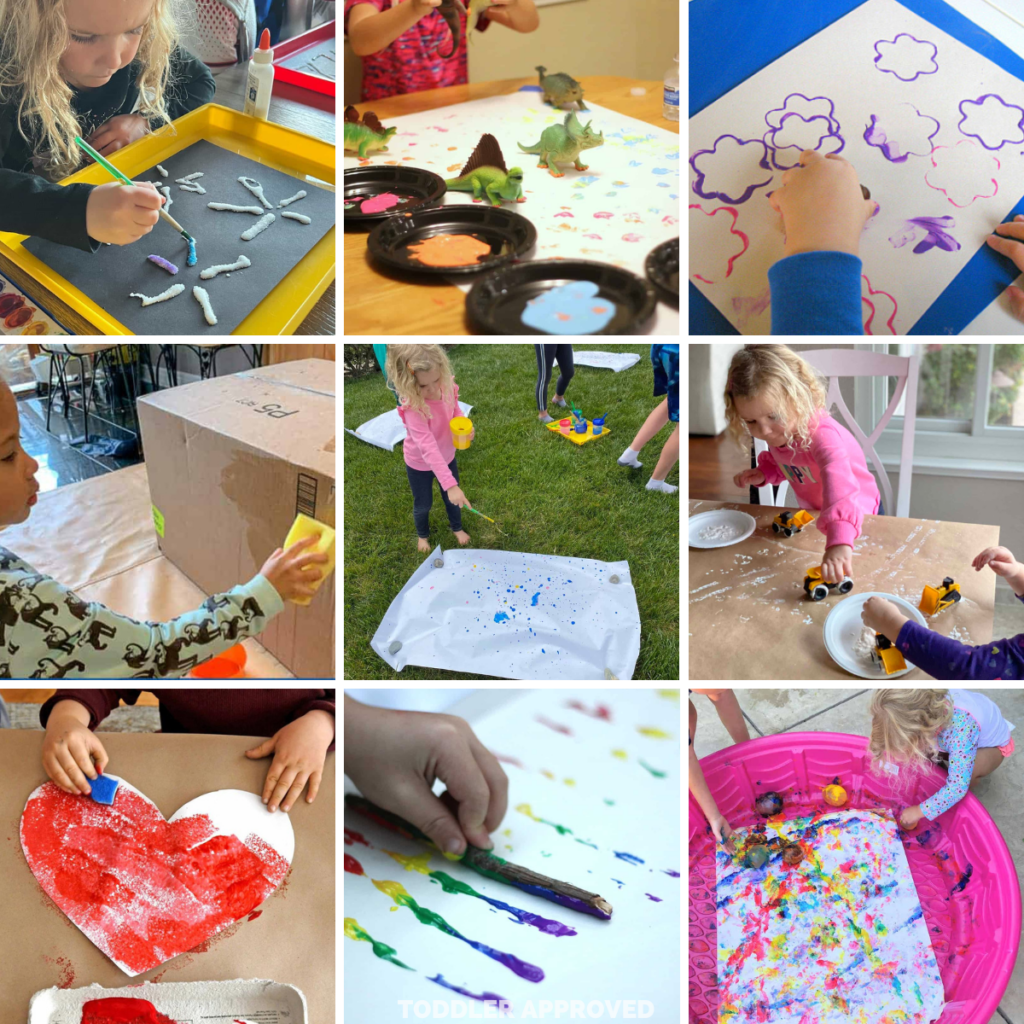
There are so many cool ways to paint! You can pretty much paint with any material... even your body! Here are a few of our favorite ways to paint. I'll bet you can think of a dozen more. Make sure to tell us about your favorite way to paint in the comments.

Here are some easy art activities using paint of all kinds:

Painting on ice by Toddler Approved

Sponge Painting by Days with Grey

Painting with Trucks by Toddler Approved

Finger Paint Color Mixing by Friends Art Lab

Painting with Bubble Wrap by The Artful Parent

Splatter Painting by Toddler Approved

Splat Painting by Toddler Approved

Painting with Dinosaurs by Toddler Approved

Painting with Cookie Cutters by No Time for Flashcards

Paint with sticksby Toddler Approved

Paint with waterby Toddler Approved

Paint with water balloonsby Toddler Approved

Paper Plate Smush Paintingby Toddler Approved

ENJOY NON TOXIC WASHABLE PAINT

MAKING YOUR OWN PAINT

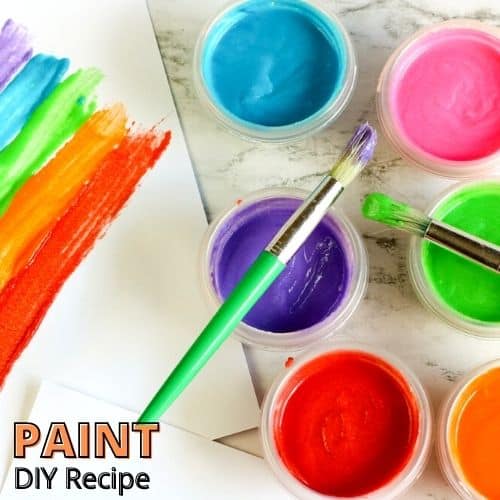
Ever wondered how to make paint? Well, making homemade paint for kids is not as hard as it may seem. All you need are a few simple ingredients and you have a morning or afternoon of fun for toddlers, preschoolers and older.

The best thing is homemade paint is quick to make, simple and budget-friendly! All our paint recipes below are for washable and non-toxic paint only. Yep, safe for baby’s skin!

You can make non-toxic paint for kids by using homemade paint recipes that source paint ingredients commonly found in your pantry. We have even included a fun edible paint recipe for you to try!

Can I use any brushes? You can use these paints with kids paint brushes, foam, or sponge brushes. Even easier, many of these paint recipes below make great finger paint for toddlers.

We have tons of easy painting ideas for you to use with your non toxic paint from bubble painting to a winter art scene. Remember, it’s not always the end product that’s important but the process of experimenting and creating. Check out process art ideas to learn more!to make puffy paint with kids 

16 WAYS TO MAKE NON TOXIC PAINT

Click on the links below for the full supply list and step by step instructions to make each non toxic washable paint.

PUFFY PAINT

One of our mostPOPULAR homemade paint recipes. DIY puffy paint is such a fun paint to make and play with for kids. Kids will love the texture of this paint with shaving foam and glue. Not recommended for younger kiddos though who may put paint in their mouth.
BAKING SODA PAINT

Simple art project with our favorite baking soda and vinegar chemical reaction. Instead of making a baking soda and vinegar volcano, let’s make homemade paint!

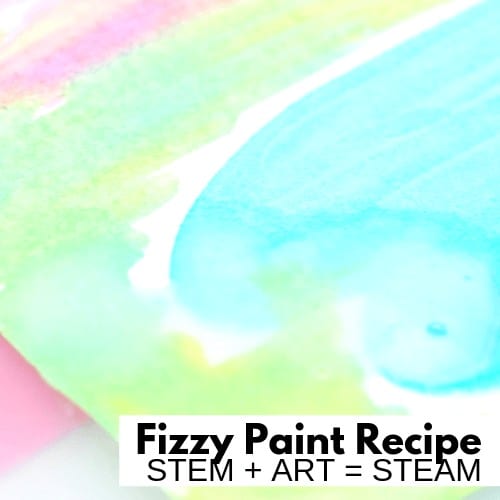
Fizzy Paint Summer STEAM

BATH TUB PAINT

A super fun homemade paint that is great for toddlers as well as older kids. Paint up a storm in the bath then dim the lights and watch it glow with our easy glow in the dark bath paint recipe.

EDIBLE PAINT

Finally, a paint that is safe for babies and toddlers to use! Edible paint is easy to make yourself or better yet show your kiddos how to mix up this super simple paint recipe.

Kids will love painting snacks or cupcakes, or use as a edible finger paint for younger children. Makes for a sensory-rich art experience for kids of all ages!

FINGER PAINT

Finger painting has so many great benefits for young children, and here’s a non toxic finger paint you can make yourself.

FLOUR PAINT

An easy homemade paint made from flour and salt. Dries quickly, and makes an inexpensive washable non toxic paint.

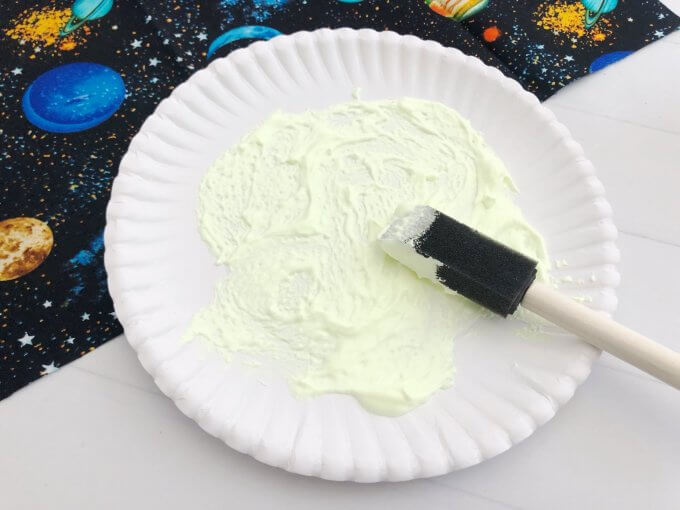
GLOW IN THE DARK PUFFY PAINT

A fun variation of our popular puffy paint recipe, that glows in the dark. We used our glow in the dark puffy paint for to paint our paper plate moons. What will you use your homemade paint for?

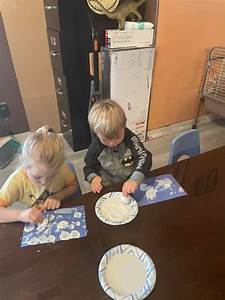
paint a paper plate with puffy paint

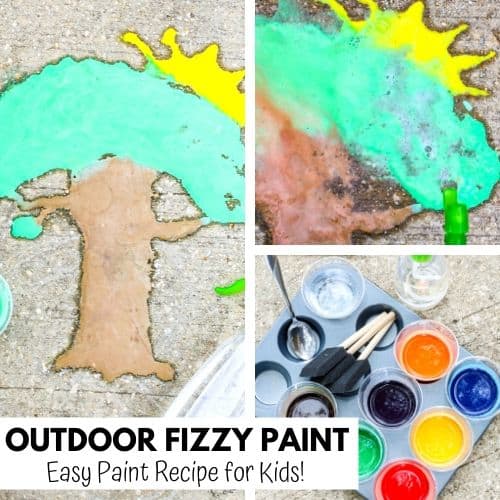
FIZZING SIDEWALK PAINT

This is an awesome way to take science outside and turn it into STEAM! Get outdoors, paint pictures, and enjoy a kid-favorite fizzing chemical reaction. What’s better than that? Plus, you can make this sidewalk paint yourself! 

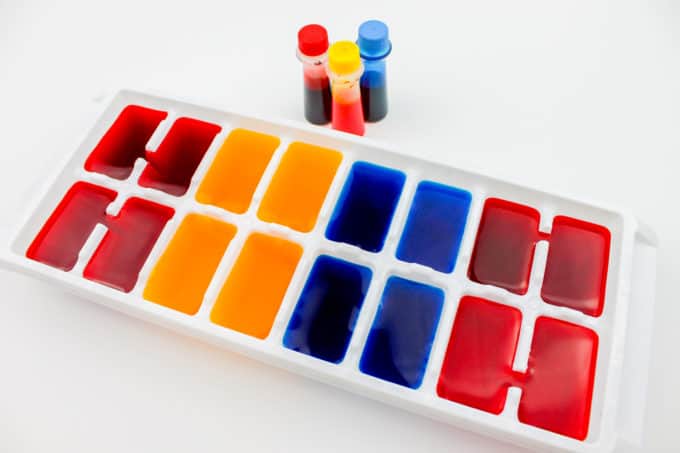
ICE PAINTS

Painting with ice is a MUST try art project for kids. It works as well for toddlers as it does with teens so you can include the whole family in the fun. Ice cube painting is also budget-friendly making it perfect for large groups and classroom projects!

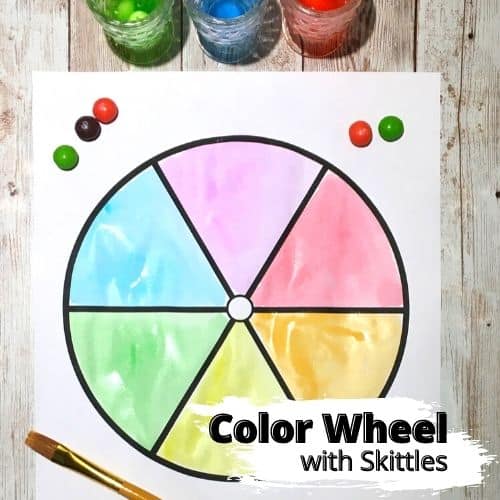
PAINT WITH SKITTLES

Make your own color wheel with our homemade skittles paint recipe. Yes, you can paint with candy!

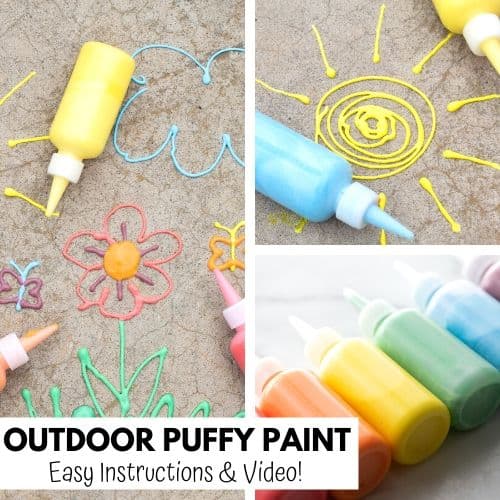
PUFFY SIDEWALK PAINT

Get creative with homemade paint the kids will love to mix up with you. Try this fun and easy alternative to the usual sidewalk chalk paint.  Plus, this paint recipe is kid tested and kid approved, and easy to clean up!

SIDEWALK PAINT

How do you make homemade sidewalk paint? All it takes is a few simple ingredients you probably already have in the kitchen cupboards. This fun cornstarch paint recipe is a must try activity with your kiddos. 

ALSO CHECK OUT: Homemade Sidewalk Chalk

SNOW PAINT

Too much snow or not enough snow, it doesn’t matter when you know how to make snow paint! Treat the kids to an indoor snow painting session with this super easy to make snow paint recipe.


SPICE PAINT

Have a go at sensory painting with this super easy scented paint. Totally natural and all you need are a few simple kitchen ingredients.


TEMPERA PAINT

Tempera is a homemade washable paint that has been used in artwork for centuries. Just a few simple ingredients is all it takes to make your own tempera paint!

WATERCOLOR PAINT

Make your own homemade watercolor paints for easy painting activities for the kiddos at home or in the classroom.


Playdough and Physics

5 tips when making taste safe, no-cook play dough at home 

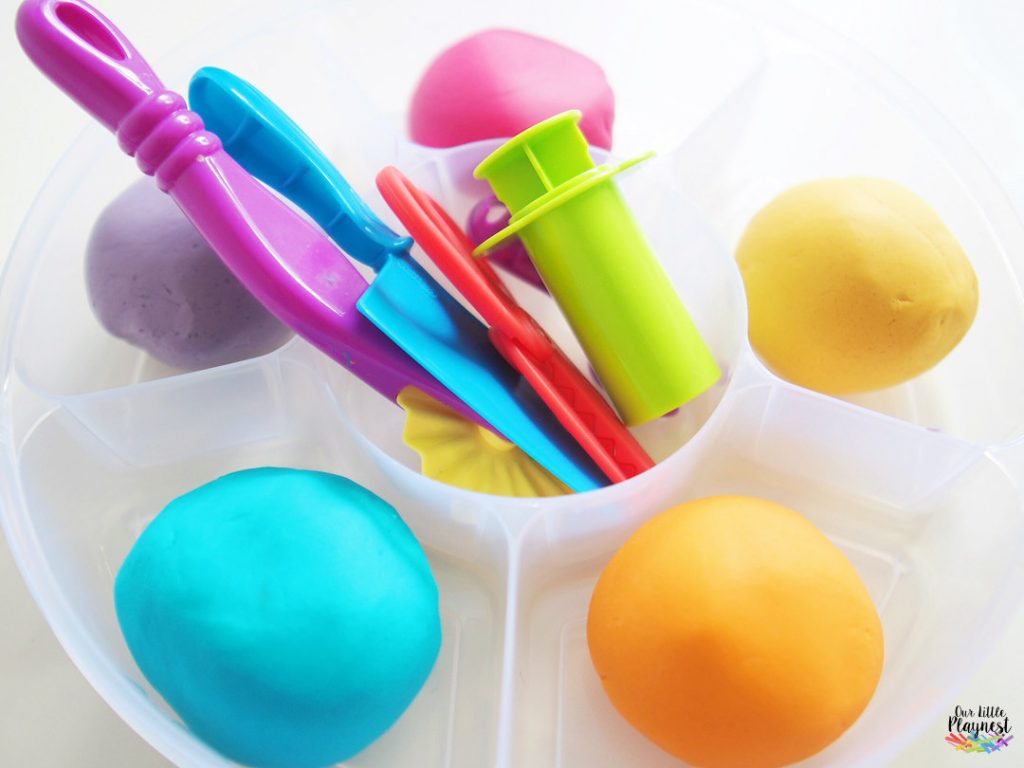
Ever since I learned how to make play dough at home, I no longer purchase play dough from the stores anymore. When my kids played with the homemade playdough I made, I felt relieved knowing that the playdough was made from taste-safe ingredients. Even if they ate it (which my toddler did!), I know they aren’t consuming any strange chemicals.

diy homemade play dough taste safe recipe video tutorial our little playnest dinosaur activity

TRIED THE ONLINE RECIPES BUT FAILED? ME TOO!

Don’t get me wrong, there are plenty of awesome play dough recipes online.

I followed the recipe but for some reason, I did not get it right the first time. In fact, I took 2-3 tries before perfecting it.

So no matter how simple and straightforward it may be, there are still some techniques involved to create the best playdough at one sitting. 

I am sharing these practical tips to help you save time and achieve the best playdough texture at your first try!

5 tips when making homemade play dough

1. Use very very fine salt.

Coarse salt takes a longer time to dissolve. The first batch of play dough I made still had undissolved salt in them because the salt I used was too coarse.

2. Use BOILING hot water.

Boil the water just before you pour it into the ingredients. It will help to dissolve the salt better.

3. Pour in small volumes of water slowly.

Do not pour the entire cup of boiling water at one go. Watch the video above and take note of the right texture as you pour the water slowly. At first, I poured in the entire cup and the dough was wayyyy too sticky.

4. Spread it out.

If the dough is still sticking after kneading and adding flour, leave it out in the air for a few hours. It seems less sticky after a while.

5. Store play dough in air tight containers.

Keep it dry (i.e. no saliva, or wet hands) and it can last up to 6 months!

diy play dough for children taste safe fine motor skills our little playnest


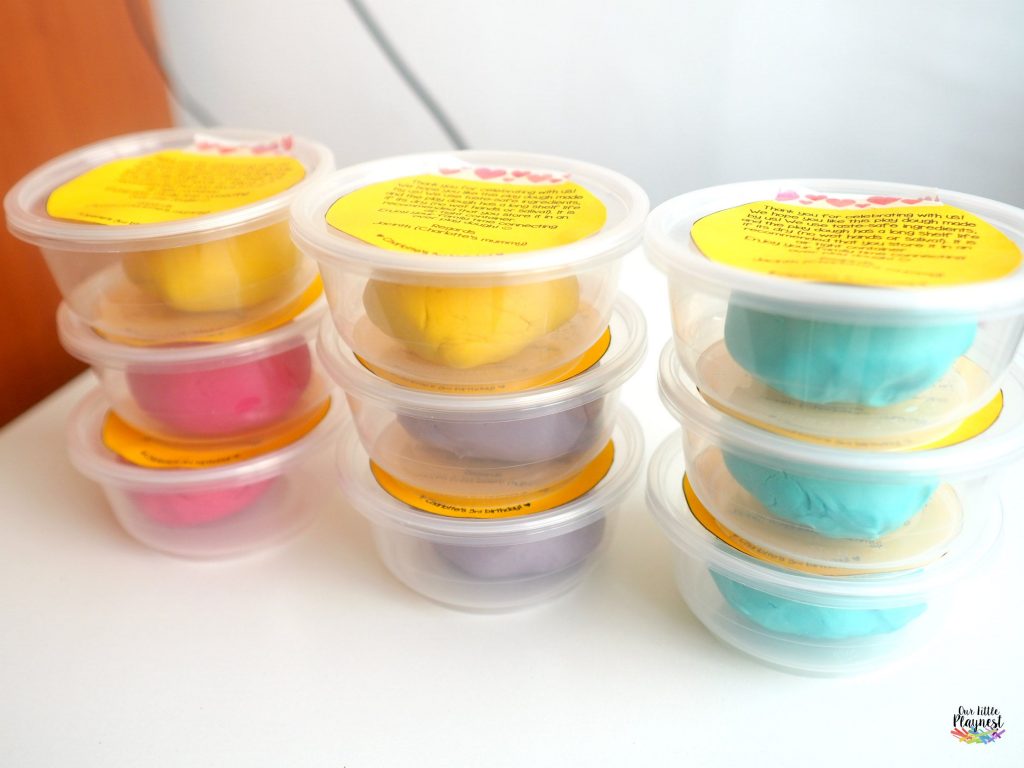
I made these play dough as party favors for my girl’s classmates.
Such a meaningful gift don’t you think?
You might be keen to check out this list of homemade play dough recipes!

What can you do with these play dough?

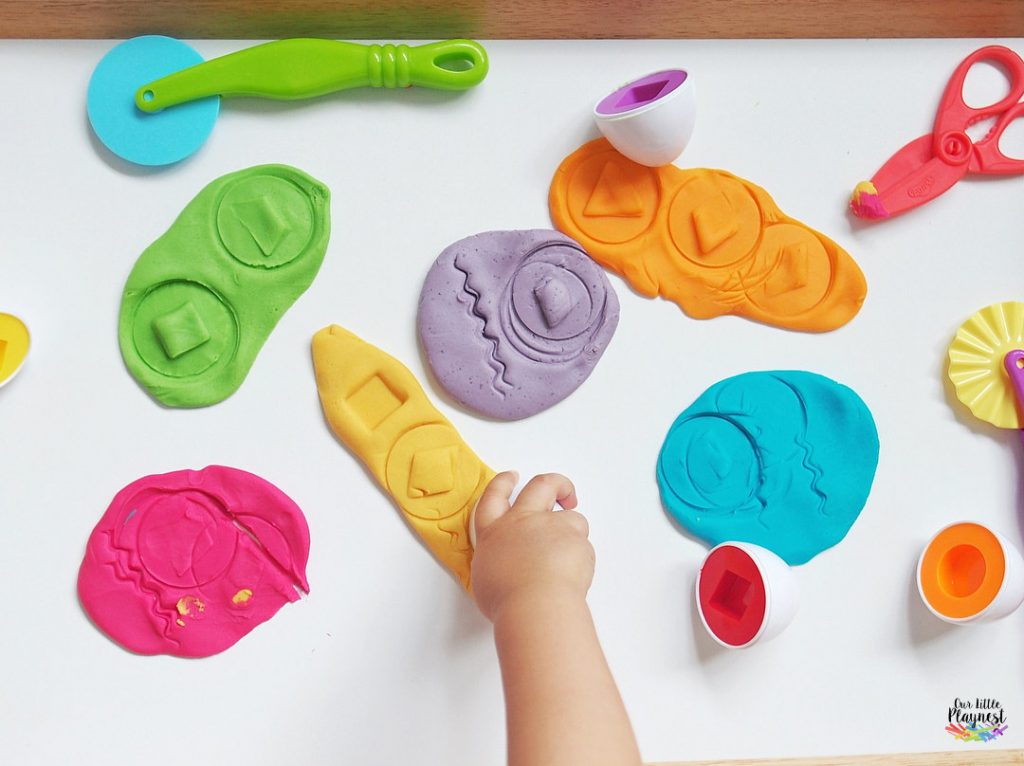
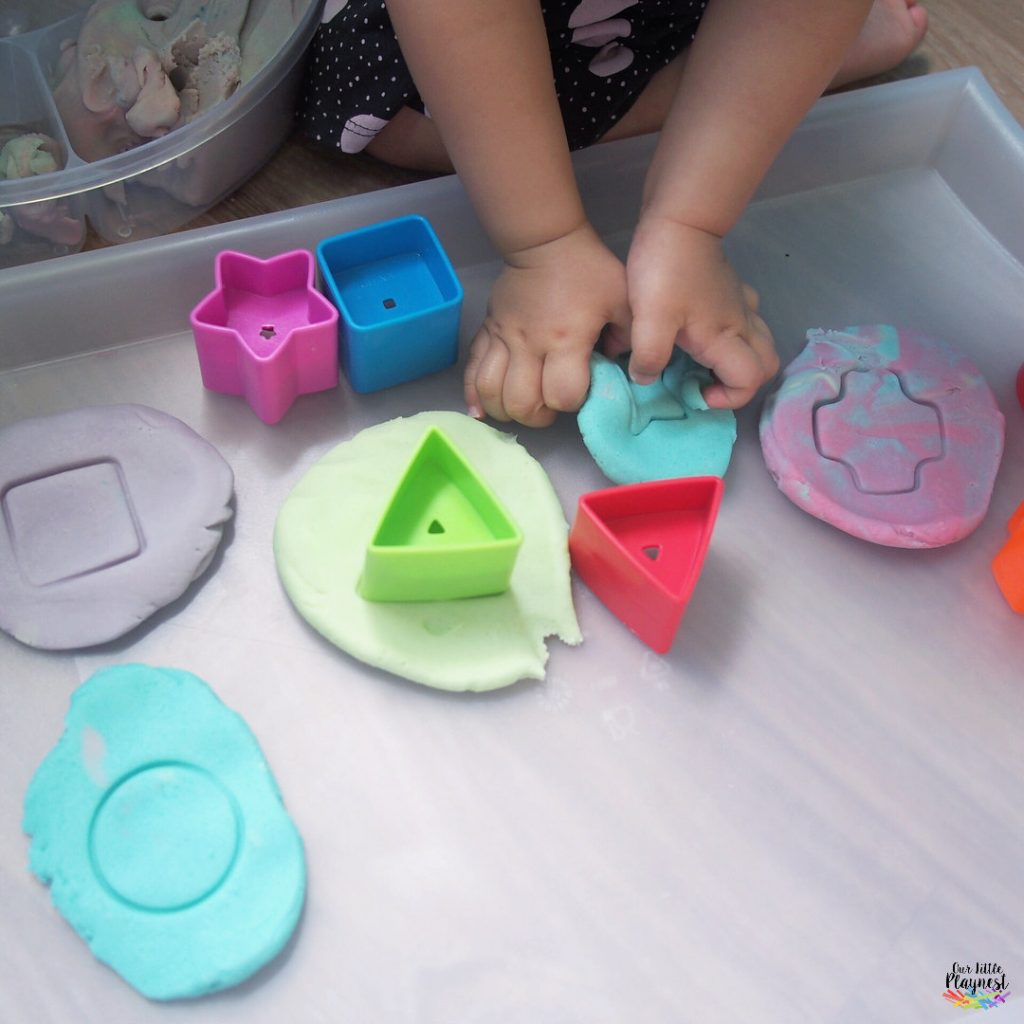
Playdough is a great tool to develop fine motor skills. Use them for play based learning, imaginative and creative play, or any STEAM activities. Get some inspiration here, or simply let your child lead the play!

Involve the kids

The best thing about no-cook play dough is that you can involve your kids! They will have fun and learn as you guide them along. Enjoy making these play dough, and let me know if the tips have been useful for you!

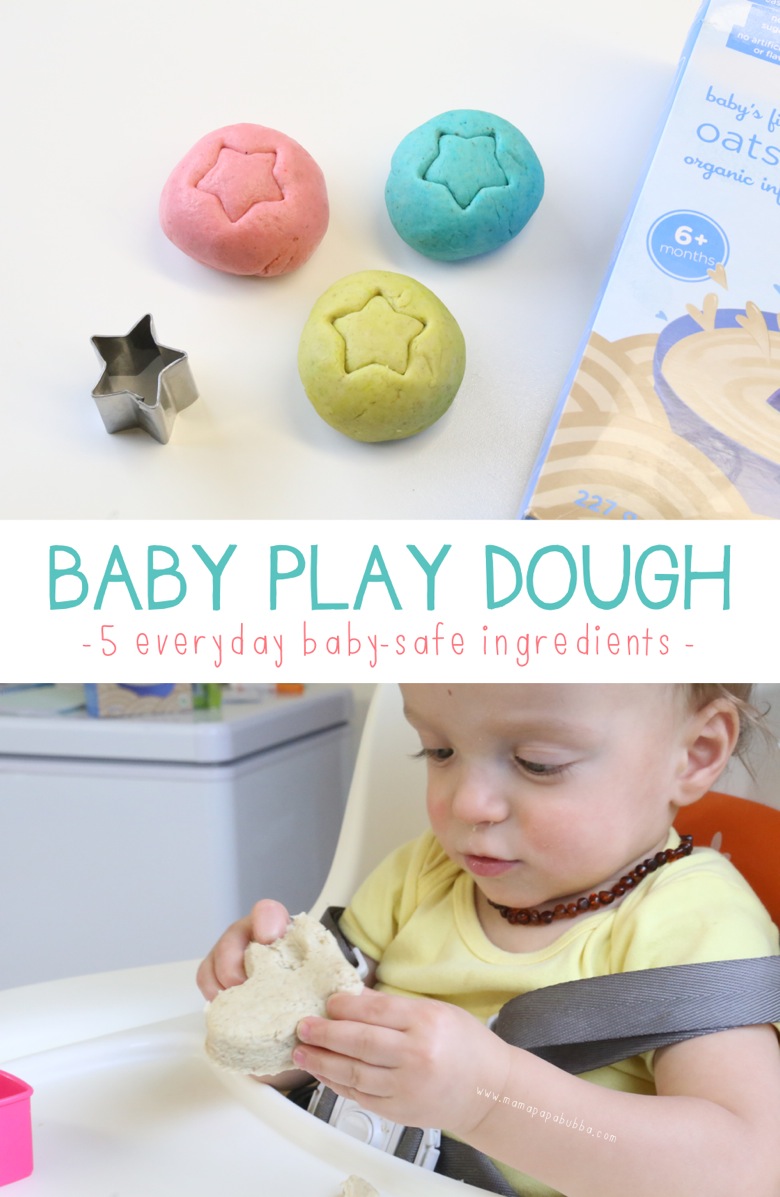
Baby and Up Play Dough

Baby Play Dough | Mama Papa Bubba

If you know me well, you know that my love for dough runs deep.  I’ve loved it for ages… It was a total lifesaver while babysitting and nannying as a teenager and university student, it was a staple in my Kindergarten classrooms when teaching, and it’s always out and available in our house now that I’m a mama. 

Over the years, Miss G and I have created some pretty amazing recipes…  Amazing sand dough, gorgeous starry galaxy dough, lemony dough made with real lemon zest, chai tea latte dough, super soft chocolate dough, celebration dough full of foil glitter, the most fragrant ever gingerbread dough, vanilla mint dough {one of my favourite ever scent combos}, pumpkin spice dough made with real pumpkin…  The list could go on.

Natural Play Dough Recipes - with Nature Play Ideas

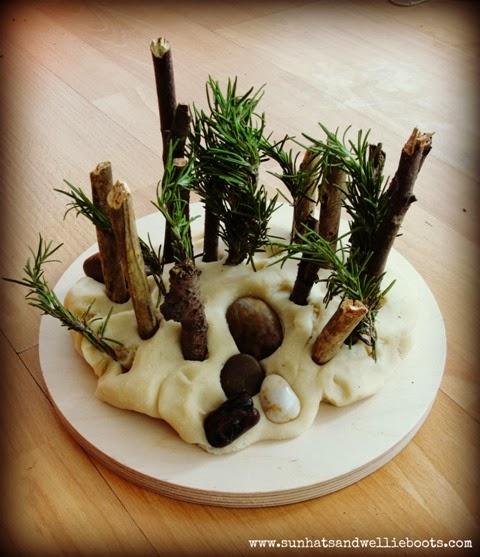
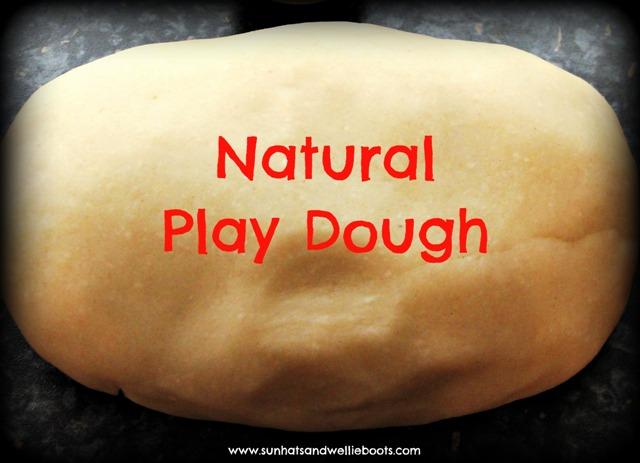
Today we're sharing some natural play dough recipes along with some great nature play accessories. When combined they provide an inexpensive activity that takes very little time to put together, & offers many opportunities for open-ended imaginative play, sensory exploration & discovery. The learning possibilities are endless.

To make our basic natural play dough we use our no-cook recipe & substitute the cream of tartar for lemon juice.

Ingredients:

2 cups of flour

1 cup of salt

Juice of half a lemon

2 tablespoons of oil (we use olive oil)

1-2 cups of boiling water (or natural food dye)

Method:

Mix all the dry ingredients together in a large bowl.

Add the oil and hot water and mix well with a wooden spoon until a smooth dough is formed.

Give the dough a good knead & it's ready to use.

To add colour to our natural play dough we use a range of fruit & vegetable dyes. Simply add the fruit/vegetables to a pan with one cup of water, & simmer on a medium heat for around 30 minutes. Using a sieve strain the contents of the pan & use 1-2 cups of this hot liquid with the play dough recipe above.

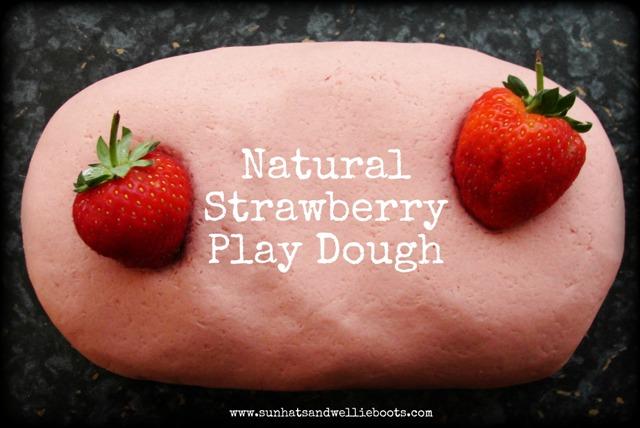
Our natural strawberry play dough was made following the recipe above (using 2tsp of cream of tartar instead of lemon), not only does it have a smooth texture, but it smells like strawberries too!

There are a variety of natural dyes you might like to try.

Nature dyes for play dough

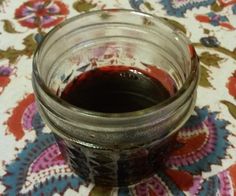
Strawberries or cherries - pink dye

Raspberries or beetroot - pink to red dye

Plums - pink to red dye

Blueberries - blue to purple dye

Blackberries - blue to purple dye

Red cabbage  - red to pink dye

Onion (with yellow skin) - yellow to orange dye

Carrots - yellow to orange dye

Fennel leaves - brown dye

Paprika - orange to brown dye

Turmeric - yellow to gold dye

Oak bark - deep brown


To add natural scentsto your dough try

Ginger

Cloves

Mixed spice

Cinnamon

Allspice

or add a few drops of essential oils (lemon, rose, lavender, rosemary, peppermint)

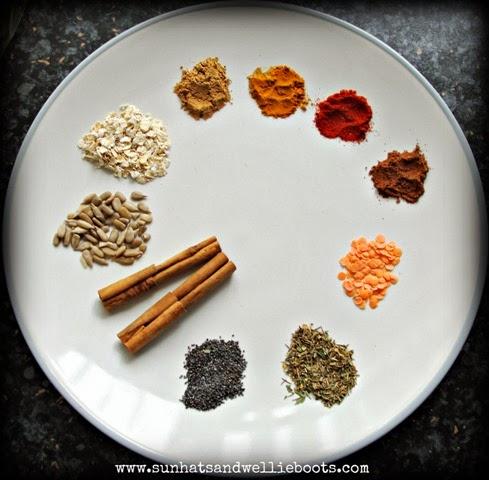
For different textures try adding

Poppy seeds

Cumin seeds

Pearl barley

Oats

Sunflower seeds

Dried mixed herbs

Lentils

Split peas

Bulgur wheat

Sand

Fresh herbs

Pop corn kernels

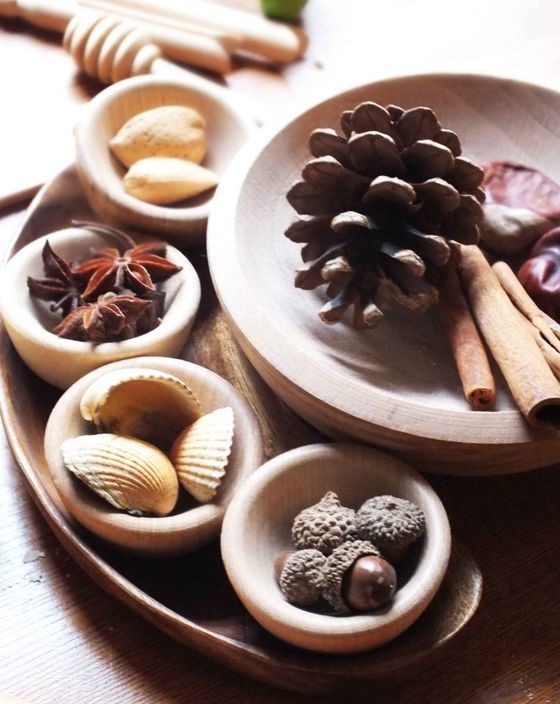
The most popular play dough accessories in our house have been gathered from the garden, or on woodland walks & beach trips. All these natural objects are great for sparking creativity & imagination, & provide a wide range of textures & scents to explore.

Our favorites are; fresh herbs, bay leaves, dried flowers, leaves (fresh & dried), grass, daisies, corn, barley, dried beans, flower seeds, shells, pebbles, & small pieces of driftwood.

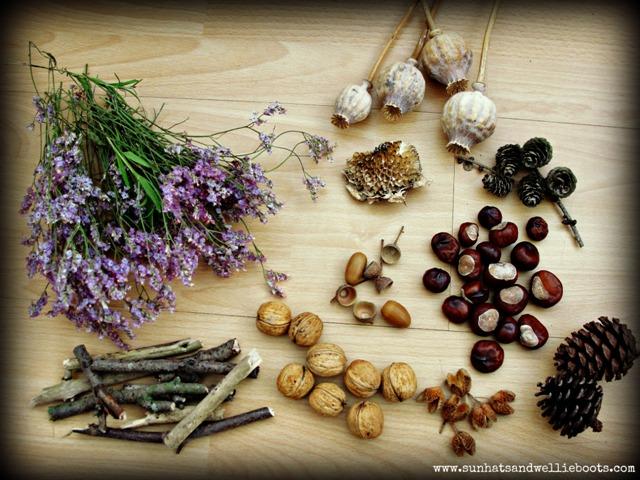
Natural objects are also great for exploring patterns & shapes in the dough. We've found dried flowers (sea lavender, poppy heads, sunflower heads), pine cones, conkers (especially as they dry & wrinkle), acorns, beechnuts, walnuts & twigs/sticks all produce some great shapes & patterns.

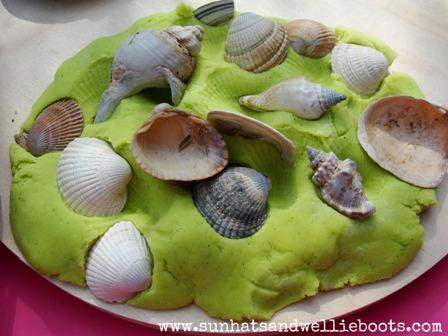
My little girl's current favorite play dough accessories are shells! She is fascinated by the patterns they produce in the dough, & has used them in her small world play as trees, flowers, fish & fairy chairs!! I love how natural items can be transformed into so many different objects in a child's mind! They offer endless freedom to explore, imagine & create.

Using natural items also enables children to explore, & become familiar with the yearly patterns & changes that occur in the natural environment.  Our lavender & sunflower seed dough gave us the opportunity to explore life cycles, as did our harvest dough.


Natural dough has so much to offer, & is so simple to make! Why not have a go at making some this week & take the Play Dough Pledge with us!

Color Mixing with Playdough

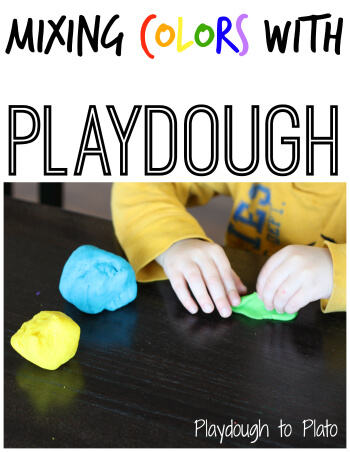
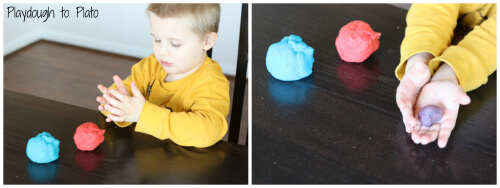
*We love to play our favorite color game to practice the names of colors and do lots of color mixing experiments to see what happens when we mix together two of the primary colors {red, blue and yellow}. Of all the color mixing we’ve done, our playdough color game was one of my boys’ favorites. It was hands-on, squishy and created fun new playdough colors they used to create sculptures later. And speaking of Playdough, check out our super fun Playdough Mats!

Color Game: Color Mixing with Playdough

Making Our Playdough

First, we grabbed our largest pot and mixed together the ingredients for a triple batch of our favorite play dough recipe. I scooped one third of the uncooked mixture in a separate pot and placed another third of the mixture in another pot. That made three pots of the play dough mixture. It created a little extra cleaning  but it helped make sure that the colors didn’t mix before we were ready.

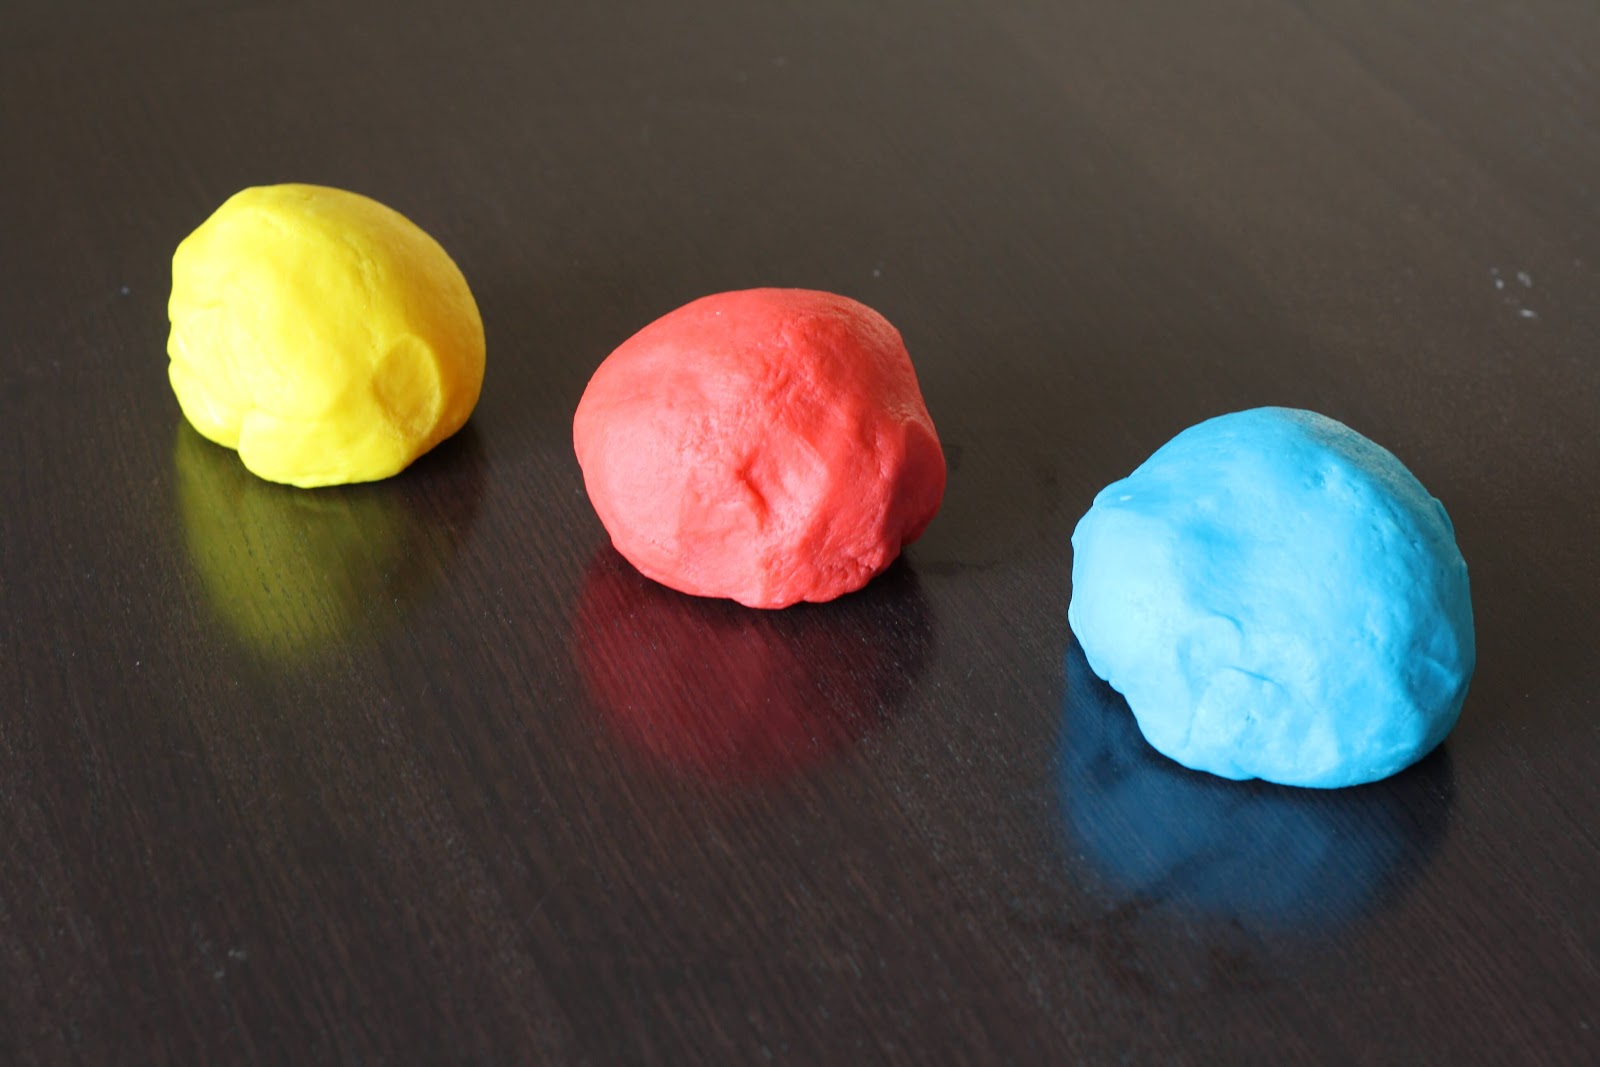
The boys helped me add a teaspoon of red gel food coloring to one pot, a teaspoon of blue in the second portion and a teaspoon of yellow to the last third. We mixed the food coloring into each batch and then cooked them.

Color Game: Color Mixing with Playdough

Making Secondary Colors

After the play dough cooled for several minutes, I gave my four year old one ball of red and one of blue. “What do you think will happen when you mix these two colors together?” I asked.

He thought for a moment. “They’ll make a new color! I bet it’ll turn green.”

“Let’s see!” I said. My son took pinches from both play dough balls and began squeezing them together. A minute later he was thrilled to start seeing the result.

Color Game: Color Mixing with Playdough

He was so excited by the magic of it all he didn’t even care that he’d guessed incorrectly. My son eagerly switched the ball of red for a ball of yellow and started mixing again.


Our mixing experiment wrapped up when he squished together red and yellow to make orange.Combining play dough was a simple and exciting way to start learning about secondary colors.

More Playdough Fun

Want to continue the fun? It doesn’t have to be over!  Check out our Playdough Mats in our shop!

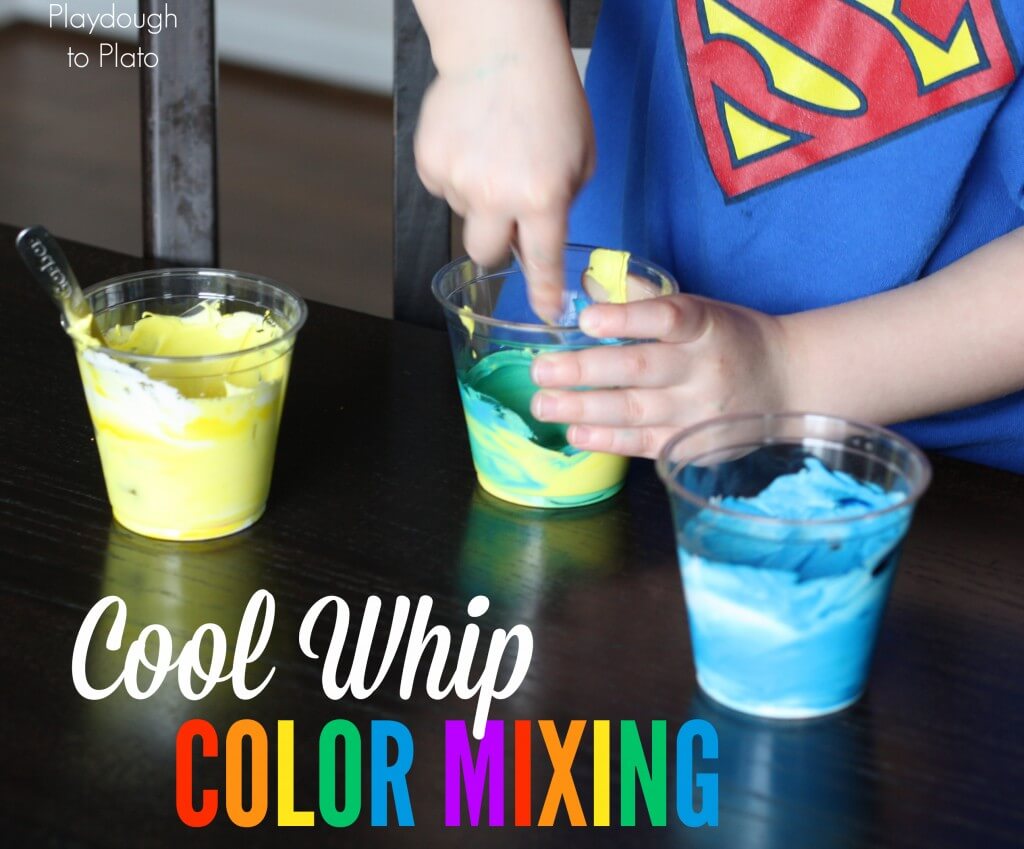
Fun way to help kids learn colors. Cool Whip Color Mixing! {Playdough to Plato}

10 SUPER EASY PLAY DOUGH STEAM ACTIVITIES

Impact and Physics

(Download a FREE printable version of these activities to share with families & friends)


1. Smash it with your hands.

This action is a great opportunity for pure sensory exploration. Start out with small amounts then increase. This is what I refer to as “making a playdough patch”. They will be able to use this skill almost every time you bring them playdough        

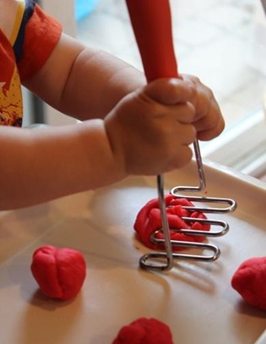
2. Smash it with a tool. 

Potato smashers work well, and there are so many different kinds.

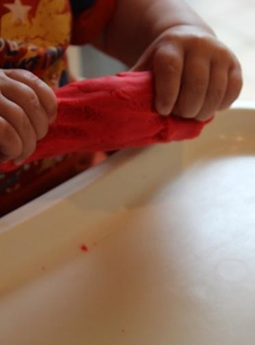
3. Pull it apart. 

This is a good precursor for learning to tear paper later on.


4. Roll it with your hands.

Don’t expect your toddler to be able to roll a ball with coordinated motions at this age. Instead help them practice simply rolling the play dough back and forth to make an oblong form (snake, worm, hot dog…whatever you want to call it). This can be done between their hands as pictured below, or they can practice rolling it back and forth while the play dough is on the table (using either one or both hands).

5. Roll it with a tool

-Hands can be placed either directly on top of the rolling pin, or on the outer handles. There are benefits and challenges both to using full-sized rolling pins (as pictured below) as well as kid-sized play dough rolling pins. Don’t have a rolling pin? Use the side of a firm cup to roll instead.

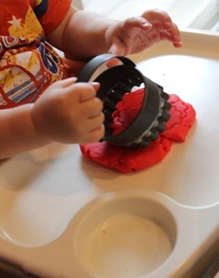
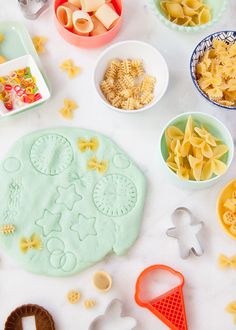
6. Use cookie cutters

-I love using biscuit cutters with handles (as pictured below) for kids at this developmental stage because they are easy to grasp and push down on, but you can also use regular old cookie cutters. Don’t have any cookie cutters lying around? Simply flip over an open cup and show your toddler how to press it down into the play dough to make circles.      


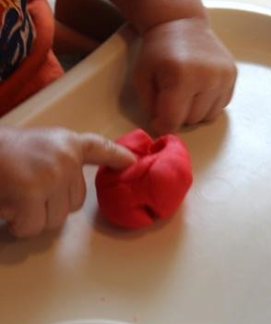
7. Poke it with your fingers

Fun way to explore while strengthening those index fingers.

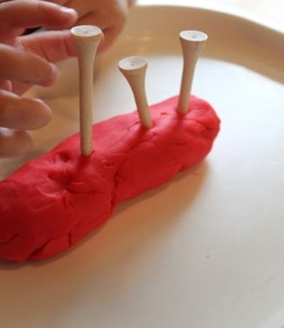
8. Poke it with golf tees

Golf tees are great because they’re not sharp and they are just the right size for toddler hands. Don’t have golf tees? Try using straws that have been cut in half instead (thicker straws meant for milkshakes/smoothies might be easier at this stage).

9. Decorate it with baby safe items-

Older toddlers might enjoy hunting for partially (or fully) hidden items such as coins or beads within a lump of play dough. Just be sure you are wise about selecting items you are confident your toddler will not put in their mouth.


10. Make fun impressions in the play dough

 
-Gather some items from around the home and in the yard…leaves, pine cones, sturdy flowers, etc. Encourage your child to press them into the playdough, leaving impressions of the items. Pressing things into playdough is fun for kids to see the impression left behind. We always giggle when we use a household item for crafts. It makes them feel clever.

Salt Dough Playdough Stamps

June 28, 2016 

My focus this year is on experiences.  I want my little ones to have as many experiences as possible!  I want them to touch, see, explore, play with and experience as many things as possible.  With a strong base of experiences established, and a healthy dose of curiosity preserved, I know it will help them with all areas of their lives.  For now and the future.  And it is fun.

We have been exploring and playing a lot with textures lately.  We made these textured owls (which were a hoot!).  And we have been playing with salt dough, play dough, and clay almost daily.  I was mentioning to John (okay, I was complaining) that I wish we had some sturdy stamps to use with out dough.  Some durable ones that would stand up to time and makes some really neat textures in the dough – but anything I could find was very expensive!  The very next day, as we were playing with salt dough I realized a very simple solution.  We could very easily make them!

I made a very simple, incredibly durable, and completely individualized set of salt dough stamps for well under $1.

And it was fun!  At rest time I whipped up a batch of salt dough.  

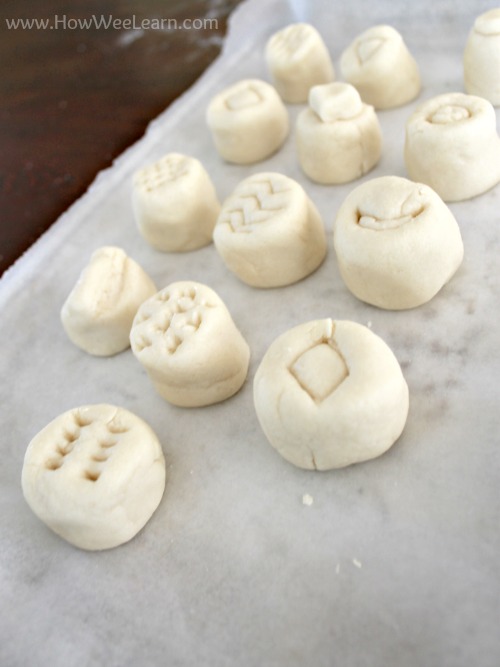
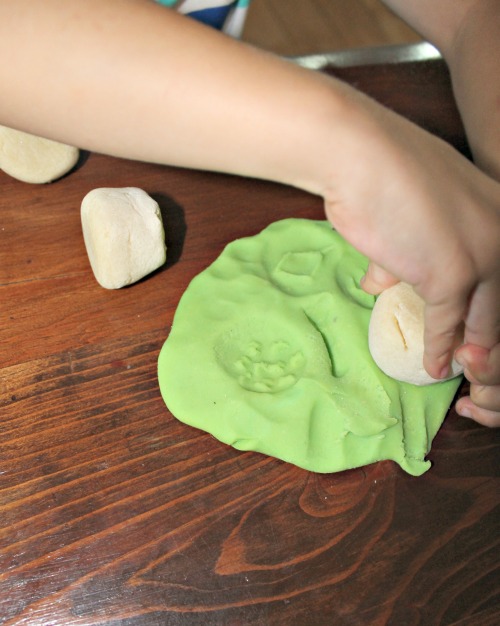
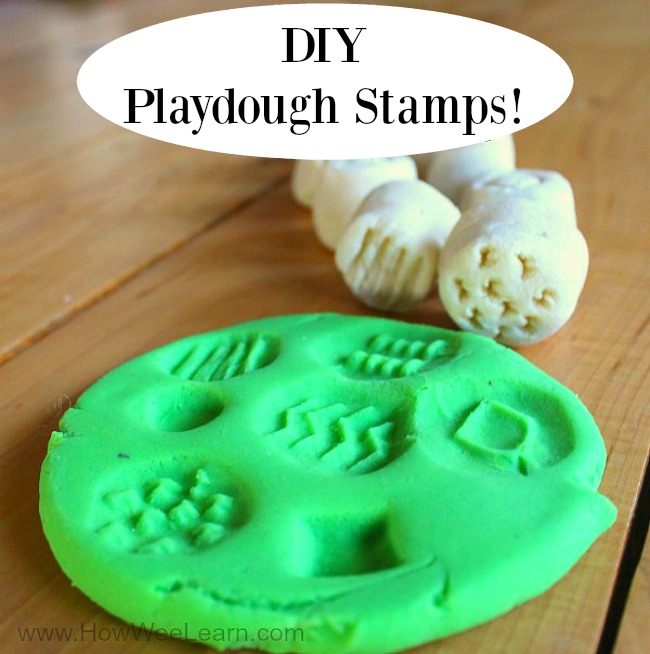
I simply grabbed a small handful of the salt dough, rolled it into a little thick snake, and flattened the ends on the table top.  I opted to make these stamps quite chunky, ideal for my toddlers little hands, and durable too.  Yes, durable seems to be the name of the game with these little boys of mine.

how we learn with salt dough

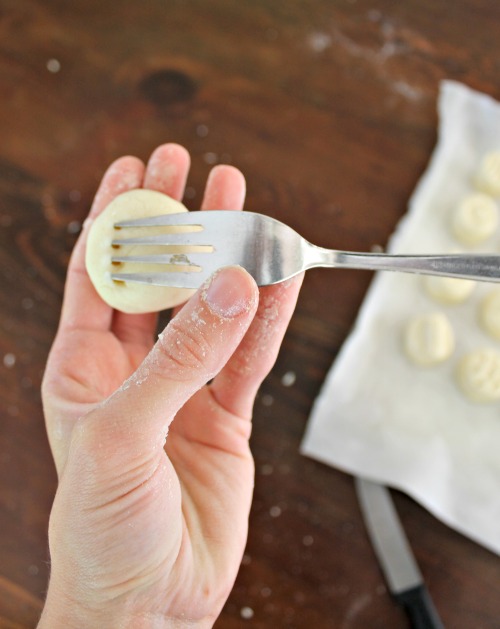
Next, I used a sharp knife and a fork to make different marks, lines, and dots.  Since my little ones are quite enjoying playing with textures that was the focus of these stamps.  I also made a few shape stamps, and a little smiling mouth too.  I tried to make a chicken, but failed miserably.  Of course if you are extra artsy you could do anything!  (And maybe please make me a chicken?)

how we learn about texture

I made shape stamps in 2 ways.  First of all I carved the shape into the stamp with a sharp knife.  The second way was to make the little shape out of salt dough and stick it to the top of the stamp.  Both work very well, and give very different imprints – again giving my little ones the experience of what shape, outline, and make which imprints in dough.

I then baked them on a very cold, chilly, autumn day in the oven set to 250 for 3 hours.  I made sure they were very dry.

And that’s it!  Well, actually of course, that was just the beginning … then we played with the stamps.  My little ones have been playing with depth, texture, improving fine motor skills, practicing patterns, using descriptive words, and experiencing oodles through open play with these little stamps.

how we learn, playdough stamps

A simple, inexpensive way to provide my little ones with some great experiences ~ and all for under $1.  That makes any Mama happy! 

Recommended
Recommended Content

DIY playdough stamp new

Fun Summer Playdough Activities for Kids!

Recommended Content
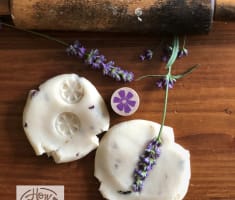
Lavender No Cook Homemade Playdough: A Soothing Sensory Play Experience

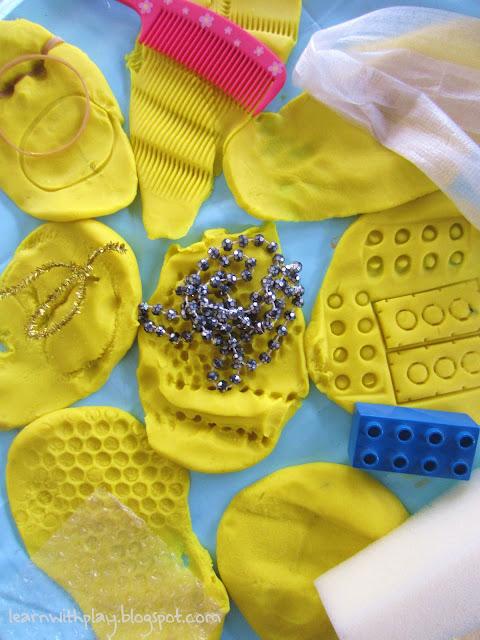
Playdough Imprints. Texture and Pattern Exploration

On top of the sensory experience, this playdough imprinting STEAM activity also encourages development of fine motor skills, language skills, processes, exploration and textural differences. All important for children learning about the world around them.  

kids activities, activities for children, playdough activity, playdoh activity, learning about textures, pattern playdough, texture playdough

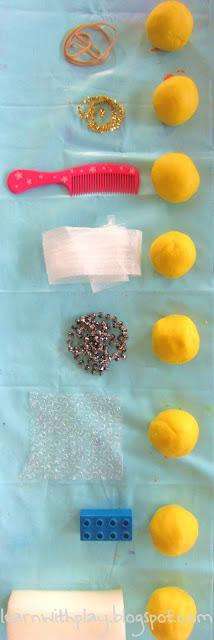
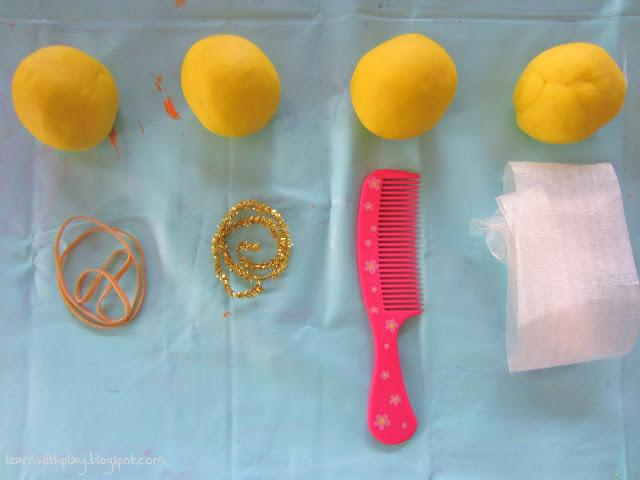
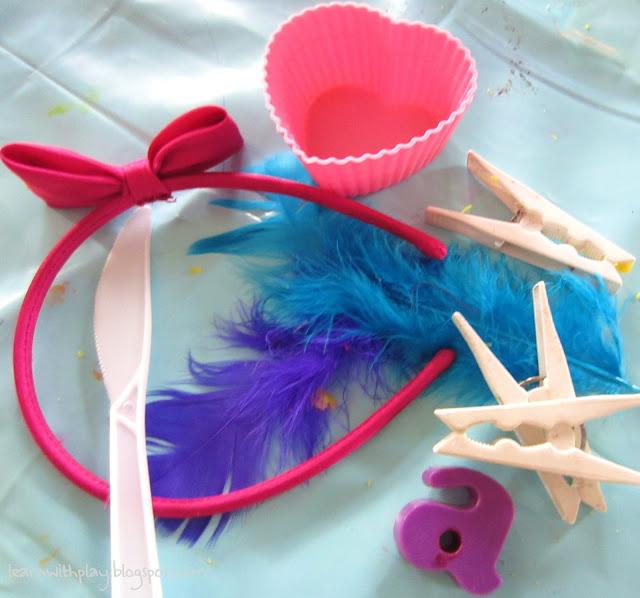
 Materials: Playdough and a variety of different materials collected from around your house that will create different textures and patterns.

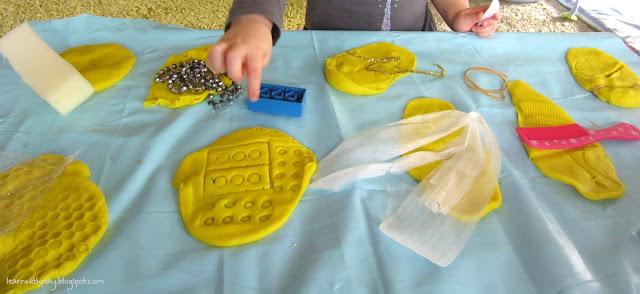
I set it out here as an Invitation to Play.


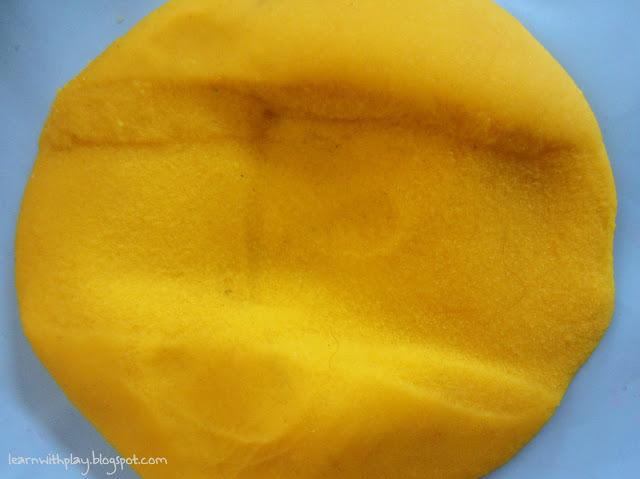
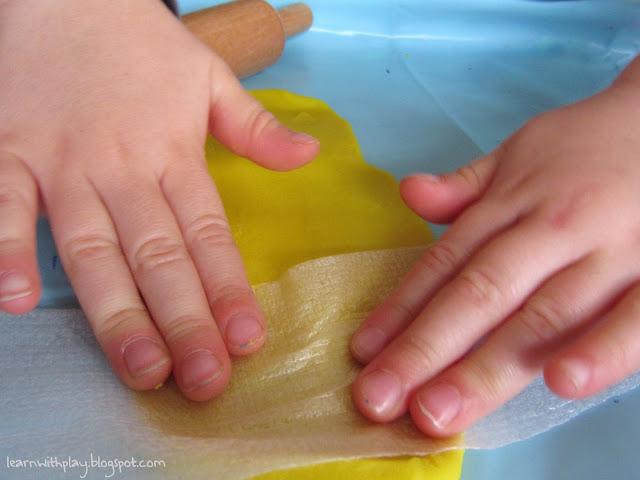
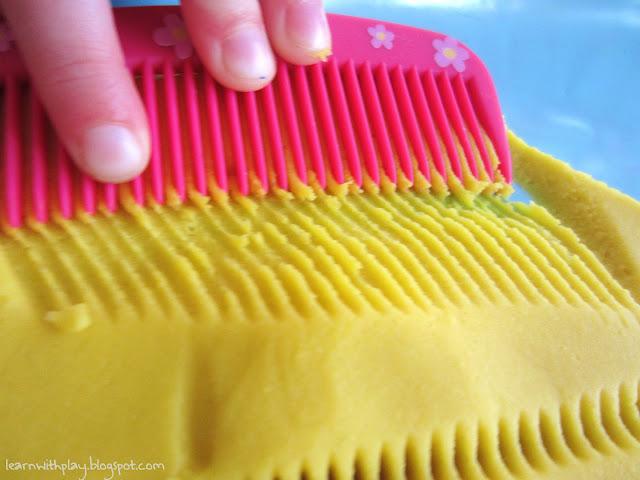
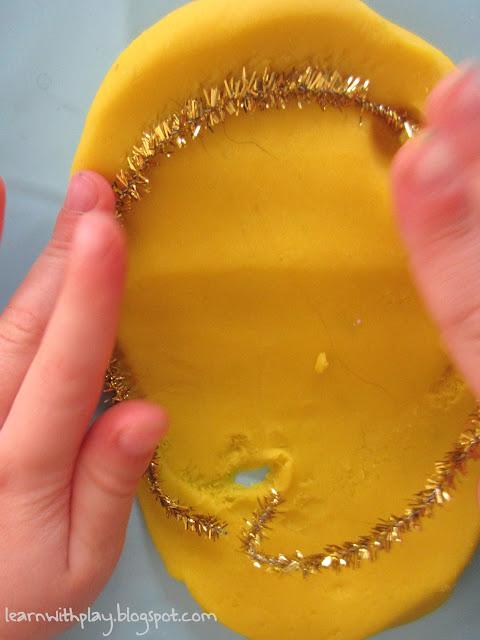
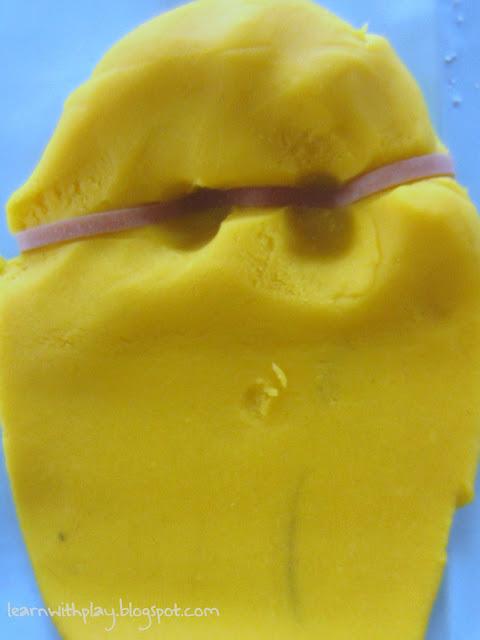
 Imprinting with Rubberbands, Pipecleaner, Comb and strip of Packing material (polystyrene wrap)

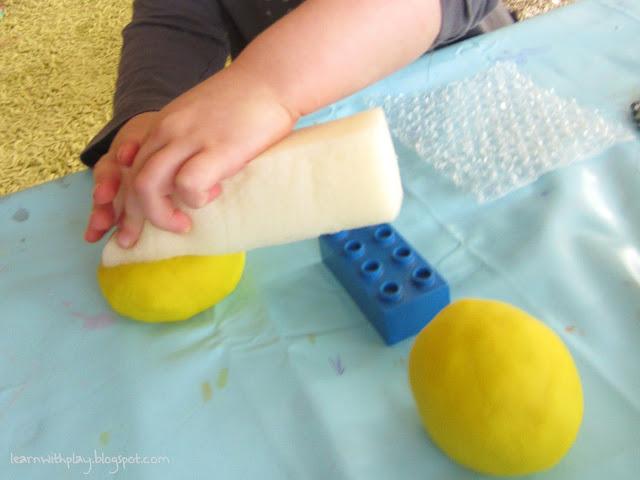
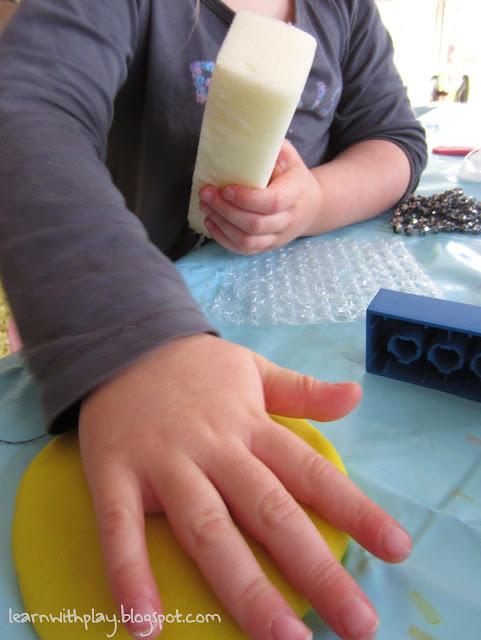
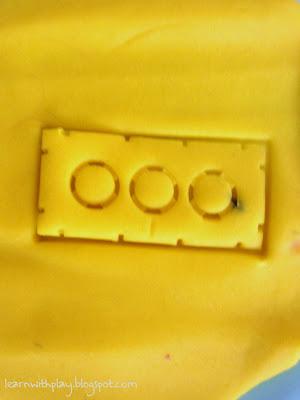
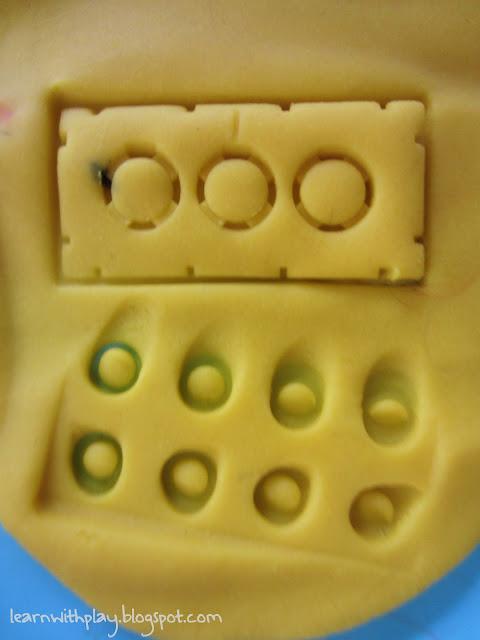
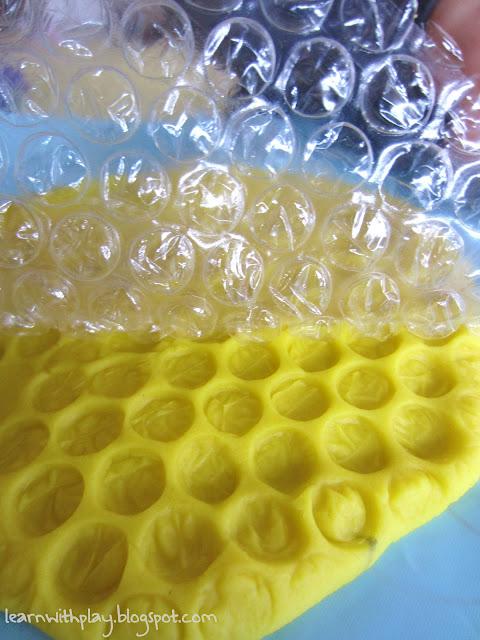
 Imprinting with Beaded Necklace, Bubblewrap, Duplo brick, Foam

 Straight into it


 Realizing that it should be flat first

It had a slight fuzz texture and a rectangular shape. She wasn't all that impressed

 How about the duplo?


One side looked like that. What about the other side?

 Oooh, this last one looked cool! We noticed how the thin yellow playdough appeared green on top of the blue mat

 We assumed this one would just come out with holes in it. The extra textures inside the holes was unexpected and delightful. She noticed each one was different. These were due to the creases

 The beads made different prints depending on how they were pressed into the playdough

Because of how thin this material is, the biggest imprint was from fingers!

 Here we talked about grooves and ridges. It also made dots. Very cool

 This left quite a fuzzy texture and she noted the imprint could be in any shape she desired

 I wasn't expecting her to put the rubber band on like this

She enjoyed looking at and touching the variety of patterns and textures. They were all so different

 Ask your child, which was their preferred/favorite pattern/texture. Why?

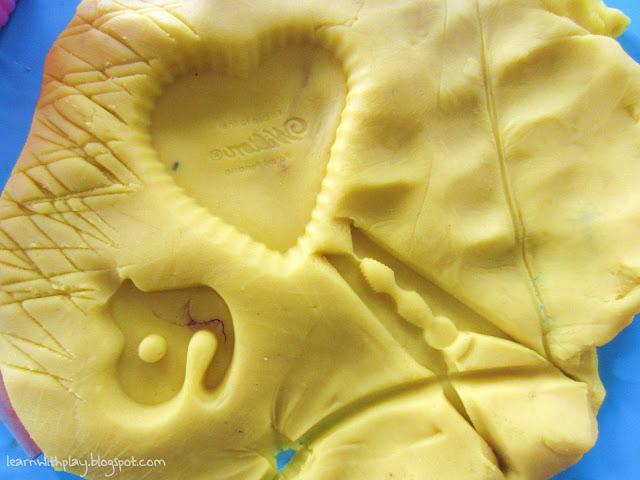
 Then I sent her on a hunt to find things around the house that she wanted to test the pattern and texture of. This is what she returned with.

 So many exciting and varied prints. The ideas that came to mind from this were endless...


How else can you play with these materials?

Handy Tips:

- Extend this activity by asking your child to predict what they think the imprint will look like. What different textures and patterns can they achieve with the same material?

- Create a picture or pattern using the different indentations from various materials

- Use new language and descriptive words like, "textures," "grooves," "ridges," "indentations" etc This will help with their language development.

-Ask questions to help connect their understanding using vocabulary to give them words to describe what they're experiencing, eg. "What pattern do you think this will leave?" "What shapes can you see on this material?" "What would happen if you pressed the other side in the playdough?" "How could you make a different texture with this material" etc

- Listen to your child talk as they go through their experiences. This will help you determine where they are at with their learning, knowledge and understanding and help you to develop the activity (or future activities) to their level and interests.

- Repeat. This activity can be repeated time and time again with a different end result each time. Mix around and change some of the materials that you provide each time to inspire new ideas.

Playdough nature landscapes

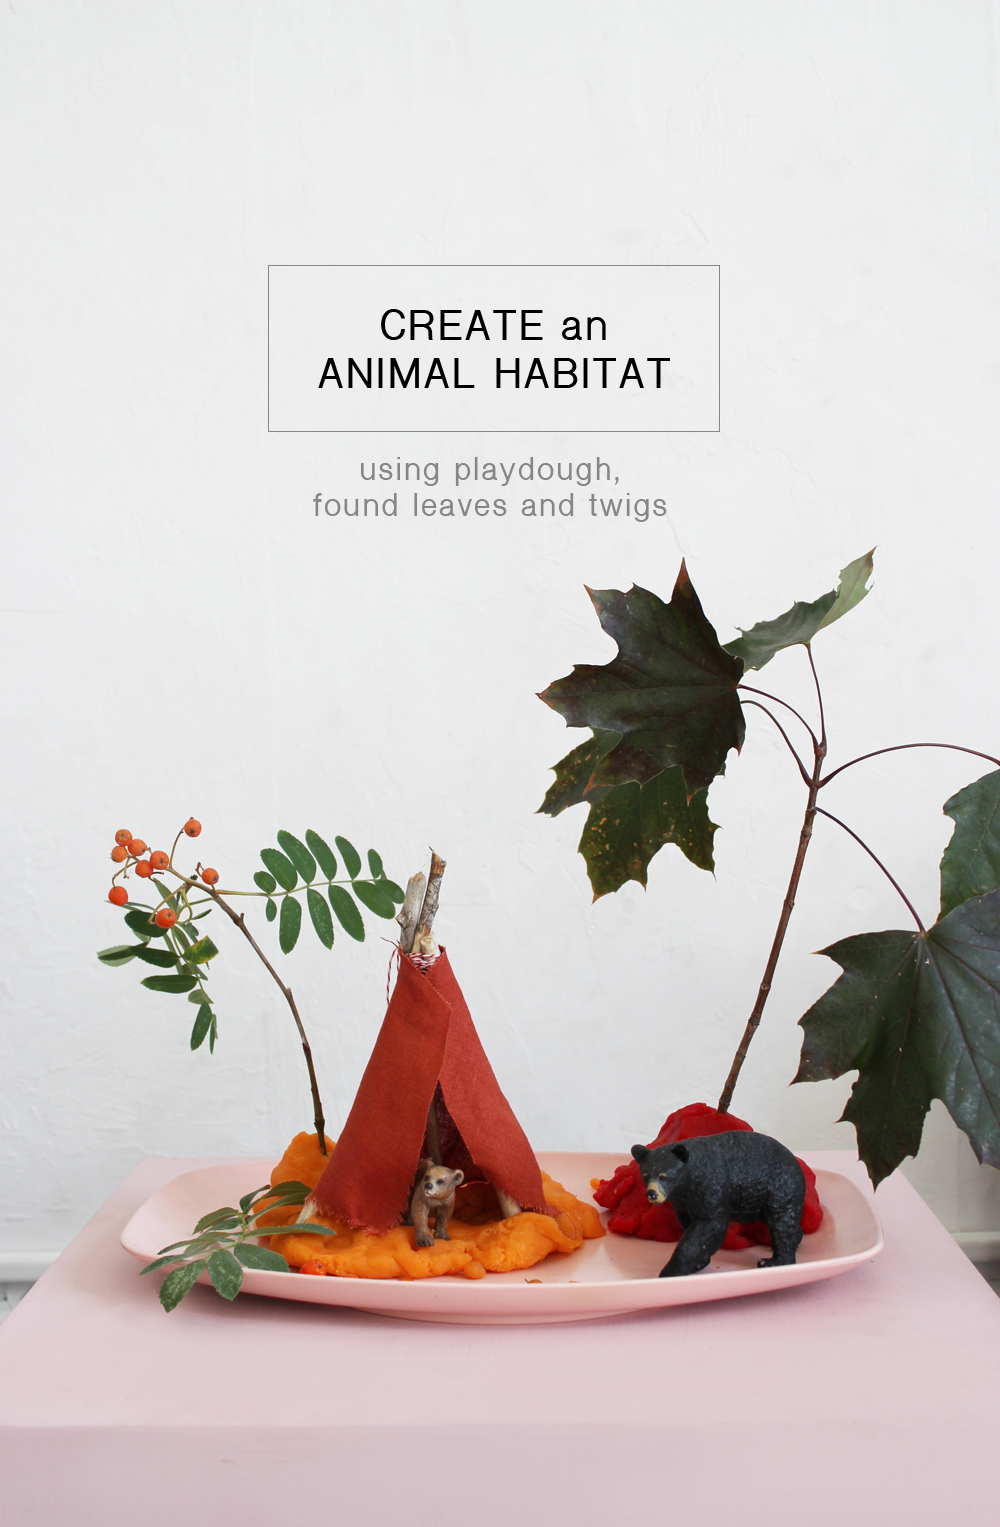
MAKING AN ANIMAL HABITAT

WITH PLAY-DOUGH,
LEAVES AND TWIGS

1

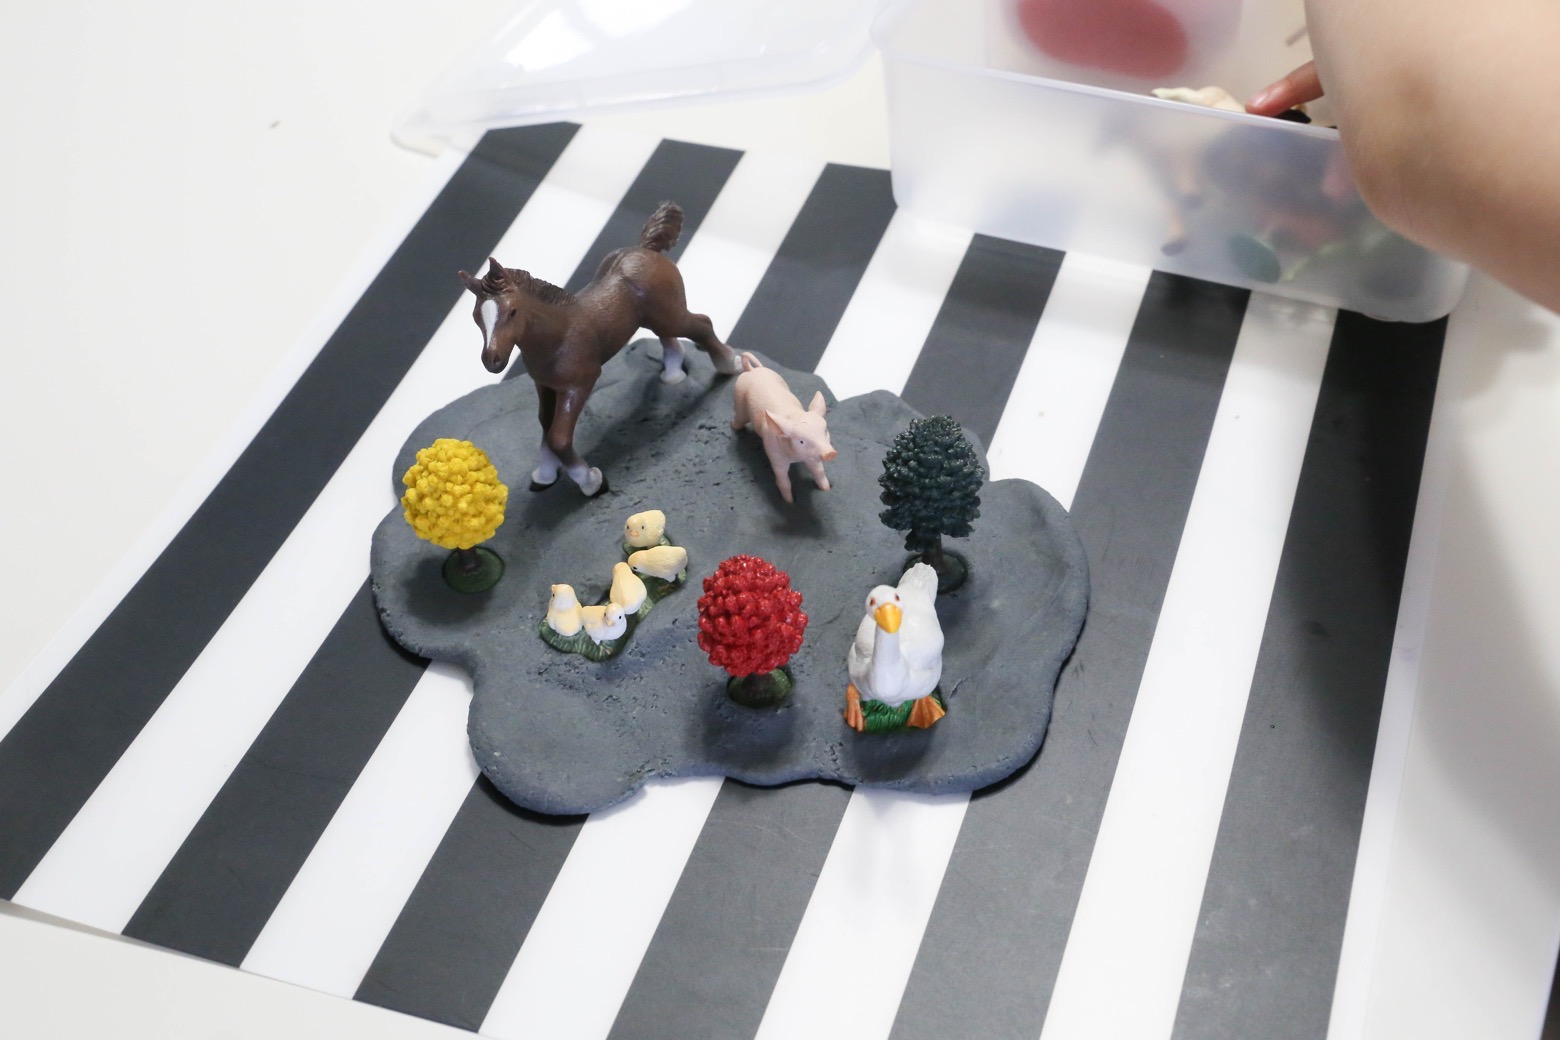
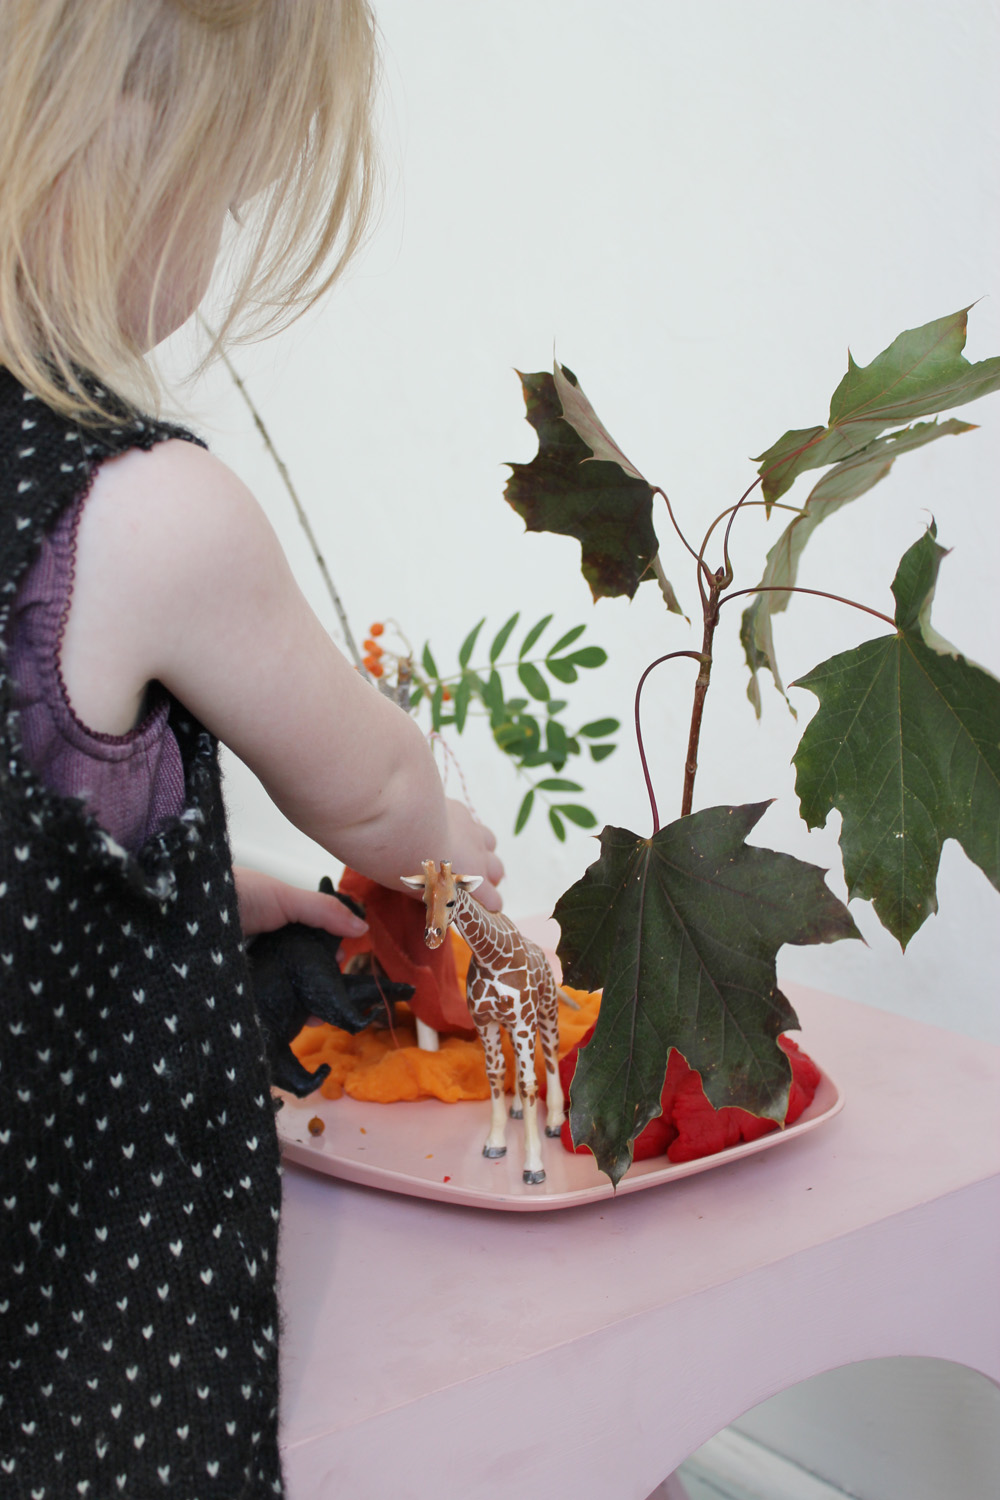
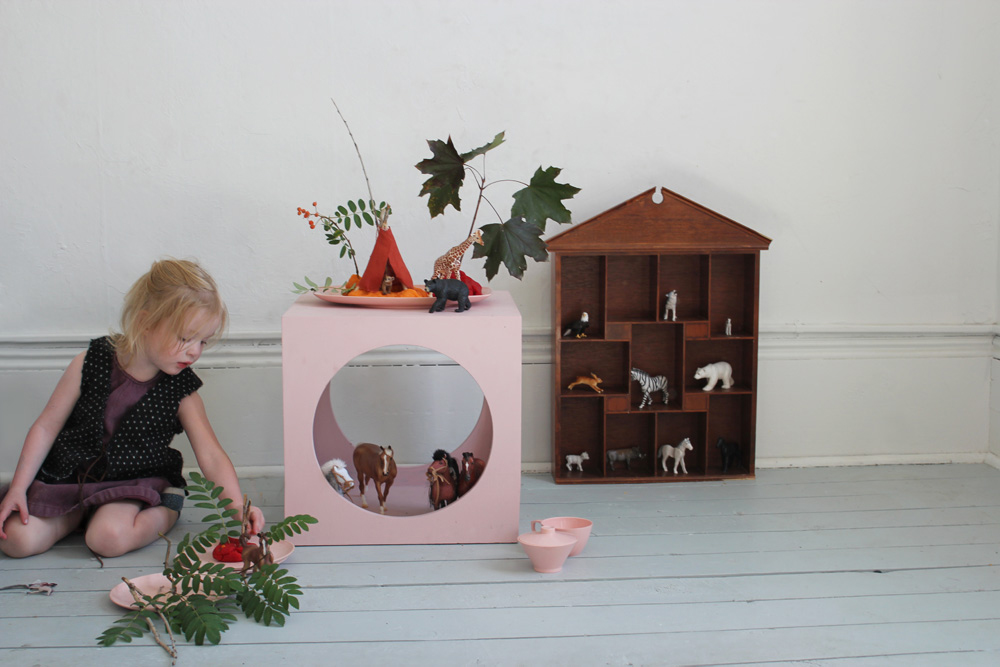
We have a collection of animal figurines (we have a tradition of acquiring one for each kid based wherever we go on vacation-read more about it here) and last week we decided to make a little habitat for some of them using play-dough, scavenged leaves, twigs, etc. This activity is great for toddlers and preschoolers but when my older boys came home, they loved digging in and playing around with it too.

Creating an Animal Habitat 7 | MerMag


Creating an Animal Habitat 3 | MerMag

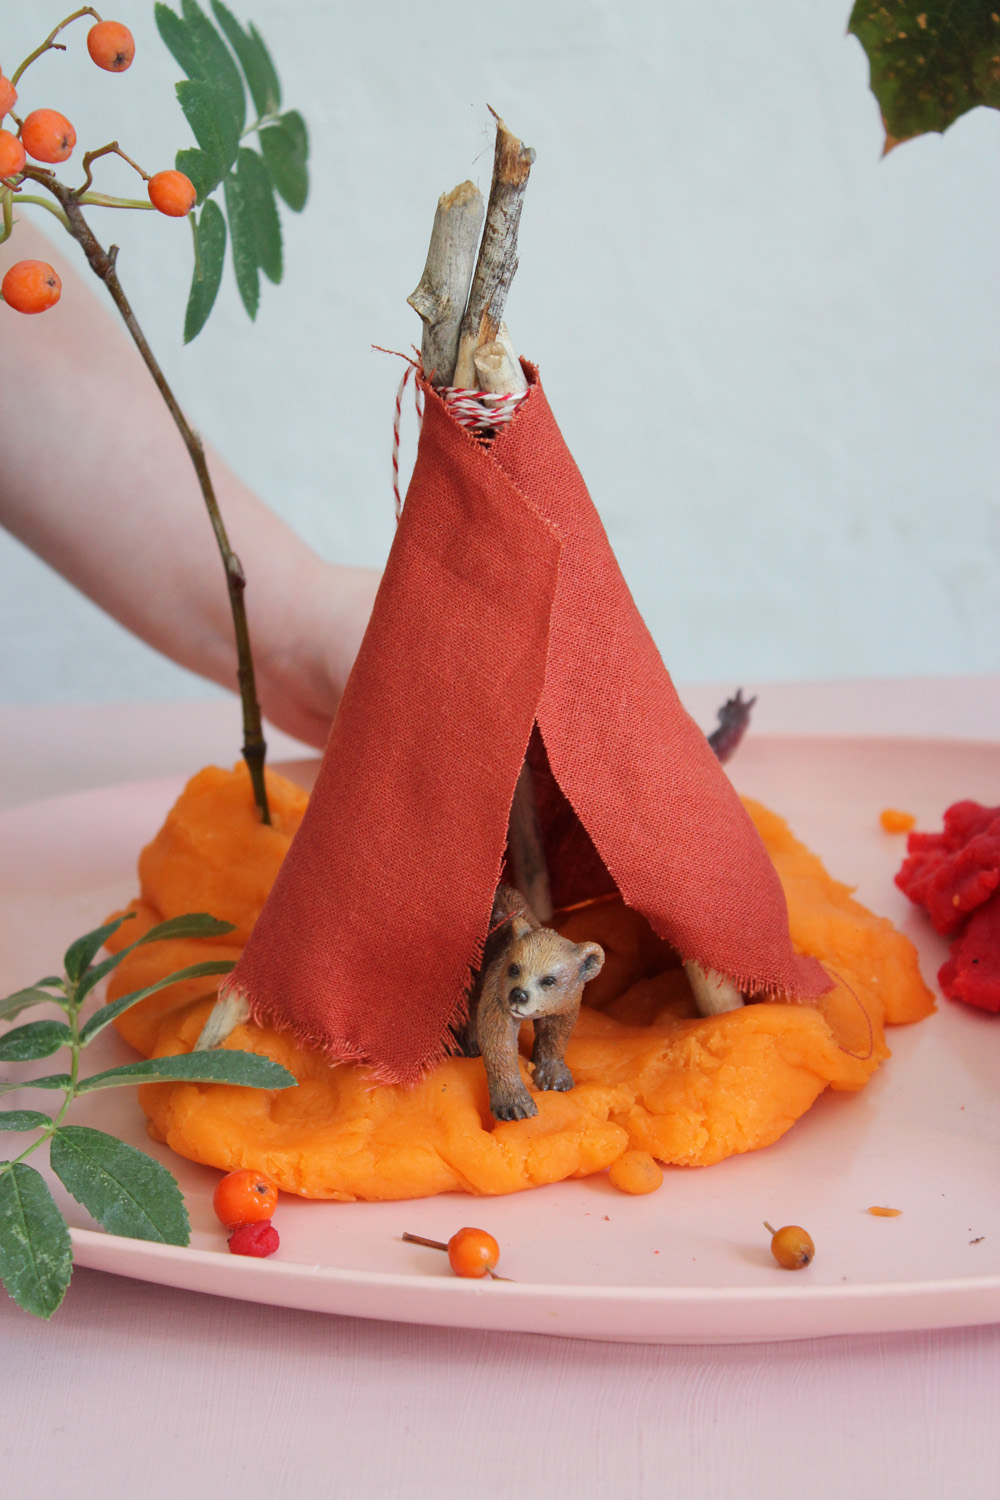
It was easy making a little teepee by simply sticking a few twigs into the play-dough, tying off the top and wrapping some fabric around it all. There’s something really satisfying and sensory about little fingers squishing and sticking animals, twigs and more into the dough.

Our bears have a penchant for teepees but you could go authentic by molding bear caves from the play-dough which is lots of fun too. 

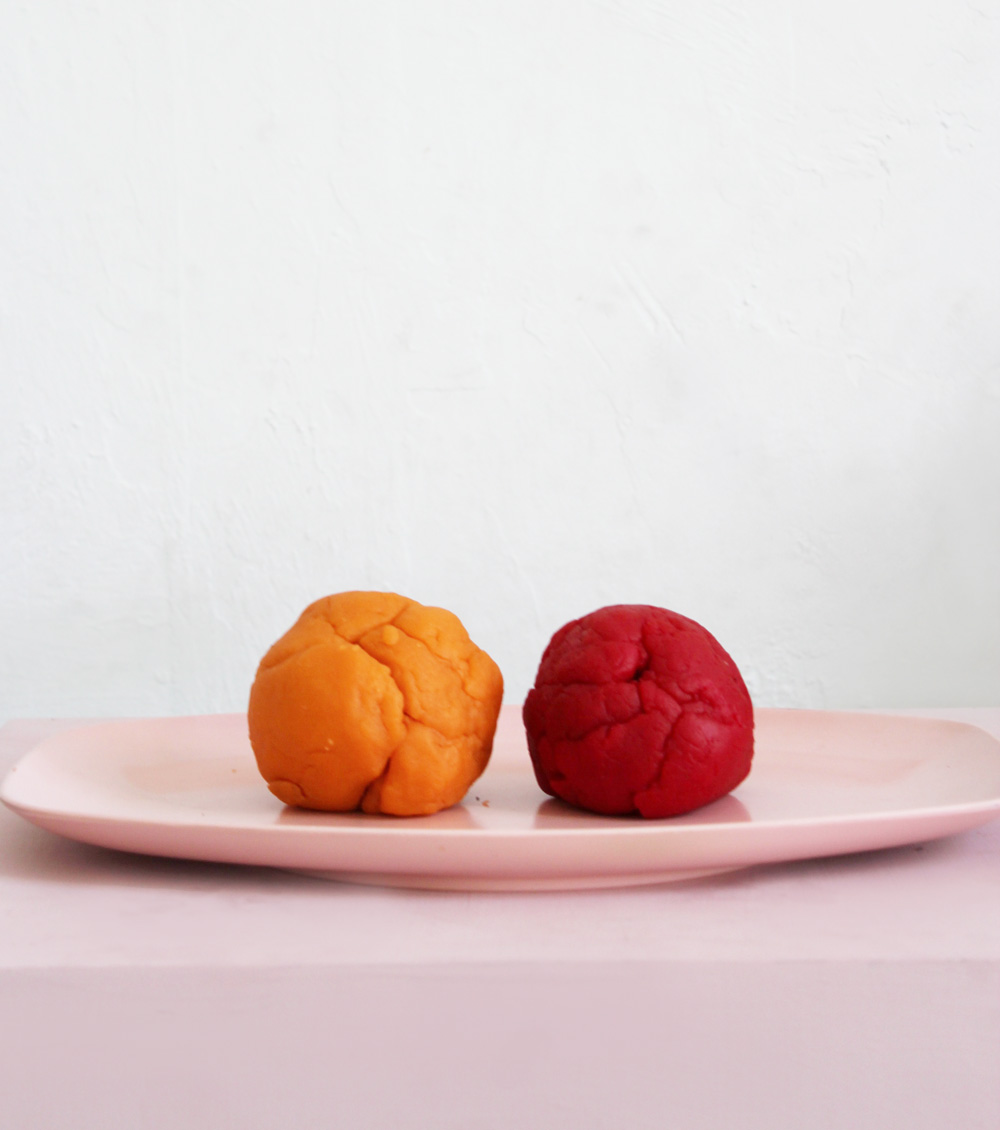
We made apricot and cherry scented play-dough which was also very sensory and fun. (Miss M really notices scents – more than her brother did at this age.)

We decided to try a jello play-dough recipe and this is the one we liked best:

Ingredients:

  • 1 cup of  flour

  • 1 cup water

  • 2 Tbs cream of tarter

  • 2 Tbs salt

  • 2 Tbs oil

  • 1 package of Jello (we used apricot and cherry jello flavors)

Making the Dough:

Mix together all ingredients on the stove over low. Stir constantly (I used a bamboo spatula that worked great) until dough forms a ball. Take it off the stove and let it cool for about 20 min.

Once cool, your dough should be ready to kneed and play with!

cherry + apricot playdough


Creating an Animal Habitat9 | MerMag


Creating an Animal Habitat 5 | MerMag

We want to try a few playing around with a few natural play-dough recipes. I really like the idea of adding essential oils too as I think that would be really therapeutic for some of my kids (and me!).


Show me all the easy art projects!

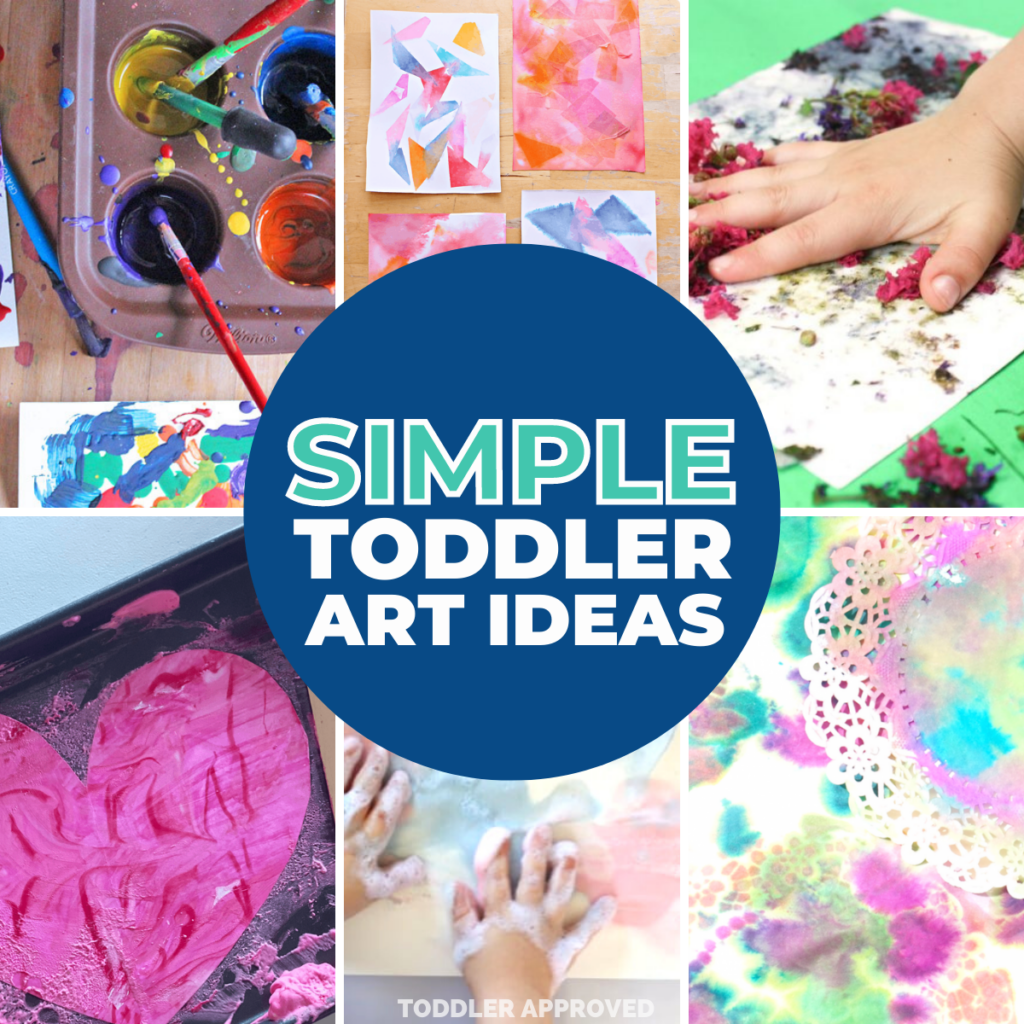
Activities that allow kids to create and explore different art forms are so fun! We love to study different artists and give kids access to a variety of different art materials in different combinations As we give kids open-ended art ideas and allow them to make choices and problem solve, it is pretty amazing what they come up with!
RELATED: Need more easy art ideas?
Arts Ideas with Cotton Balls

Cotton balls are typically a bathroom staple, but did you know that you can use them for art too? These are a favorite art tool because we always have them at our house! Check out these creative toddler art activities to try with cotton balls. You can also use pom poms for these art ideas too if you prefer those over cotton balls!

Here are some easy art projects using cotton balls:

Cotton Ball Splat Painting by Toddler Approved
Painting with Water and Cotton Balls by Happy Toddler Playtime
Painting with Pom Poms by Toddler Approved

Cotton Ball Throw Painting by The Chaos and the Clutter

Cotton Ball Flower Painting by Happy Toddler Playtime

Rainbow Art with Cotton Balls by Simple Fun for Kids

Salad spinner Art Ideas

Do you have a salad spinner? Ours has never actually been used with salad, but we do love to do art activities with our salad spinner! If you haven't tried it yet, DO IT! It's always a fan favorite with my infants (and big kids!).


Here are some easy art projects using a salad spinner:

Rainbow Spin Art Painting by Toddler Approved

Spin Art Buffet Bar by Meri Cherry

Spin Art Butterflies by Toddler Approved

Spin Art Rocksby Meri Cherry

Spin Art Pinecones by Naturally Curious Children

Spin Art Heart Suncatcher by Toddler Approved

Cools Ways to Paint

There are so many cool ways to paint! You can pretty much paint with any material... even your body! Here are a few of our favorite ways to paint. I'll bet you can think of a dozen more. Make sure to tell us about your favorite way to paint in the comments.

Here are some easy art activities using paint of all kinds:

Painting on ice by Toddler Approved

Sponge Painting by Days with Grey

Painting with Trucks by Toddler Approved

Finger Paint Color Mixing by Friends Art Lab

Painting with Bubble Wrap by The Artful Parent

Splatter Painting by Toddler Approved

As they get older try some of these

Splat Painting by Toddler Approved

Painting with Dinosaurs by Toddler Approved

Painting with Cookie Cutters by No Time for Flashcards

Paint with sticksby Toddler Approved

Paint with waterby Toddler Approved

Paint with water balloonsby Toddler Approved

Paper Plate Smush Paintingby Toddler Approved

RELATED: Want even more easy painting ideas? Check out these 15 Creative Ways to Paint with Toddlers.

Sticker Art Activities

Stickers are one of our favorite tools to use again and again for art activities! There are so many different types of stickers to use. These simple sticker themed activities can be adapted for any holiday or theme.

Here are some simple art projects using stickers:

Sticker Name Activityby Toddler Approved

Foam Sticker Roller Paintingby No Time for Flashcards

Sticker Drawings by Childhood 101

As they get older try

Tape Art Ideas

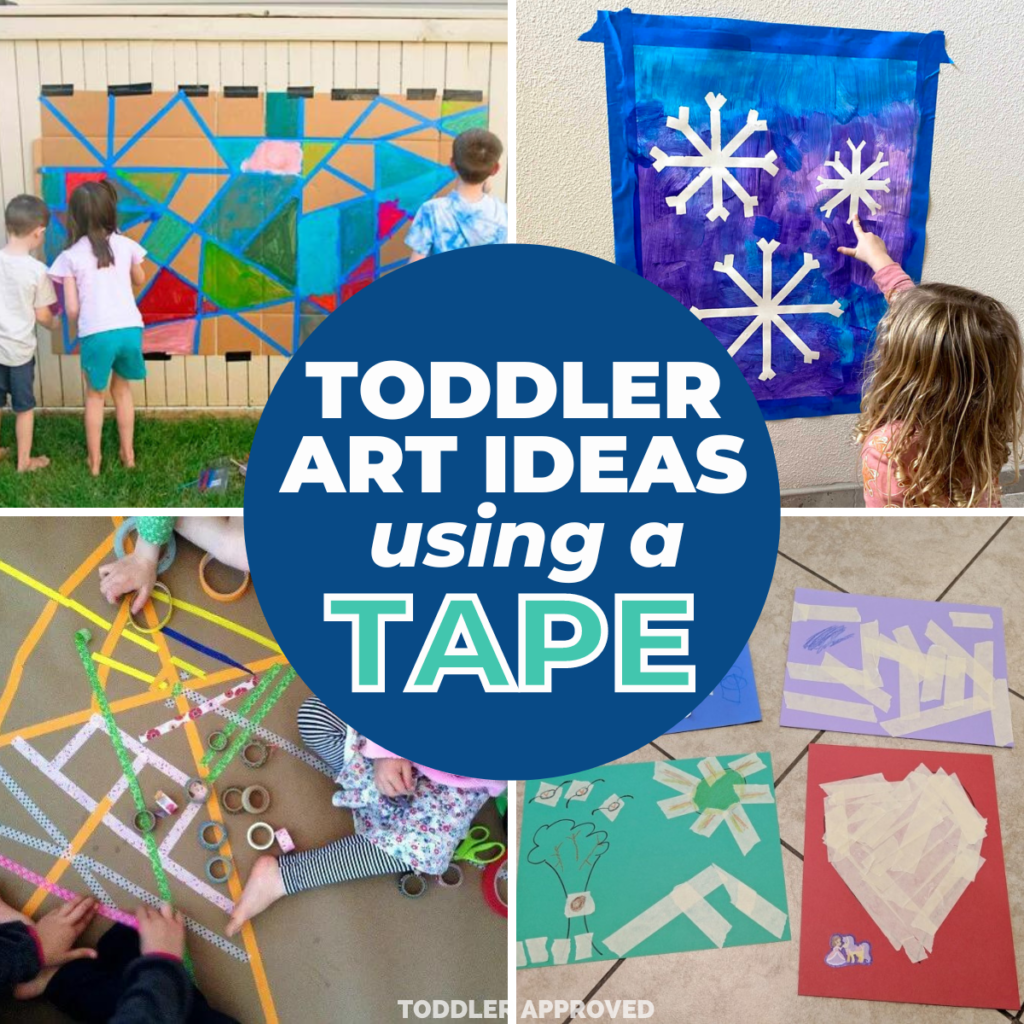
Tape is one of my secret weapons as a parent. It can be used for SO MANY THINGS, including easy art activities!

Here are some simple toddler art projects using tape:

Giant Outdoor Tape Resistby Busy Toddler

Tape Resist Snowflakeby Toddler Approved

Masking Tape Art Rug by The Artful Parent

Peel & Stick Tape Art by Hands-On As We Grow


Here are some simple toddler art projects using chalk:

Floating Chalk Prints by Toddler Approved

Chalk Fireworks by Toddler Approved

Wet Sidewalk Chalk Activityby Happy Hooligans

Chalk Spray Paint by Imagination Tree

Other Cool Toddler Art Ideas

Here are more cool toddler and up art projects:

Paper Towel Drip Artby Toddler Approved

Tissue Paper Printing by NurtureStore

Foamy Soap Paintingby I Can Teach My Child

Painting with Crayonsby Babble Dabble Do

Doily Paintingby Tinkerlab

Nature Smash Paintingby No Time for Flashcards

STEAM with Light and Color

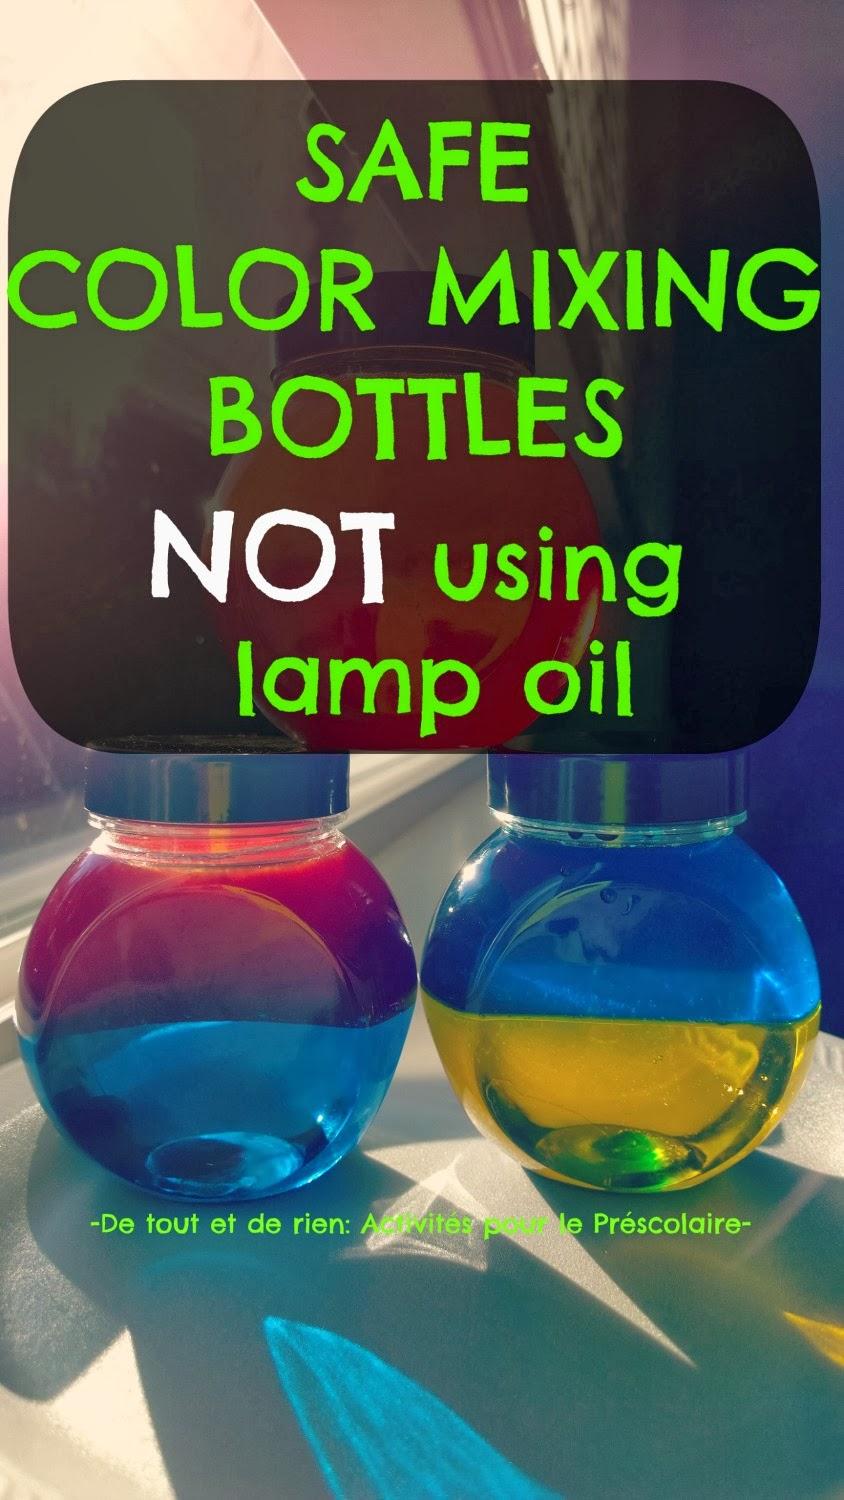
Safe color mixing discovery bottles not using lamp oil
Infants

I used, in the past, lamp oil to make my color mixing bottles, but I was always afraid to let my daughter play with it as she is so good to open what she is not supposed to open.

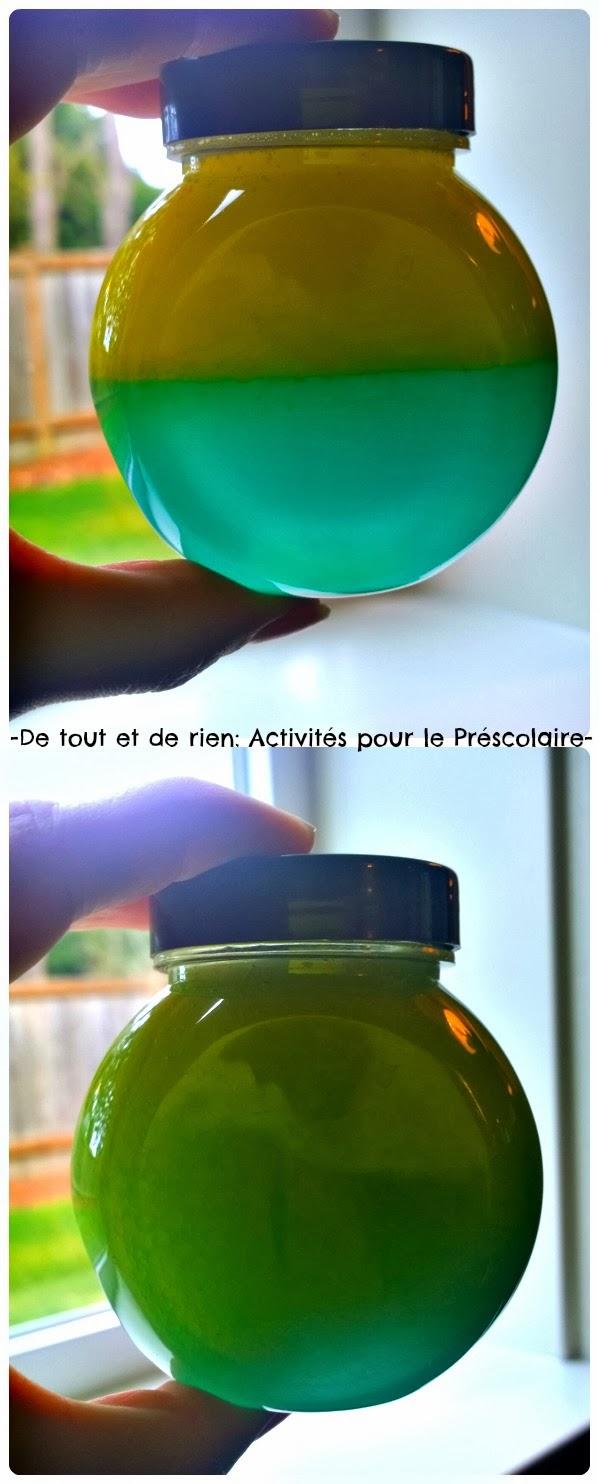
I found a new way to make my mixing colors discovery bottles safe for kids, using only food coloring... Now, you already know that you can use food coloring with water and that it doesn't mix with cooking oil.....

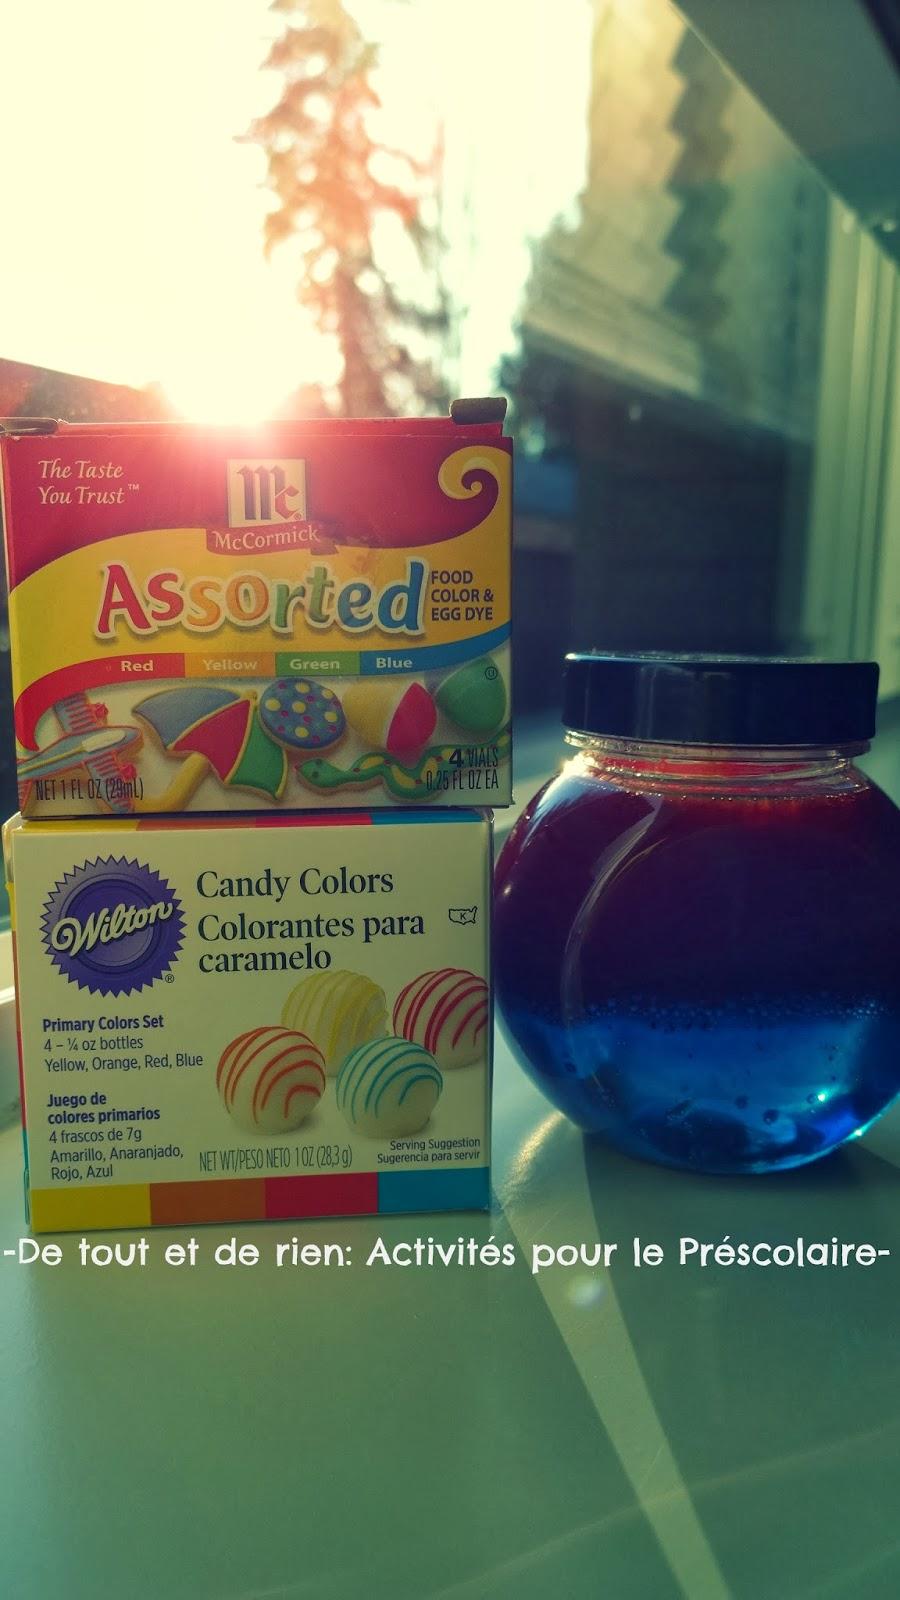
You can COLOR OIL with food coloring for candy! Indeed, it is an oil-based product, therefore it can be mixed with cooking oil! I used the brand Wilton- Candy colors. You can buy it on Amazon, Ebay or in your grocery store.


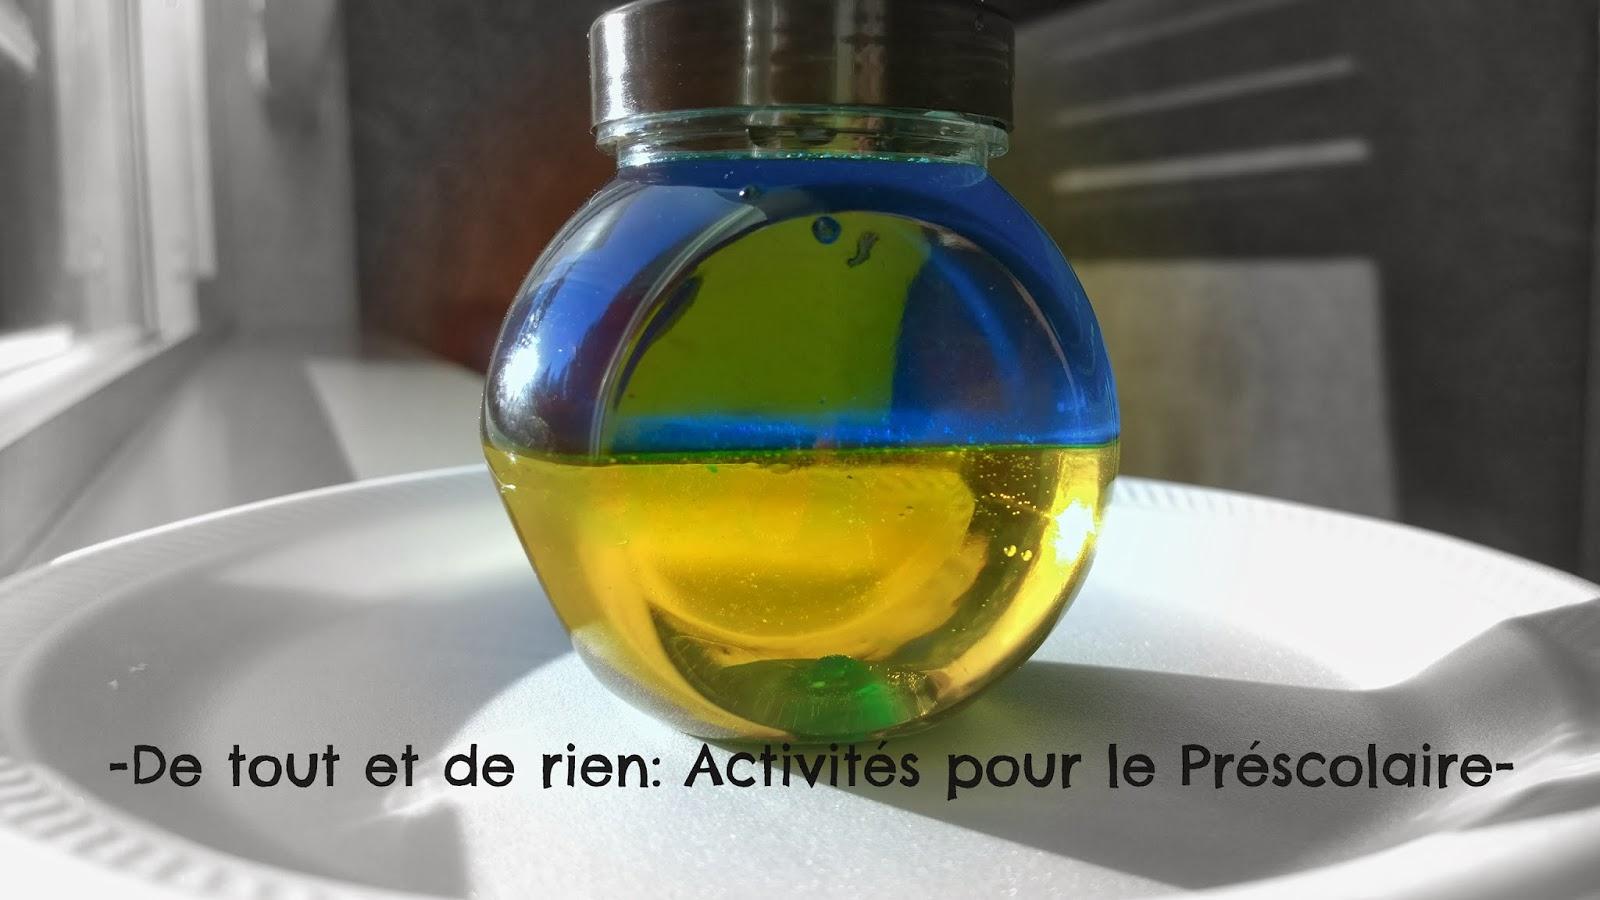
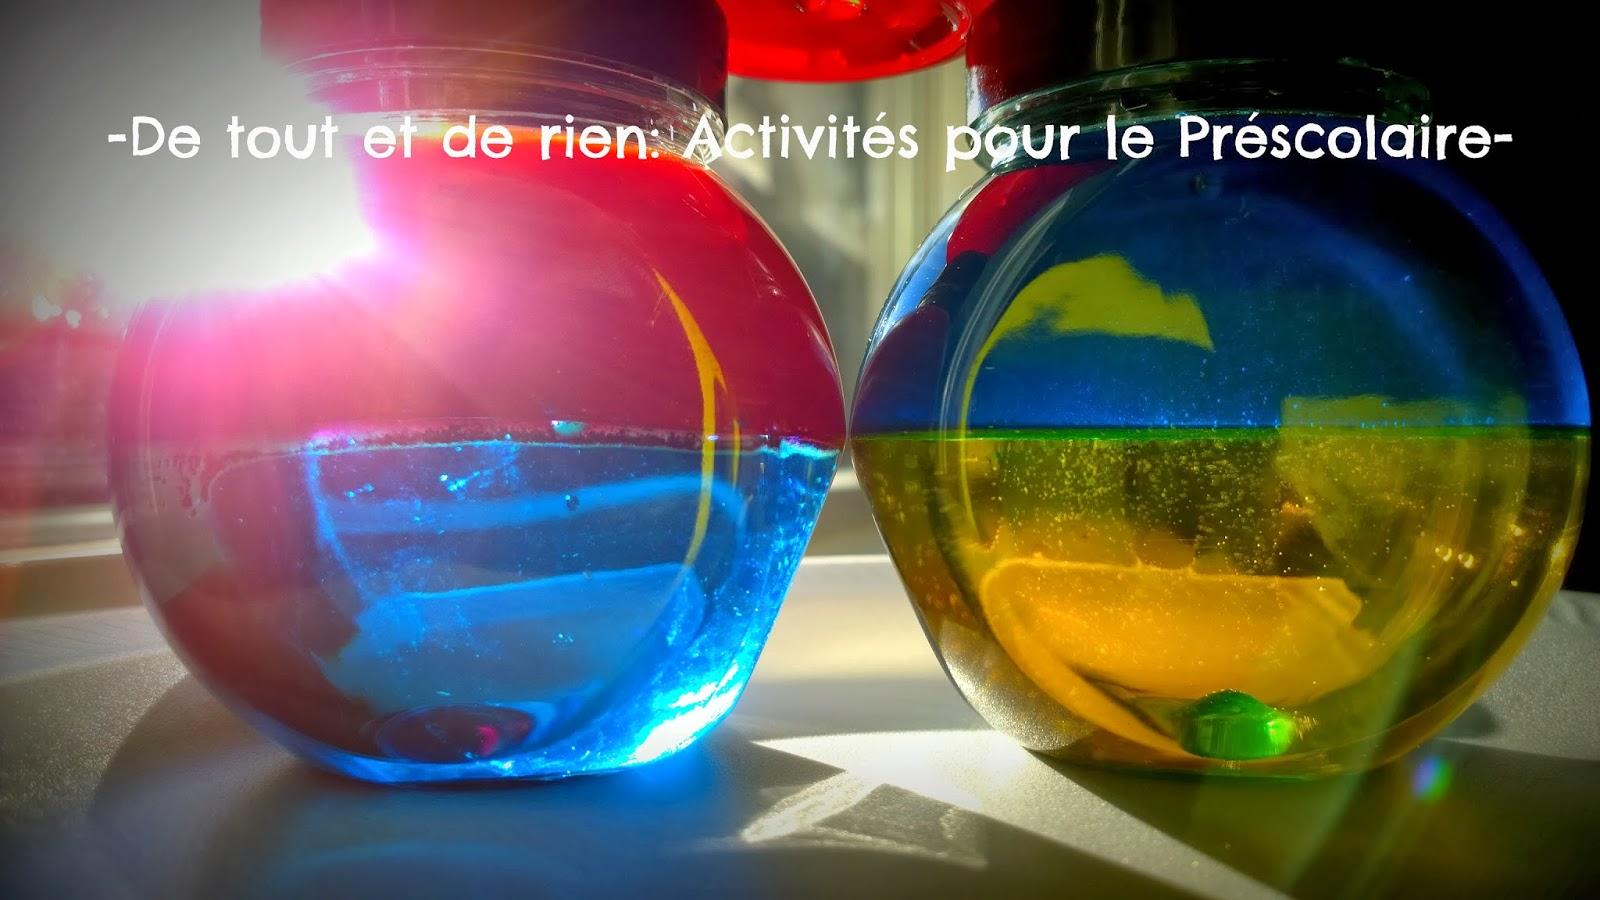
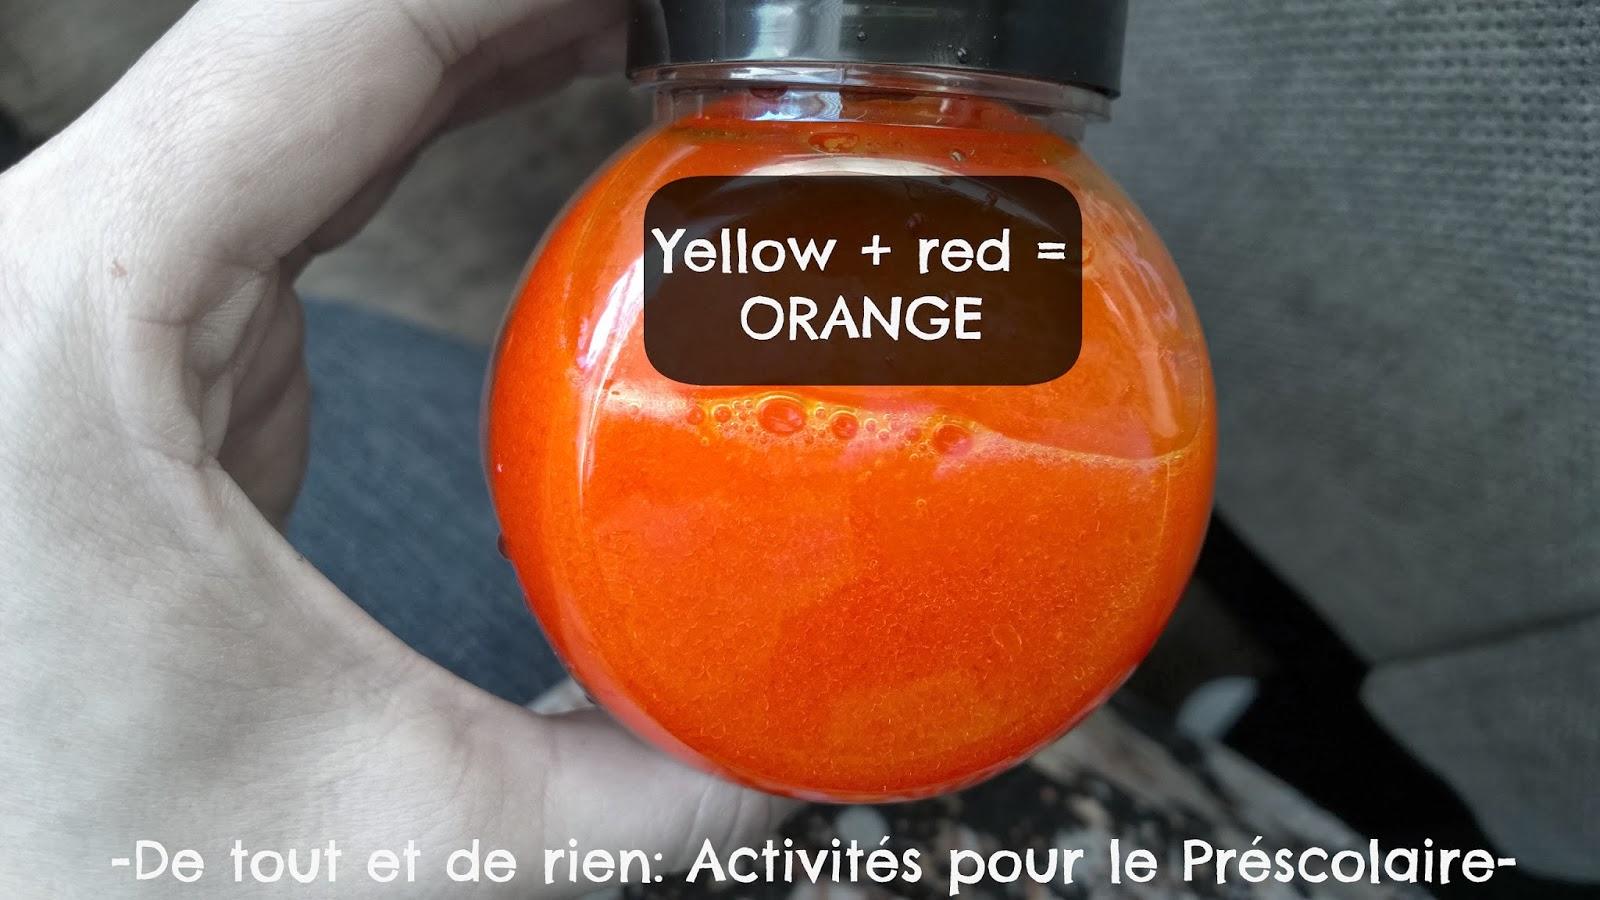
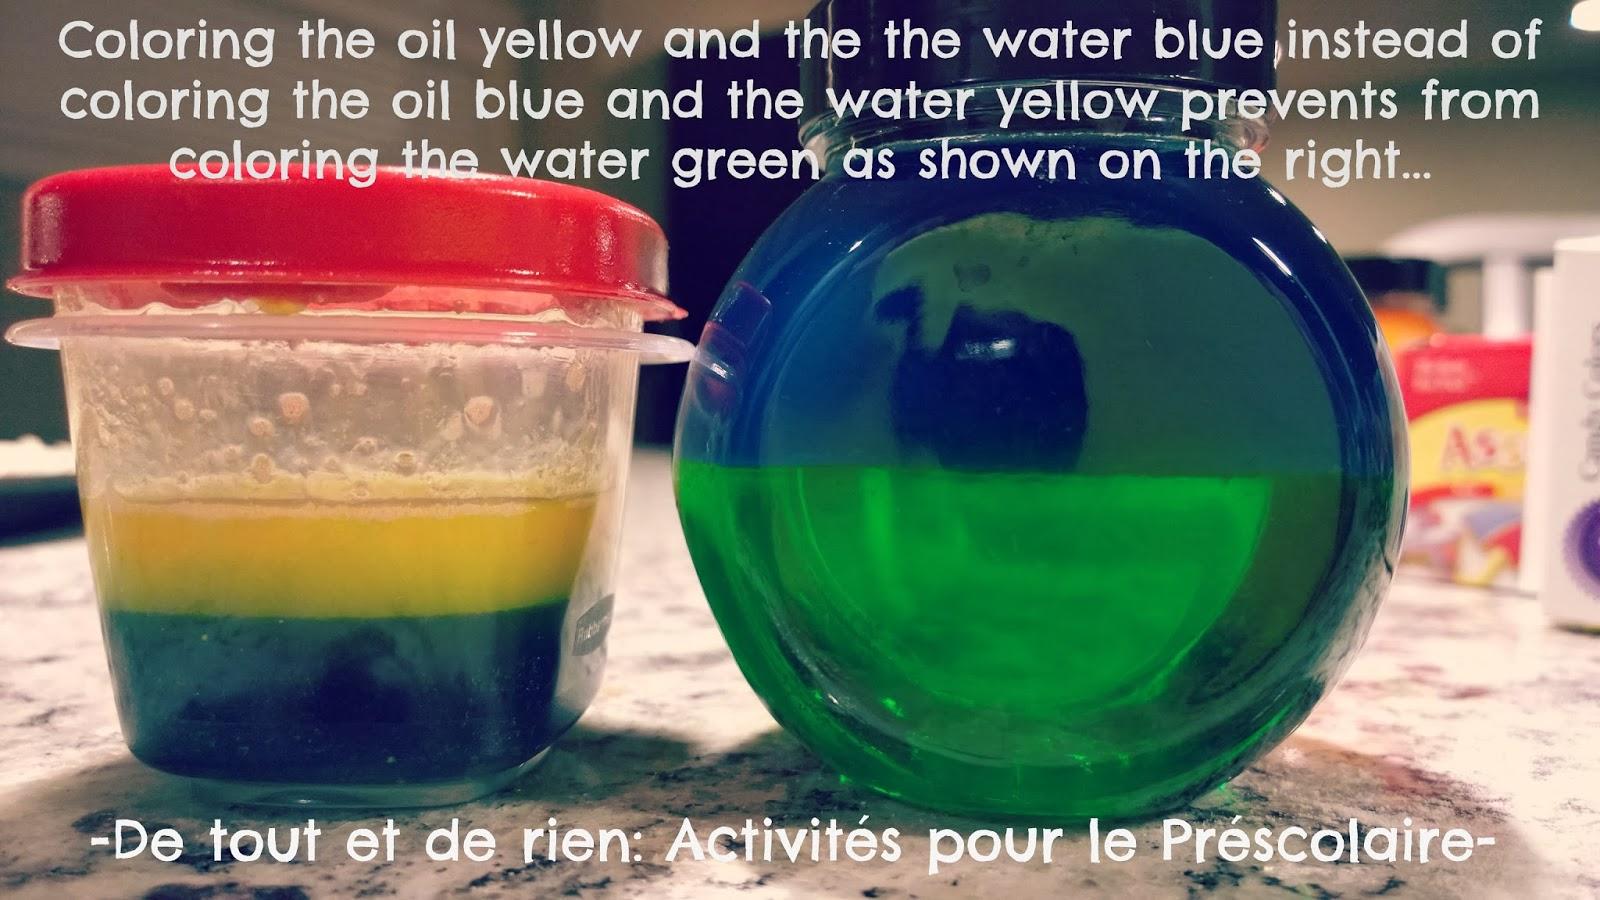
Some colors work better  than others to obtain the mixed color you want. With trial and errors here is what I found out: it is better to color the oil yellow and the water blue if you want to make a color mixing that gives green and not the opposite (refers to the picture under)...  For the purple bottle, it is better to color the oil red and the water blue. For the orange bottle, it is better to colored the oil yellow and the water red. Note that the colored water in the "purple" and "orange" bottle will tint a bit after a few shakings. The "green bottle" stays the same through use, though. Bottles with lamp oil are the best, unfortunately, to avoid it.


Here is a little video showing you the bottle before and after being shaked.


IMPORTANT THING TO KNOW:  Always pour the colored water first and then the colored cooking oil.