Rock collecting Finding & storing Rocks Rock STone art displays
pLAYING wITH nATURE
How to look like an expert outside
Sometimes it just takes a little bit of reading…
Start Small. Never Stop.
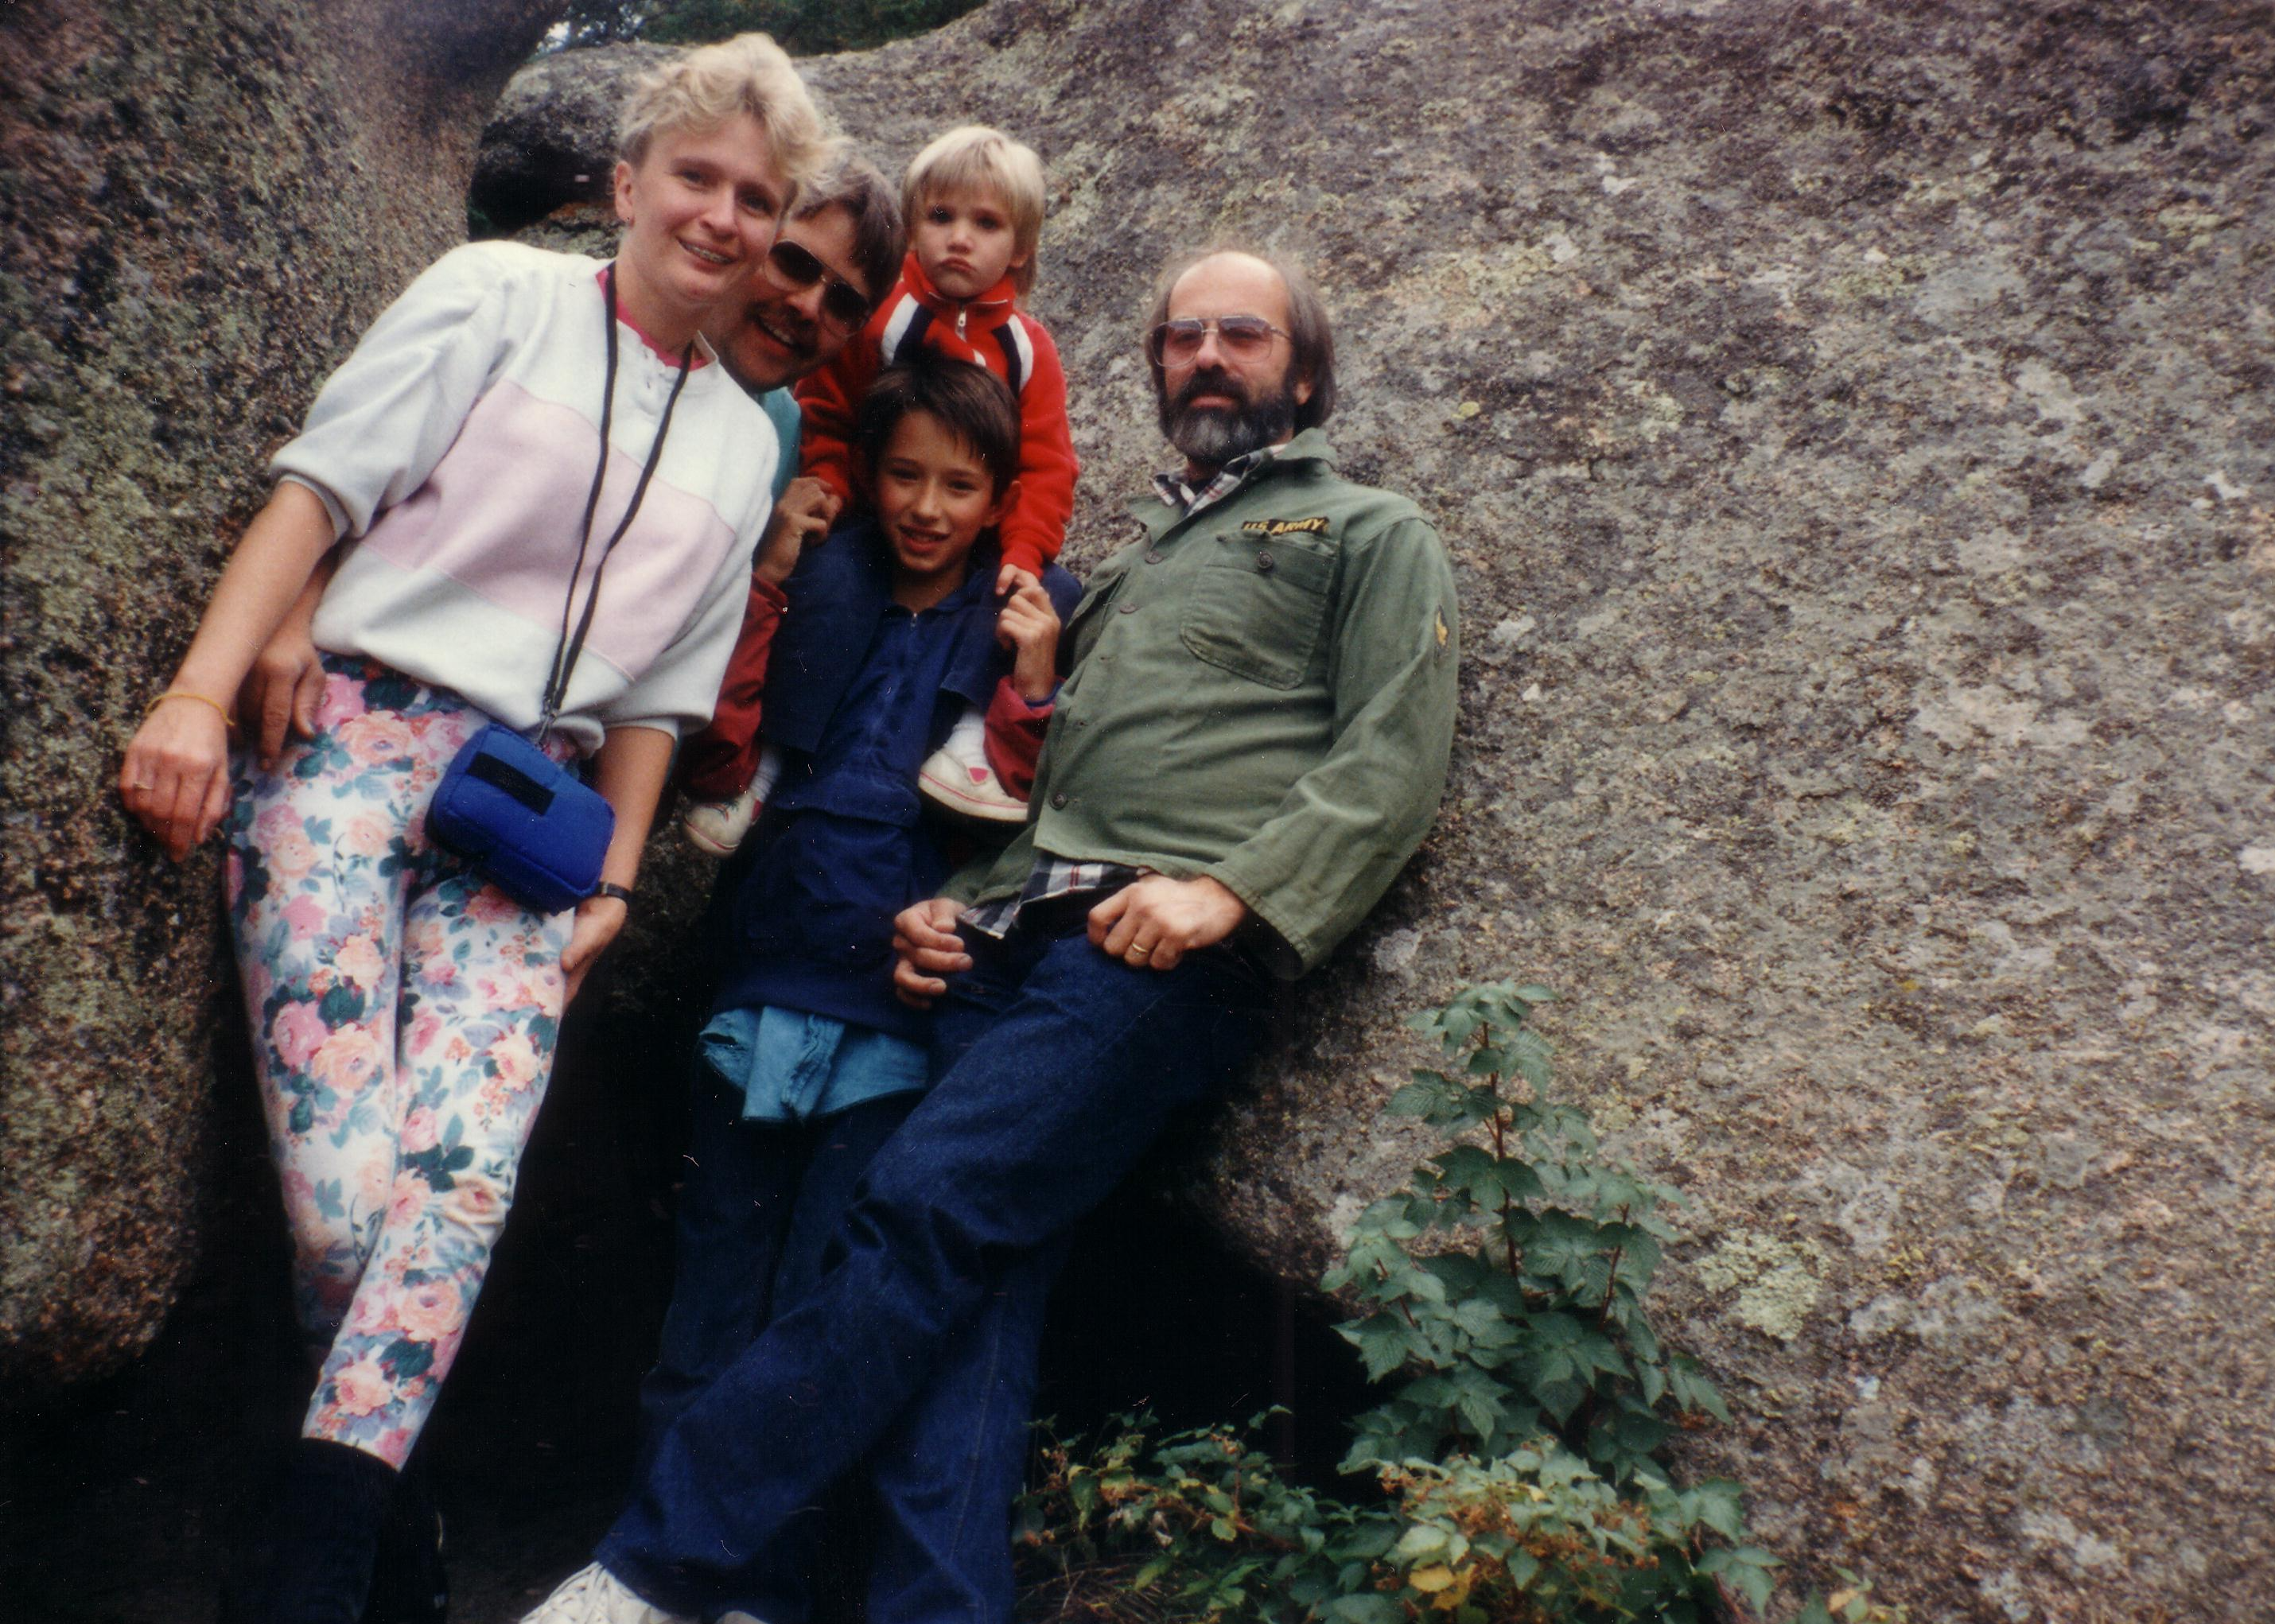
I have spent my entire life trying to get rid of the universal notion that any type of family walks, climbs and hikes are all about getting to a certain destination. When in reality those activities are really all about the adventure and the the things that fascinate us along the way. Just ask any of your children. You can count on them to find the fun stuff along the way. They are outside to discover new places and find joy in the process of exploring the plants and animals that are right in front of them. So add in some spontaneous "Natural STEAM" activities and enrichment that are featured below.
By letting your child's interest levels set the pace for a walk, climb or hike, and by us being open to their natural curiosity, we can definitely help any child to develop a healthy love of not just the beach but of the great outdoors.
Pause when they pause because those are the moments they remember and learn from. It's all about the sensory exploration of any environment or activity. So let them see up close, touch or rub, listen, explore and smell their way to a fascination vibe for the activity... and always strive to give them a "story to tell" moment with every natural experience.
Building & Displaying A Nature Collection
Discovering Forest Collectables
Incredibly Easy Nature Program
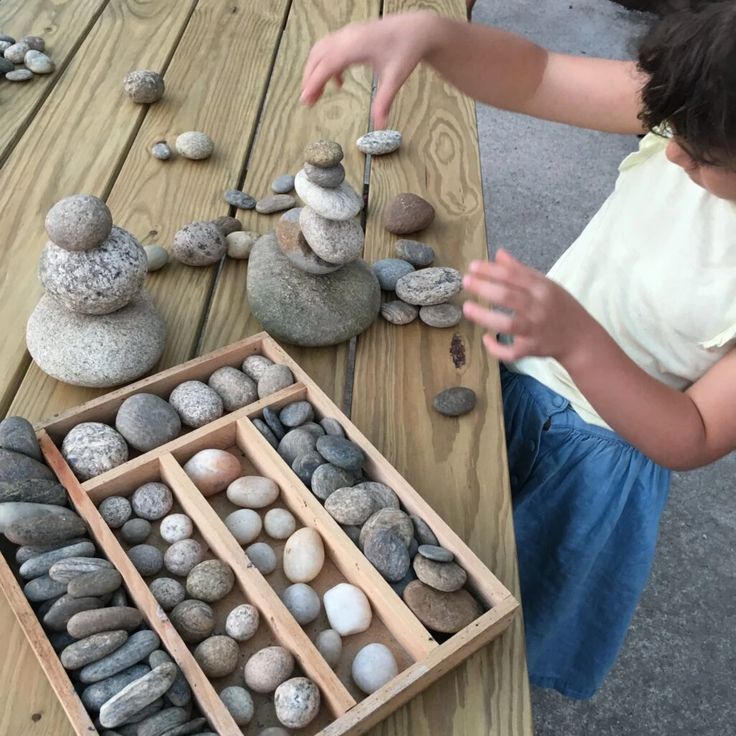
How to Find Cool Rocks
Do you have neighbors whose land/house is under construction? Jackpot!
Some useful yet necessary utensils that might help you are a pickaxe for chipping, a shovel if you need to dig deeper, a classifier to remove tiny gems, and tweezers just in case the rocks are too small.
TIP: Starting with rockhounding in your backyard is a great idea. You can find a lot of cool rocks there. Find out more about what rocks are common in the backyards and how to find them:
12 Gemstones You Can Find in Your Backyard Right Now
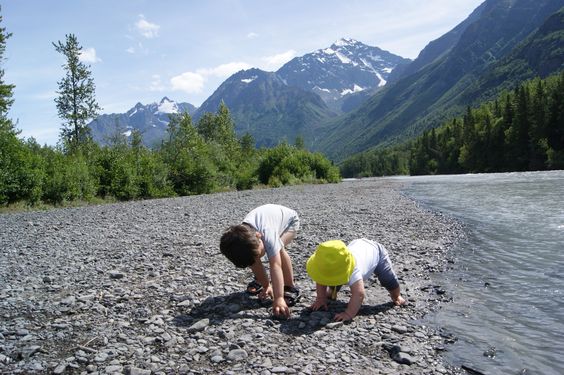
Where to Find Cool Rocks?
Depending on where you’re located, you might find some cool rocks, even in your backyard. If you don’t know where to start, consider this:
THINGS TO KNOW
How to plan activities for your kids:
I start with the gauging what my child is interested in (using the “My Child This Week” sheet of the xs). I fill one out for each of my kids and what they’re into at the moment. I use this as my guide to plan our activities accordingly.
Here’s where you can download the free activity planner.
With each of my kids’ interests, I brainstorm 7 activities to do that week. I jot them down on the simple ‘Activities To Do This Week’ planner. But for this one in particular, I wanted the ability to be able to focus in on one letter.
And of course, like always, I include a day of family time. I think the kids will especially love this family activity!
Try a Rock Walk!
Sure, some people may call them nature walks butfor us, every walk is a rock walk because we are always on the lookout for great rock or mineral samples everywhere we go. Even Sky who is less than two years old, loves rocks and has her own collection.
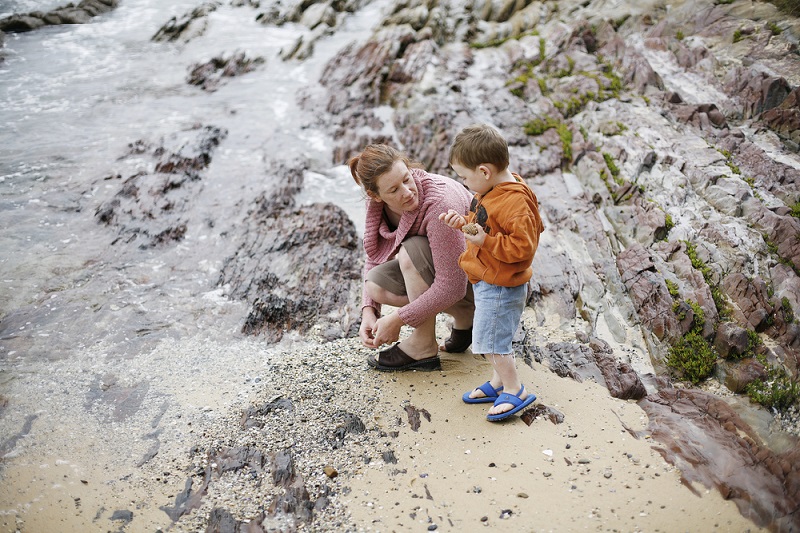
No matter where you live, you can find at least a little nature somewhere nearby. Even in bustling cities, there are parks with grass, trees, and rocks all around. Parks, trails, mountains, wildlife reserves and beaches are just a few of the great places you can take a Rock Walk with your kids. You can have fun spending time together while you are getting exercise and learning about nature. Once you find a great place to walk, let your kids explore as you go to see how many rocks and minerals they can find.
***Take along zip bags to keep their favorite samples for their collections.
How To Set Up
A Rock Exploration Center
Ignite your child’s curiosity in geology with a rock exploration center! Collect some rocks from outside and gather a few materials, and you're ready to encourage all kinds of rock investigation. It’s such an easy and fun way to foster a love of science within young children!
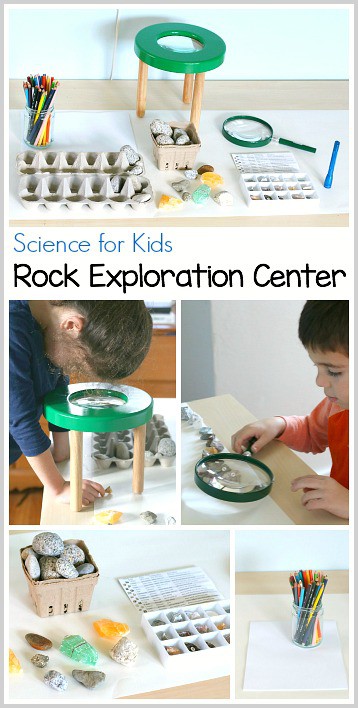
I love setting up exploration centers for the kids based on their interests. (You can find all our (exploration centers here.) It’s a great way to allow children to explore various subjects at their own pace and make their own discoveries. And I love that exploration centers are perfect for any age- both Weston (age 4) and Lucy (age 7) have benefitted from them! They can be set up both at home and in the classroom.
Both kids have been showing a huge interest in rocks recently. Lucy has been learning about geology at school in second grade and has been sharing all her newly acquired information with me here at home. And Weston has been collecting rocks we’ve found on walks and making observations about them. So, the rock exploration center has been a huge hit here at home! (This post contains affiliate links.)
How to Set Up a Rock Exploration Center
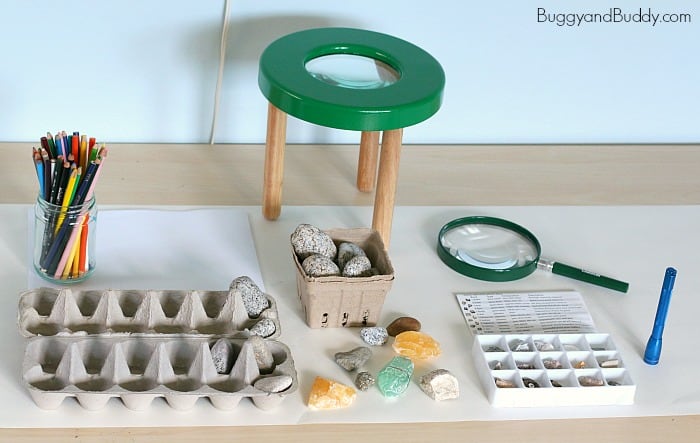
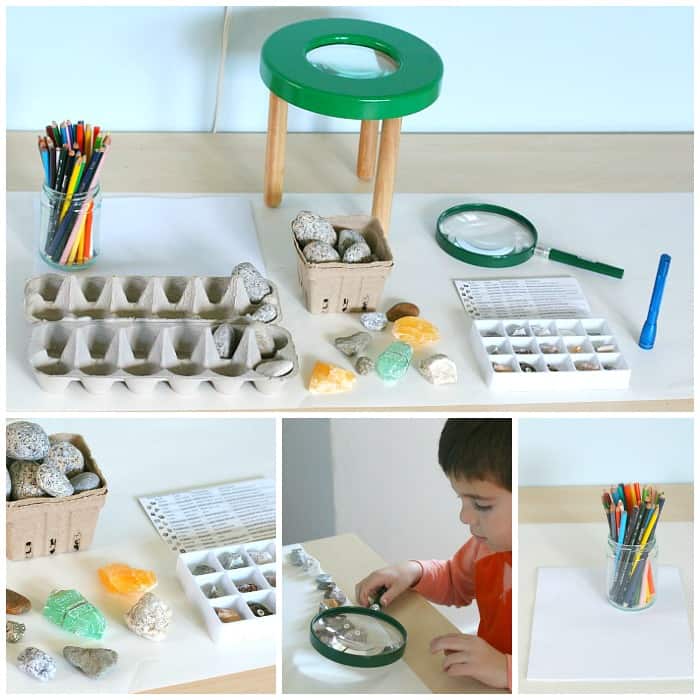
Setting up a rock exploration center is super easy! Start by selecting a surface that’s accessible to the kids- like a table or countertop. Then place all the rocks you’ve found onto the table for kids to explore. We have rocks we’ve collected from walks, rocks Lucy has purchased to add to her rock collection over the years, and this rock setI found online.
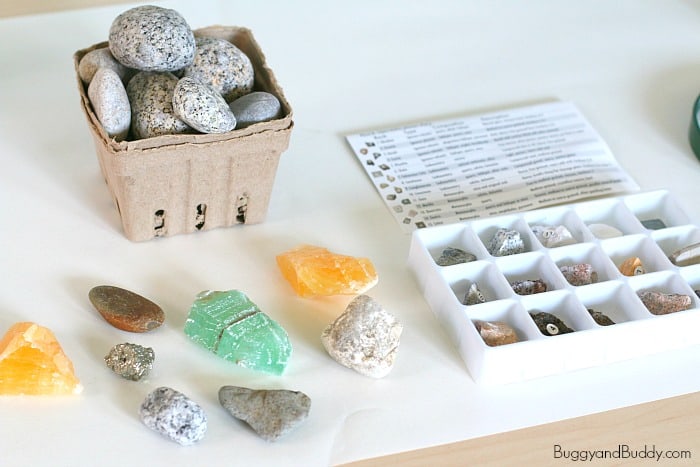
Next, add some tools to help kids better explore the rocks. We added a magnifying glass, atabletop magnifying glass, and a mini flashlight.
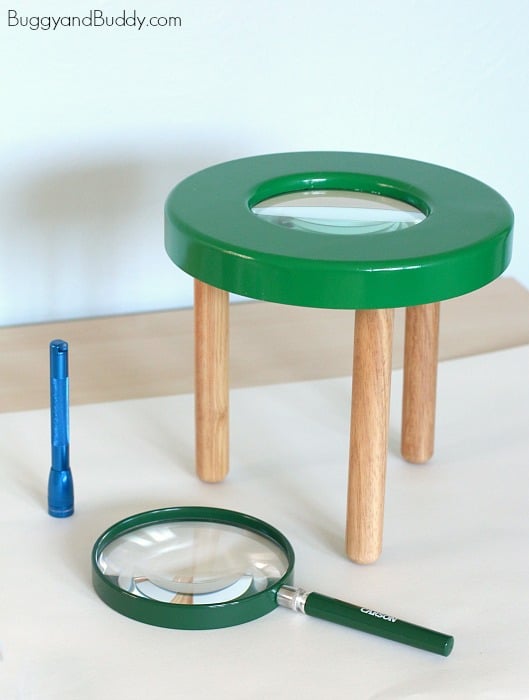
Add anything else you think might make a great addition. I added some paper and colored pencils for kids to record their observations and some empty egg cartons for rock sorting. A book set would also make a great addition to the exploration center. Here’s a collection of
our favorite fiction and nonfiction books about rocks!
Using a Rock Exploration Center
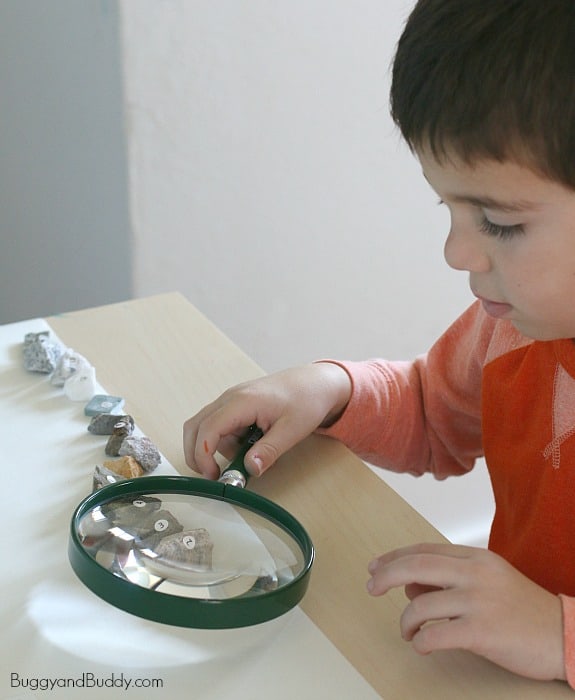
Weston started by diving into the rock set. He loved that the rocks were numbered and quickly placed all the rocks in a line in numerical order. He then asked me to read him the names of each rock as we went down the line. We talked about different things we noticed about each rock as we went through them.
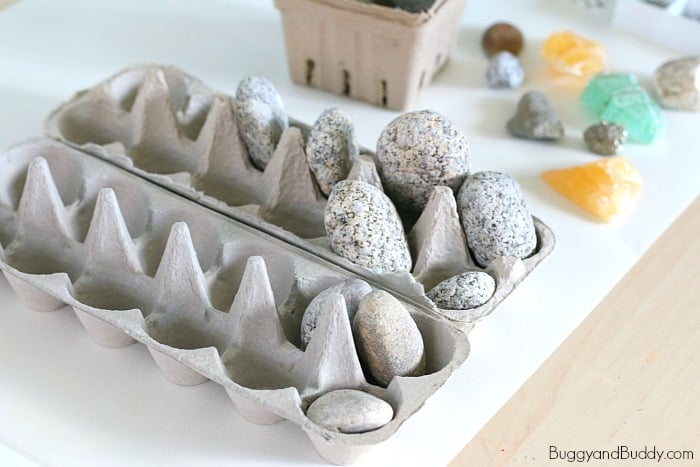
Later, Weston enjoyed sorting the rocks in the egg cartons. He sorted by ‘rocks with spots’ and ‘rocks without spots’.
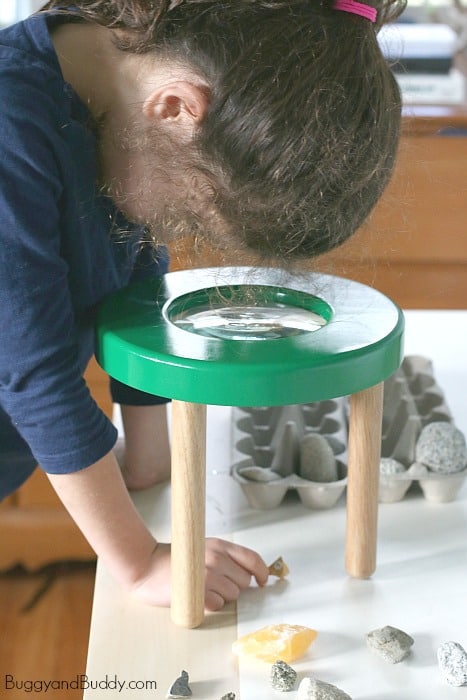
Both kids loved examining the rocks using the flashlight and magnifying glasses.
In the next few days I plan on adding some items like a nail and a copper penny for the kids to use when investigating rock hardness.
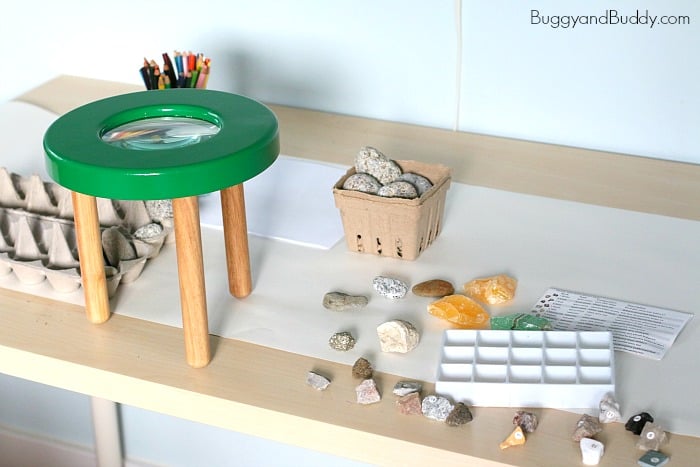
Our rock exploration center has only been out a few days. I can’t wait to see what other discoveries the kids make throughout the week!
Easy Activities With Rocks
A Container For Rock Collecting
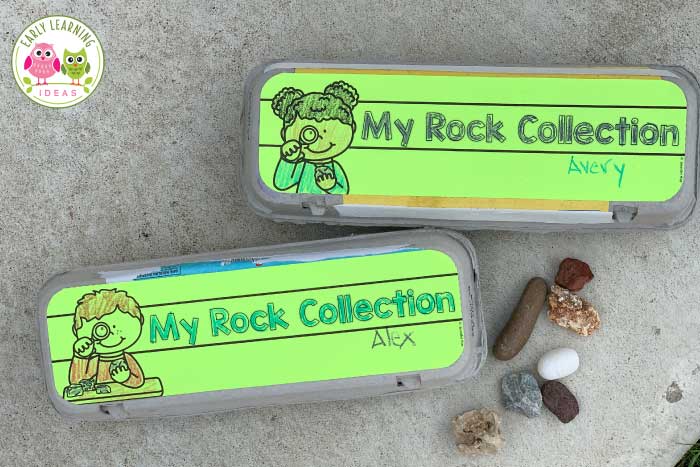
Use this free printable to transform an ordinary egg carton into a cool rock collection container.
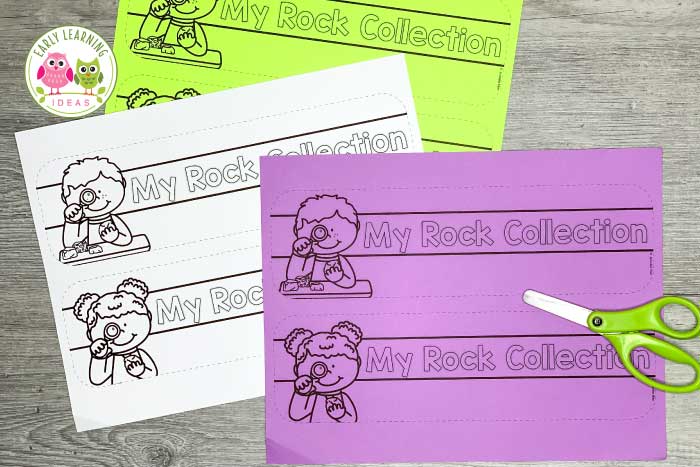
Print the covers, cut, cut them out on the dotted lines, and attach them to the egg cartons with a little glue or tape. Tada….you are ready to create a rock collection. Add the collection to your science center.
Gather Rocks
I think that going out and finding rocks is a fun activity and I bet your kids will too. Fancy rocks are not required at all….so this is a super inexpensive activity.
Who doesn’t love free learning materials?
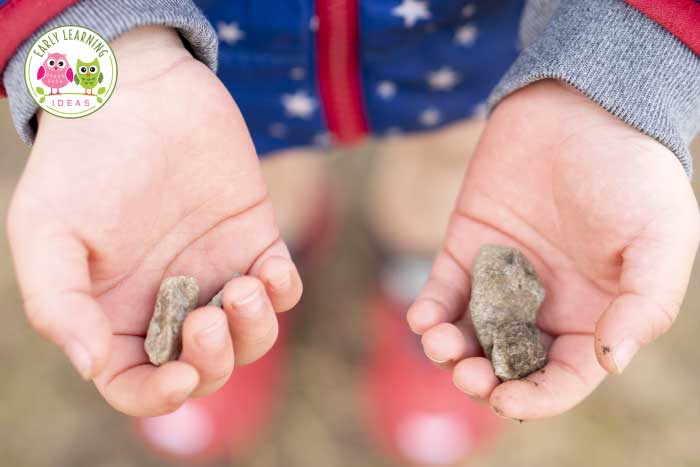
Where can your kids find rocks?
In their backyard: If none are visible, give them a trowel and challenge them to start digging.
In their neighborhood: Kids can go on a rock hunt to find some.
On the playground or at the park.
By water: (beach, riverbed, creekbed). Of course, they should be thoroughly supervised while searching.
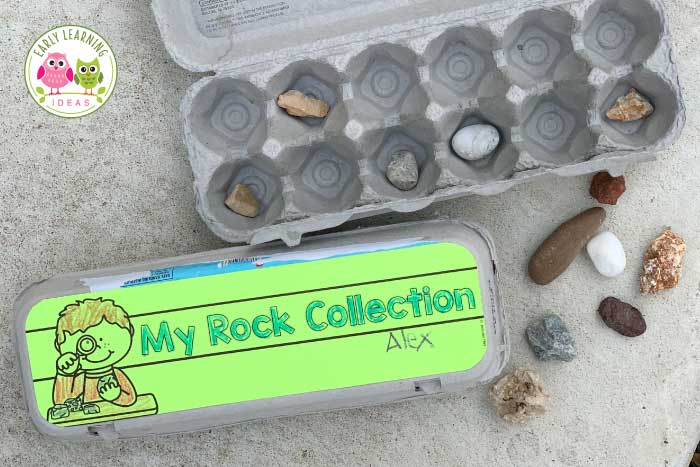
Now that your kids have filled their collection box with their favorite rocks…the fun and learning can begin. Here are some ideas.
WASH THE ROCKS
If you collected the rocks in nature, they probably need to be washed. If they are already clean, kids will definitely have fun cleaning them again.
Fill a container with water and provide some soap and a toothbrush. You can also provide a spray bottle filled with water for some extra fine motor practice.
Examine The Rocks
Rocks can be pretty interesting when you examine them….and there are many different ways to examine them.
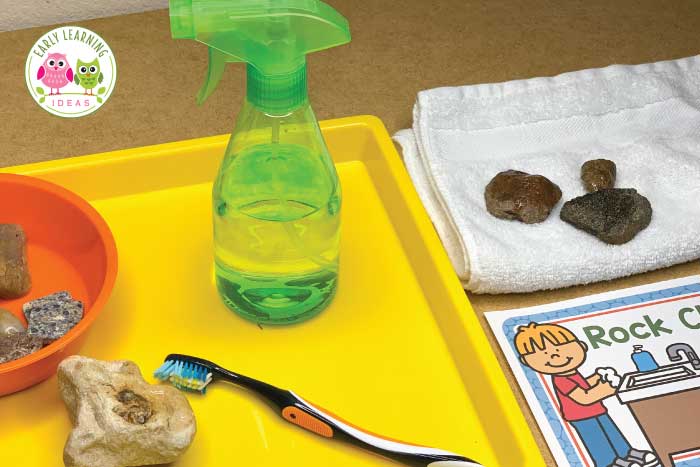
Open-end Questions
What happened when the rock got wet?
How do the rocks look different after they have been cleaned?
EXAMINE THE APPEARANCE
Pick out a rock and really look at it. Use a magnifying glass or a loupe if you have one….but you don’t need one.
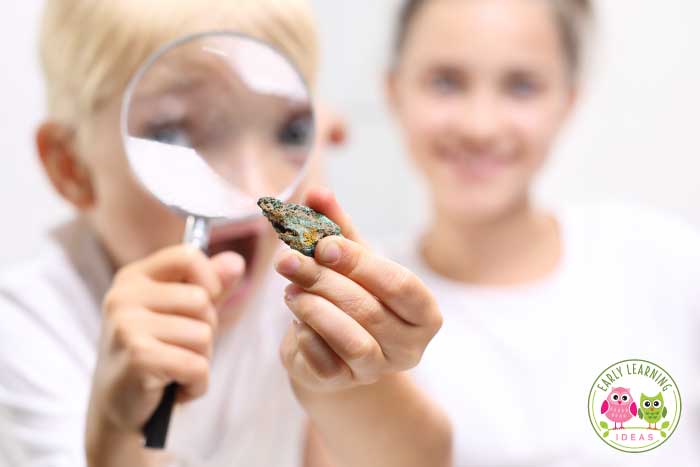
Things to Talk About
color (Is there one color? more than one color?)
shape (Is it round, pointy, dog-shape…..?)
luster (Is it dull, shiny, sparkly, etc.?)
size and weight
Test Those Examination Skills:
Place the rock that you just examined into a bowl with several rocks. Mix them all up. Can you find the original rock? How can you tell that it’s the right one?
Document the Appearance
Kids can trace the rock, create a rock rubbing, or draw a picture of the rock in a science notebook (blank book).
Examine the Texture
Use the Sense of Touch:
Place 3-5 rocks with varying textures inside a pillowcase, a soft bag, or in a sock. Let your kids take turns reaching inside to feel the different rocks. NO PEEKING! Talk about how they each feel different. Are they rough, smooth, round, bumpy, or pointy?
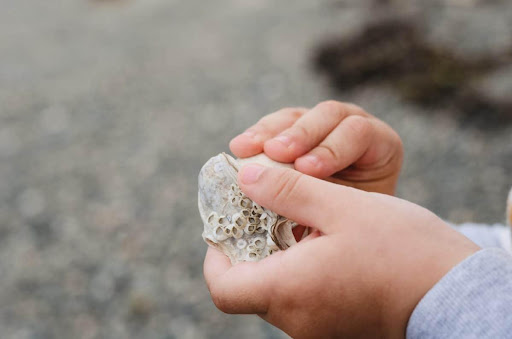
Test Those Examination Skills…Advanced Edition: Remember that special rock that you examined above? Add that to the bag. Can your kids find it with their sense of touch?
Additional ways to examine the textures:
Press rocks into a blog of playdough or clay to see what kind of print they leave when you pull them out.
Trace each rock
Place paper over the rock and make a crayon rubbing
Math Activities with Rocks
A rock collection also serves as a great tool to work on early math skills. Here are a few counting activity ideas.
One-to-one Correspondence: Young kids can count as they place a rock in each section of their egg container.
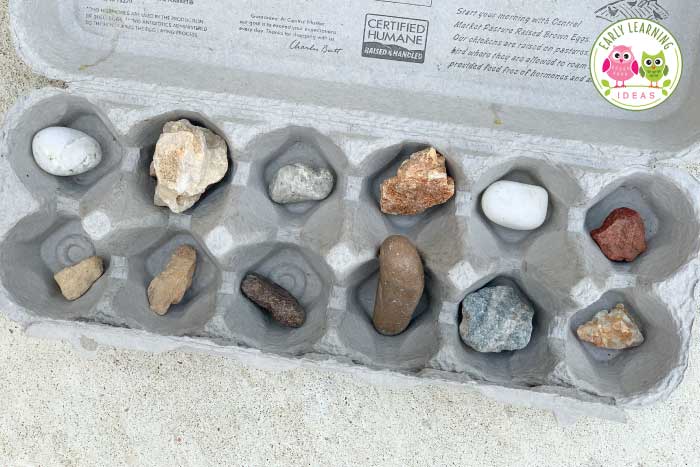
Counting: Kids can place all of the rocks in a pile and then count them.
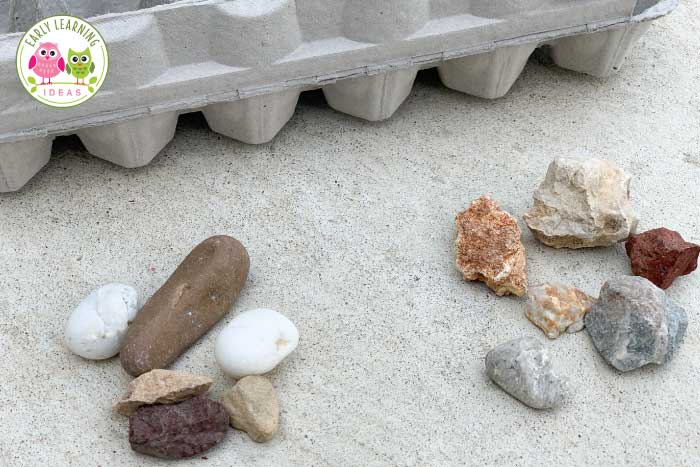
Counting Groups: Divide the rocks into two uneven groups. Kids can count each group and determine which has more rocks and which has fewer.
Making Groups: Ask kids to make two groups of rocks with the same number in each. Then, they can make 3 groups or 4 groups with equal quantities.
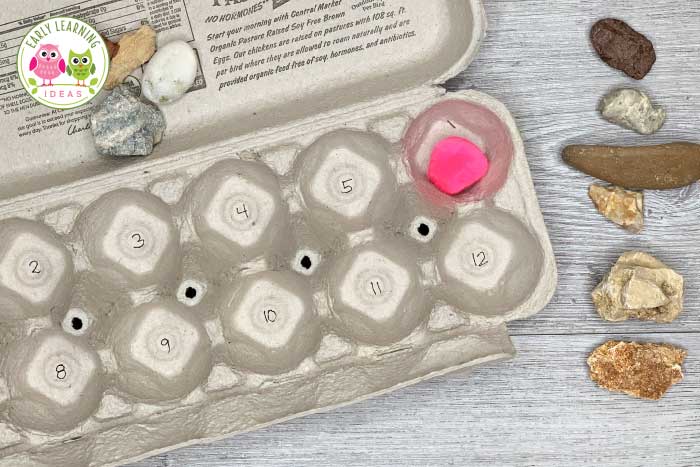
Counting Game: Print a number on the inside of each section of the egg carton. Take all of the rocks out of the egg carton and place a pom-pom inside the carton.
Shake the pom-pom around, and then open the egg carton to see which section it lands in. Count out that number of rocks.
Continue shaking the pom-pom and counting rocks.
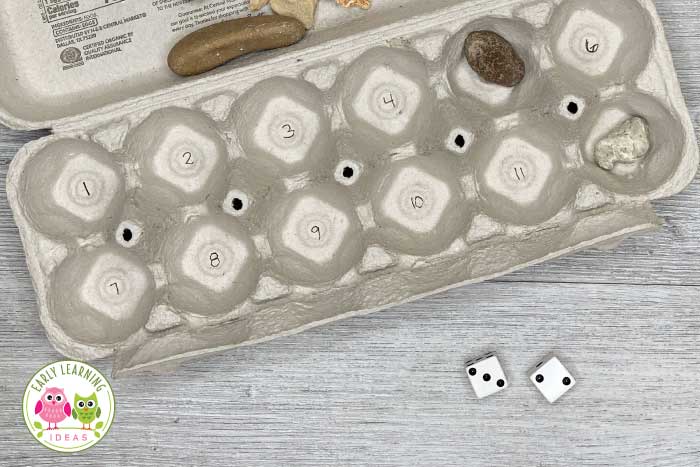
Dice Game: Add numbers to the bottom of each section of the egg carton. Roll a pair of dice. You may either add the dice together and place a rock in the corresponding section, or you may look at each die individually and place rocks in each corresponding section.
For example….Let’s say you roll a 5 and a 6. You can place a rock in the #11 section, or you can place a rock in both #5 and #6. Continue playing until you have filled all the sections with rocks.
You can play this individually or by taking turns with multiple players (with multiple rock collection boxes)
Sorting Activities with Rocks
There are many ways to sort the rocks in a collection and kids may enjoy trying to discover new methods of sorting.
Sort by Size: Sorting by size can generate some great discussions about how to sort the rocks by size. Do you use weight/mass? Do you sort by the length? How do you determine the length?
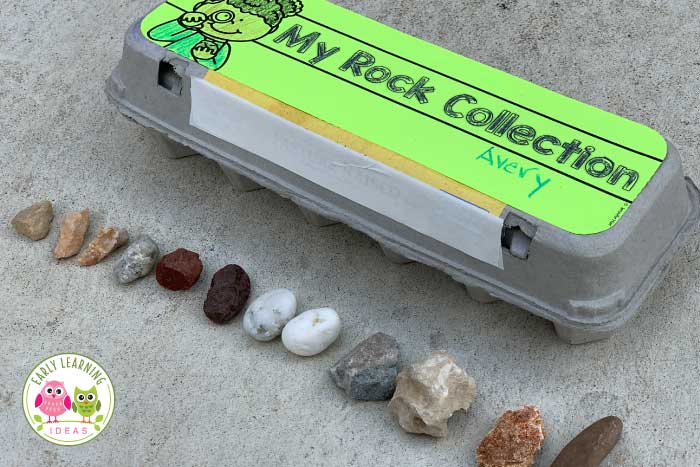
Sort by Color: Let kids decide how many color categories they should make.
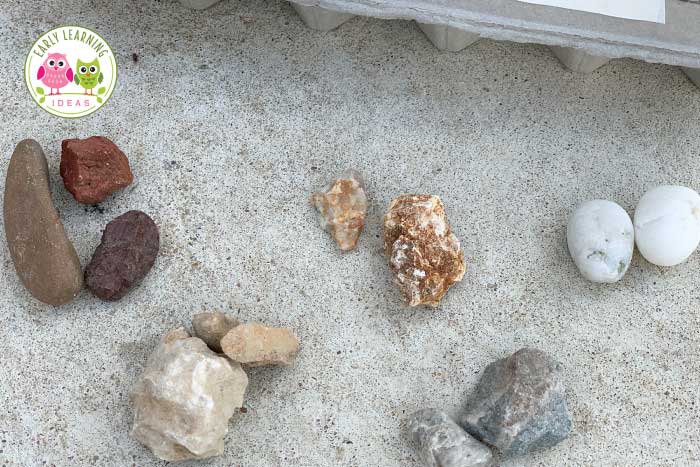
Sorting by Additional Attributes:
have crystals vs. don’t have crystals
round vs. not round
rolls down a ramp vs. doesn’t roll down a ramp
makes a mark on the sidewalk vs. doesn’t make a mark on the sidewalk
Challenge your kids to think of additional ways that they can sort their rocks.
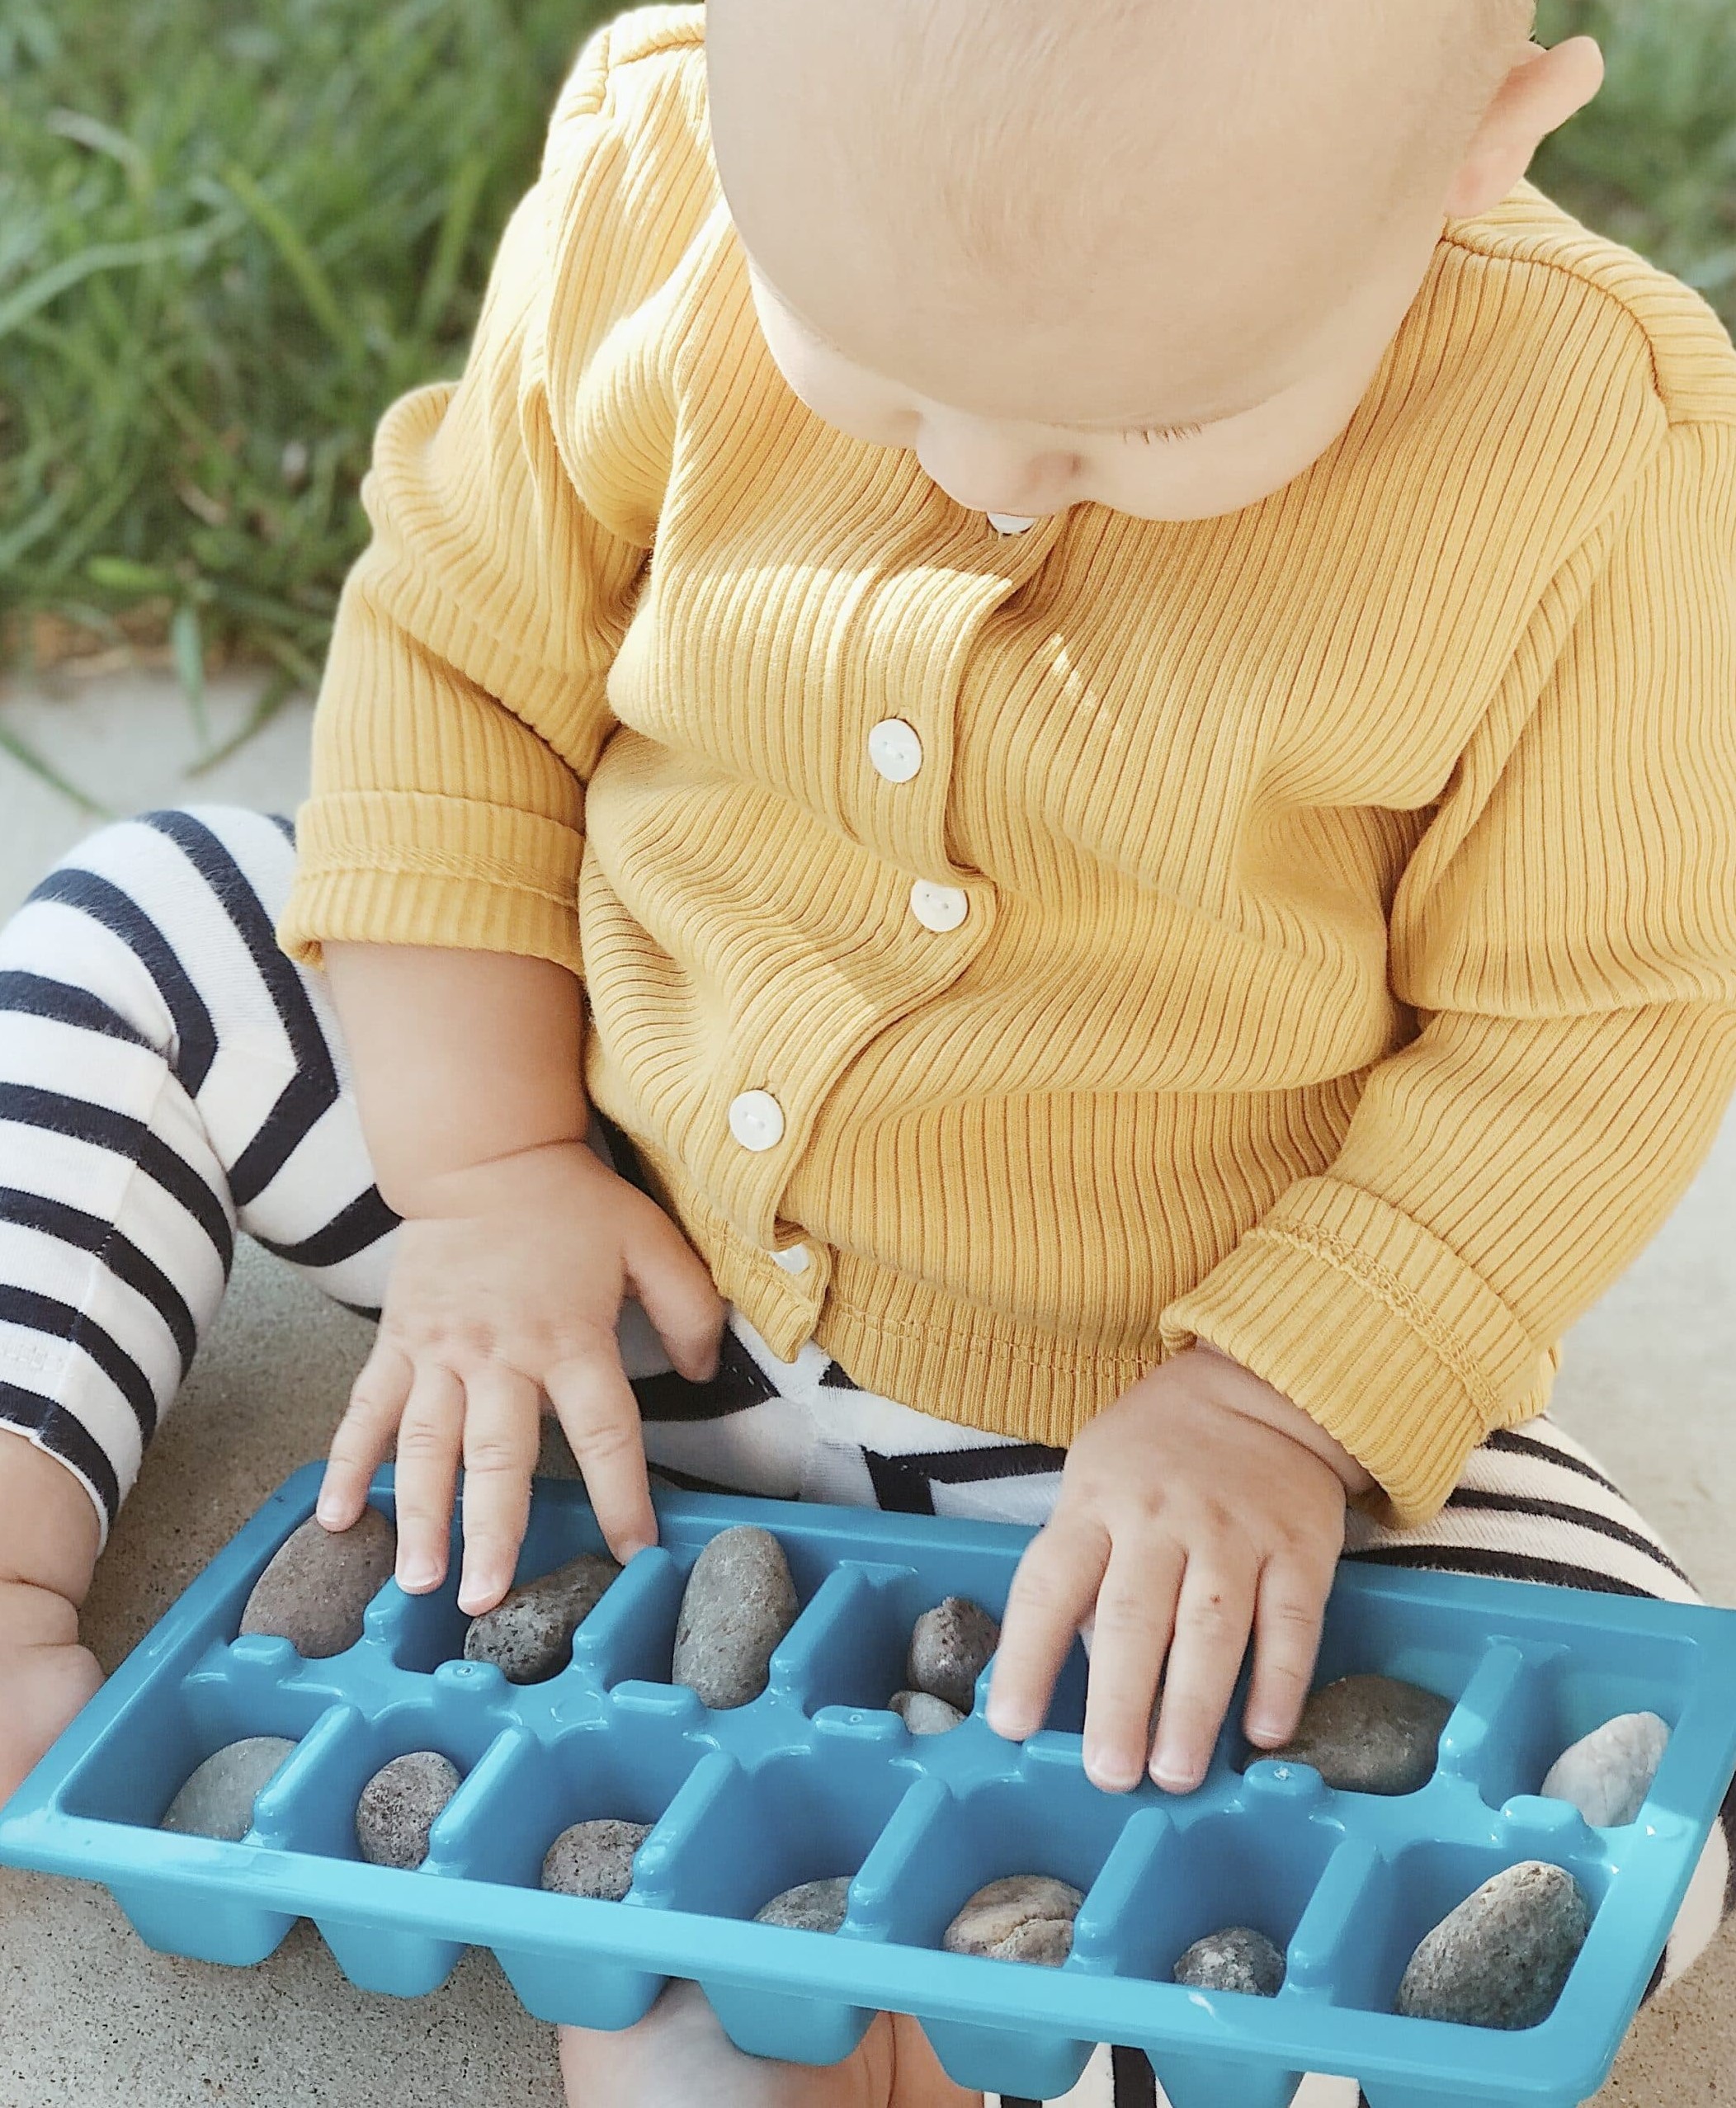
Get the Free Printable
Well, I hope that I inspired you to try out some learning activities with rocks. Are you ready to create a rock collection container so that your kids can put their treasure collecting skills to work? Complete the request here and I’ll send the printable and activity directions to your inbox.
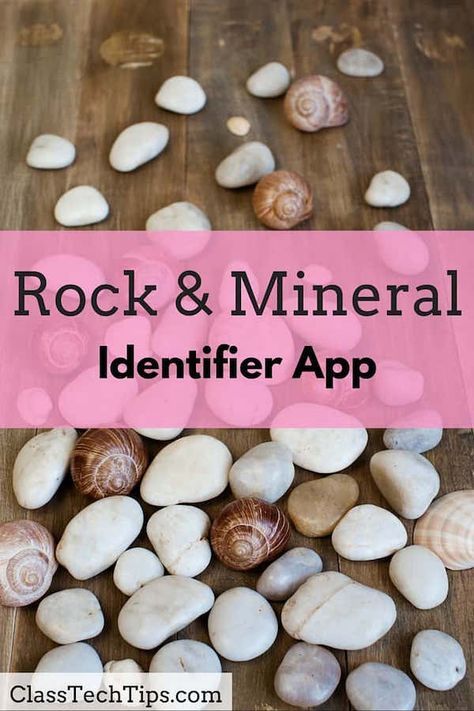
CLICK HERE For Link
Sorting and Classifying Rocks:
Geology for Kids
Sorting and classifying rocks is an easy science activity for toddlers, preschoolers, and grade school students.
In geology, rocks are typically classified into igneous, sedimentary and metamorphic rocks. This earth science activity does not classify rocks in this way. Instead, basic classifications are used so young children can easily complete it.
You may also like Rock balancing Stone Stacking Art for Kids
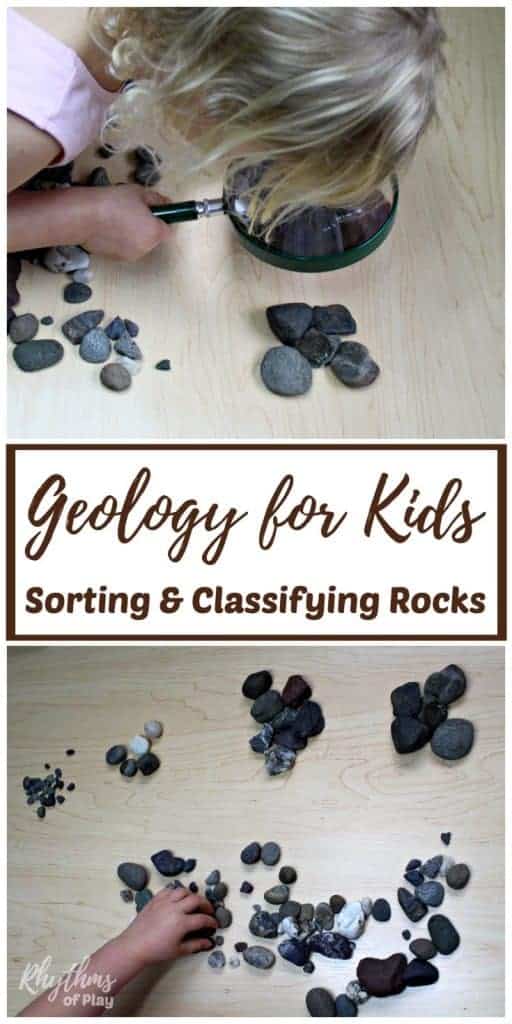
Sorting and Classifying Rocks: Geology for Kids
To do this activity, you will first need to go on a nature hunt for rocks. Nature hunts are another fun and educational activity to do with your kids. Do your best to find a collection of different sizes, shapes, textures, and colors.
Materials for Sorting and Classifying Rocks: Geology for Kids
A varied collection of rocks
Magnifying Glass (optional)
Rocks & Minerals Feild Guide or Everything Rocks and Minerals by National Geographic Kids (optional)
Science notebook (optional)
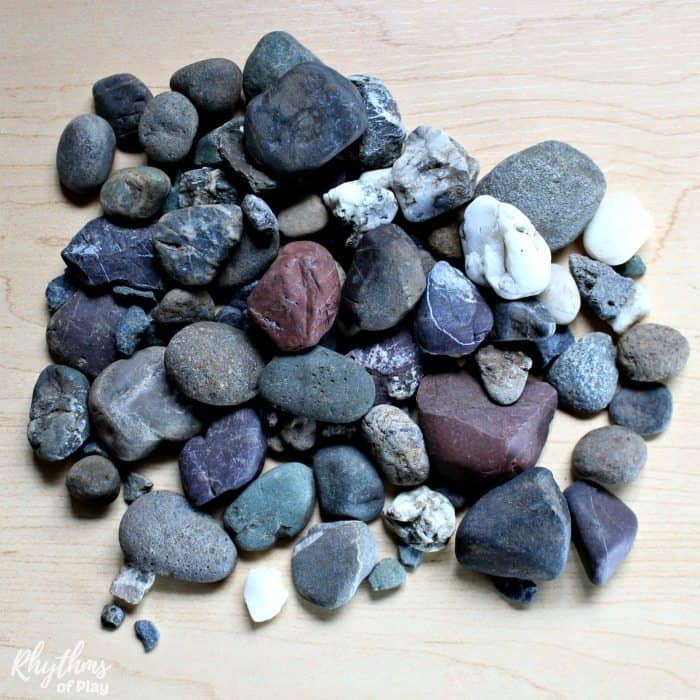
DIRECTIONS FOR SORTING AND CLASSIFYING ROCKS: GEOLOGY FOR KIDS
1. Place rocks in a pile on a work surface.
2. Instead of telling your child(ren) how to sort the rocks, ask them if they see any differences in the rocks. If they are stumped encourage them to investigate them more closely by touching them or looking at them through a magnifying glass, etc. Sort the rocks based on their answers.
3. Add in a math component by asking your children to count the number of rocks they have placed in each category. Next, have them say how many of each category there are. As an example, your child might say there are 6 white rocks, 7 red rocks, 5 green rocks, and 10 gray rocks. Write this down in your science notebook or on a scrap of paper for them. You can create a graph of your results to extend the activity once you are finished sorting and classifying the rocks.
4. Place the rocks back into a pile and ask what other differences they see. Sort again based on their answer. You don’t need to sort every last rock each time. Some rocks may be difficult to sort depending on the classification.
5. Repeat until you run out of ways to sort and classify the rocks.
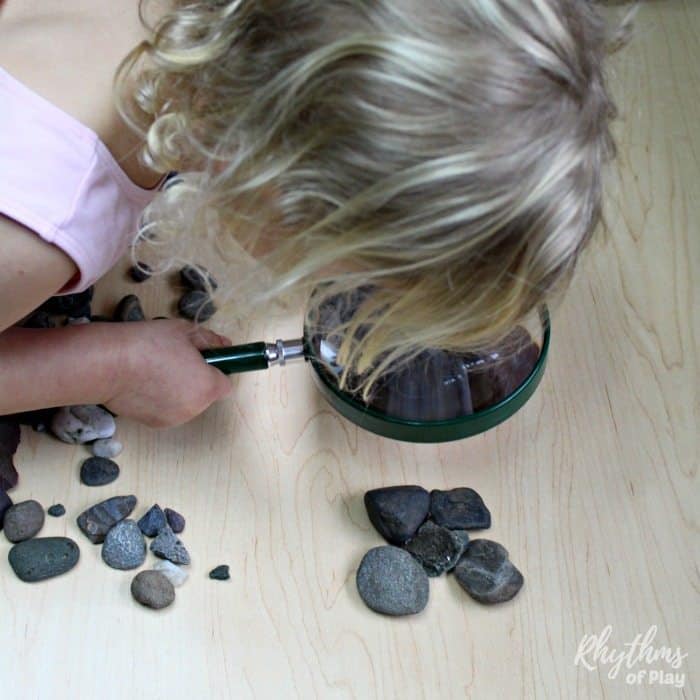
SORTING AND CLASSIFYING ROCKS PROCESS
For this activity, my 3-year-old daughter sorted and classified rocks based on size, color, texture, and shape. See photos below.
SORTING AND CLASSIFYING ROCKS BY SIZE
My daughter sorted extra small (pebbles), small, medium, and large rocks. Learning to sequence using natural items such as rocks is a common forest school learning activity.
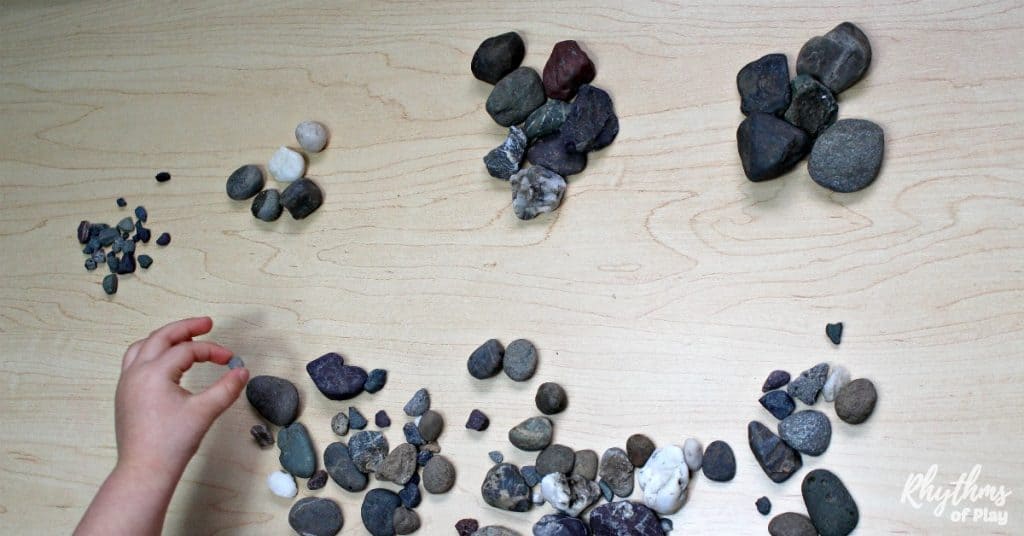
You don’t have to bring nature home in order to practice sorting and classifying. My daughter and I also enjoy sorting by size when we go on nature walks. We don’t collect the rocks when we do this. Instead, we point to pebbles, rocks, and boulders when we see them calling out what they are.
SORTING AND CLASSIFYING ROCKS BY COLOR
The colors you sort will depend on the rocks you collect. My daughter was able to sort white, red, green, and gray rocks.
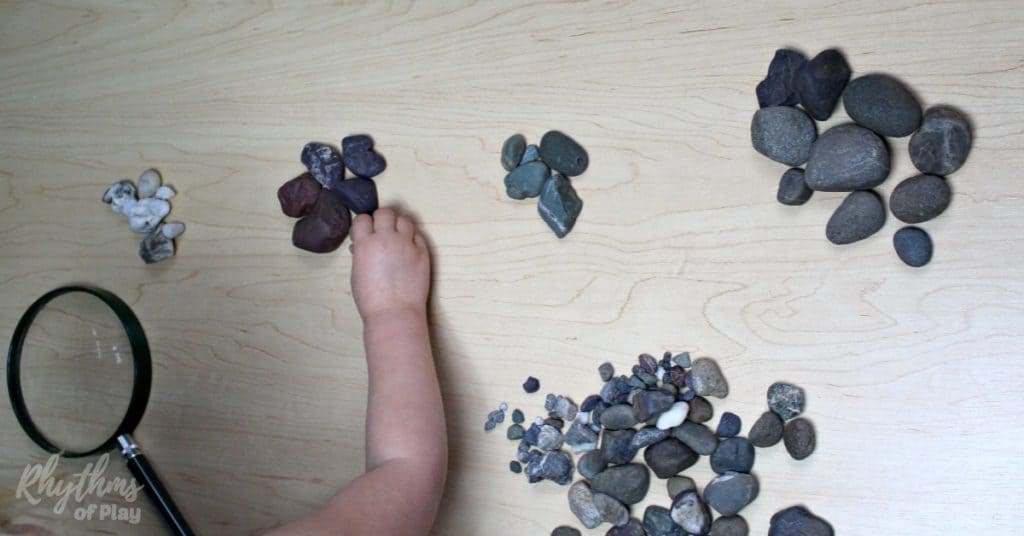
Next, she sorted the rocks based on whether or not they were one color, or had more than one color.
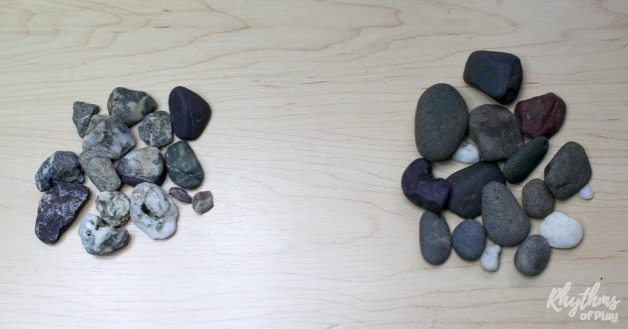
SORTING AND CLASSIFYING ROCKS BY TEXTURE
My daughter sorted smooth and bumpy or rough rocks. If they had any roughness at all they were put into the rough category even if they had smooth sections. This is a great sensory activity.
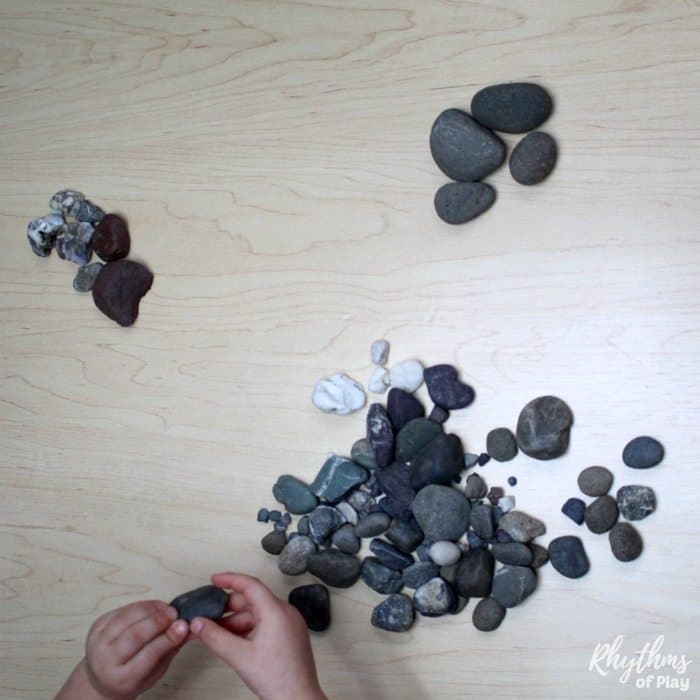
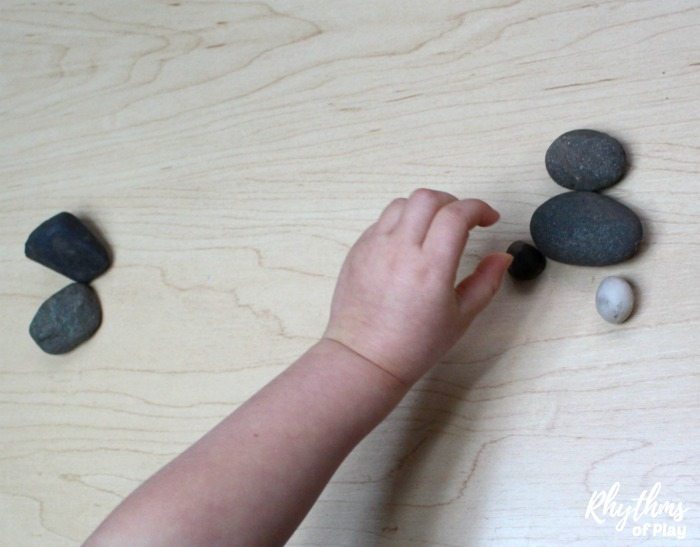
SORTING AND CLASSIFYING ROCKS BY SHAPE
My daughter sorted square and round rocks. Activities such as sorting and classifying rocks encourage children to focus attention on the characteristics of the objects: visual appearance, textures, weight, dimensions, color, relative size, etc. Counting the results is an easy way to add math to make it a STEM activity.
When doing this activity, children make decisions based on the information that they perceive. This decision-making activity helps establish new nerve pathways in the brain. These pathways pave the way to higher learning.
More Information on Rock Activities for Older Kids
Rock Balancing Stone Stacking Art for Kids
Get The Rock Collection Free Printable
How to Officially Start Rock Collecting
Tips For Getting Started Rockhounding!)
So you’re interested in collecting rocks? Maybe you’ve also thought about collecting minerals and fossils or even Indian arrowheads? Or has gold prospecting been on your to do list? If you’re just getting started in this hobby, you may be wondering just how to get started. First of all, let me just say congratulations to showing interest in starting a great new hobby. I’m confident you’ll enjoy rock collecting for years to come.
In this post, I’ll share with you what it takes to start a rock collection. Sure, it can be as simple as stepping outside. But there are many layers to rock collecting that you can learn about. We’ll go through some of the things you can do to start your rock collection, as well as learn about some of the tools you’ll need if you want to elevate your rock collecting hobby to the next level. Finally, we’ll get to talk about some of the things you can do with your rock collection…did you know you can make money from rock collecting? Want to know how? Keep reading!How To Get Started Rockhounding And Start a CollectionThe good news is, it’s not difficult at all to start a rock collection at all. At the most basic level, all you really have to do to get started is walk outside your house and start looking. Take a walk around your neighborhood and see what you can find. See if you can find any rocks that are attractive to you. Try to find rocks that are different and unique in some way.
(FREE!) Rock & Mineral Identification - Beginner's GuideLearn the basics of identifying the rocks in your collection by reading this free guide! Then enjoy a daily dose of rock, mineral and geology fun with our Rock Seeker Newsletter!Grab Guide & NewsletterWe use your personal data for interest-based advertising, as outlined in our Privacy Notice.
But if you’re looking forward to diving into rock collecting just a little more than poking around your backyard, there’s just a few things you’ll need to know:
What to look for
Where to look
How to clean your rock and mineral specimens
Learning Where to Find Rocks and What to Look For
The types of rocks and minerals that you can find strictly depends on what part of the world you live in. There are so many diverse and unique geological areas that it’s hard to say what you might find in your specific area.With that said, there are some excellent resources available, both online and in person, that can help you learn about your area and what rocks and minerals can be found there.
Local Rock and Mineral Club
The best option in my opinion is to join your local rock and mineral club. Here is a list of rock and mineral clubs by each state. A quick Google search should also help you find a local club.The benefit of joining a club is that you will have access to an entire group of experienced people who are very familiar with your area. Not only will they know what types of rocks and minerals can be found there, but also areas that are good to look in.
Maps
Another resource you can use to help learn where to find rocks and minerals in your area are maps. Maps can be found online or even at your local club.Mindat.org is an excellent resource for rockhounds.Books
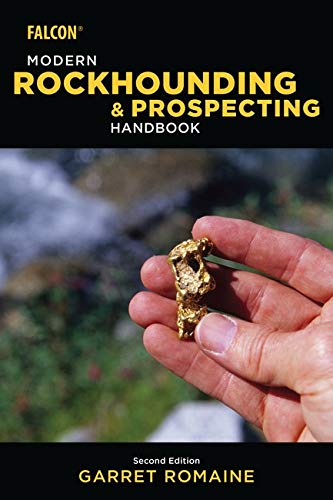
A rockhounding book that is written about your specific area is absolutely priceless to have in your arsenal of equipment. Owning one of these books is the best option, but not the only option. Your local library will also carry books that you can borrow for free.Not only do these books teach you exactly what type of rocks and minerals you should be able to find, but also where to go and how to find them.
Many books provide GPS coordinates and step-by-step directions on how to get to specific locations. Keep in mind, however, that many of these locations have been thoroughly searched by other rock collectors. It’s still an excellent way to get started though.
Some Good Places To Start-Pay To Dig Sites
One of the easiest places for new rockhounds to get started is to go to a pay to dig site. These sites are located at private mines or claims and are open to the public to collect, however there is a fee associated with it. Sometimes the fee will be a set price just to enter the property, while other sites will charge on what you take from the property.Rock QuarriesRock quarries are a great place to rockhound. Not only do you have access to many different layers of material to dig through, you also have a ton of loose material available that machines or blasting has loosened.I love quarries, and recommend that you try and find some near you. You should know though that these are always privately owned and you must ask for permission first before entering them.
Roadside Cutouts
Roadside cutouts offer a great place for new rockhounds to explore. And depending where you live, these can be abundant.Take care though when collecting in these areas though, since you’ll have traffic to deal with. Most cars aren’t used to keeping an eye out for pedestrians in these areas.
Tip: Consider wearing a bright orange or yellow safety vest when visiting roadside cutouts. Not only does it help traffic see you better, it most likely will prevent people from stopping and asking what it is that you’re doing and they’ll just assume you’re supposed to be there since you have a vest on.
Permission To Access Private Property
Whether you are walking around your neighborhood, or hiking through the woods, always be on the look out for private property. Property lines are not always marked well so you really need to be on your toes with this one. Then be sure to ask for permission from the owner before entering their land.
How to Find The Owner of Private Property
Unfortunately, most property owners don’t list their name and telephone number on a gate or fence for all the world to see. But there are still some things you can do to find out who the owner is and get a hold of them.
OnX GPS Maps
OnX Maps app is a must have if you spend much time at all tromping around the desert, woods or back country rockhounding. There’s a feature on the map that will tell you exactly where you are and who is the owner of that property your standing on.
Local Tax Assessor’s Office
Another option is to simply track down the property owners info yourself by looking on the county tax assessors website. Some counties make this process easier than others, but the information’s there. You just have to go in and dig for it.
Rock Collecting Tools
There are many tools out there that are available to rock collectors. But don’t let all of that confuse you or deter you from getting out there. Like I said earlier, you don’t really need a lot. But if you want to make your time out in the field the most productive, then there’s a few tools you might want to consider picking up.For more detailed information on rock collecting tools, read this post, The Ultimate Guide To Rockhounding Tools.
You won’t regret having these items!
The Geologist’s Hammer
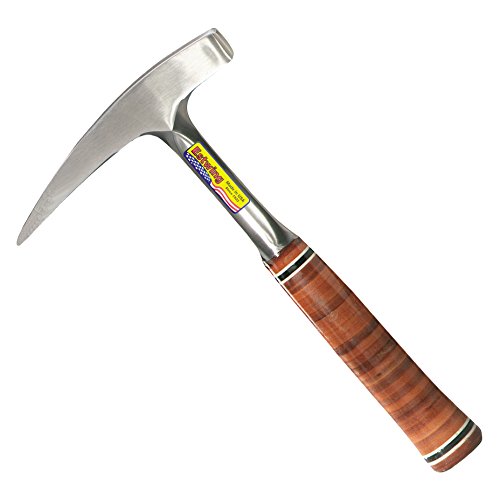
A geologist’s Hammer or a geologist’s pick, is a great tool that has two sides, a blunt end and a sharper pick end. This tool is used mostly for prying off pieces of rock, but can also be used to break off pieces of rock. Keep in mind that the geologists hammer typically breaks rocks into smaller sized pieces.If you want larger size rocks, you might want to consider investing in a crack hammer. Remember to always use safety goggles when hammering at rock. Small pieces of rock will fly all around you, including possibly hitting your face. Protect your eyes!
Rock Collecting Pouch/Bag
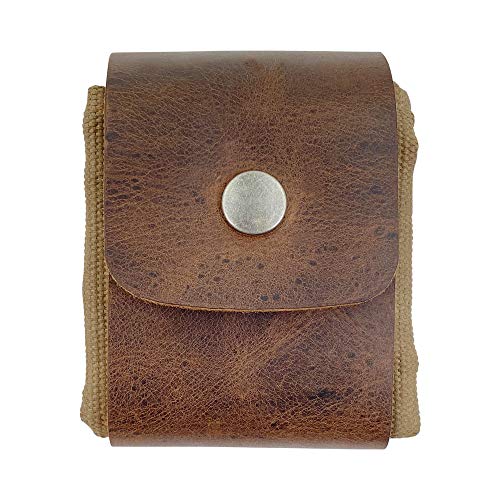
Collapsible Canvas Collecting PouchCheck Current PriceWe earn a commission if you click this link and make a purchase at no additional cost to you.A rock collection bag will also be something you want to carry with you. It doesn’t need to be anything fancy, but you will need something to put your newly found rocks into while out and about.A backpack is my favorite rock carrying device. Backpacks are great for rock collecting because they can double as a lunch box!Some other things you might want to consider bringing with you while finding rocks are a pair of gloves. Some rocks tend to be very sharp. A good pair of gloves will protect your hands from cuts and scrapes.A Field Guide To Rocks And MineralsMust Have For Rockhounds!
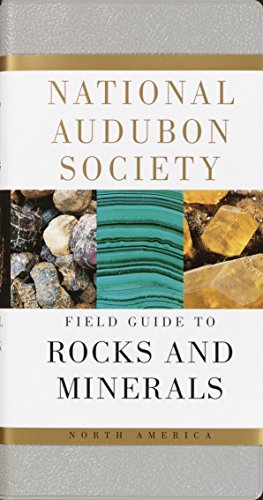
National Audubon Society Field Guide to Rocks and MineralsCheck Current PriceWe earn a commission if you click this link and make a purchase at no additional cost to you.A field guide to rocks and minerals is always an excellent resource to have with you when hunting for rocks. Having the correct field guide on hand will allow you to quickly identify your rock specimens while out in the field. Remember to bring tape and a marker to write with so you can label your identified rocks on the go.What To Do With All Your RocksChances are once you start a rock collection, you will end up with too many rocks! Now that you’ve gathered all these rocks, what exactly are you supposed to do with them? If you’re like most rock seekers, you want to display them for all the world to see!How To Clean Your Rock CollectionStart by cleaning your rocks. Wash your rocks in plain water with a bit of laundry detergent or dish soap. Then if you want, you can submerge them in water with just a little ordinary household bleach for two days. This will take off most of the heavier grit. Then take a toothbrush and denture cleaner and gently brush away the remaining dirt and grime. Finally, wash your rocks with warm water to remove the remaining bleach solution and allow the rocks to air dry.Here’s more in-depth information and guides on how to clean different types of rocks and minerals.
Organize Your Rock Collection
You can organize your rock collection any way that you decide. But organization is a very important part of learning how to start a rock collection. Many people will categorize their rocks by type or color. Some will group together their favorites while others might organize by size. Most likely, if you’re like me, you will find a combination of ways to organize your rock collection. I tend to organize by rock type and within that type I arrange by size. But I always put my favorite rocks, regardless the size, at front and center. Once your rocks are organized, then you can label them. You can label each rock individually or you might just want to label the box or container they are in. I like to label my rocks by type, date found and location that I found it.
Display Your Rock Collection
Finally, take your most prized rocks of your collection and show them off! Place them on a shelf where everyone can see them. Or perhaps you have a display case you can put them in. Either way, position them so everyone else can enjoy them also.I have favorite rocks displayed in many places. I have rocks displayed at home as well as on my shelf at work. You will be surprised by how many questions you get regarding your rocks, and you will never get tired of telling the stories behind them.
Here’s my current favorite way to show off some of my favorite finds.Final Thoughts!Now that you know the basics of how to start a rock collection, get out there and start looking! An entire new world of interest and beauty is waiting for you.
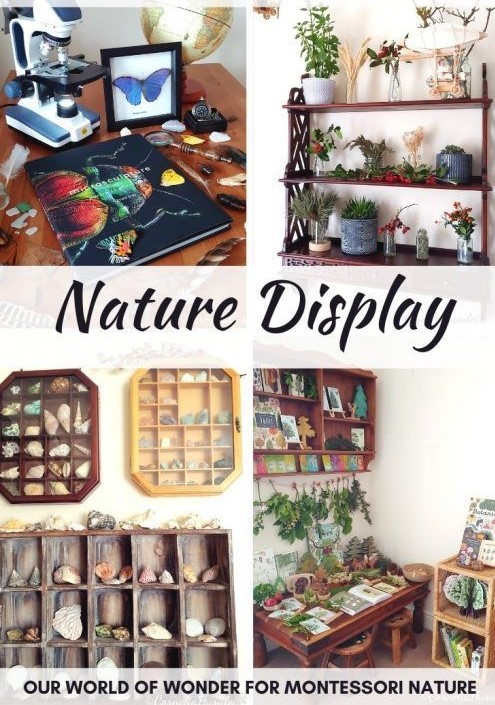
Displaying
Nature Collections Inside
I get asked a lot about what kind of science work I do with my kids. Or, what kind of work parents should do for their kids. And if I have any ideas for science shelves.
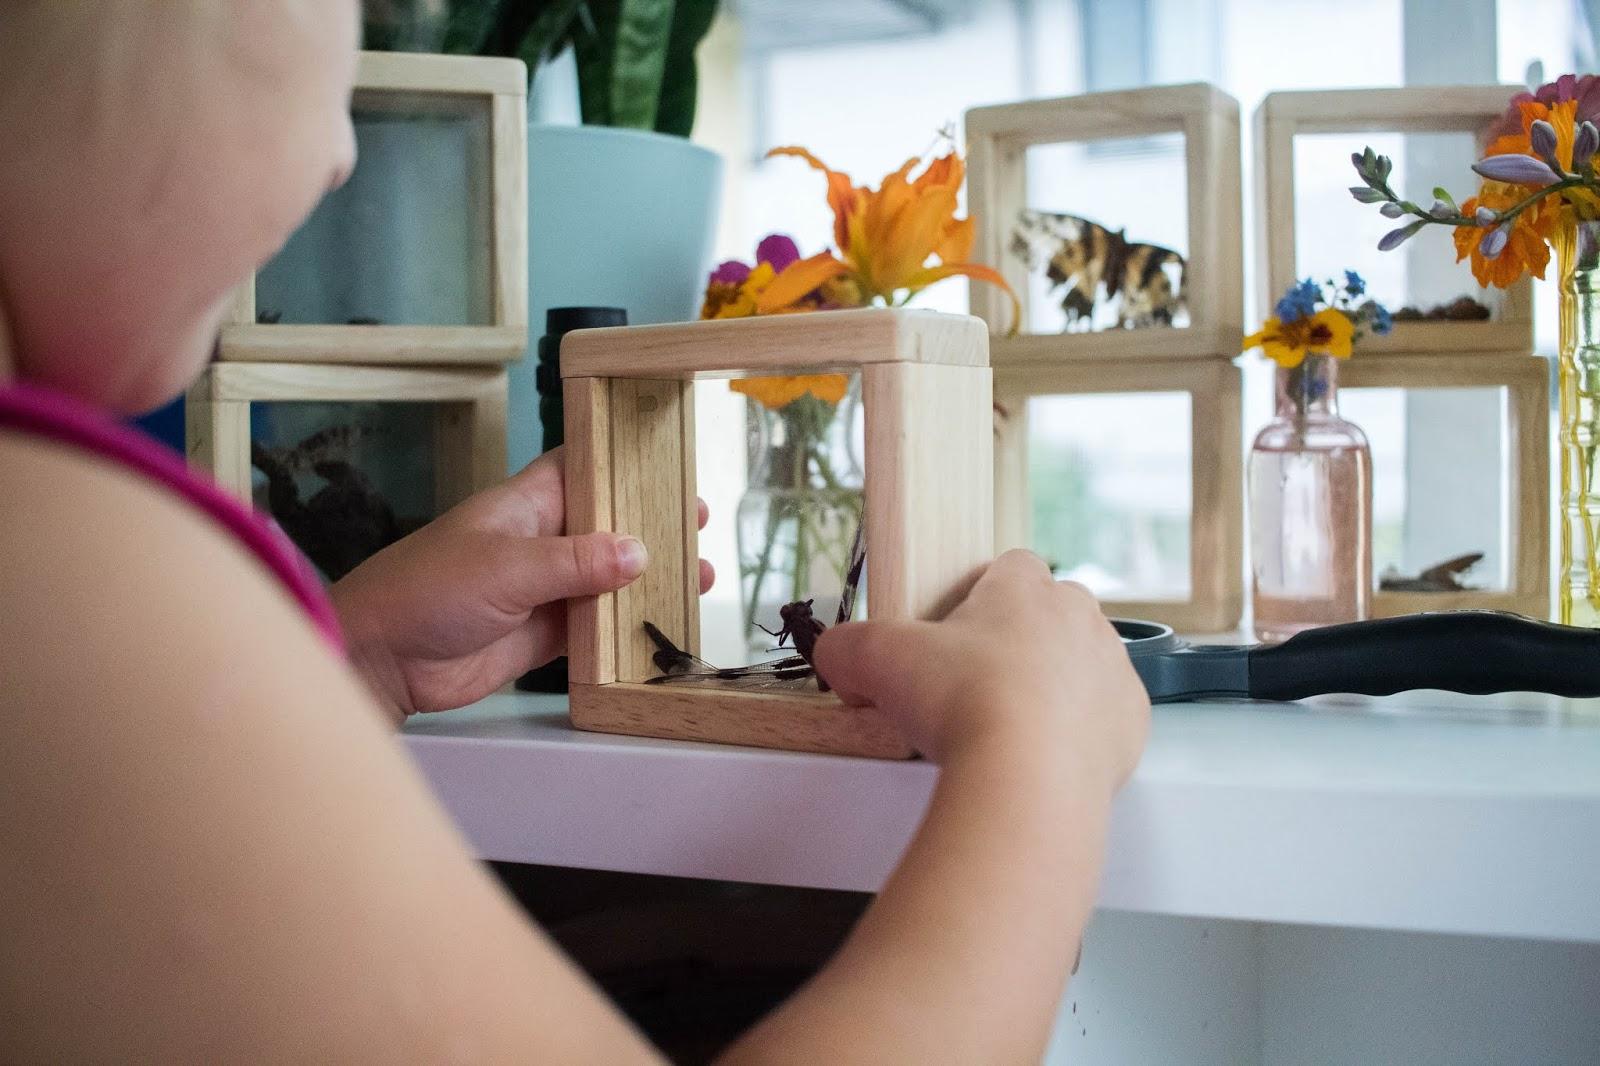
One of the easiest answers to those types of questions is to look to nature. The natural world provides so many amazing opportunities for small children to learn that we don’t even have to create anything elaborate.we just have to observe and give our children time with nature. And often, a collection or two will spring up out of this time together.
HOW DO YOU SUPPORT A CHILD'S NATURE COLLECTION AT HOME?
Provide containers, baskets, trays, or other places to safely store a collection
Do lots of outdoor exploration experiences WITH them
Clear some space - dedicate a nature table or desk
Bring a lunch bag or large ziplock with you when you’re outside
Look closely with your child - share their excitement
Keep it local - doesn’t have to be a vacation thing
Teach your child responsible collection techniques - we don't take living objects for example
Children are attracted to the beauty of the natural world and seem to find it everywhere so it’s no surprise that nature collections seem to be a natural part of childhood. Supporting that collection can give children so many possibilities for work that you don’t have to add much else to your shelves.
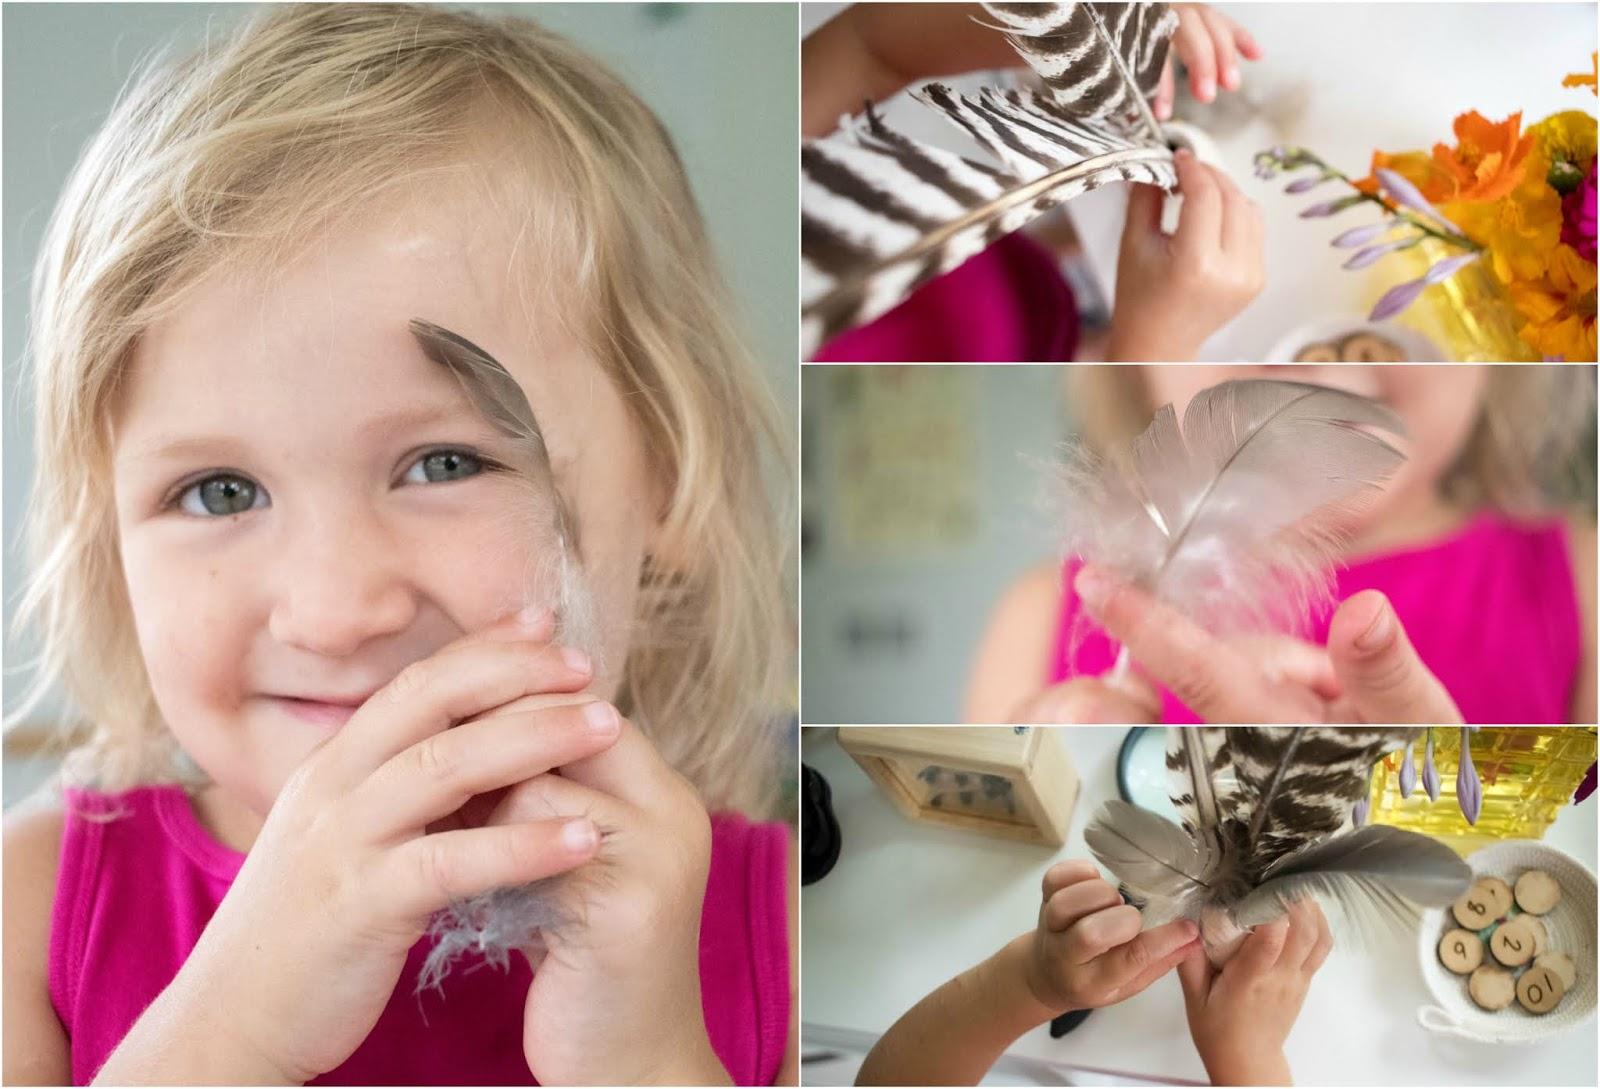
At our house, an interest in dead beetles last summer has changed into an interest in all dead bugs. Sara looks for them everywhere. Our collection has grown to include several moths, butterflies, dragonflies, a wasp, and several beetles. Recently, her interests have expanded to a toad skin she found while biking. Somewhere a long the way feathers have been added to the things she eagerly collects and shoves into her pockets.
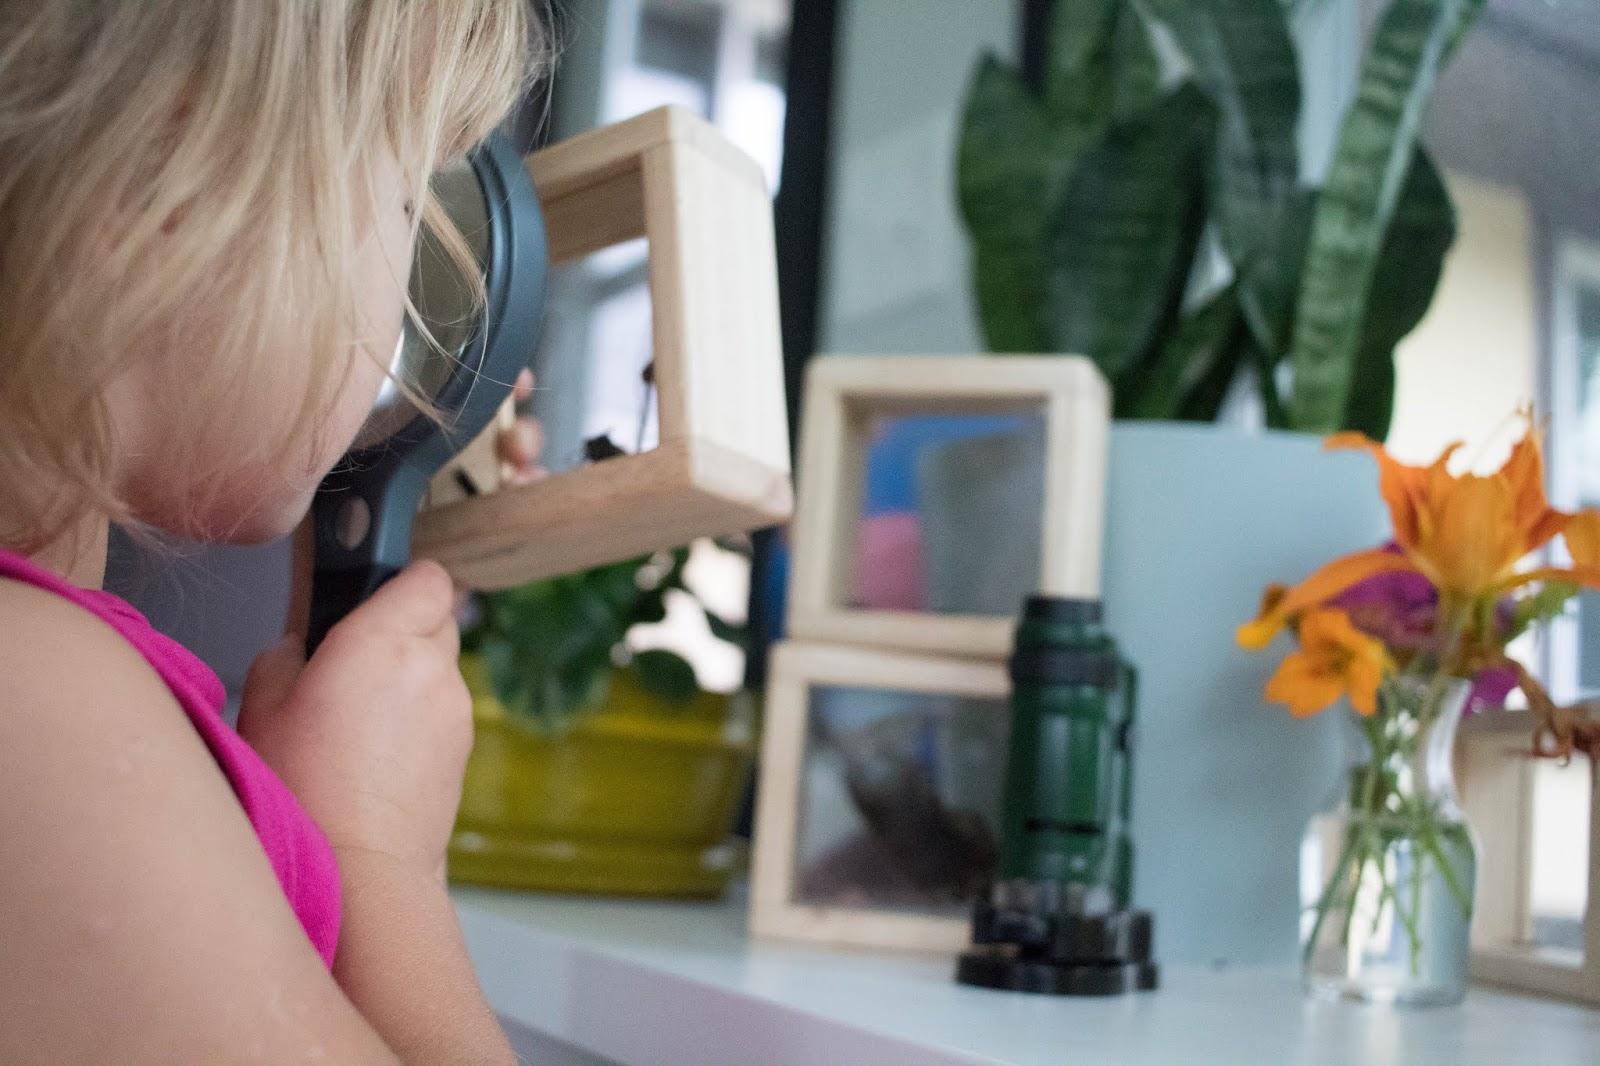
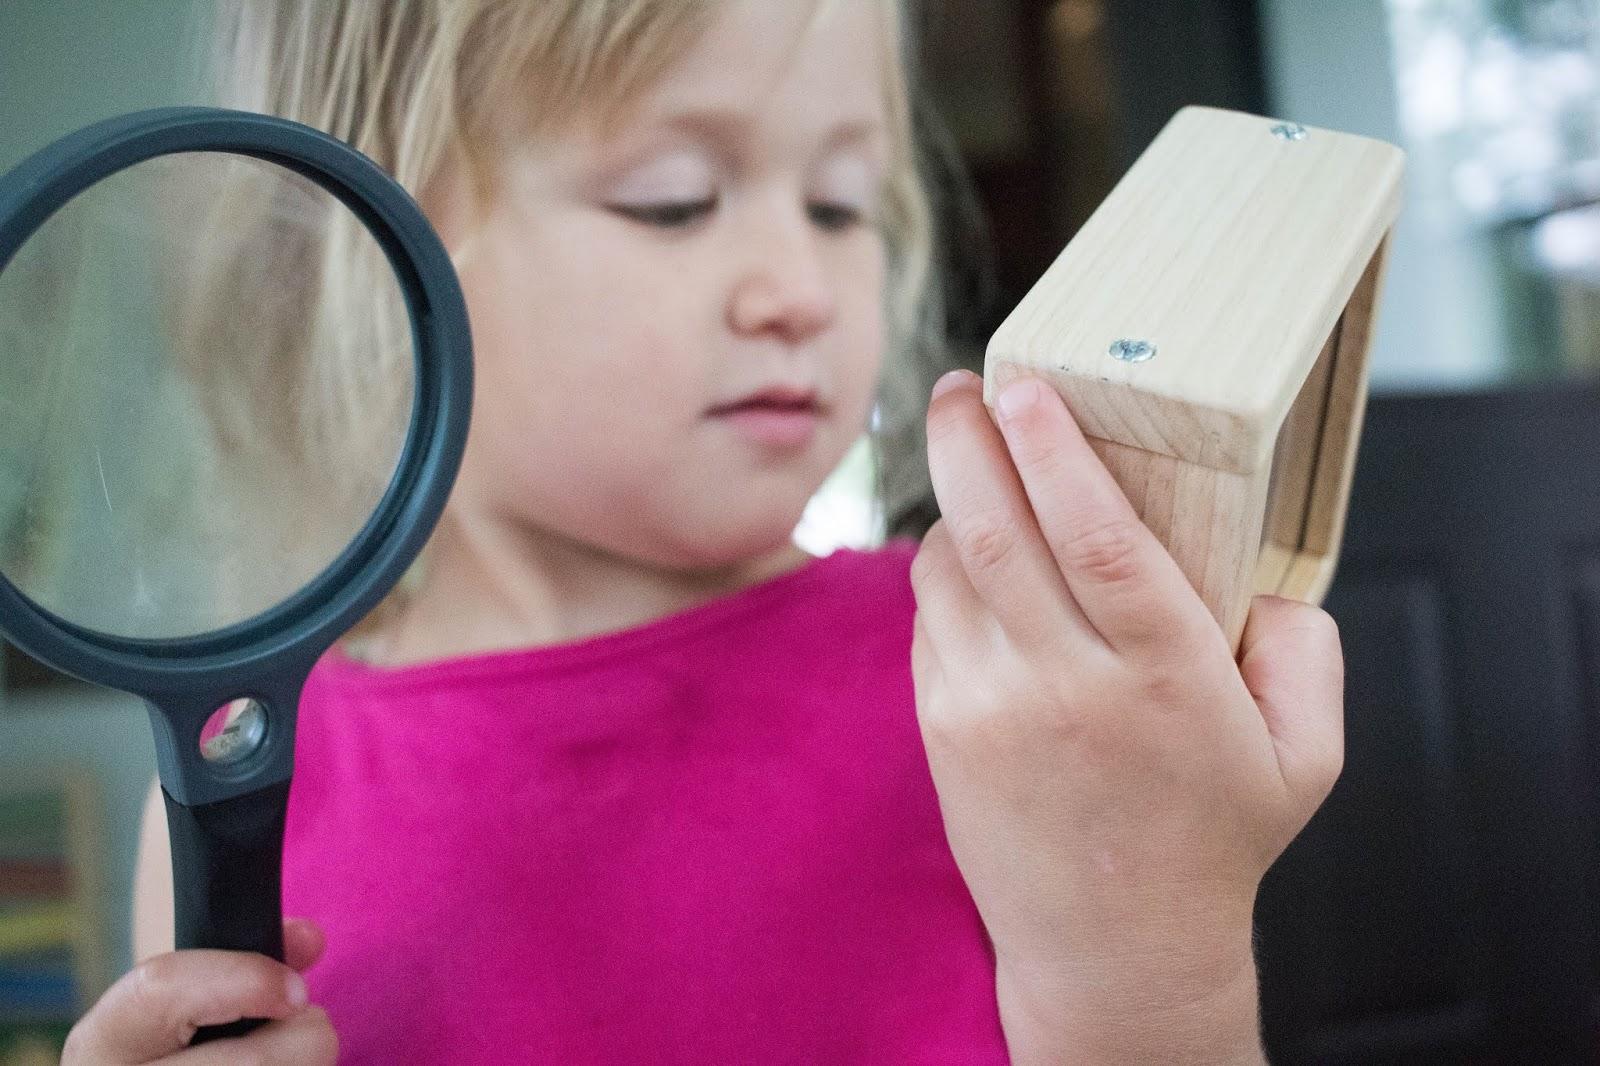
WHAT CAN YOU DO WITH A NATURE COLLECTION?
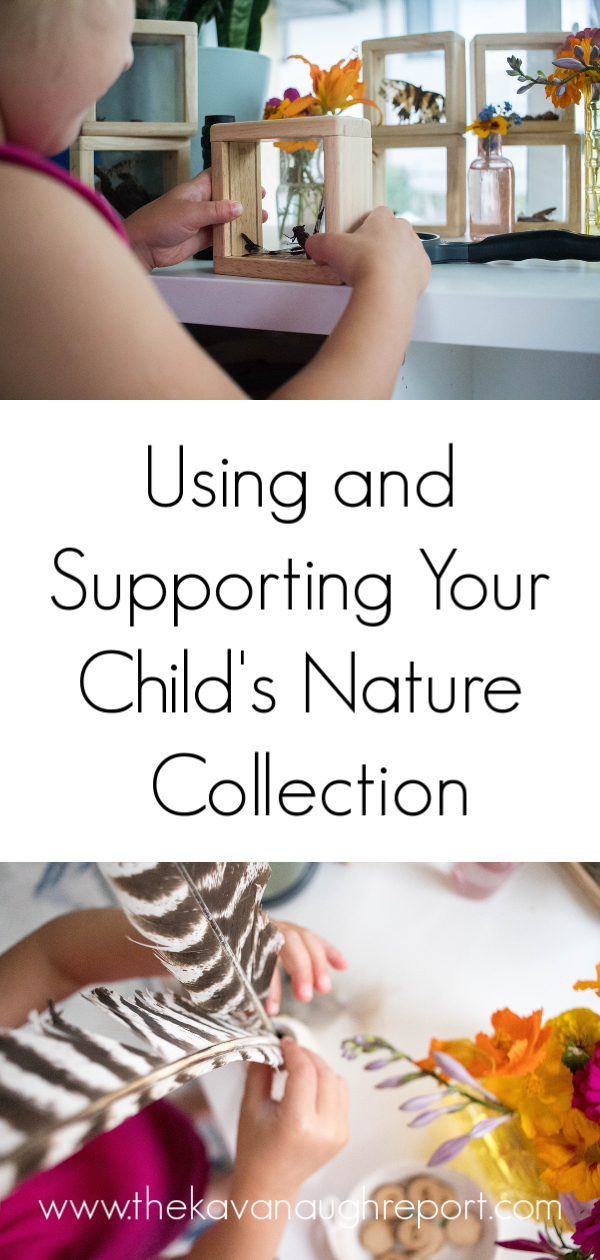
read about related topics
compare textures
measure and weigh
examine under a microscope or magnifying glass
tracings, rubbings, and other art projects
just talk and connect over the items - share in your child's joy
share information about the items with siblings, friends, or classmates
organize or preserve items - I love these ideas for preserving bugs
search for more!
visit a local museum where you can learn more about the objects collected
decorate the area together - Sara's favorite in summer is adding fresh flowers
We keep them in these wonderful boxes. I love them because they help to keep the specimens safe while also keeping them out of other little mouths. The only downside of these boxes is that it is harder to look at the insects under a microscope once they are in the box and they are a bit of a splurge. But, they can be removed and replaced, and provide nice practical life work in opening and closing.
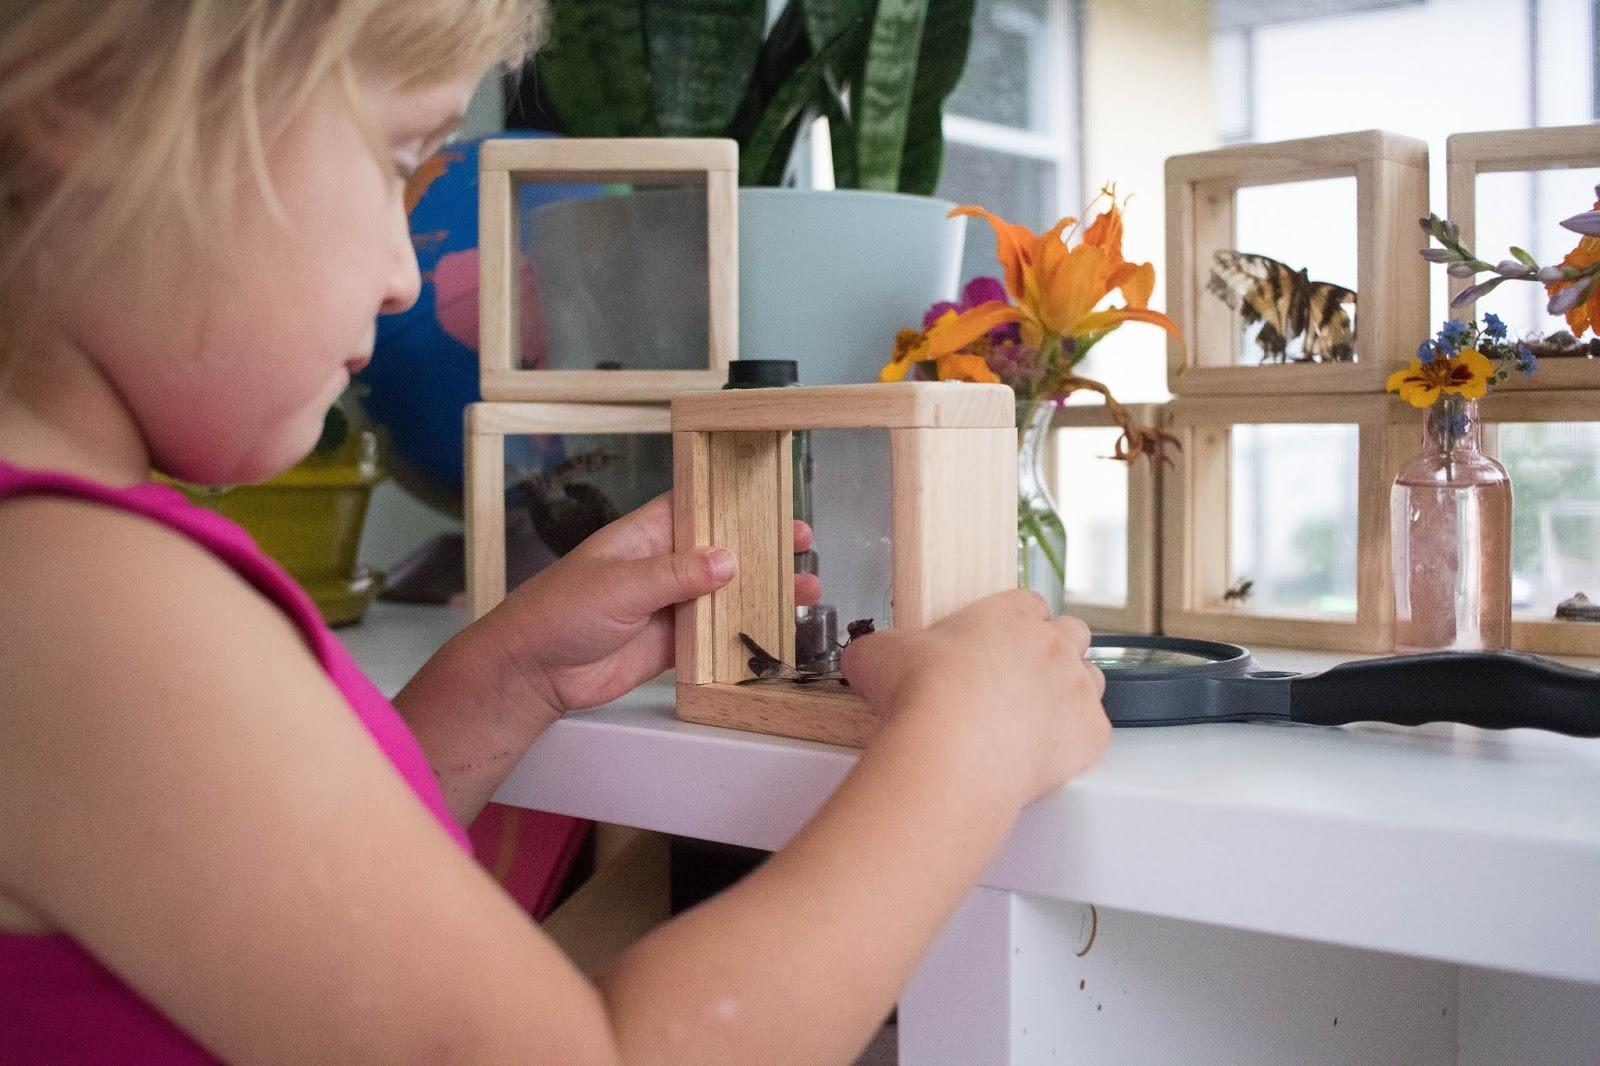
I hope Sara's desire to expand her nature collection doesn't stop anytime soon. The joy she gets when adding to her collection is absolutely contagious. And, I love these glimpses into her world and the things she finds interesting!
Easy Ways for Kids to Display and Store Their Own Rock & Nature Collections
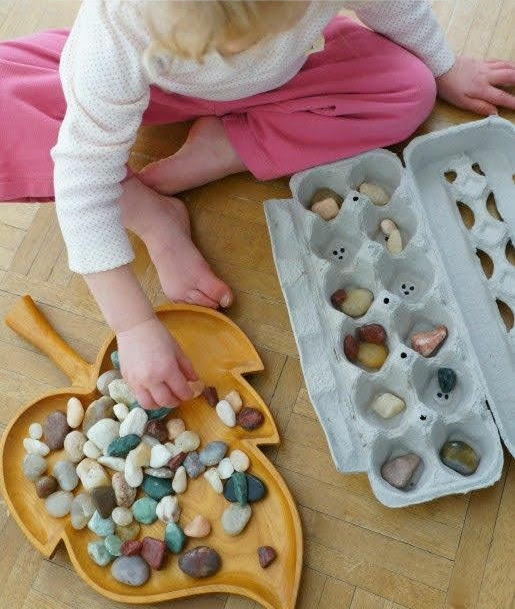
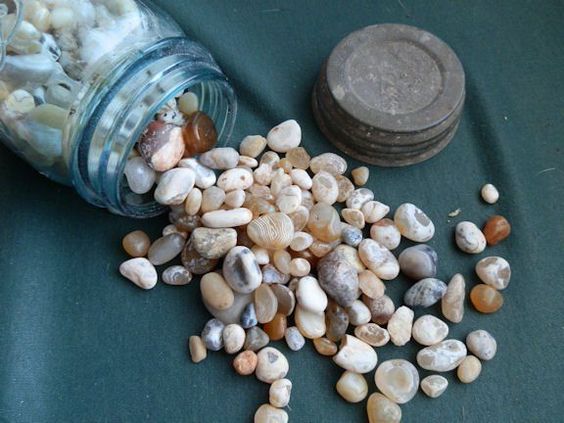
Now that we are all in the midst of collecting rocks for our rock collections, I want to share my Favorite Ways to Display Rock Collections. There are ways of attractively displaying your rocks and still leave them available for inspection and closer observation. Most of the methods do not require big investments of money since you can recycle containers and other materials needed. I like keeping our rocks out in the open because it does encourage our children to look at them and I have found visitors to our how stop to take a look and ask about them as well. This gives us a chance to share what we know about our rocks...love that kind of learning and sharing.
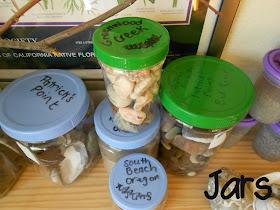
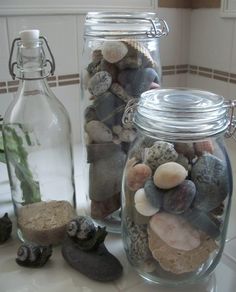
Jar - We love this simple way of collecting rocks when we are traveling. I simply bring along a container or two with lids (look for them at your local dollar store). I prefer plastic to glass for obvious reasons. If you wanted to you would collect the rocks in the plastic jars and then when you got home you could transfer them to pretty glass containers. I use a Sharpie marker to label the top for future reference.
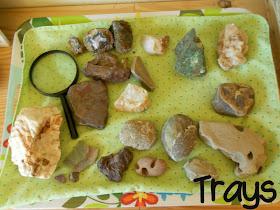
Tray - Placing rocks on a tray on our nature table makes it super easy to view them, study them, and keep them organized. I have found that using a tray is much easier if you place a cloth or placemat on top before adding your rocks. This keeps the rocks from rattling around and sliding onto the floor. You can rotate the rocks on the tray to spark interest. I also add a magnifying lens or loupe to the tray so we can take a closer look at our rocks.
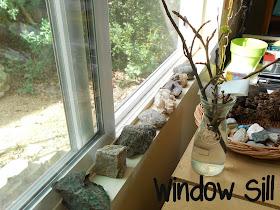
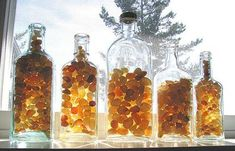
Window Sills - This was our method of displaying rocks when we wanted them handy for study. My sons would gather the rocks from our collections and then place them all in a line on the windowsill. The secret advantage to this method of displaying rocks is that you are limited to the space on the window sill. If you want to add a rock and the sill is full, you must remove a rock.
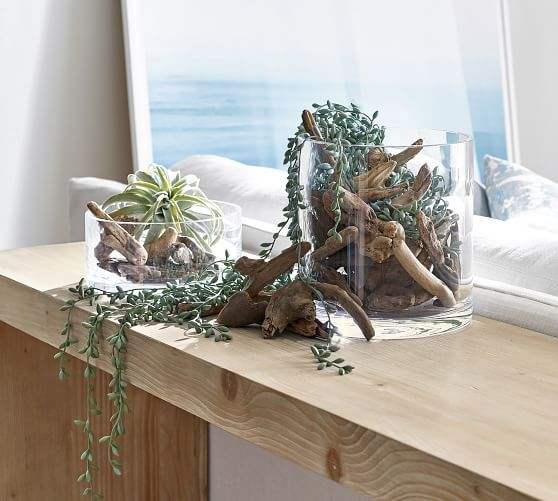
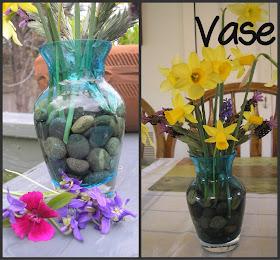
Vases - Many of the rocks we collect are found at the river's edge or at the seashore. They look so very pretty when they are wet, showing the variations in color and composition. By the time we get them home, they are dry and dull and sometimes I even wonder what attracted us to a certain rock. But, I have found that if you get them wet again your see the beauty shine through. Using the rocks in the bottom of a clear glass vase, filling it with water, and then adding a splash of flowers is one of my favorite ways to bring those rocks alive again.
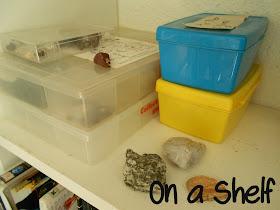
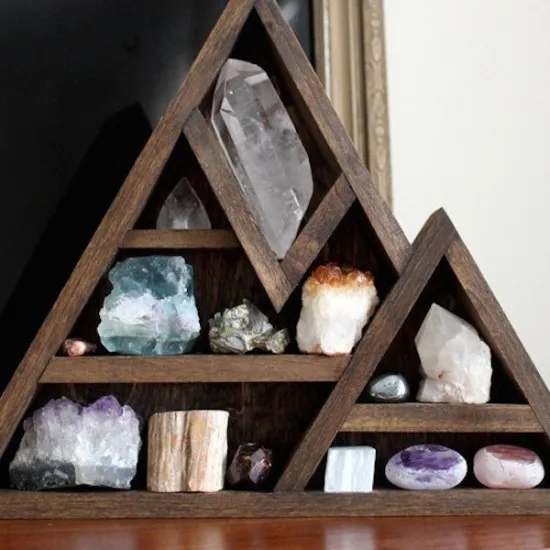
Shelf - In the past we have dedicated a shelf to our rock collections. The collections were either contained in nice specimen boxes or in other recycled boxes with labels. I found this the least attractive of the methods of displaying rocks because it does not really let you see the rocks easily. But, if you have younger ones who collect lots of rocks, you may for a time, need to display your rock collections in this way. I also have a shelf that has a collection of very unattractive shoe boxes with rocks stacked inside....not shown in the images above...not a preferred method.
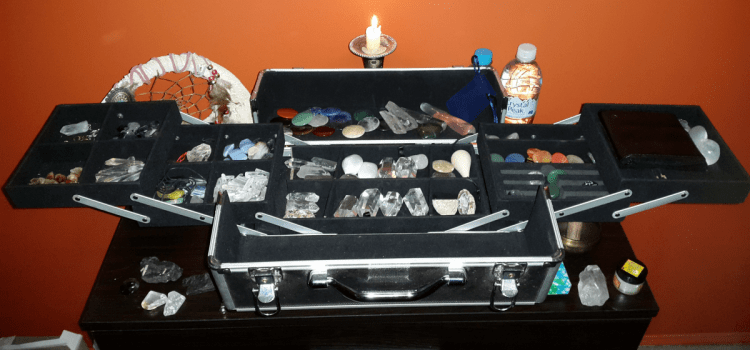
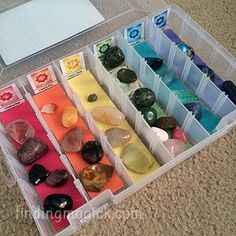
Tiered Make-up (or tackle) Organizer- Need a portable way to store your crystals? One of my favorite crystal educators, Hibiscus Moon, shared a method from one of her healers, Lexi, that I absolutely love. Lexi used acollapsible makeup box to keep her crystals safe, organized, and dust free. Each category has a separate compartment to prevent scratches and chips.
Magical Crystal and Rock Display Ideas
DIY Framed Rock Display Case
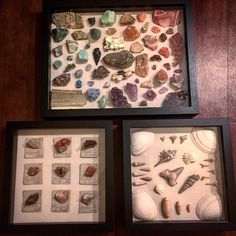
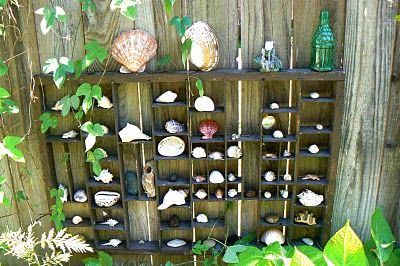
Shadow boxes Shelf on a fence display
Bringing Nature Inside
Make Your Own Rock & Mineral Identification Kit
One of my family's favorite hobbies is rock hounding. We love collecting and trying to identify neat rock and mineral specimens that we come across. You can put together your own simple kit for identifying rocks and minerals with materials you likely already have around your home. In this post I will explain how to put together your own mineral identification kit and how to use it to identify rocks and minerals you find on your adventures.
Making a Rock and Mineral ID Kit
Grab yourself a printable Rock and Mineral Journal for recording your observations here: Printable Rock and Mineral Journal, and then gather the following supplies:
-A pencil
-A coin
-An iron nail
-A piece of glass (an old pocket mirror works well)
-A ceramic tile
-A small watertight bottle or container
-Some vinegar
-A magnet
-A magnifying glass
-A dropper (optional)
-Rock and mineral guide (optional)
-A small container or bag to keep it all in
Fill the small watertight bottle with vinegar, this will be used for the acid test. Then put all your supplies into your bag or container. Your mineral identifying kit is ready to use. Now you just have to go out and find some minerals or rocks to identify.
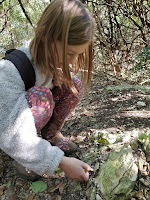
Using Your Kit to ID Rocks and Minerals
Once you've collected (or bought) some minerals or rocks, you can get started identifying them. There are four tests you can do with the supplies in your kit. The results of these tests, plus some simple observations, will help you identify the mineral or minerals present in your sample.
The Hardness Test
For the hardness test you will need your sample(s), the ceramic tile, the mirror, the iron nail, the coin, and your fingernail. The idea behind this test is a material harder than another will scratch the softer material. Using materials with a known hardness can help you find out the hardness of your sample.
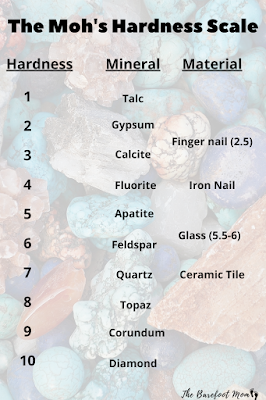
You can Start with your fingernail and see if you can scratch your sample. Your fingernail has a hardness of about 2.5-3. If you can scratch your sample with your fingernail, your sample is composed of fairly soft minerals and has a hardness of less than 3. Record your results.
If you cannot scratch your sample with your fingernail, move onto the iron nail. If you can scratch your sample with an iron nail but not your fingernail, it has a has a hardness of about 3-4. Record your results.
If you cannot scratch your sample with an iron nail, move onto the glass. Since you can't scratch your sample with a mirror safely, see if your sample can scratch it. If your sample does not scratch the glass or mirror, it has a hardness of about.
Record your results.
If your sample can scratch the glass or mirror, move onto the ceramic tile. If your sample cannot scratch the ceramic tile it has a hardness of about 6-7. If it does scratch the tile, it has a hardness of 7 or higher. Record your results in your journal.
The Streak Test
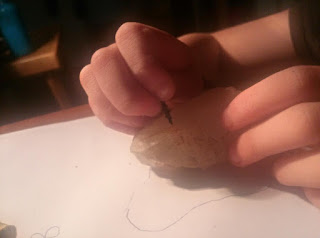
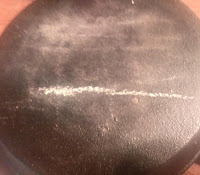
To perform the streak test you need your sample (or samples) and the ceramic tile. This test is simple, you just run your sample over the ceramic tile to observe what color streak it leaves. Most minerals leave a white streak but some leave very distinct colors like yellow, green, or brown. Skip the streak test for minerals with a hardness higher than 7, as they will only scratch tile, not leave a true streak. Record your results in your journal.
The Magnetic Test
The magnetic test is easy, just hold a magnet to your sample and observe whether or not there is any magnetic attraction. Record your results in your journal.
The Acid Test
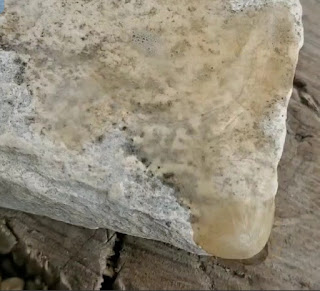
Some minerals, like calcite, react with acid. For this test, drop a few drops of vinegar onto your sample and carefully observe to see if there are any gas bubbles produced. Record your results.
Other Observations to Record
Color- record your sample's color or colors.
Luster- luster describes the way a mineral sample reflects light. Some common luster types include metallic, pearly, vitreous (glassy), earthy, and adamantine (sparkly). Check out my printable Rock and Mineral Journal for more information about luster: Printable Rock and Mineral Journal.
Once you've finished performing your tests and recording your observations, it's time to move onto actually identifying your sample(s). Using a rock and mineral guide book or an online data base like this one at Collector's Corner, you can now identify your sample using the results of the tests and your observations. If your sample is a rock instead of a pure mineral, it is composed of two or more minerals. You will need to start by identifying what minerals your rock is composed of and then look up common rocks composed of those minerals. Collector's Corner has a good rock database here.
Enjoy your mineral and rock hunting!
If you enjoyed this post, check out:
And be sure to grab a printable Rock and Mineral Journal!
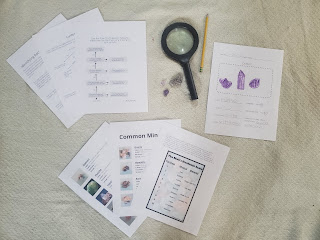
Includes journaling sheets, a flow chart for determining hardness, a flow chart for determining luster, a list of common minerals and their properties, and more!
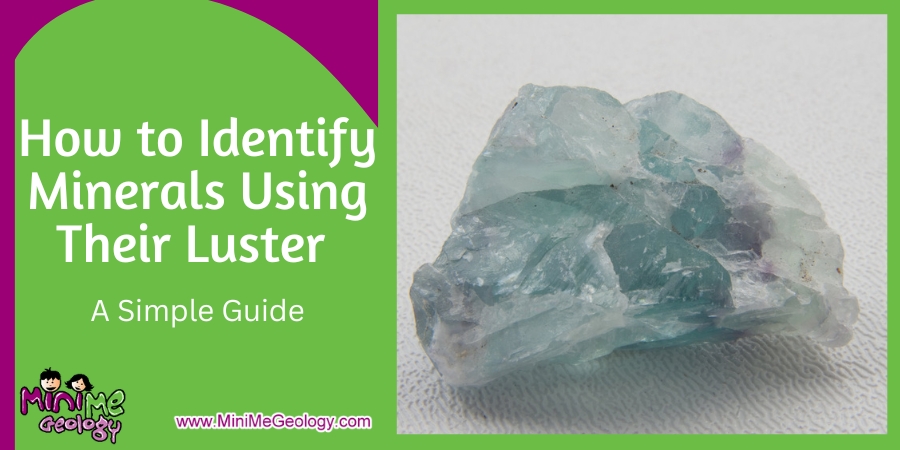
How to Identify Minerals Using Their Luster: A Simple Guide
When my daughter was in first grade, she had an in-class field trip where someone came to their classroom to teach them about rocks and minerals. Intrigued, I asked if I could sit in on the presentation.
I thought the presenter did a great job of teaching six-year-olds some basic properties of minerals until she got to the section on luster. You see, she told the kids that not all minerals have luster. She equated luster with a sample being shiny. Maybe she was trying to make it simple for the young minds in the classroom, or maybe she really did not know that she was wrong. I’ll never know. I decided to keep my mouth shut because I knew that the kids would learn about minerals again in third grade and having an older child, I knew that that material was correct.
There are Many Types of Mineral Luster
The fact is that EVERY mineral has a luster. Geologists use so many terms for different types of luster that it will make your head spin. Sometimes the luster is obvious and sometimes a little more subtle. Basically, luster is the appearance of a mineral surface when light bounces off of the sample. The absorption, refraction, and reflection of the light up on the surface of the mineral will present a different luster.
Some of the most common luster terms you will run across are:
Glassy (or Vitreous) Luster
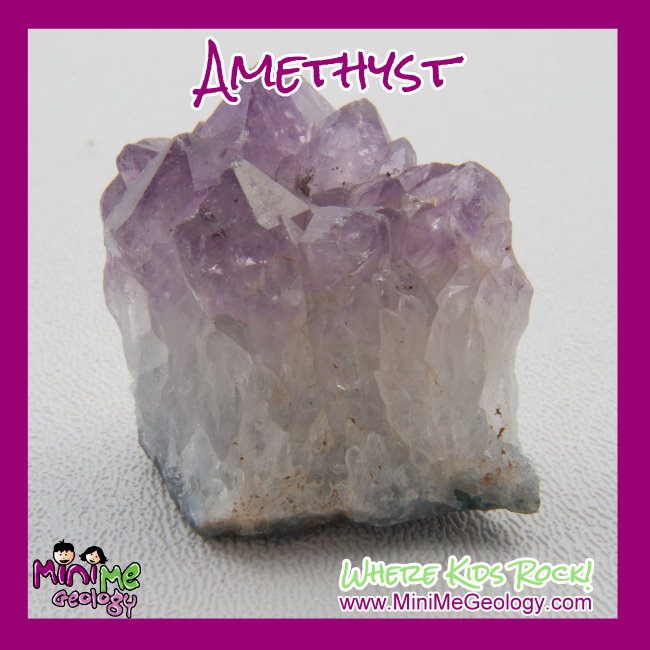
A mineral with a glassy luster shines and reflects light just like real glass. Examples of minerals with a glassy luster include amethyst, rhodonite, tourmaline, and epidote. Glassy is the most common luster of all minerals.
Pearly Luster
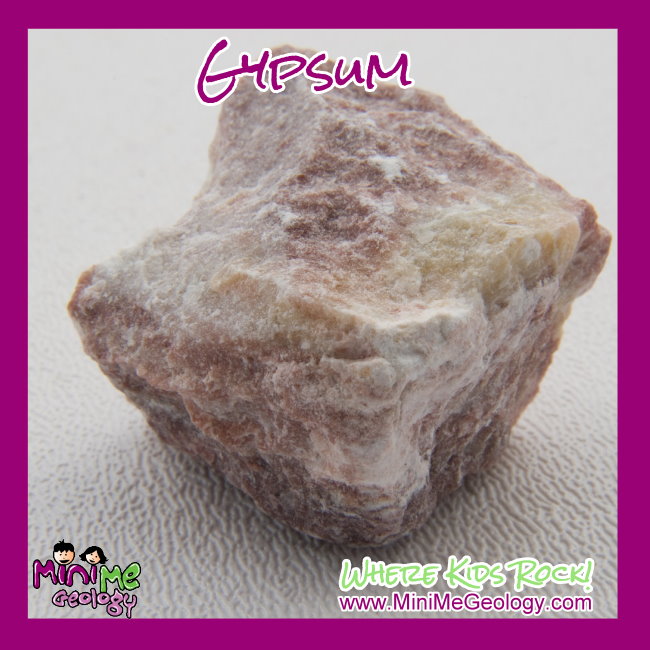
A pearly luster was actually named from the appearance of a real pearl. Examples of minerals with a pearly luster include talc, lepidolite, and gypsum.
Earthy Luster
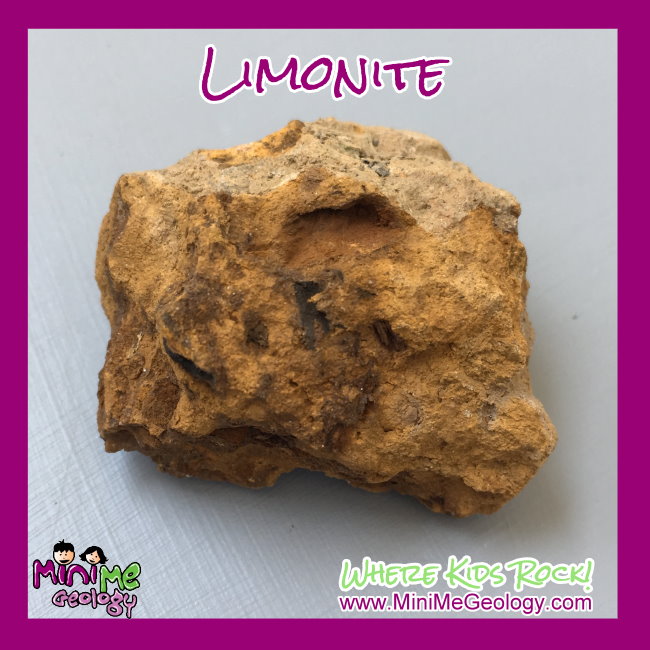
A mineral with an earthy luster is not shiny and does not reflect light. The minerals appear dull, like soil. Examples of minerals with an earthy luster include limonite and azurite.
Metallic Luster
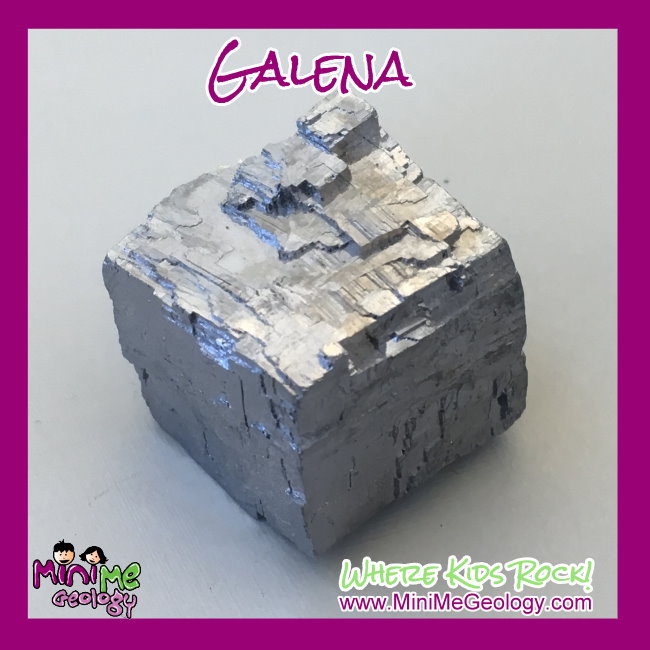
A mineral with a metallic luster looks like metal (think quarter, pennies, aluminum foil). Examples of minerals with a metallic luster include galena, pyrite, graphite, and magnetite.
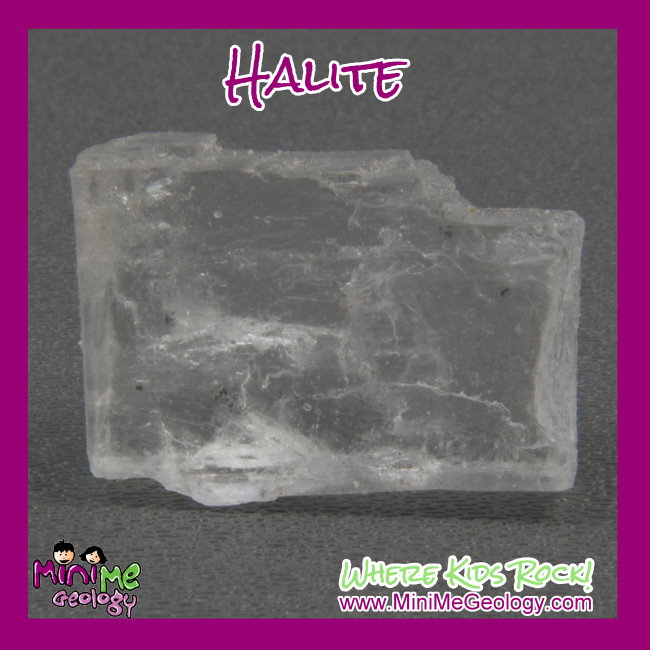
Greasy Luster
A mineral with a greasy luster looks as though it were covered with grease. Examples of minerals with a greasy luster include sulfur, halite, and sodalite.
More From Mini Me Geology
Geology Apps for Identifying and Learning About Rocks and Minerals
If you’ve got a rock hound in the family, I have some geology apps for you today that he’s going to love!
These apps as a whole have mineral charts, classification, guides, dictionaries, picture galleries, a Mohs Hardness Scale, and many other features. They are best suited for teens and adults. They can be used for identifying rocks and minerals, learning about them, and discovering rocks in various regions of the United States. And whether you have an iOS or Android device, there is something here for you.
Here they are.
Geology Apps
Smart Geology- Mineral Guide by Avisek Chakraborty: iPad – iPhone – Android
Rockd by University of Wisconsin-Madison Shared Apps: iPad – iPhone – Android
Geology Toolkit Lite by Andrei Ionut Apopei: Android
Geology Toolkit Premium by Andrei Ionut Apopei: Android
Rocks & Minerals Book by Helpful Books: Android
If you know of any other rock hounds who would enjoy these geology apps, please, share this post with them.
More help on this site with learning about rocks:
Picture Books About Geology for Kids
Here are some great picture books to supplement a geology unit. (Amazon affiliate links included in this list.)
The Rock is Lively by Dianna Hutts Aston
Magic School Bus Blows its Top /Inside the Earth
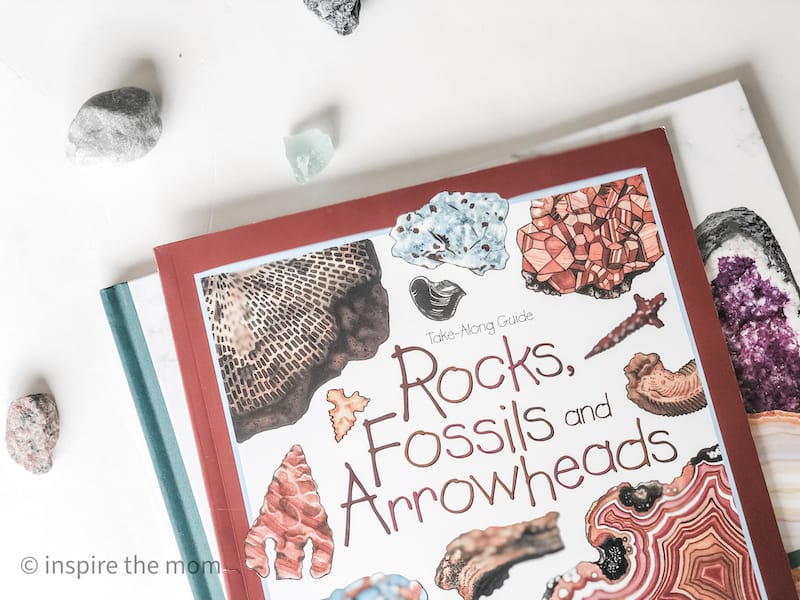
Rocks Fossils and Arrowheads by Laura Evert
My Book of Rocks and Minerals by Devin Denny
Volcanoes by Dr. Franklin M. Branley
Charlotte and Rock by Steven W. Martin
Rhoda’s Rock Hunt by Molly Beth Griffen
A Rock Can Be by Laura Purdie Salas
Jump into Science: Rocks and Minerals by Steve Tomecek
If Rocks Could Sing by Leslie McGuirk
A Successful Geology Unit
I can tell learning has happened when I hear the kids digging around in the back yard throwing around terms like “igneous”, “arrowheads”, and “geologists”. Through their play they are processing all the things we have been learning about and I couldn’t be more pleased.
As I am finding, kids won’t grasp everything, but if you fan the flame of interest, you will find that the curiosity and learning will keep on going even after the unit is over.
Extra Geology Activities, Ideas, AND Resources
There are so many things you could tag onto your geology unit to make it more fun and engaging. Here are a few more things we are saving for our next time around. (Amazon affiliate links included in this list)
Rocks and Minerals Dover Coloring Book
Make A Terrarium To Bring Nature Indoors
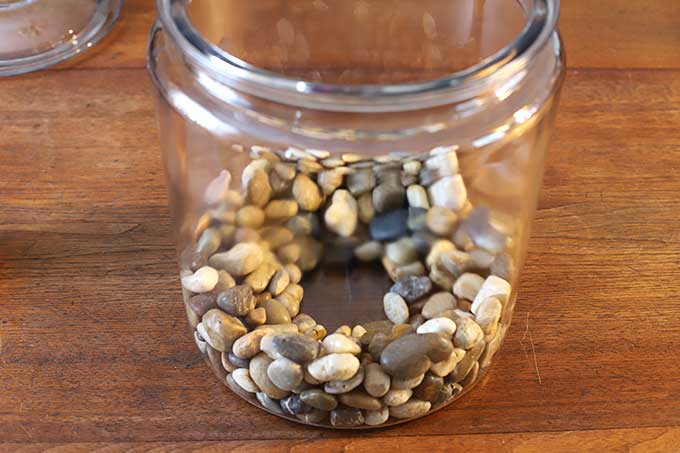
Using a glass bowl, jar or other container you could make one of these amazing terrariums.
They can be any size or shape, and are mostly self watering.
Check out morningchores.com for some fantastic terrarium ideas
Set up a collectors box or rack.
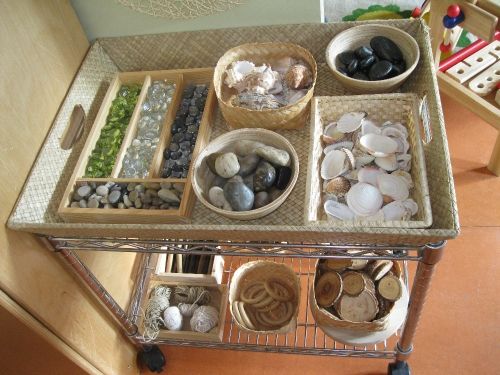
This idea from photoshop.com is a great way to display anything the kids love to collect when they’re outside. This works great for treasures to be used in art.
Encourage the kids to collect all sorts of pretty bits.
Pinecones
Feathers
Leaves.
Twigs etc.
Then display them indoors where the kids can play and explore with them.
A tray of conkers and pinecones, recently became a feeding tray for a group of zoo animals the kids were playing with.
You could display your nature ‘bits’ in a small basket,
I have also used cutlery tray inners and a muffin tray before. Have fun with it.
So, I hope you have found a few ideas you can try.
Bringing nature indoors can be so rewarding.
Start an indoor nature treasure shelf
Start a ‘treasure shelf’ where kids can display their outdoor finds like rocks, leaves, pine cones, etc. Instead of them ending up in the washing machine… encourage your kids to leave them on the treasure shelf instead! Consider leaving a magnifying glass or kid’s microscope like this one on this or this shelf or on a nearby table.
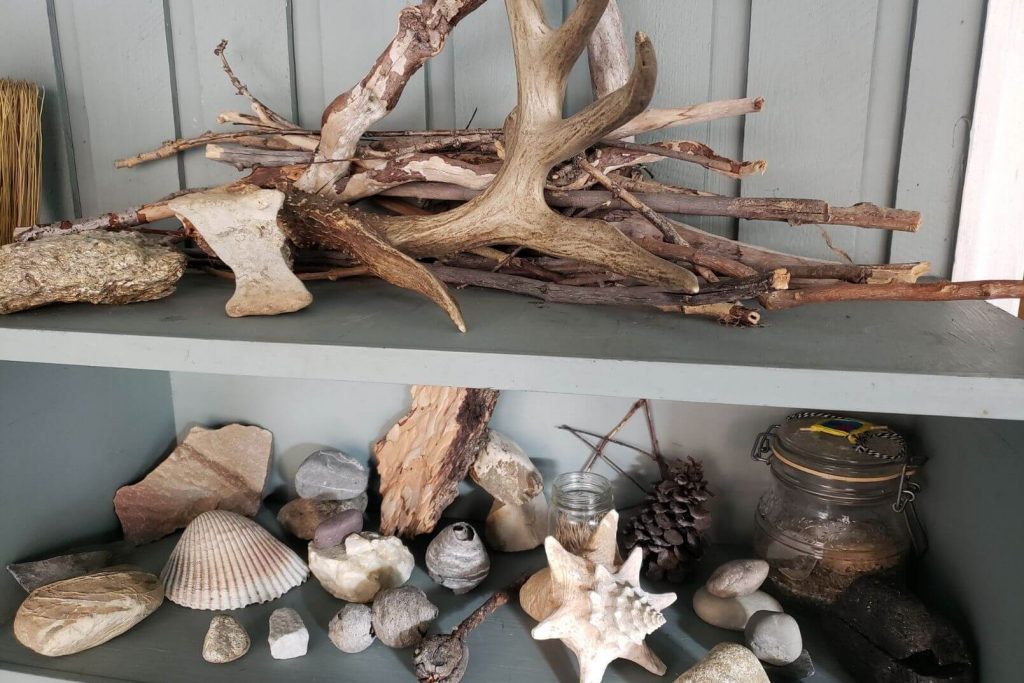
Here’s our nature treasure shelf!
Nature Treasure Boxes
Preschoolers and toddlers usually really enjoy playing with random loose parts. You can make them a nature-themed bin full of all sorts of natural treasures for them to build and play with.
Consider filling a small tub with smaller containers that they need to open and explore and fill and empty. Think shells, pretty stones, pieces of drift wood, maybe some paint brushes and small scoops too.
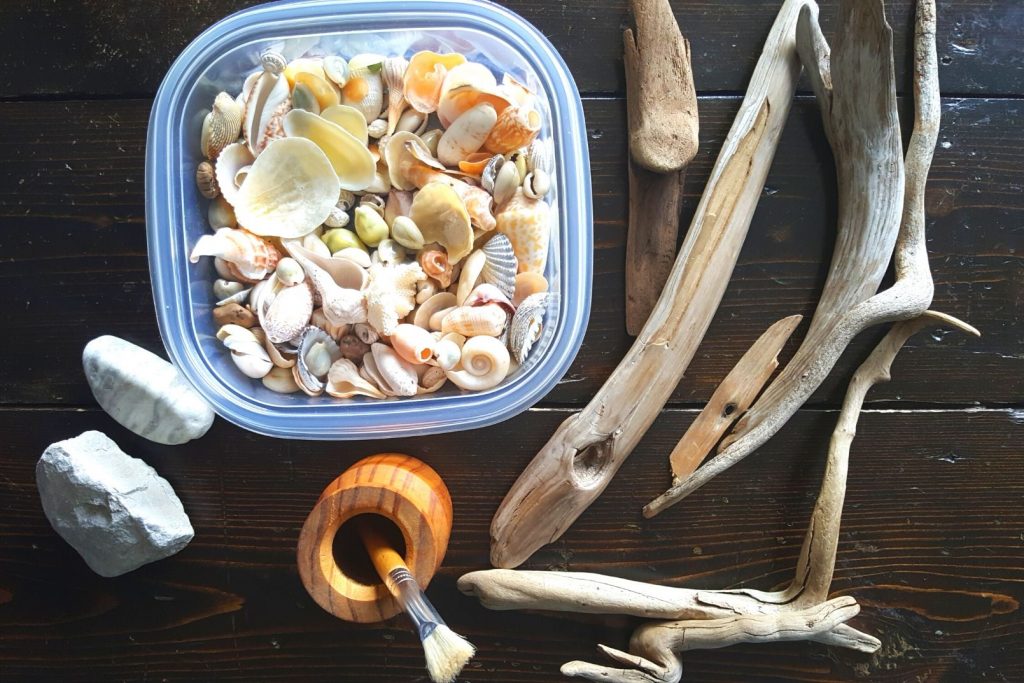
For an added task, give them some water to paint these treasures and watch how their colors and textures change.
Or, for the older kids, you could pull out the nature field guides and let them identify rocks or shells from their collections.
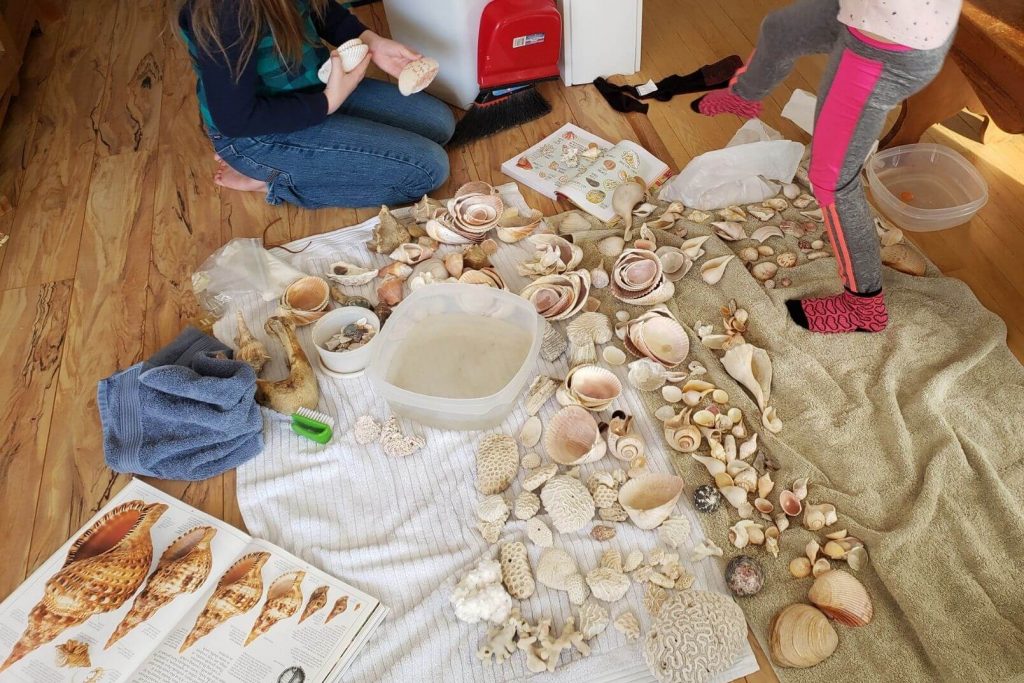
Checking out Grandma and Grandpa’s shell & rock collection!
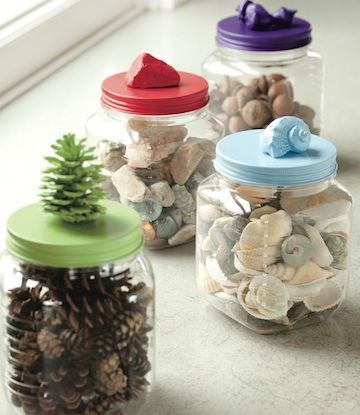
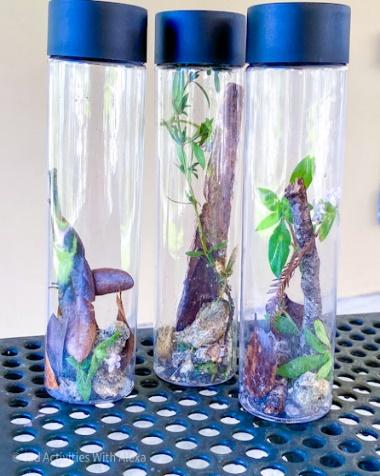
Make DIY Nature Jars
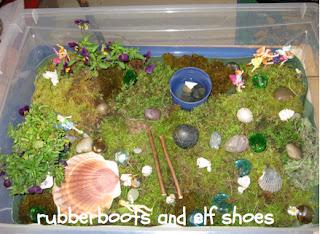
Shells and rocks can be displayed as part of a indoor fairy or pirate garden.
How to Set Up Some Rock Science Trays
It’s so important that kids learn the science of the rocks they see every day. Here are some fun ways to do it.
Make a Chocolate Rock Cycle with Chocolate Rocks|| Left Brain Craft Brain… Learn about the different types of rocks with this delicious activity. Plus we whipped up a rock cycle diagram for you that includes a fill-in-the-blank version for kids to do at school or home. Want a printable version of this rock cycle diagram? Simply fill out the form below and we’ll email it to you!
Rock Demo Science Fun for Kids || Fantastic Fun and Learning – Make learning about rocks and their properties fun!
Rock Testing Experiment || KC Edventures – Have you tried testing rocks with your kids? This is a great article to get started!
How to Make a Rock with Kids || Fantastic Fun and Learning– Unleash the creative side of your kid by making your own rocks.
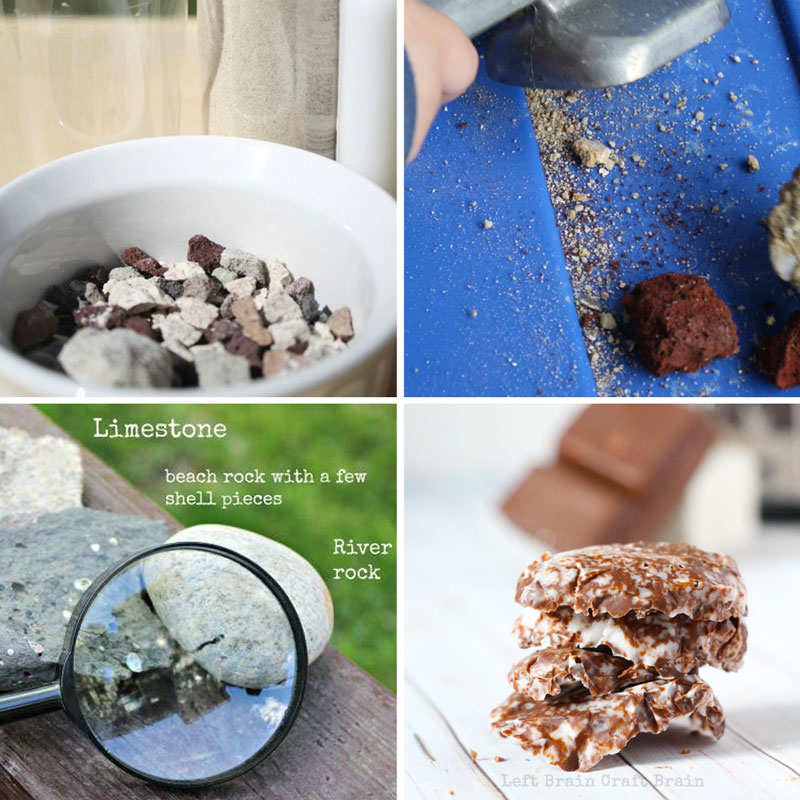
Constellation Art With Rocks and Sidewalk Chalk || Creekside Learning– Help introduce your kids to constellations with rock art and sidewalk chalk.
Sorting and Classifying Rocks: Geology for Kids || Rhythms of Play– Your kids are going to love learning variations of rocks while they sort!
Lava Toffee|| STEAM Powered Family – This is a delicious way to learn about igneous rocks!
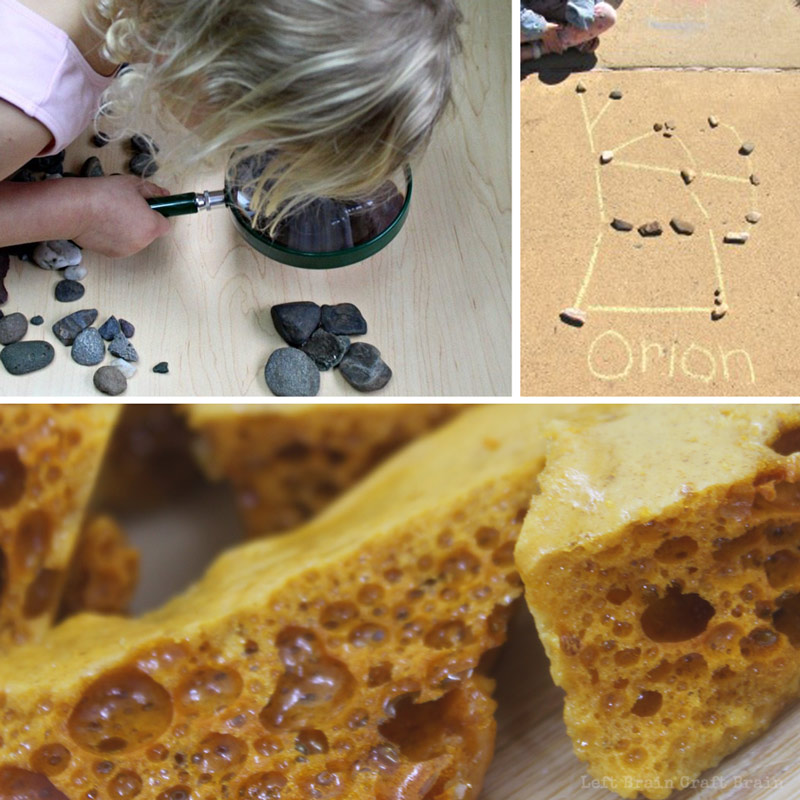
Rocks are a great thing to study for Earth Day. Check out these other Earth Day Science Projects for Kids!
Fossil Hunting at the Creek
Summer is hot and the water in the creek is cold! We had fun cooling our toes while hunting for fossils!
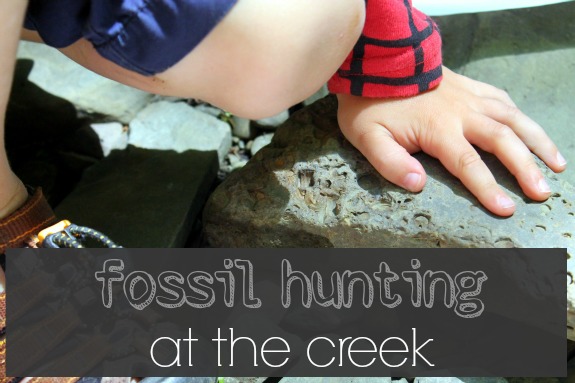
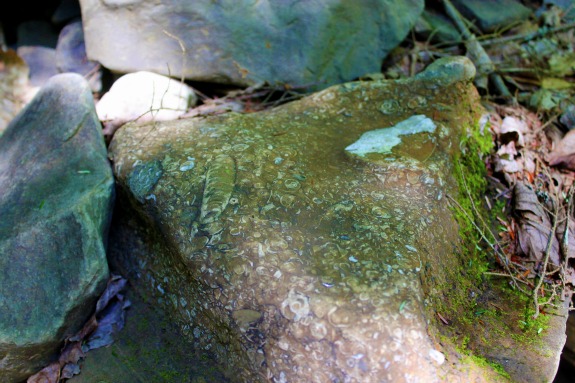
The rocks in the creek we visited were predominantly shale and limestone. Mixed into the bunch were some incredible fossils! I explained to the boys that fossils were impressions of the remains of creatures that lived long ago. Colin crossed his fingers and hoped to find a dinosaur fossil!
I gave the boys a sheet of paper and crayons and showed them how to make a rubbing of a fossil that they found interesting. But that activity didn’t hold their attention for very long! Next time, I will bring Play Dough so that they can make their own fossils by pressing the Play Dough into the rock.
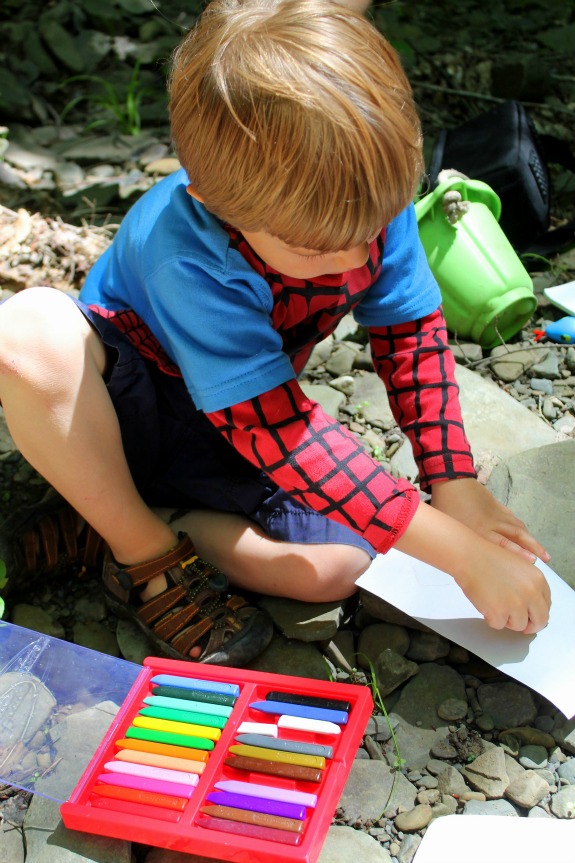
They were much more interested in climbing on the rocks and shouting, “I FOUND A FOSSIL, MOMMY! COME SEE IT!”
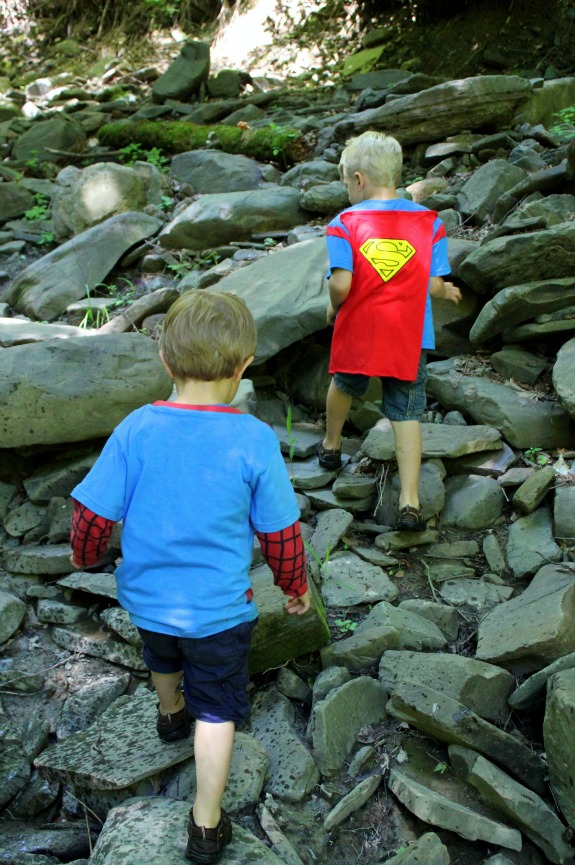
Climbing rocks soon led to throwing rocks, which of course led to sending bark boats over waterfalls. As my Paleontology/Earth Science lesson turned into a boat race right before my eyes, I couldn’t help but giggle and throw in the towel! The thing is, sometimes kids simply are not interested in what you are trying to teach them. Instead of getting frustrated, I decided to be flexible and join the fun! After all, the weather was hot and the water in the creek was oh, so cold!
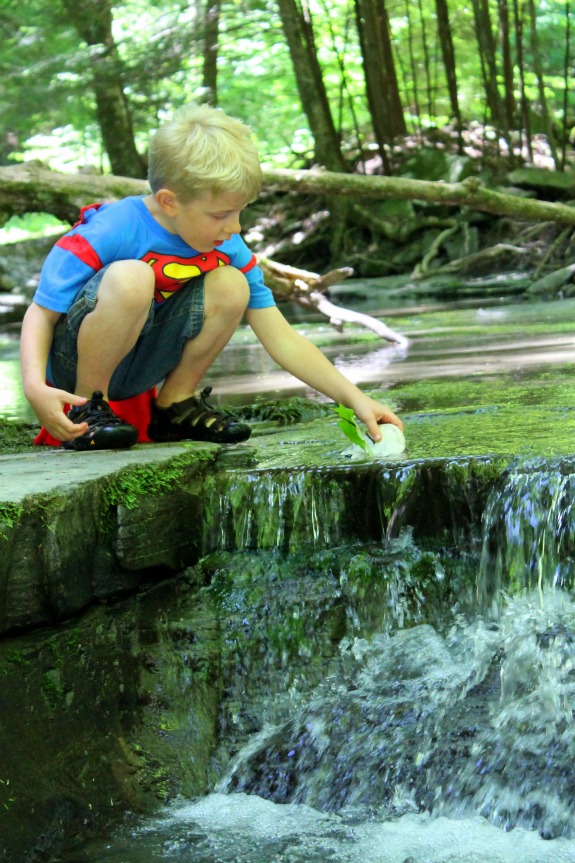
Exploring creeks is definitely fun and educational for everyone! Do you take your children to a creek? What have they discovered?
Hands-On Learning about Fossils
BY Stir The Wonder
These hands-on activities for learning about fossils actually started several months ago. This week we wrapped up what we explored last November and hopefully solidified Caden’s understanding of fossils a bit more. Below I am sharing books, hands-on activities and field trip suggestions all about fossils!
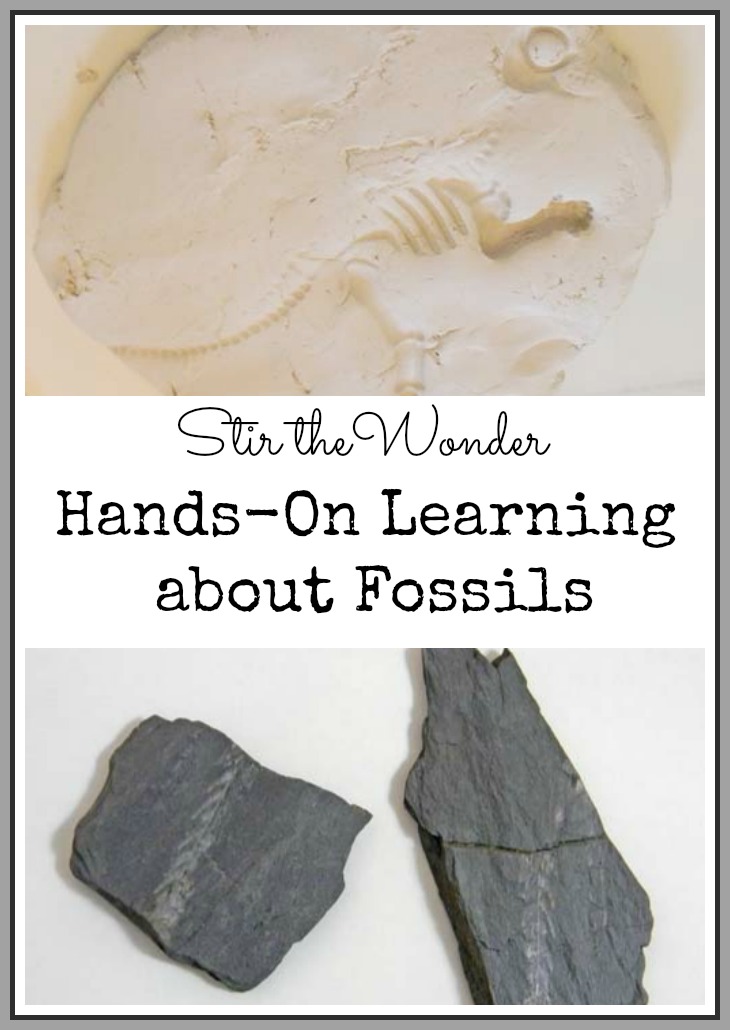
Hands-on Learning about Fossils
Our exploration of fossils began in November 2013 when my mom heard about a beach in Portsmouth, Rhode Island where you could easily find fossils in the rocks! So one morning we took Caden on a little field trip to search for fossils!
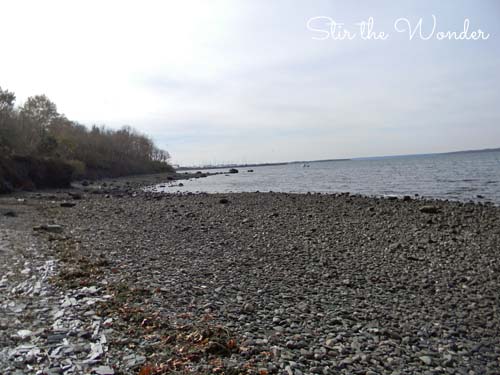
Along the beach there are cliffs of shale rock and pieces of shale all along the shore. Caden enjoyed exploring the beach and climbing the rocks while we searched the beach for fossils.
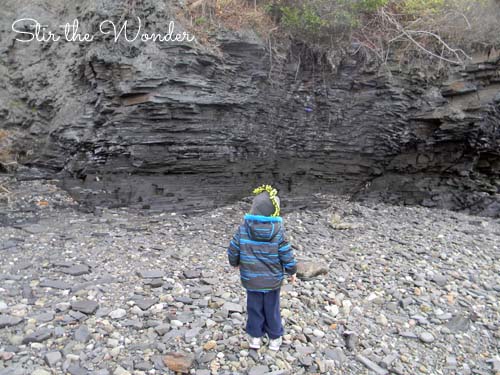
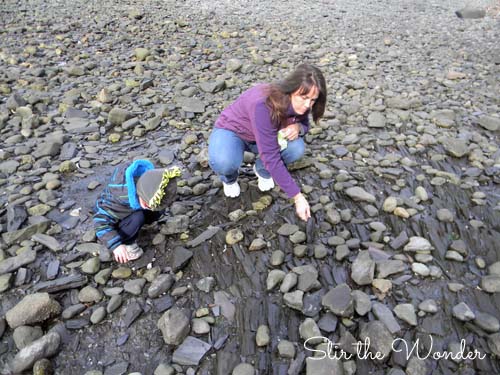
Occasionally Caden took a break from exploring and helped us search the rocks. Eventually we found some awesome plant fossils between the layers of shale! You actually have to break the shale apart to find it! It was really neat!
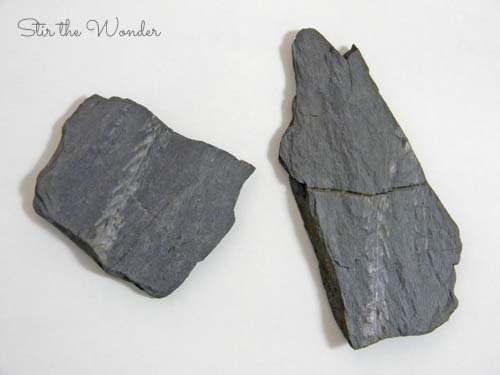
Check out these cool plant fossils! Who knew you could find fossils in Rhode Island?! What kind of plant do you think this was?
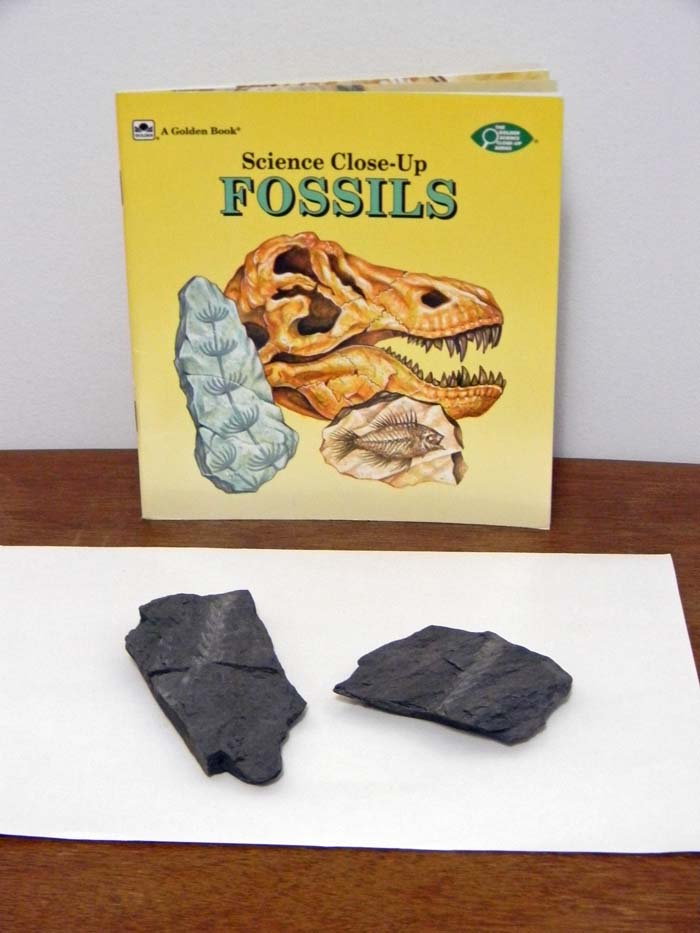
Earlier this week, Caden saw me looking at our pictures from that field trip and was eager to learn some more about fossils! So I dug our fossils and a book we had! Caden enjoyed getting a close look at these fossils with his magnifying glass (affiliate link) and listening as I read from our book.
Then I brought out our clay (affiliate link) and experimented with creating our own fossils with toy dinosaurs and artificial leaves!
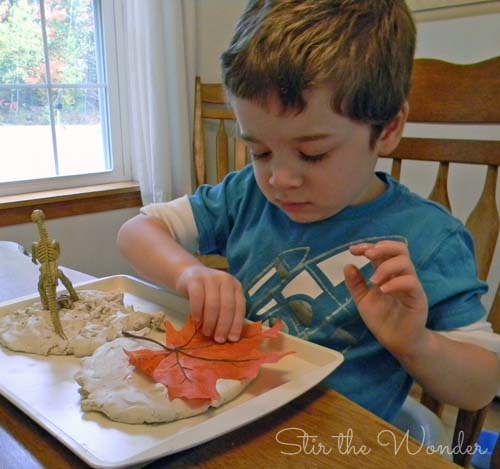
Caden had a lot of fun playing with his dinosaur skeletons (affiliate link) and clay as I read more from our book about fossils, stopping occasionally to look up at the pictures. Here he is really interested in hearing about the Woolly Mammoth.
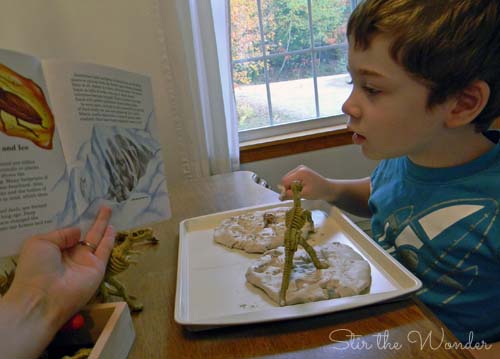
We learned from reading this book that there are many different types of fossils and we were making impression fossils!
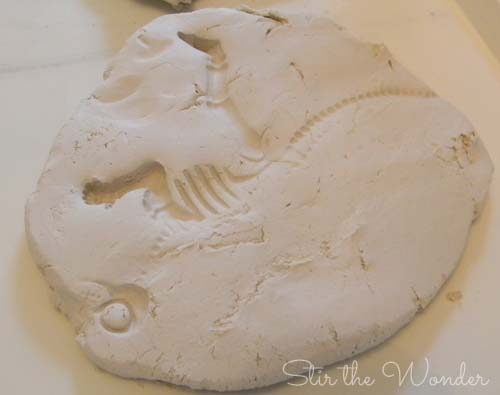
Please visit Stir the Wonder on Facebook for more great pictures of Hands-On Learning about Fossils!
How to start fossil hunting
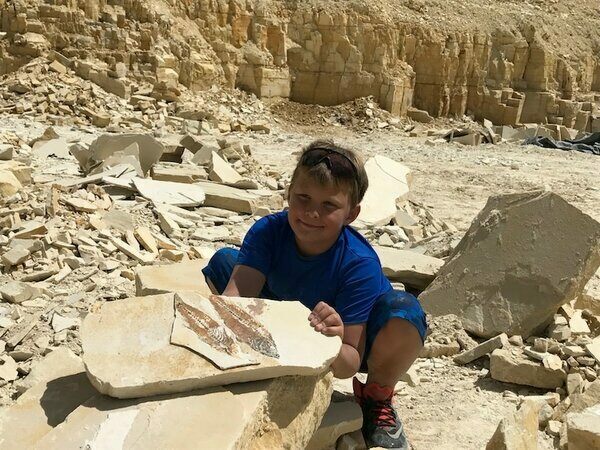
A fossil is the preserved remains, imprints or impression of a once living thing like as animal or plant. Did you know the word fossil comes from the Latin word ‘fossilis’ which meant “obtained by diggin” A good place to find small sea fossils is in flint. Flint forms in layers of chalk and is easy to find in the South of England and Essex, you will often find that most of the pebbles on beaches and gardens in these areas are made of flint. Chalk itself is formed from layers of mud and tiny sea creatures that have died and fallen to the ocean floor.
Over millions of years these layers of mud and sea creatures are compacted into chalk. As the chalk compacts it squeezes seawater containing silica (dissolved quartz) into any cavities, gaps or spaces around it forming nodules and layers of flint. Sometimes the flint nodules forms around a small sea creature or shellfish like a sponge (above) or sea urchin below), preserving them in the flint as a fossil.
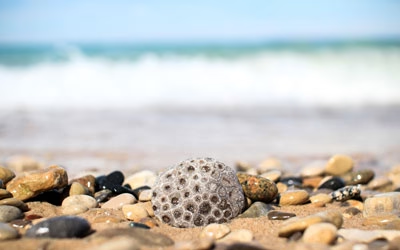
Celebrate National Fossil Day
Some ideas on how to celebrate National Fossil Day any time of the year.
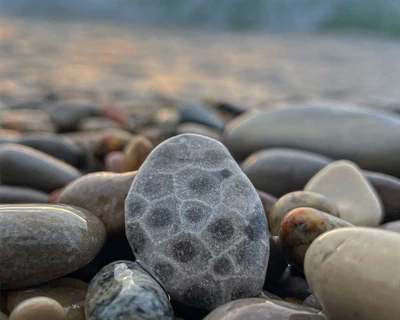
Best beaches for fossils
Where is the best beach for a beachcomber to look for fossils?
Fossilized Urchins
A fossil fanatic, Ramsus collects many different varieties of sea urchin fossils in Denmark.
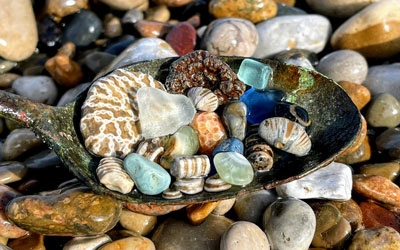
Identifying Fossils on the Great Lakes Shores
The shores of the Great Lakes reveal a diverse array of treasures that wash up, and beachcombing is a favorite occupation of many folks.
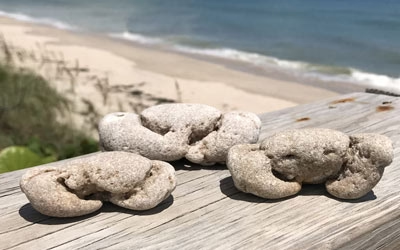
Stone crabs of Satellite Beach
These amazing finds are 110,000-year-old ghost crabs that have been perfectly encased in coquina rock.
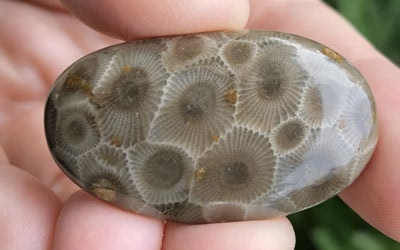
Hidden Beauty: Petoskey Stones
Beachcombers on the shores of the Great Lakes have a chance of coming across Petoskey stones, a combination of fossil, rock, and coral.
FAQ’s
Fossil Link Resources
www.flmnh.ufl.edu – The Florida Museum of Natural History
www.canoeoutpost.com/peace– Paddle the Peace River with Canoe Outpost
www.aurorafossilmuseum.com – Highlights the fossils from the famous Lee Creek mine in NC
http://www.tarpits.org/ Excellent site about the La Brea tarpits and Page Museum in CA
http://waterdata.usgs.gov/fl/nwis/uv?site_no=02295194 water levels at Bowling Green on the Peace River
http://waterdata.usgs.gov/fl/nwis/uv?site_no=022956 water levels at Zolfo Springs on the Peace River
http://waterdata.usgs.gov/fl/nwis/uv?site_no=022967 water levels at Arcadia on the Peace River
http://mulberryphosphatemuseum.org/home.html The Mulberry Phosphate Museum in the famous Bone Valley District here in Fla.
http://oviasc.org/ The Old Vero Ice Age Sites Committee. This local club is involved with appropriately excavating and preserving fossils and artifacts from the famous Vero Site.
Nature is perfect as loose parts in the building blocks center
How To Find Quartz Crystals (Tips and Resources)
I’m often asked by readers young and old where they can find quartz crystals in nature. The answer is that you probably already have some right at home! It’s necessary to keep your eyes open as there are many types of quartz, and it doesn’t always look like what you’re looking for, since quartz crystals can take on many different colors and appearances.The good news is that quartz crystals can be found just about anywhere. But what we’re going to do in this article is provide some tips on what you can look for so you can find lots of beautiful, gemstone quality quartz crystals.
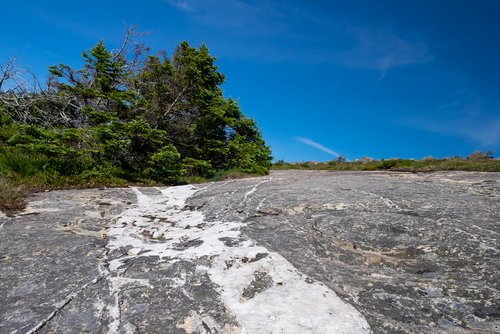
Where To Look For Natural Quartz CrystalsThere are several locations near you that are excellent opportunities for finding quartz crystals. Those are:
Your Own Backyard
Roadside Cutouts
Mine Tailings
Pay-To-Dig Sites
Rock and Gem Shops
(FREE!) Rock & Mineral Identification - Beginner's Guide
Learn the basics of identifying the rocks in your collection by reading this free guide! Then enjoy a daily dose of rock, mineral and geology fun with our Rock Seeker Newsletter!
Grab Guide & Newsletter
1. Your Own BackyardAs you can imagine, since quartz is one of the most common minerals on the planet, you can usually find it just about anywhere, including your own backyard.When my kids were young, all we would have to do is take a stroll through our gravel driveway and in a matter of minutes my daughters pockets would be full of “pretty rocks”, or quartz crystals.If you don’t have a gravel driveway, try taking a stroll down the sidewalk. Look for vacant lots or gravel driveways and parking lots. Even doing this you’re bound to find a nice specimen or two.
2. Roadside Cutouts
Roadside cutouts might be one of the best places to look for quartz crystals that are free to everyone. Many times you’ll find that some of these roadside cutouts actually cut right through a quartz vein or other major quartz deposit.What’s left behind are massive amounts of loose quartz crystals just waiting to be claimed by someone.Some of the highest quality quartz crystals I’ve found have been in these roadside cutouts and loose debris.3. Mine Tailings
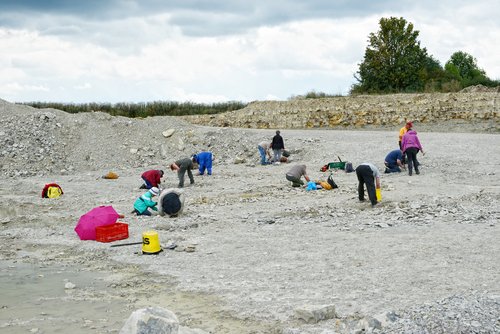
Another excellent place to look for quartz crystals are mine tailings. Mine tailings are essentially the dirt and debris that’s left over from a mining operation.The rocks, dirt, minerals and other debris need to be removed from the mines and are poured out in piles near the mine. The mines will oftentimes allow the public to scour through these piles of debris.These tailings are many times rich in various rocks, minerals and gemstones including quartz, especially if the mining operation worked through a quartz vein or other major quartz deposit.
4. Pay-To-Dig-Sites
Another easy way to find quartz crystals is to go to a fee-mine or dig-site that is already known for finding quartz crystals. A quick search online should give you some ideas of where these sites are located near your area.
Since quartz is so plentiful in nature and can be found pretty much anywhere, I always recommend rockhounds try hunting for quartz in free areas first. Then use pay to dig if you need to find higher gem quality specimens or larger quantities of quartz.
5. Rock And Gem Shops
If all else fails, and you are absolutely determined to get your hands on a new quartz crystal specimen to add to your collection, then visiting a rock and gem shop near you will most certainly have what you’re looking for.
Can’t get out of the house? No problem, rock and gem stores abound in mass quantities on the internet. Just be careful when buying online and make sure you are buying genuine natural crystals and not man made synthetic quartz crystals.
Quartz is a silicon dioxide crystal and is a type of clastic sedimentary rock.Quartz crystals are actually one of the most abundant minerals on Earth. You can find it in many different colors, including clear, rose, smokey and icy white. Although it’s not technically a rock, because its silicon and oxygen composition make it closer to a mineral.Most quartz crystals which you find will be clear or white, but some have color – sometimes beautiful colors like purple, pink or red.These colors are caused by impurities in the quartz structure that can only form at very high temperatures (over 1,000 degrees C) and so they indicate that your crystal came from a very deep-seated source.
How To Cut and Polish Quartz Crystals
Different Types of Quartz Crystals | What Do They Look Like?
Clear Quartz
Clear quartz crystal is a type of mineral known for crystallizing into amazing shapes and retaining their luster. This clarity and white coloring makes it easy to preserve this type of crystal, not allowing the oils from skin contact to darken or dull its colors. Clear quartz also found in many forms such as: amethyst, rose, cactus, citrine, dendritic.Amethyst Quartz Crystals
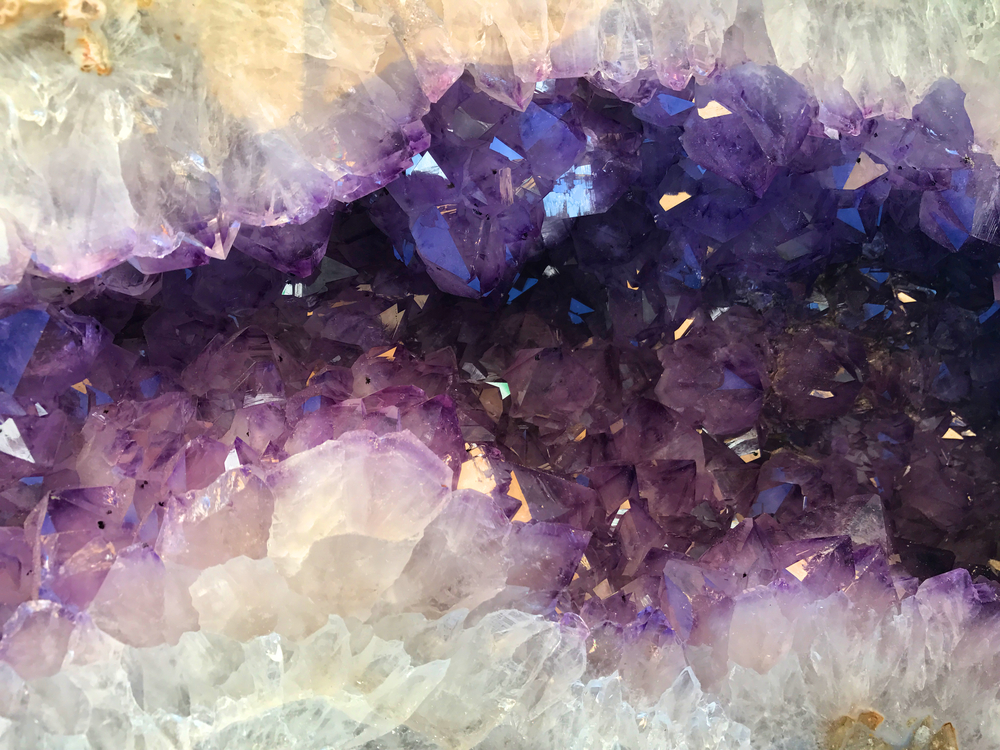
Amethyst quartz is a purple variety of quartz and owes its violet color to irradiation, impurities of iron and in some cases other transition metals, and the presence of other trace elements, which result in complex crystal lattice substitutions.Unlike many minerals that can only be seen with electron microscopes or an infrared microscope, amethyst’s unique crystal form makes it possible for individuals to see this semiprecious stone with the naked eye!
Rose Quartz
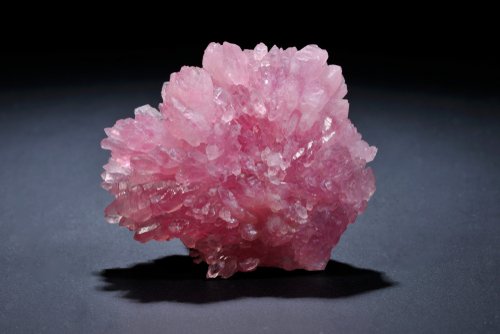
The pink color of rose quartz makes this type of quartz crystal a particularly popular gemstone. Rose quartz is one of the most common varieties of crystalline quartz, with massive occurrences found on every continent around the world.Its standard colors are gentle pastel pinks that range from almost white to an intense vivid mauve, but many specimens have an antique or raspberry tone due to vanadium impurities typically present within the crystal structure itself. Its because of these colors that makes rose quartz a highly sought after gemstone.
Smoky Quartz
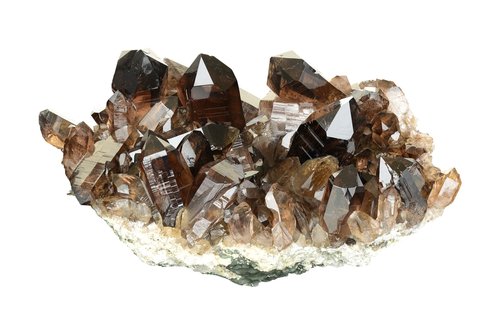
Smoky quartz crystal is a brownish gray, translucent variety of quartz that ranges in clarity from almost complete transparency to an almost-opaque brownish-gray or black crystal.It is a silicon dioxide crystal. The smoky color results from free silicon formed from the silicon dioxide by natural irradiation. Most crystals are found near active volcano sites and were probably formed at temperatures of about 800 degrees C higher than those for clear quartz stones.
Geodes
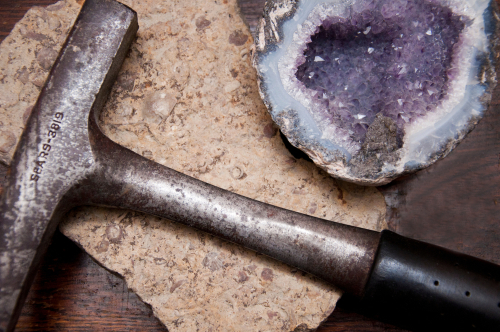
Geodes are natural rocks with a hollow, spherical or rounded shape and structure composed of mineral crystals. Most geodes contain clear quartz crystals; however, some may have purple amethyst.The varieties come in many different colors which can be beautiful too! Geodes look very common minerals when outside the rock but is actually quite interesting on the inside once opened. Quartz crystals or amethyst crystals are often found inside these rocks, but each geode can also house banded jasper, agate or rough-looking calcite or even dolomites and celestites.
Crystal Clusters
Quartz oftentimes will form in clusters called crystal clusters. These clusters of quartz crystals are formed when crystals grow near each other, and their internal structure causes them to have a specific unique shape. If the crystals coat the walls of a cavity, they are called druse. These crystal clusters are highly sought after by collectors and are the ultimate prize for rockhounds hunting quartz.
Crystal mining supplies
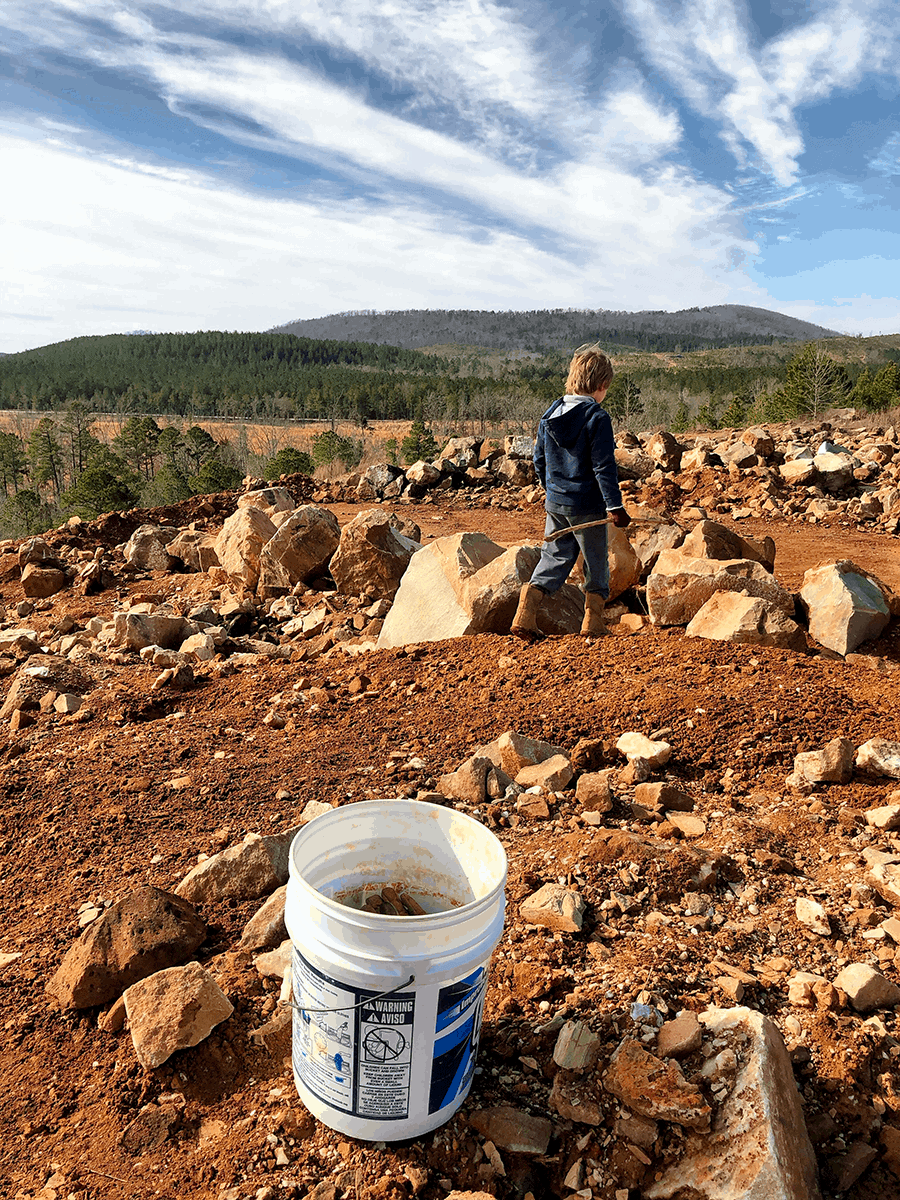
In the days leading up to our dig, we started a “crystal corner” in our garage to stage our supplies for the weekend. In our research, we learned what tools were allowed at the mine and which were not. While the commercial part of the mine is not open to the public (except for tours), the “tailings” pile is. The tailings area is where the mining trucks bring dump truckloads of dirt and rock up from the commercial mine.
The mine has tools available to rent if needed. However, we thought it would be best to bring our own.
What to bring when digging for crystals with kids
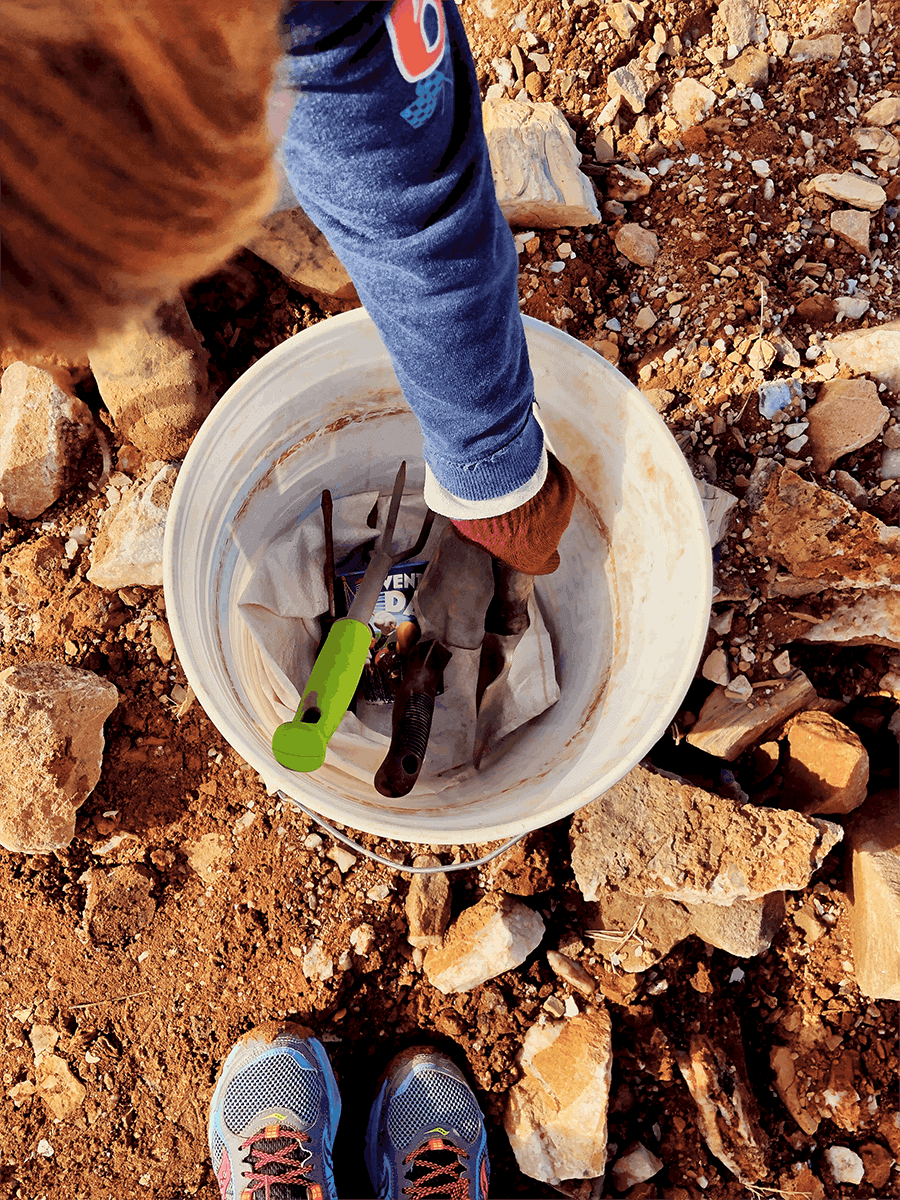
In our corner, we gathered the following:
Two, 5-gallon buckets
Hand tools for gardening, including small spades and shovels
Gloves, for us and for our children
Old shoes or rain boots
Old clothes that we didn’t mind ruining
Hats and sun protection
A collapsible or folding wagon
The day of the dig
The crystal mine is about a two-hour drive for us, so we got up early and had breakfast in the car. The mine does not have food available, so I highly recommend you pack a lunch and lots of snacks and water. I figured my children may lose interest in digging for crystals if we weren’t finding anything and snacks make everything better.
Arriving at the mine, you stop at the main office and store to pay your entrance fee and sign the waivers. We were so excited to see a HUGE crystal point sitting just outside the main entrance. The store has some amazing examples of what you could find in the mine. It’s also a great place to stop if you are only passing through and don’t have time to dig. The selection of rocks and minerals is outstanding!
Head out to the mine
We didn’t have a wagon with us on our first trip but we have since added it to our crystal digging supplies. It’s great for hauling your tools to where you want to dig, along with all of your snacks and water.
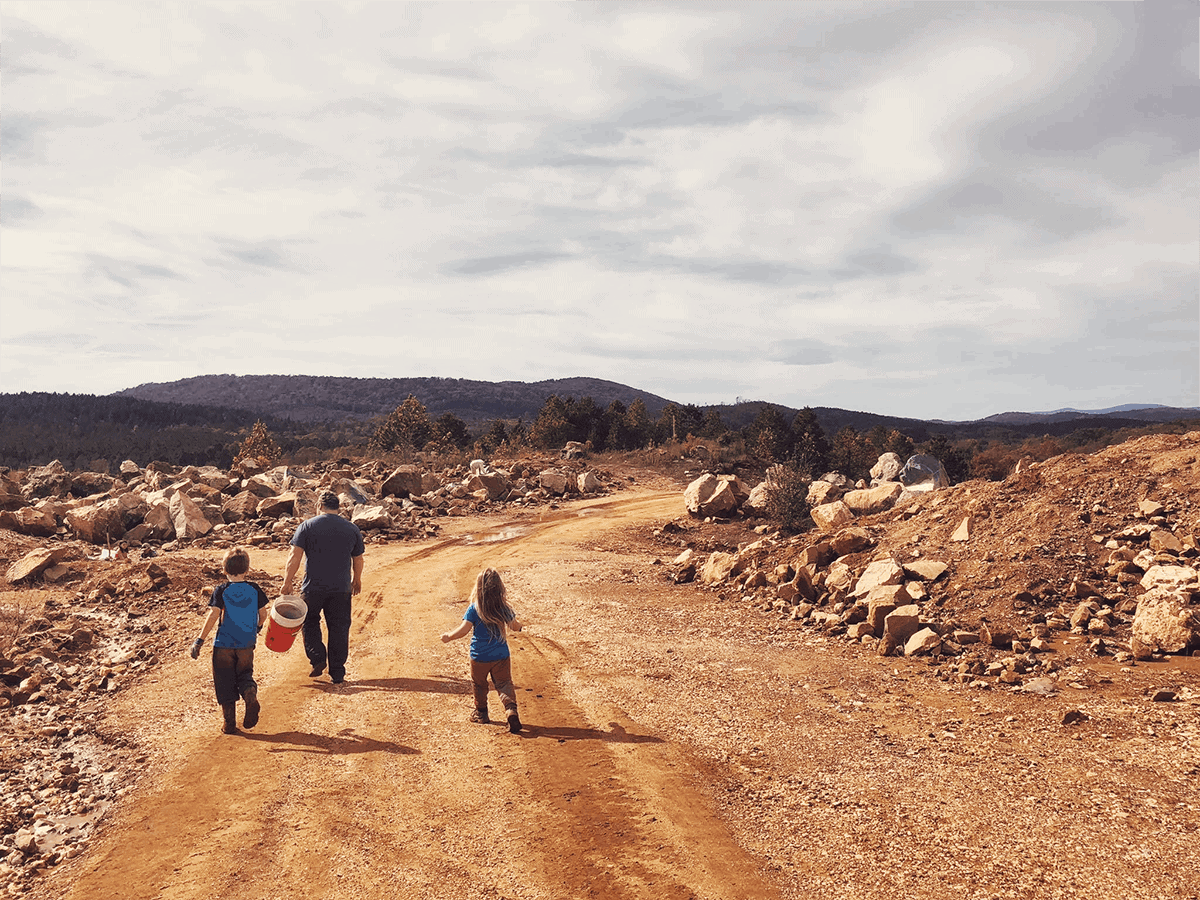
Digging for crystals with kids
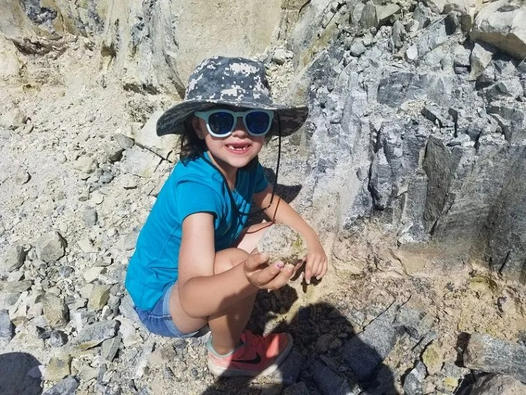
We selected a spot to start digging for crystals and set to work. Both of my children were so excited to play and explore. There is no running allowed in the dig area, so be sure to instruct your children. It’s for their own safety, as there are large boulders and rocks everywhere.
For smaller children, there is an area to the left side (while facing the main entrance from the parking lot) that is flatter and less dangerous. For the really small ones, a carrier or portable play yard may be best to keep them safe.
Our day passed quickly as we were completely focused on the task of digging for crystals. It was easy to stay focused because we were finding quartz treasures within minutes!
We found crystals ranging from milky white to clear, in all shapes and sizes! We were so grateful to have chosen a cool day to go dig because there is no shade available in the digging area. It’s quite a good workout to sort through the dirt and rocks. By lunchtime, we were all in need of a short break to refuel.
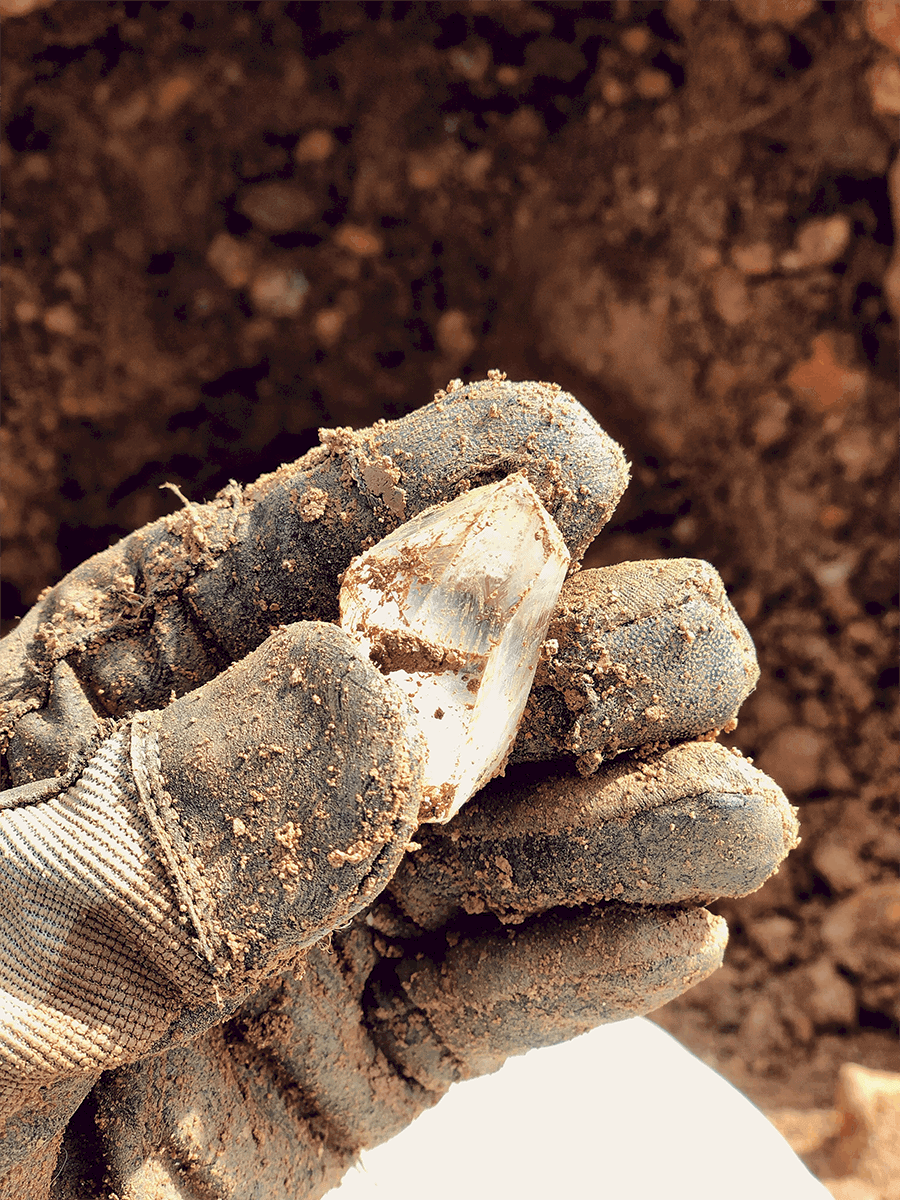
An afternoon well spent
While digging for crystals, the rest of our day passed rapidly. My children enjoyed playing among the boulders and rocks once they had found their fill of quartz. My husband and I worked ourselves to exhaustion digging. Each of us got more excited with the improving clarity of the quartz we found.
By the end of the day, we both knew we found a new favorite hobby. The mine closes at 4:30 pm, and by 4:15 pm we were cleaning up our dig area. The large buckets we brought were nearly full with crystals waiting to be cleaned.
We had spent the most beautiful day together outside, on our own little treasure hunt. Warmed by the autumn sun and completely exhausted from our day, we picked up our buckets and went back to our car, all of us smiling from ear to ear.
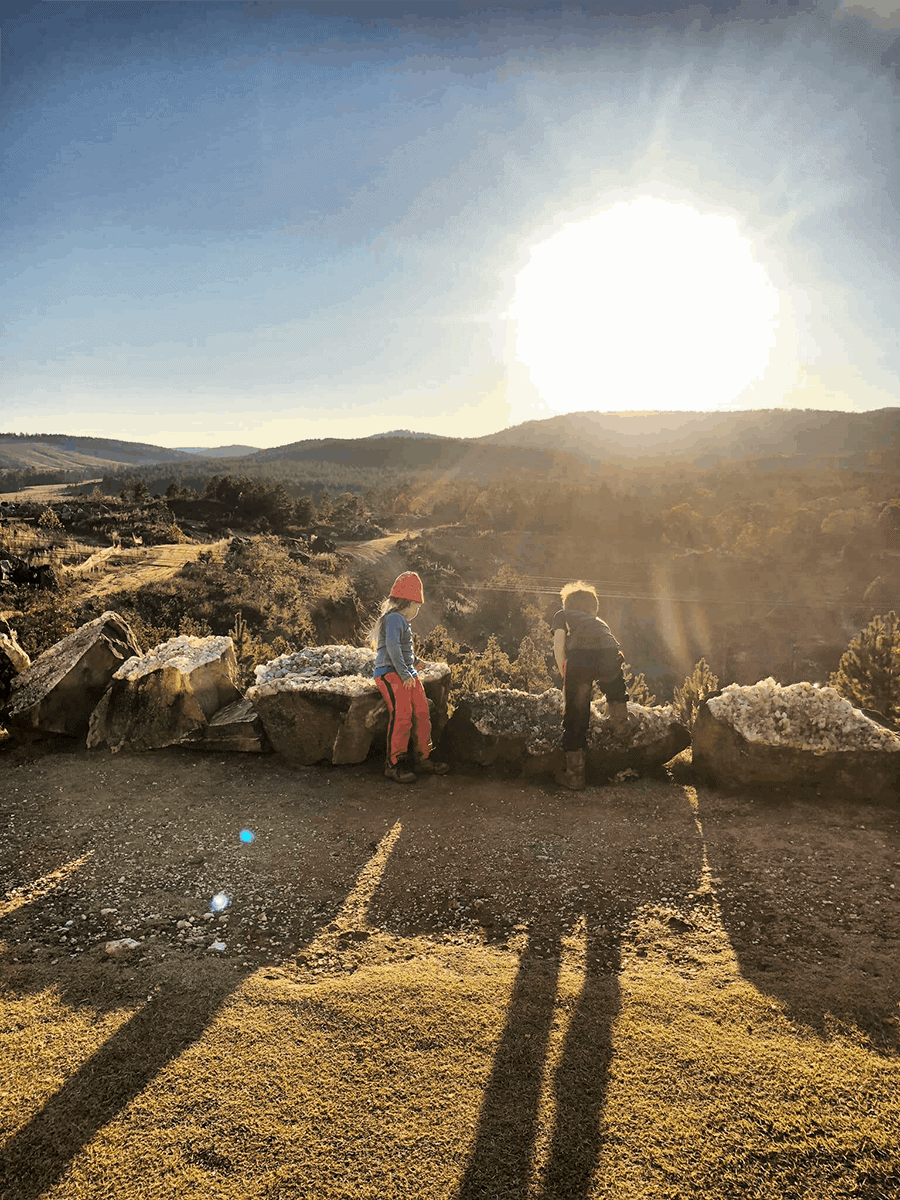
Things to note about crystal digging
Ron Coleman crystal mine also has tours available as well as a zip line. We haven’t done either yet but they sure look like fun! Here are a few things to remember:
There are no bathrooms at the dig site, you must go to the campground or back up to the main office.
You are allowed to take out all you can carry out.
Bring lots of water, more than you think you’ll need.
Pack a lunch and snacks.
The clothes you wear to dig in will most likely be stained with the iron in the soil. Wear old clothes you don’t mind ruining.
Remember to bring a change of clothes. We find it easiest to lay down towels and ride in our car over to the campground area to get cleaned up. There is a fee for the showers but no fee to change clothing.
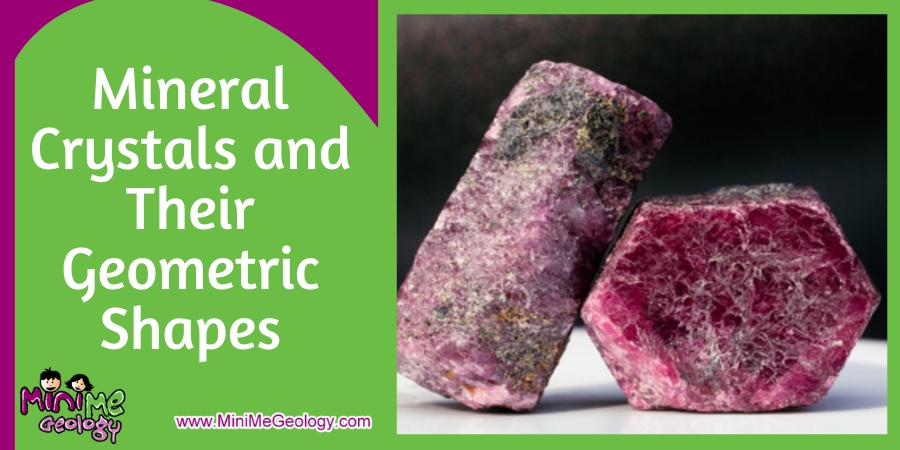
Mineral Crystals and Their Geometric Shapes: A Fascinating Exploration
Many minerals form beautiful geometric shapes. Determining the shapes of different minerals can help you uncover their identity.
How to Polish Rocks & Minerals
(Quickly and Easily!)
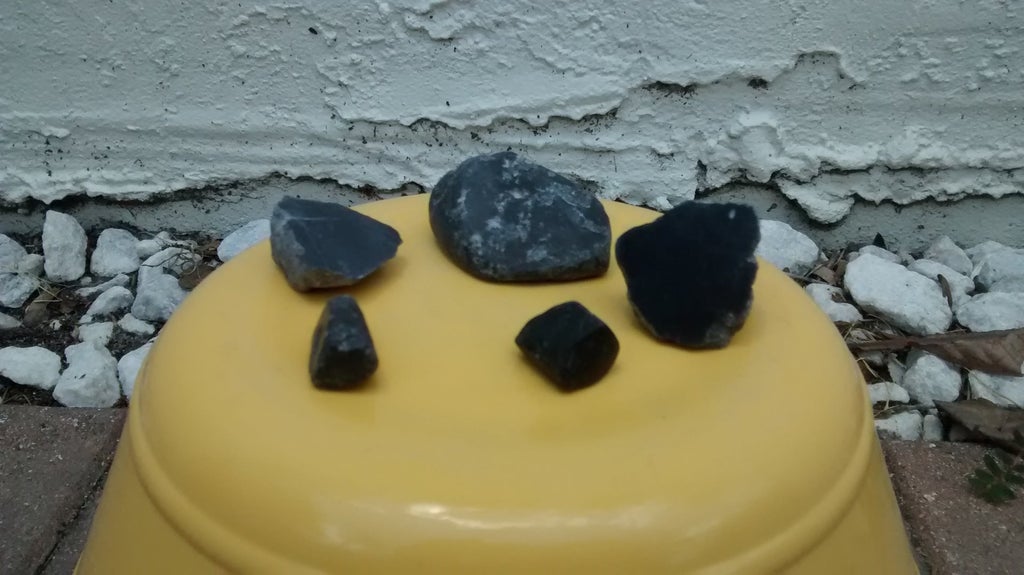
Hello everyone! This is my first Instructable so I hope it goes well! So this Instructable started a few weeks ago when my family and I were visiting Ireland. On the way to the Cliffs of Moher we stopped in a rock shop which was really neat. What wasn't neat was the prices. As we were there I thought to myself, "I bet I could polish up rocks like this!" So at the Cliffs of Moher I picked up some cool looking rocks (Which I later found out to be Kilkenny Black Marble) and brought them home. When I looked up ways to polish these stones I found to my disgust that the process would take a minimum of two weeks! Being as impatient as I am, I set out to polish these rocks in the time span of one morning and I think they turned out looking about the same if not better than the two week process.
Step 1: Materials
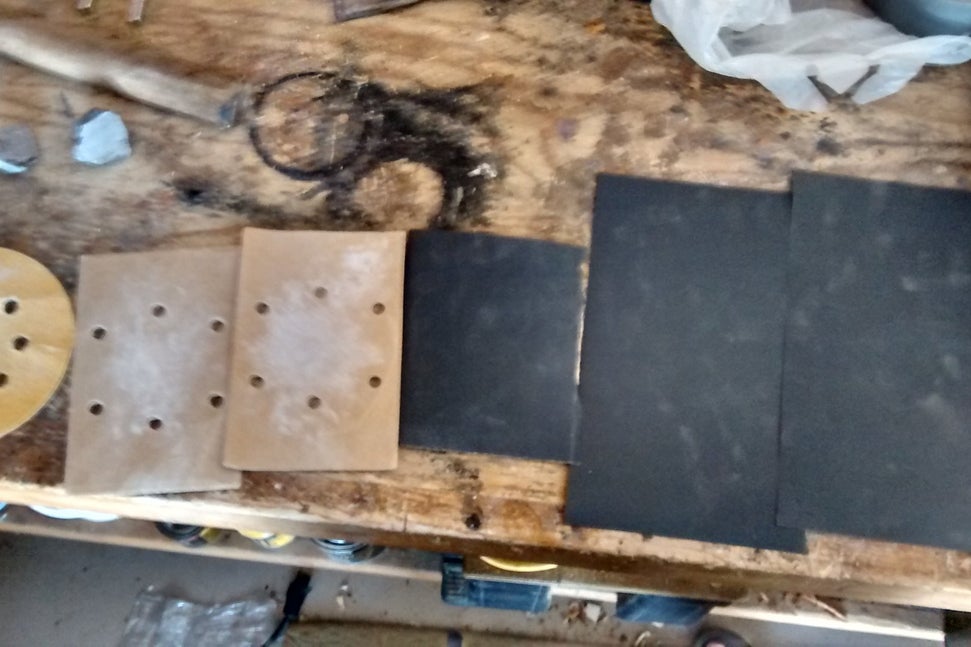
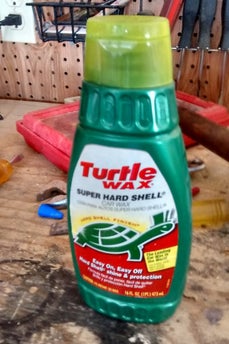
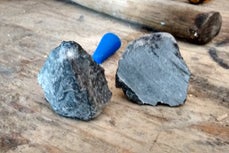
For this you will need a wide range of sandpaper. I used different grit sandpapers ranging from 60 grit to 1200 grit. Keep in mind that the higher the grit of sandpaper you end with, the shinier the rock will be.You will also need car wax and a rag to rub it in. I tried this granite polish stuff, but it didn't seem to work as well as the car wax.And finally you will need...ROCKS! The type of rock you choose should obviously be able to be made shiny. You won't be able to do this sandstone or anything like that. As you can see I did cut one of the rocks in half. I did this with a diamond blade on the chop saw.
Step 2: Sanding
This part is pretty simple. Start with your lowest grit sandpaper to get the general shape of the rock that you want. This could take some time. Once you have the general shape, cycle through all the sandpapers. I found counting to ten Mississippi on each side of the rock with each sandpaper gave it a good enough sanding. You might want to spend a little more time with the highest grit sandpaper just to give it that extra shine. What I would recommend rather than sanding the rock with the sandpaper in your hand is find a flat piece of wood to put the sandpaper on. I found this method much more efficient.
Step 3: Polishing
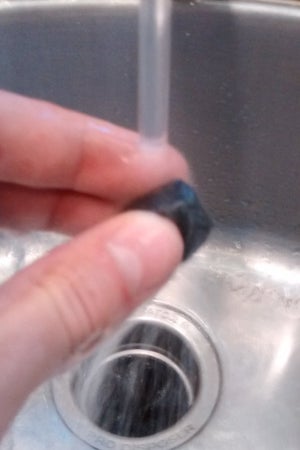
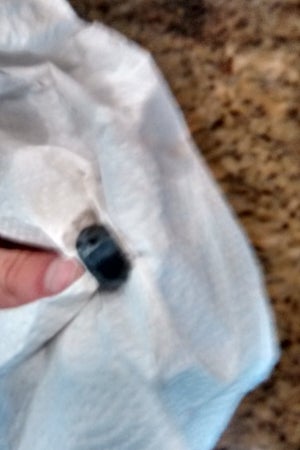
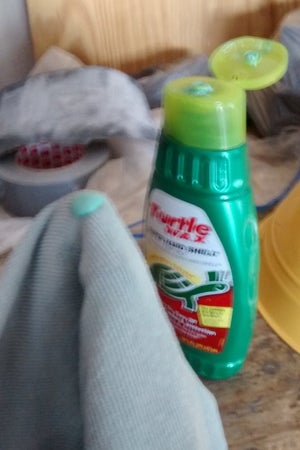
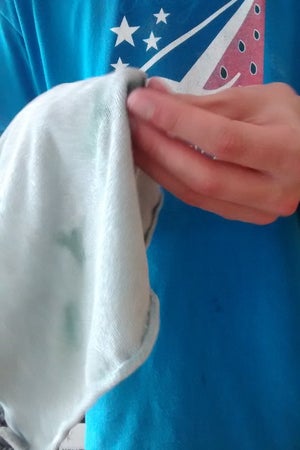
You should now have a very dusty, but smooth rock. Therefore, you should thoroughly wash all the dust off the rock water and then dry it before you put polish on. When you're ready to polish the rock, get your rag and put a small dot of car wax on it and rub it in to the rock. You may need to add more wax depending on the size of the rock, but make sure to only add it in little amounts at a time. After the wax dried, I added another layer of wax, and I don't know if it is my imagination or not, but I'm pretty sure it got shinier.
Step 4: Final Results
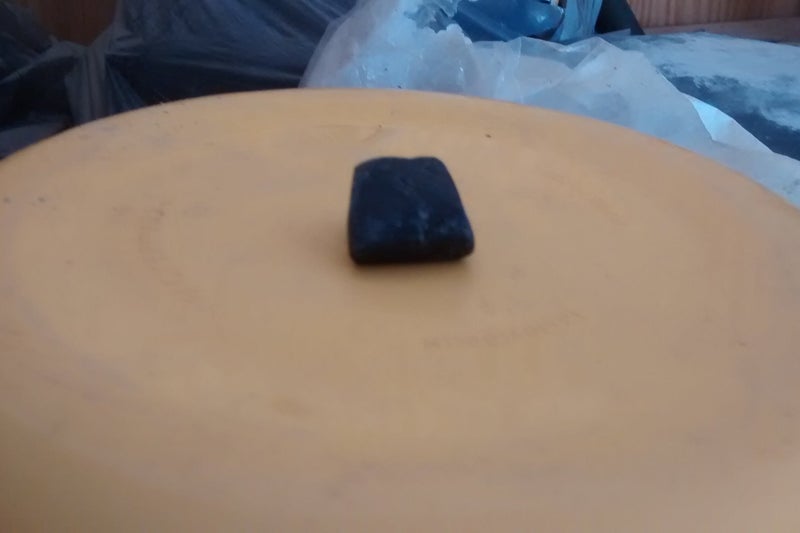
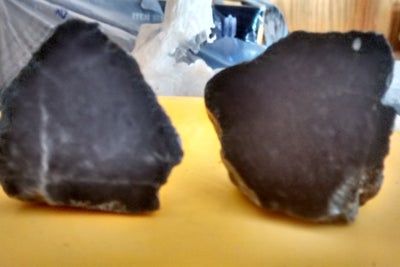
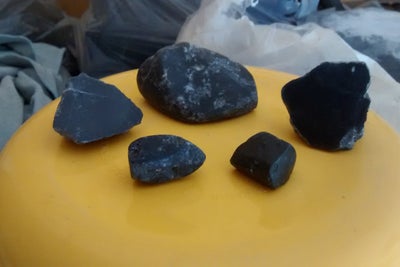
In all, shining up these five rocks probably took me about an hour and a half. These may not be store quality shiny, but I'm still really happy with the way they turned out. Good luck to everyone out there and if you have any comments, suggestions, or questions feel free to ask!
PLAY AND LEARN
How to Set Up a Geology Lab Dramatic Play Center
If your looking for ways to add play-based science exploration into your preschool classroom, it’s easier than you think.
Let me show you how to study rocks with your kids with a geology lab dramatic play center. You can combine science, math, and literacy in a developmentally appropriate manner with these fun ideas for your preschool or pre-k classroom.
After receiving so much great feedback from teachers about my entomology lab dramatic play area, I decided to create another science-based dramatic play area. This time, kids can study rocks and minerals in a geology lab dramatic play center.
JUST Purchase the PRINTABLES - It is very seldom that I post an activity that a provider charges you for. But this one is so woth The $5.50!!!!!
No Time to Read The Whole Article?
Here are the quick links to purchase the geology lab dramatic play printables featured in this post.
Let me give you some ideas for setting up a geology lab in your classroom’s dramatic play area. You can even use the ideas in your science center for preschoolers.
Dress Up Clothing Ideas
Kids always enjoy dressing up when they engage in pretend play. Here are some dress-up items that help your little geologist get into their role.
safari hats, sun hats, or hard hats
safety glasses or goggles
safari shirts, safari vests, or lab coats
backpacks or toolboxes
headlamps
work gloves
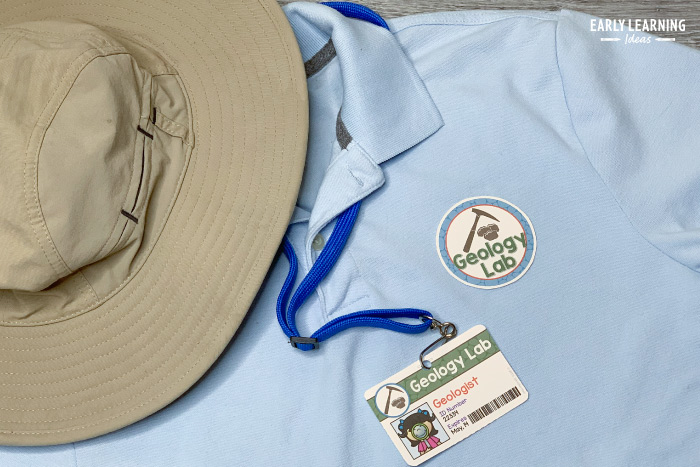
Finding Rocks for the Dramatic Play Center
If you are going to set up a geology lab, you are going to need some rocks. Don’t stress out about finding them. It’s a good idea to find a variety of sizes, textures, but they don’t have to be fancy…unless you want to get fancy.
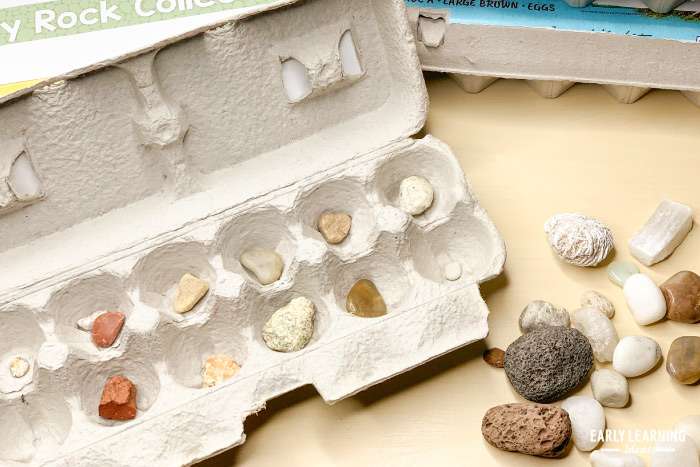
Sometimes you can find cool rocks in unexpected places. My family took a trip to British Columbia this year and we even found some rock stores. Rocks of ALL kinds at ALL price points were available.
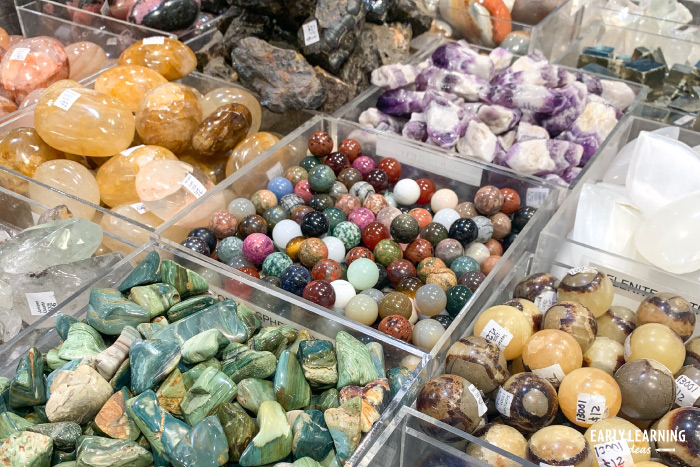
Well, I don’t expect you all to take a trip to British Columbia (although it is absolutely BEAUTIFUL!). So, here are some ideas to help you find a variety of rocks:
Take a walk – Check out your yard, the playground, or a park. Look by roads, landscaping, and by ponds/steams/rivers.
Home Improvement Supplies – Use leftover granite, marble, or travertine tile from a home improvement project. Visit the Re-Store
Night at the Museum – Pick up some inexpensive rocks, minerals, fossils, or geodes in a museum gift shop.
Get Crafty – Find rock and pebble vase fillers at craft or other stores.
Visit Construction Sites – Get scrap stone from home construction or landscape project sites. I live in a new neighborhood where houses are still being built. I find lots of goodies in the construction dumpsters.
Pet Supplies – Get decorative gravel and rocks at aquariums or pet stores
Jewelry Pieces and Parts – Use beads made of stone.
Plastic Jewels – You can also use plastic gems, crystals, or rock-like vase fillers.
Rock Collection Kit
You can make a rock collection kit by filling a toolbox, a bag, or a small backpack with a few supplies. Here are some ideas:
magnifying glasses
goggles or safety glasses
toy hammers
popsicle sticks
pencils
geology notebooks or blank books
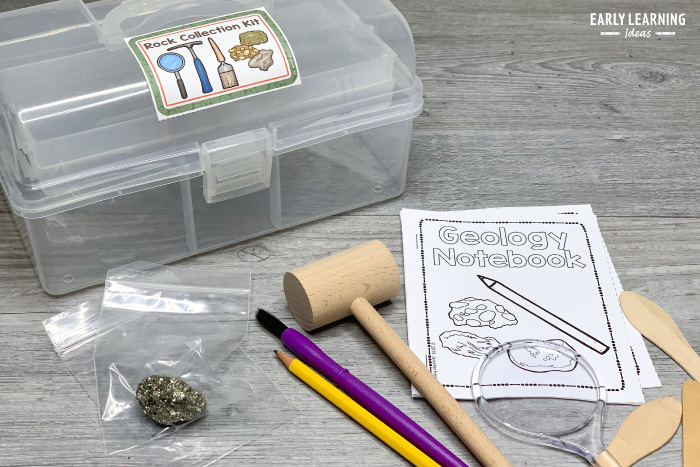
Kids can use these kits to “go searching” for rocks. Designate a place for them to search such as in sensory tables, hidden around the classroom, or even in a blob of playdough.
Assemble a Rock Collection
Every good geologist has a rock collection. You can assemble some collections and have them ready for kids to examine, or you can let them create their own collections. Remember, the rocks don’t have to be fancy. Provide some magnifying glasses and some desk lamps so that kids can take a closer look.
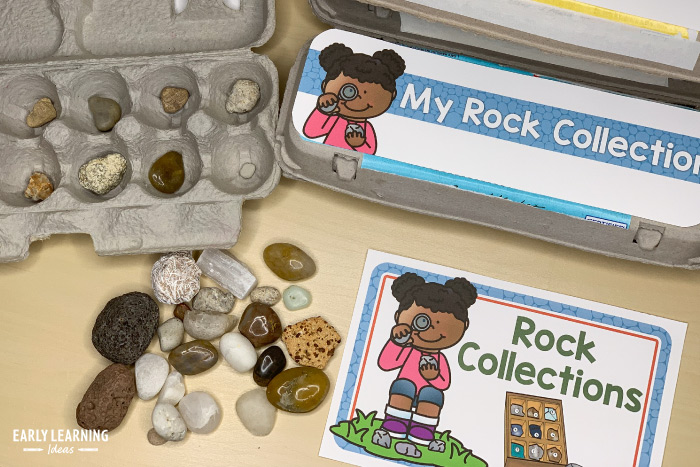
There are many opportunities for math practice as kids assemble, play with, and examine rock collections. They can work on one-to-one correspondence, counting, and sorting activities.
You can learn more about learning activities with rocks and get a free printable for a rock collection container in this article.
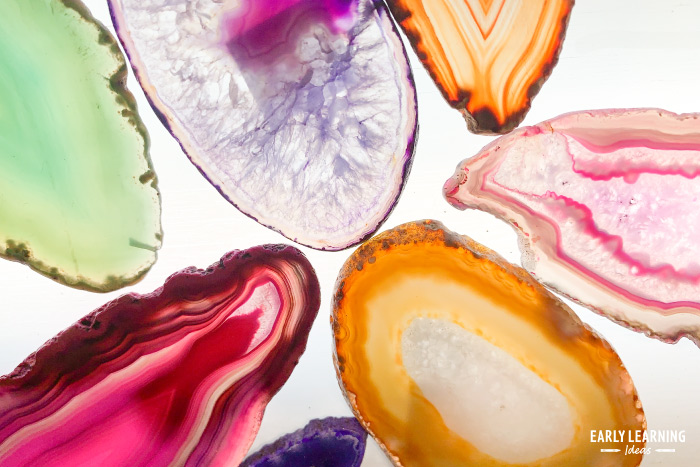
If you do have some fancy rocks, provide a light table for a cool sensory experience. Here are some agate slices that I added to a light table. How cool is that? You can find agate slices at craft stores, museum gift shops, or even in a jewelry box.
Sorting Rocks
Speaking of sorting, you can make that part of your dramatic play area. Gather a variety of rocks. Ask kids to tell you what they notice about the rocks as they look through them. Provide some sorting mats, muffin tins, or more than one container. Then, let them sort the rocks. You may be surprised by how they choose to sort their selection.
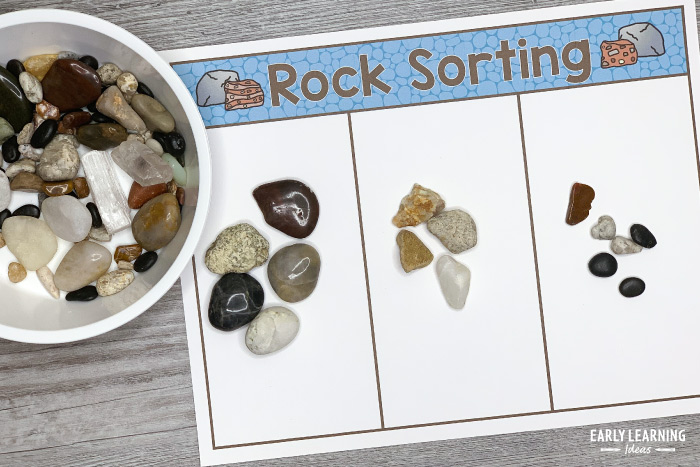
They may sort by size, texture, or color. But there are so many other ways that rocks can be sorted too. Are they dull or do they sparkle? Are they flat or round? Do they just feel good in my hand?
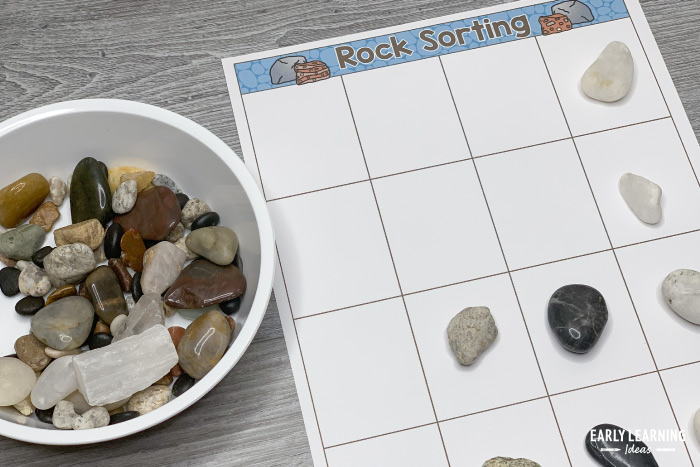
Ask kids to tell you how they sorted their rocks. Challenge them to find different ways to sort the selection.
Cleaning Rocks
Your little scientists can clean rocks in their lab. Use a sensory table or tub filled with water as a cleaning station. You can also provide a spray bottle filled with water for the task. Squirting the water is not only fun, but it is a great fine motor strengthening exercise.
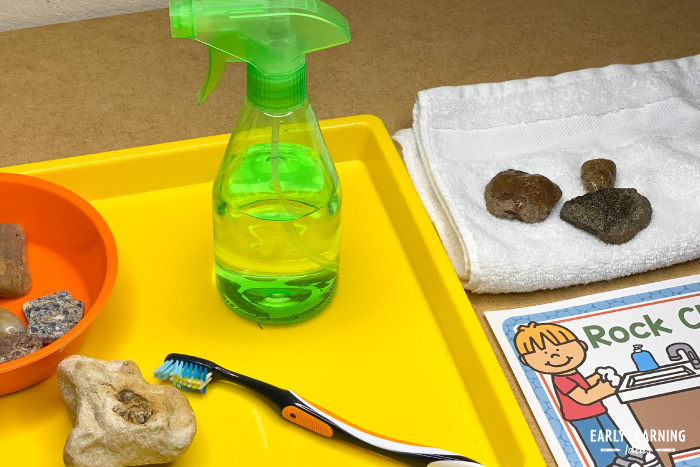
Kids can use toothbrushes or small cleaning brushes to scrub the rocks and stones. Then, they can use a towel to dry them. Do your kids notice a change in the rocks when they are wet?
Weighing Rocks
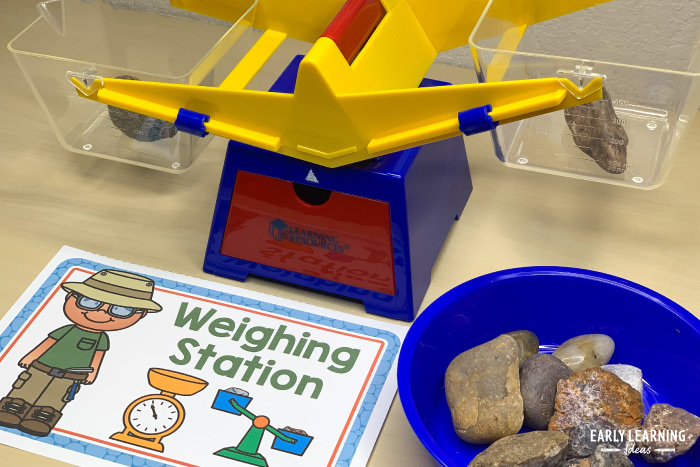
Provide a bucket scale and a variety of rocks so that kids can compare their weight. Let them make predictions. Select two rocks and ask them to predict which one will be heavier. They can weigh the rocks to test their hypothesis.
As they become experts at weighing the rocks, they will even be able to put them in order from lightest to heaviest.
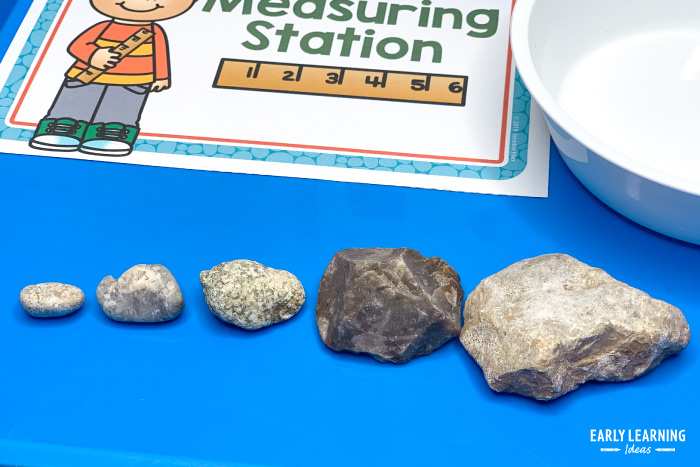
Measuring Rocks
Kids can compare a selection of rocks by measuring their length, width, and even circumference. They can use tape measures, measuring strips, rulers, or counting cubes to measure.
Measure with a string. Cut a piece of string just long enough so that it wraps around a rock. What happens when you wrap the same string around a smaller rock….or a larger rock?
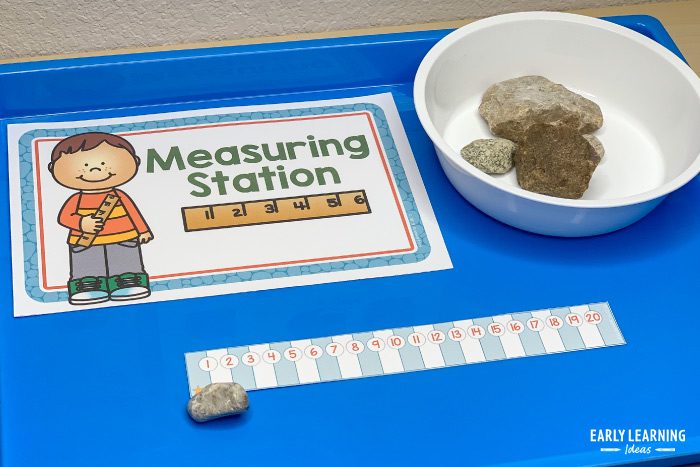
Again, as they measure, kids can place the rocks in order from smallest to largest.
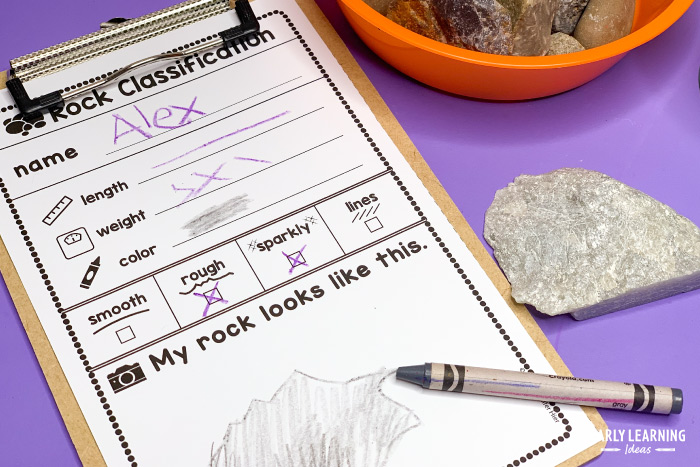
Rock Classification
Geologists know how to classify rocks. Your little scientist can practice their classification skills with a simple classification form. Kids can also write details or make sketches of their specimens on scrap paper or in a blank book.
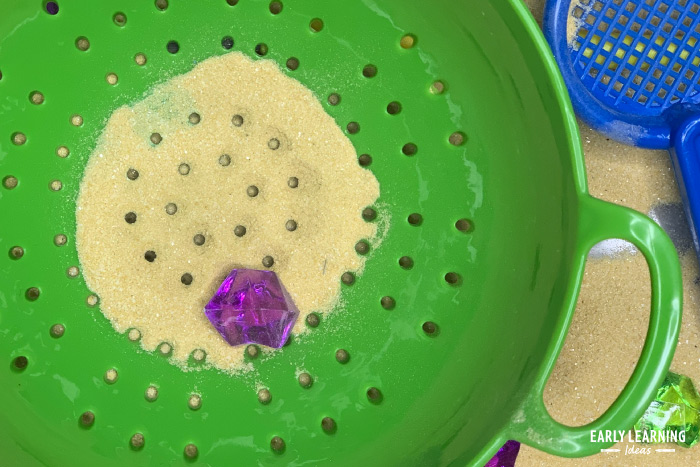
Gem Mining
Your kids can also work on gemology skills as they mine for gems. Set up a gem mining area by adding sand or fine gravel to a sensory table or large bin. Add some plastic gems, baubles, or sequins. Provide some sieves (colanders or strainers) and brushes so that your kids can search through the bin to discover the gems.
Geology Research Libray
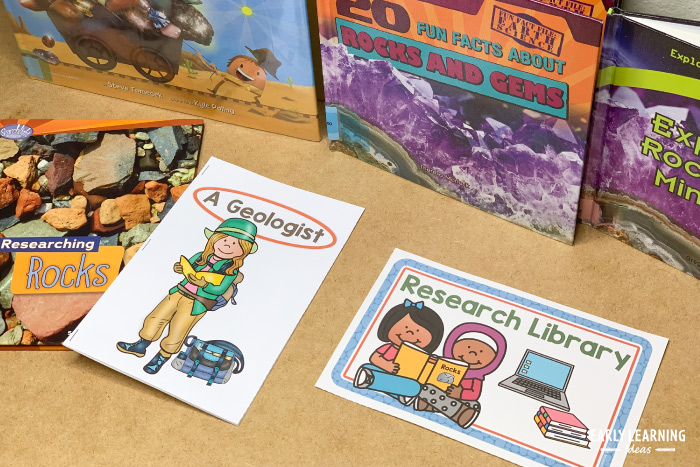
Every geology lab should have some research materials. Gather some books about rocks, minerals, and gems to create a research library.
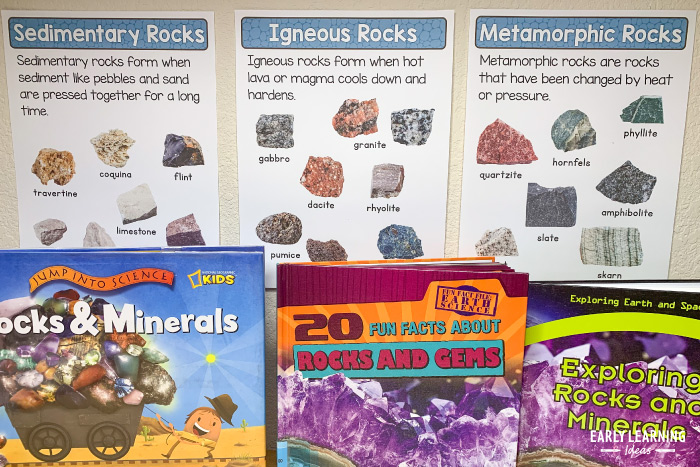
You can also add a seating area, a desk, a non-working laptop, and some blank books to the area.
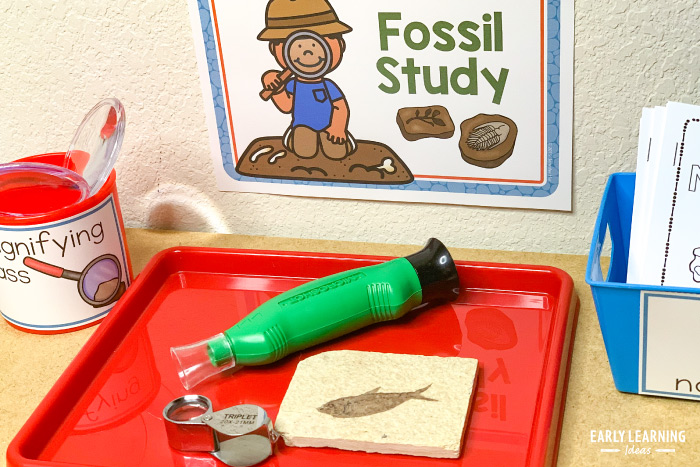
Fossil Study
Do you have some fossils to share with your kids? You can set up a fossil study area. Add some magnifying glasses so that they can see the fossil details more clearly.
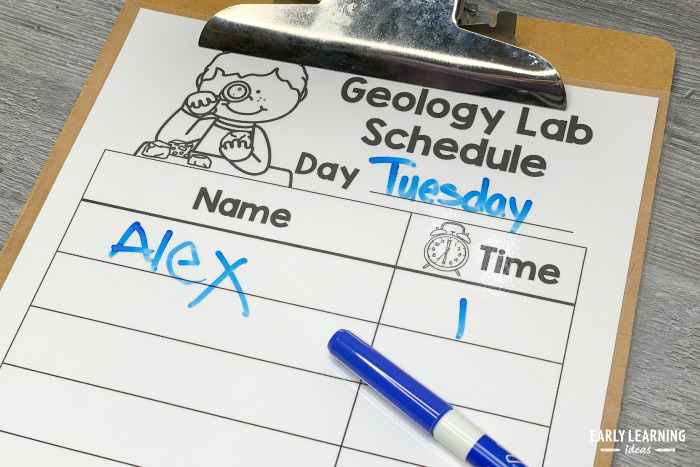
Waiting List for the Dramatic Play Center
Your kids are going to be so excited when you set up this lab. To prevent too many kids from “working” in the lab, you might have to create a waiting list like this employee schedule. This provides some extra name practice too.
Purchase the Geology Lab Dramatic Play Printables Today
Well, I hope that these ideas gave you some inspiration for studying rocks in your classroom. The printables pictured in this resource are available in my store. They include the items pictured, plus banners, posters, a geologist book, and more. Click on the image below to purchase them today.

Purchase on The Pretend Play Printables on TPT
Do you prefer to shop at Teachers Pay Teachers? You can also purchase the Geology Pretend Play Printables in the TPT Store. $5.50
Rockin’ Geology Rock Party Ideas
Gem mining party? Rock climbing birthday? Whatever the event, take a look at these Rockin’ Geology Rock Party ideas full of dazzling minerals, geodes, and agates. These are great ideas to help your child share their love of geology with their friends and family.
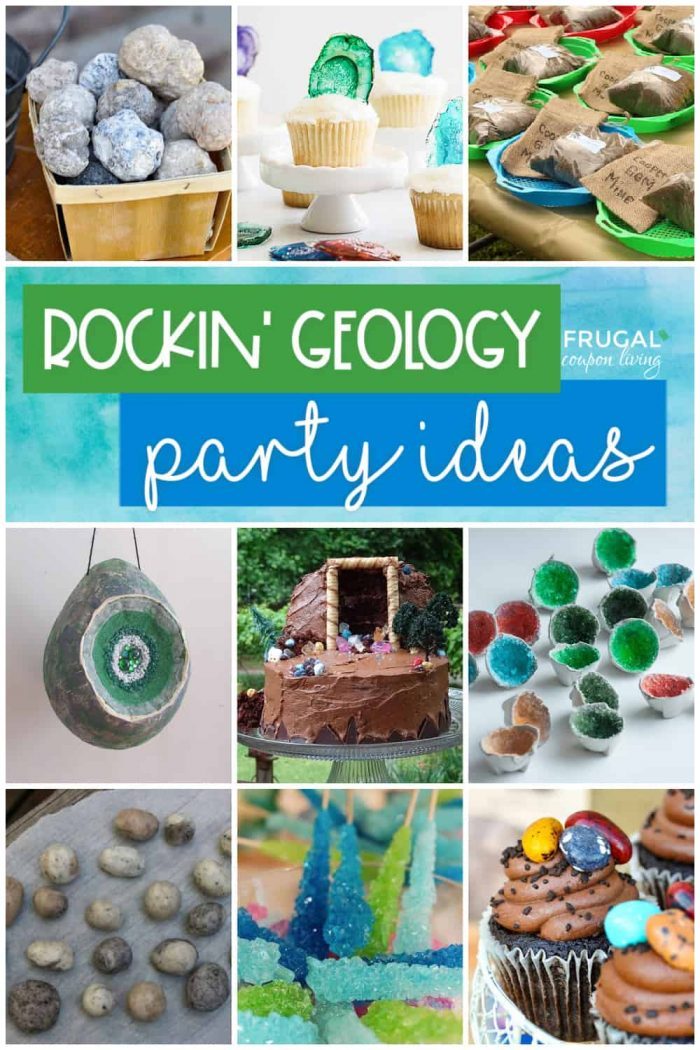
Ready for a Rockin’ good time? If you have a geologist who loves rocks, minerals and many times of gems? Take a look at these Geology Rock Themed Party Ideas. From candy agate recipes, to candy rock cupcakes, DIY geodes, piñatas, geology birthday party supplies and more.

Looking for an easy cupcake recipe, make chocolate box mix cake and add edible candy rocks to create these Rock Cupcakes. |Kara’s Party Ideas
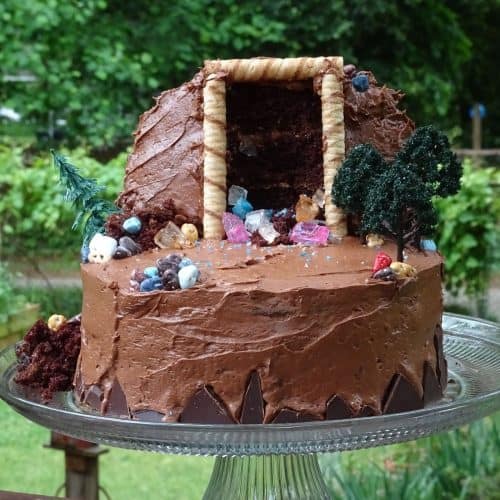
Speaking of sweet treats, look at this Gem Mine Birthday Cake, perfect for a Rock Party. I love how they used Pepperidge Farm Pirouette Cookies to create a mineral mine entrance. Requires *some* talent. | Femme au Foyer
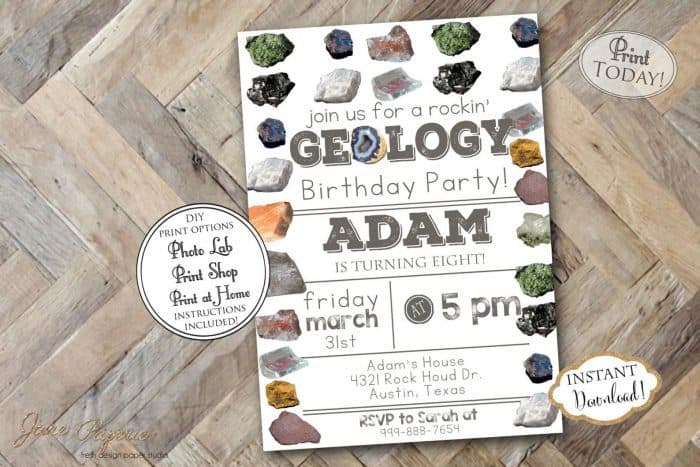
Every rocking party needs the perfect invite. Look at these Rock Party Invitations. Have it personalized with your child’s name and event details and download to print. We love using Shutterfly to upload and order.
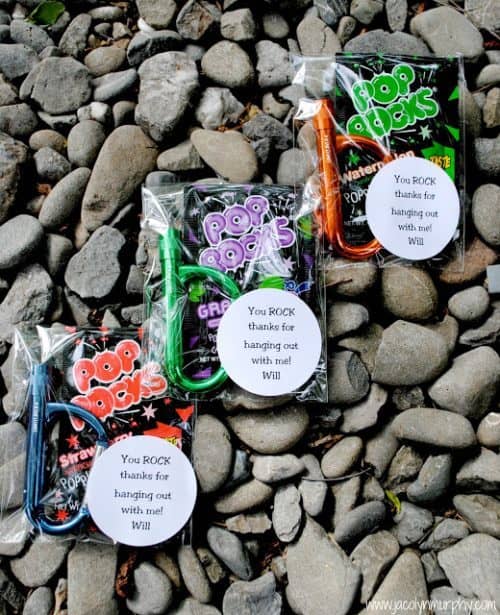
You could also hand out these fun geology party favors too. These Rock Climbing Party favors do it all… Snap, Krackle, Pop and Light Up! | Jacolyn Murphy (Buy Flash Light Carabiners Here)
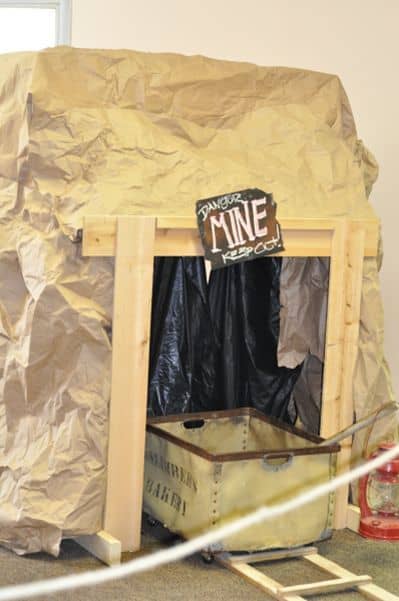
If you need pretty amazing rock party decor, look at this Gem Mine Party Decor. Could you recreate this? | Source
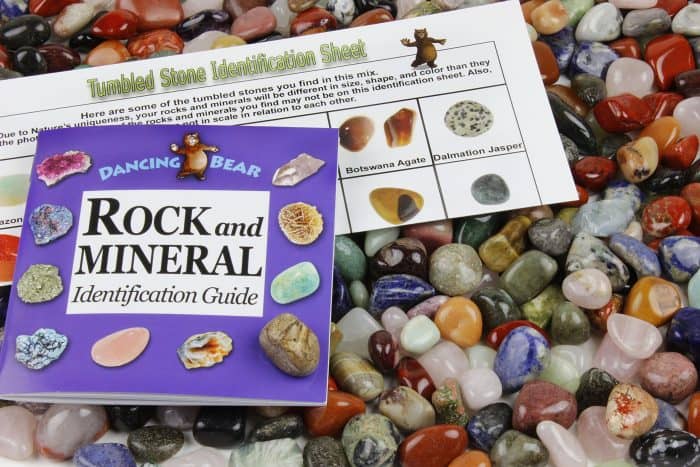
Discover types of rocks and their qualities. Pick up to 22 lbs of Tumbled Polished Natural Gem Stones. You can also get this set of 12 Velvet Gemstone Bags so the party guests can bring them home as rock party favors.
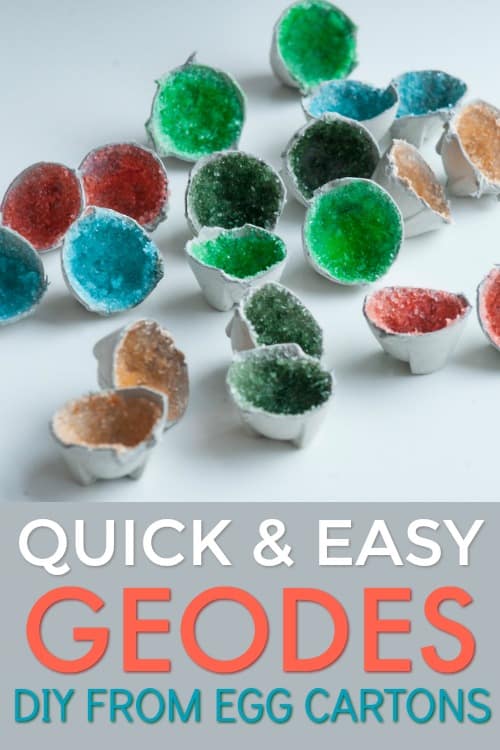
As a party activity for the kids, make these super quick DIY Egg Carton Geodes using Epsom Salt. Just ensure you have enough time fo them to dry and go home. | Family and Craft Online
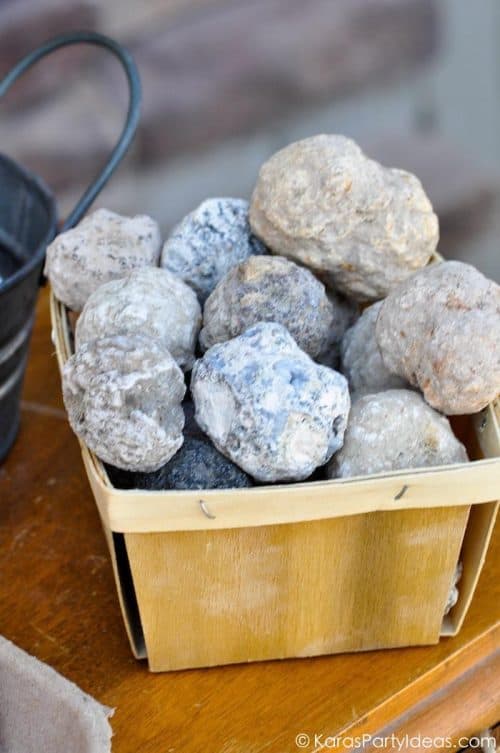
As another rock party activity, pick up geodes. With the guidance of an adult, the kids could break them with a hammer and have a fun rock souvenir. | Kara’s Party Ideas
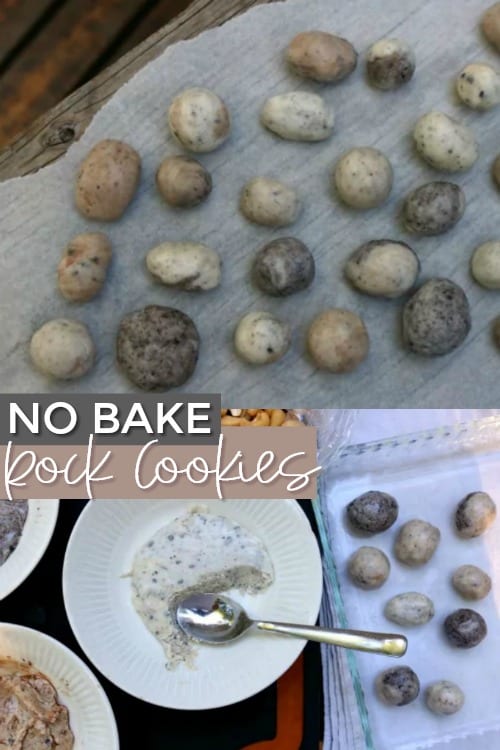
This is fun. For an easy-peasy recipe, create these no bake Rock Cookies. | CBC News
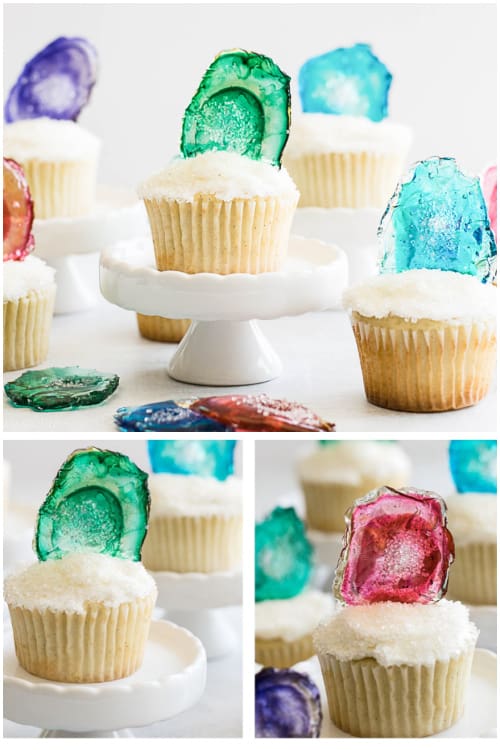
Where did you buy these gemstone cupcakes? I made them. Look like the worlds’ greatest baker with this Candy Agate Cupcake Toppers. | The Honey Blonde
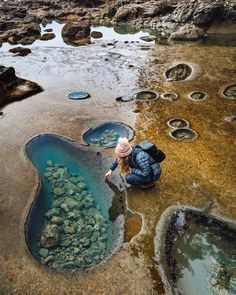
THINGS TO MAKE OR DO
Top 10 Ways to Play with Rocks {Sensory Summer}
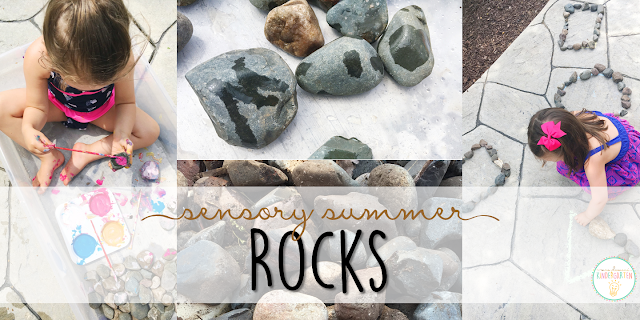
It’s rock week! Do your kids insist on gathering rocks everywhere they go like mine? I mean we literally cannot cross a parking lot without scooping up like 7 little treasures that they just HAVE to have. So we spent all week gathering the piles of rocks laying around our yard and can’t wait to find all kinds of ways to play!
If you want to gather all of your materials before you start, we found almost everything we needed at Target or on Amazon. Here are all the materials we used:
Rocks
Sponges
Washcloths
Scrub Brushes
Paint Brushes
Tempera Paint
Kiddie Pool
Construction Vehicles
Play Dough
Sidewalk Chalk
Play Dishes
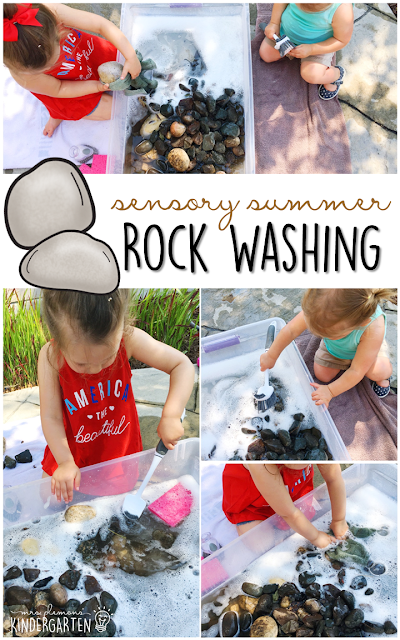
Rock Washing:
We started out the week by throwing all the rocks we had laying around in our Under Bed Clear Storage Bin with a little bit of water and dish soap. Then we got busy washing off all the dirt with sponges, washcloths, and scrub brushes to get them nice and clean for all the fun activities for the week.
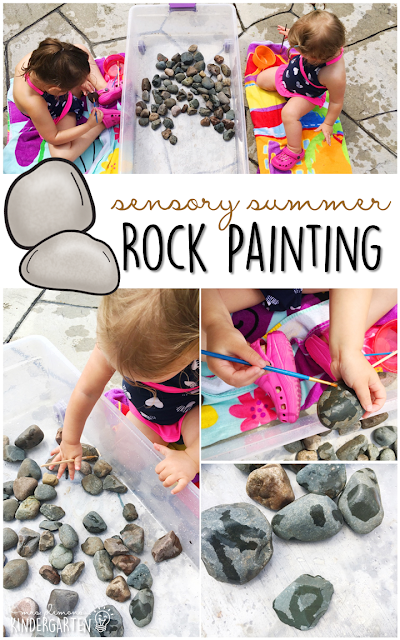
Rock Painting with Water:
After washing all the rocks and letting them dry out in the summer sun, we did a little painting..with WATER! I grabbed a big bin of paint brushes and filled a few cups with water then let the girls paint away. This easy, mess free, taste safe painting was perfect for us.
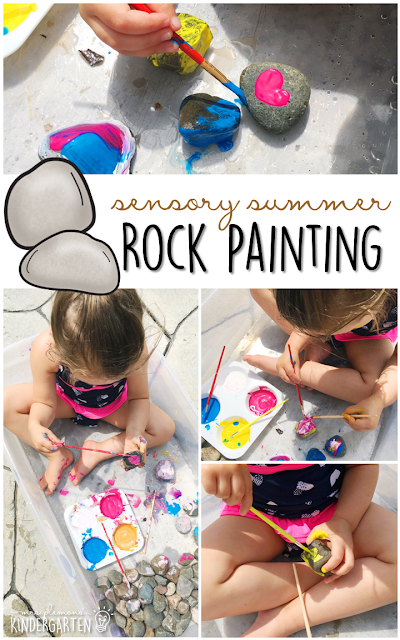
Rock Painting:
After letting the rocks dry out again, and tucking little sister in bed for nap, we pulled out the tempera paint for some colorful, messy rock painting fun.
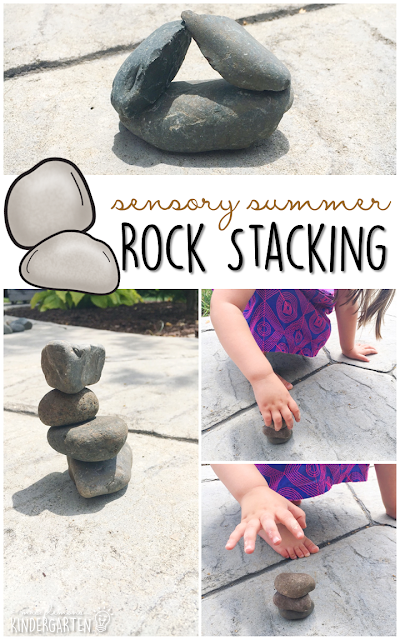
Rock Stacking:
Next up we did some rock stacking. The rocks we had in our bin weren’t necessarily flat so this took quite a bit of concentration and patience, but we managed to work together to get quite a few impressive structures built, despite a younger sibling that loves to knock things down.
Rock Throwing:
So encouraging small children to throw rocks might not be on the top of my list of good ideas, but we actually had a good time and no one got hurt. I wanted to recreate the fun of throwing rocks in a pond, but we don’t exactly have a pond in our backyard so we used our kiddie pool. I made sure to lay down some ground rules about staying behind the bowls of rocks when throwing and always watching where you are throwing to be sure no one is in your path.
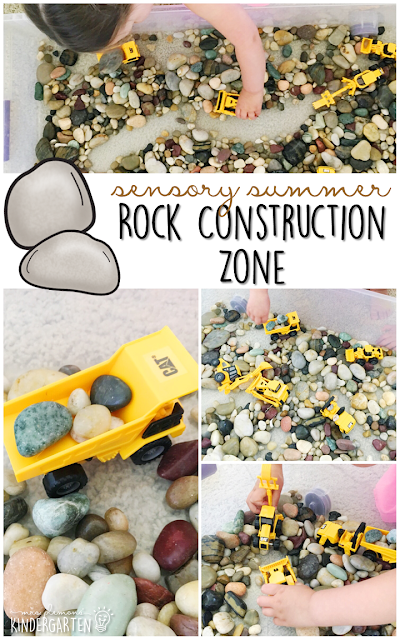
Rock Construction Zone:
With 2 girls we don’t have too many of your typical “boy” toys like trucks and construction vehicles, so I try to scoop them up when I see a great deal. These construction vehicles were perfect for setting up a rock construction zone. Madelynn loved driving, scooping and building with all the different kinds of
Vehicles.
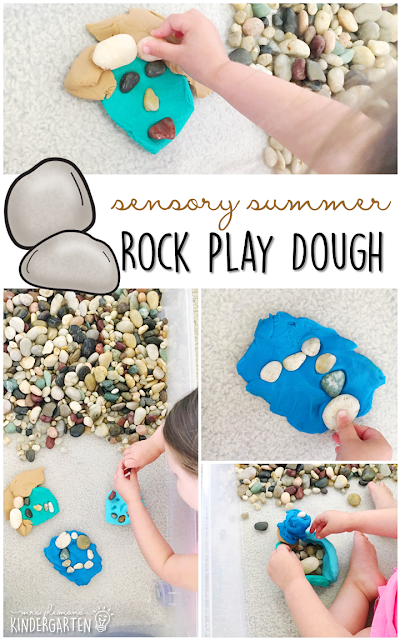
Rock Play Dough:
We had quite a few rainy days this week, so we broke out the play dough and played with our rocks inside. We built faces, castles, shapes, and explored the prints different rocks made when we squished them in the play dough.
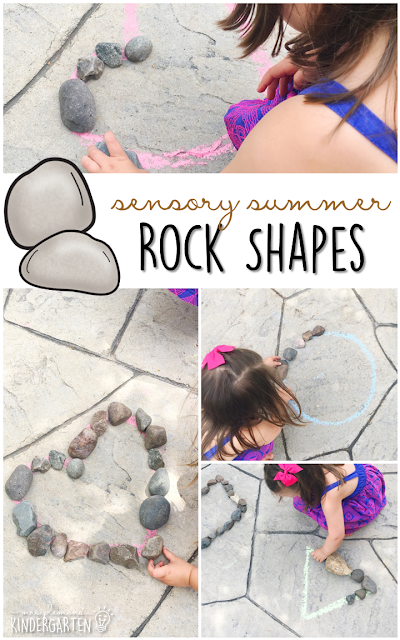
Rock Shapes:
For this activity I drew shapes on the ground with sidewalk chalk and Madelynn built each one with rocks. Aubrey tried to help too, but mostly by throwing rocks in the middle of each shape or by moving rocks from one shape to a new one driving miss M crazy. Always an adventure planning activities for 2!
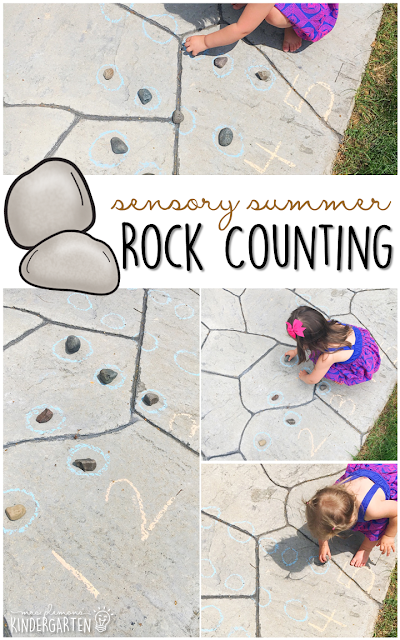
Rock Counting:
For this activity I wrote the numbers 1-5 on the ground with sidewalk chalk and Madelynn counted out the corresponding number of rocks for each one to make a little number line. I drew the circles so little Aubrey could help too. Even though she’s not counting or recognizing numbers yet at least she can practice one to one match.
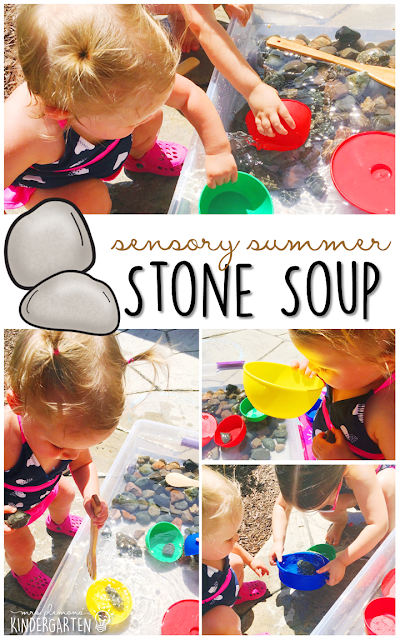
Stone Soup:
Finally we had some more water and rock fun with stone soup. All I did was add a set of play dishes to our rock and water filled bin and the girls took over from there.
Hope's Favorite-
Nature Sensory Bottles
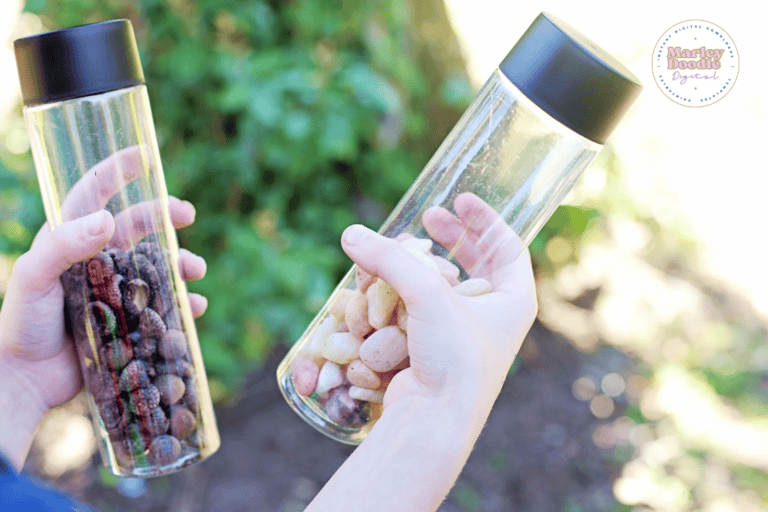
The sensory input on this activity happens throughout the activity. Each individual nature sensory bottle is unique.
Begin with a trip outside to explore nature. Bring a plastic water bottle with you. Follow your child's interest and suggestion.
NOTE: If you are using an expensive bottle- hold onto the lid. The kiddos are sure to loose it!
If they find things that catch their eye, they can add them to their sensory bottle. They can either gather all of the items before and add them to the bottle later or they can add the items as they find them.
My kids really enjoyed creating their natural sensory bottles. They enjoyed climbing through the trees looking to discover items to include. I love how each one of them came out so differently and yet all were lovely. We filled ours in the spring and the colors were so beautiful. The flowers, flower petals, and purple clover contrasting against the white rocks, green leaves and stems, and brown twigs made them quite striking.
Nature Sensory Sound Bottle
Gather Materials needed:
empty unbreakable bottle (I used 1 liter clear soda bottles)
items found in nature
Instructions:
Go on a nature walk or hike to gather items for your nature sensory bottle. As you are outside, ask your child questions designed to help them become more aware of their sense.
“How does that rock feel?” or for younger kids, “Does that rock feel rough or smooth?”
“What do you smell?”
“Can you feel the wind?”
“What sounds do you hear?” or for younger kids, “Can you hear the birds chirping?”
“What colors or shapes do you see?”
As they gather items to fill their bottle, have them describe the items to you. See if they can incorporate their senses into the descriptions. Really, any item they find can be added to the sensory bottle, so this list is not comprehensive.
When complete, place the lid on the bottle. Some of the items in these sensory bottles can mold over time due to moisture, so the bottles only keep for a few weeks. Or you can fill the bottle up and empty it right away and head back out on another nature hike to fill it again.
What to put in a nature sensory bottle:
sticks
rocks
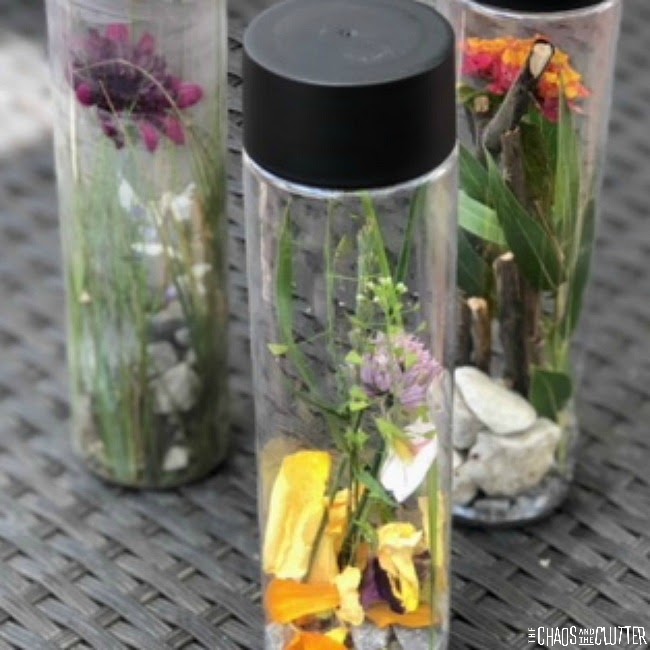
pussy willows
leaves
snow
water
flowers
flower petals
weeds
pebbles
seeds
dirt
mud
sea shells
pine cones
pine needles
feathers
herbs
grass
acorns
sand
berries
insects (only if you poke holes in the bottle of course)
wheat
How to Set Up the Nature Sound Sensory Bottles:
Step 1: Gather Your Bottles
Start with clean, empty sensory bottles or plastic water bottles. Clear bottles work best so kids can see what’s inside as they play and explore.
Step 2: Go on a Nature Walk
Invite your kids to head outside and collect small natural items like acorns, tiny sticks, pebbles, dried leaves, moss, or pine needles. This is a great chance to get fresh air and observe different textures and shapes in nature.
Step 3: Fill the Bottles
Once you’re back inside, let kids add their favorite materials to the bottles. Encourage them to experiment with combinations—rocks and leaves, sticks and moss, or just one item per bottle to see how the sounds change. Leave a bit of empty space in each bottle so the materials can move and make noise.
Step 4: Seal the Bottles
Make sure the lids are tightly closed—especially if younger kids are playing. You can secure them with glue or tape if needed for safety and to prevent spills.
Step 5: Shake and Explore!
Now the fun begins! Let kids shake their bottles and listen to the sounds each one makes. Prompt them to describe what they hear—is it soft, loud, crunchy, or gentle? They can compare bottles, sort them by sound, or just enjoy a moment of calm with the natural noise.
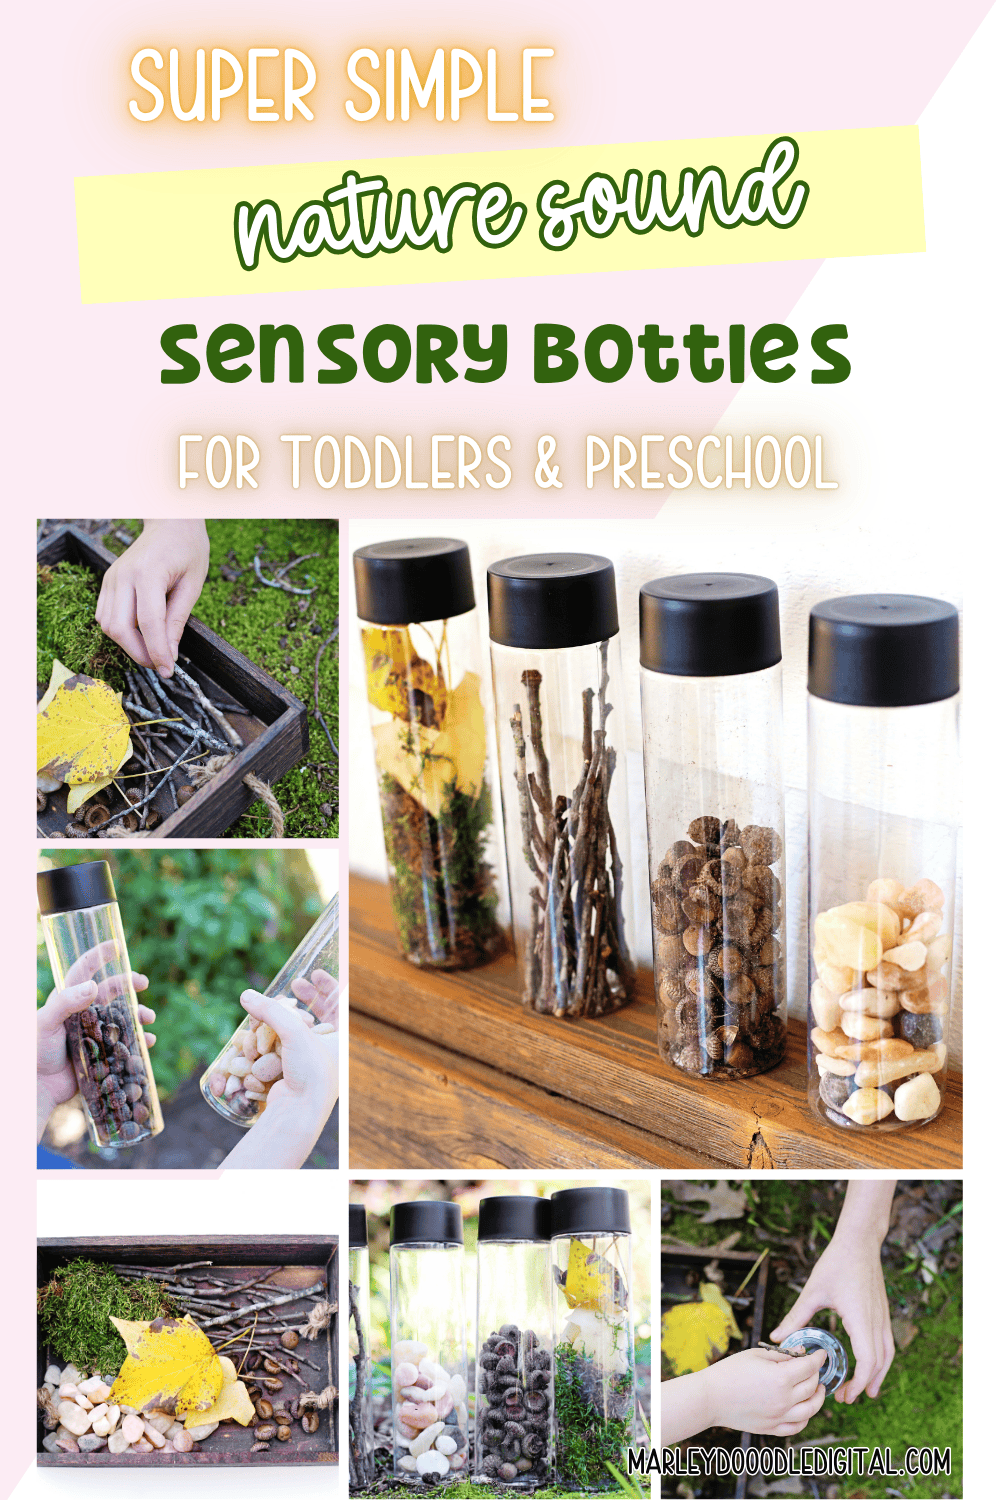
Ways to Play:
Collecting Materials: Children can go on a nature walk to gather their materials, learning about different textures and shapes in nature. This gives them the opportunity to connect with the environment and select materials they find interesting.
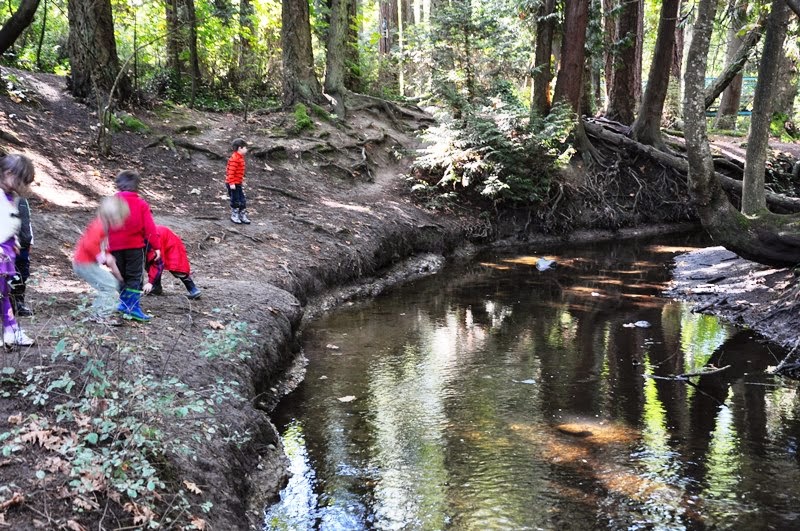
Filling the Bottles: Kids fill the bottles with a variety of natural materials, experimenting with what kind of sounds they might make when shaken. Be sure to not fill the bottles completely, so there is room for the filler to shake and rattle around.
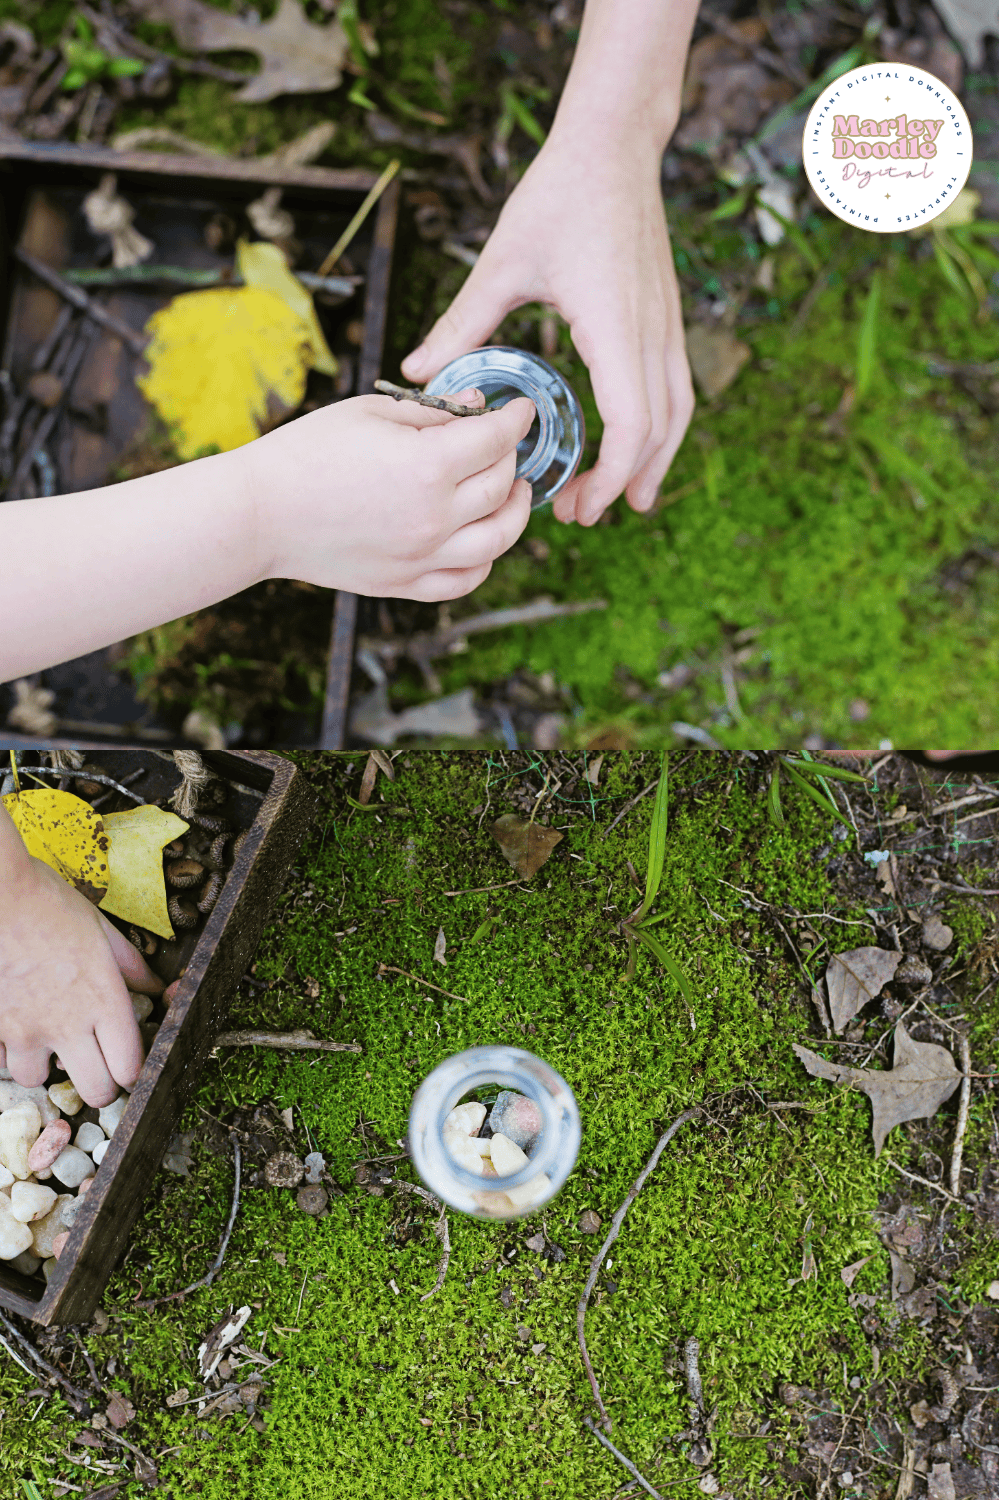
Shaking and Listening: After sealing the bottles, children can shake them and listen to the various sounds. Each item inside, from acorns to sticks, produces unique noises as it moves around in the bottle. Kids can guess which item is making the sound or simply enjoy the calming noise of nature.
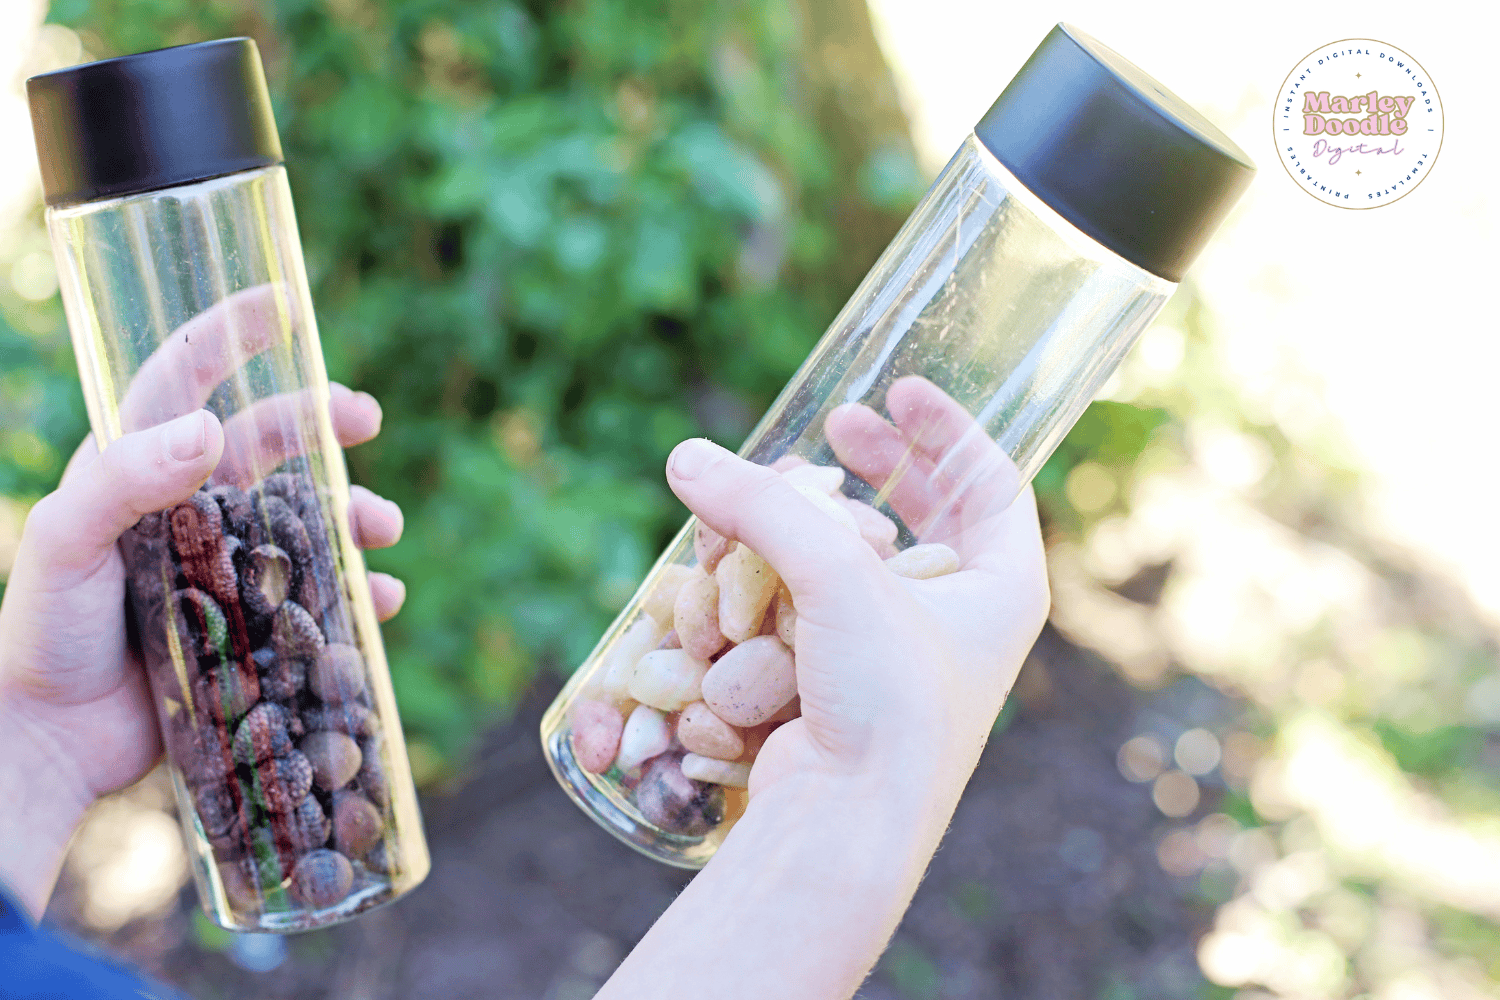
Exploring and Learning: Kids can compare the different bottles, talking about the sounds and textures of each. For example, a bottle filled with rocks may make a more solid, clattering sound, while leaves and moss may rustle softly. This provides a chance to explore concepts like loud vs. soft sounds, natural elements, and the diversity of nature.
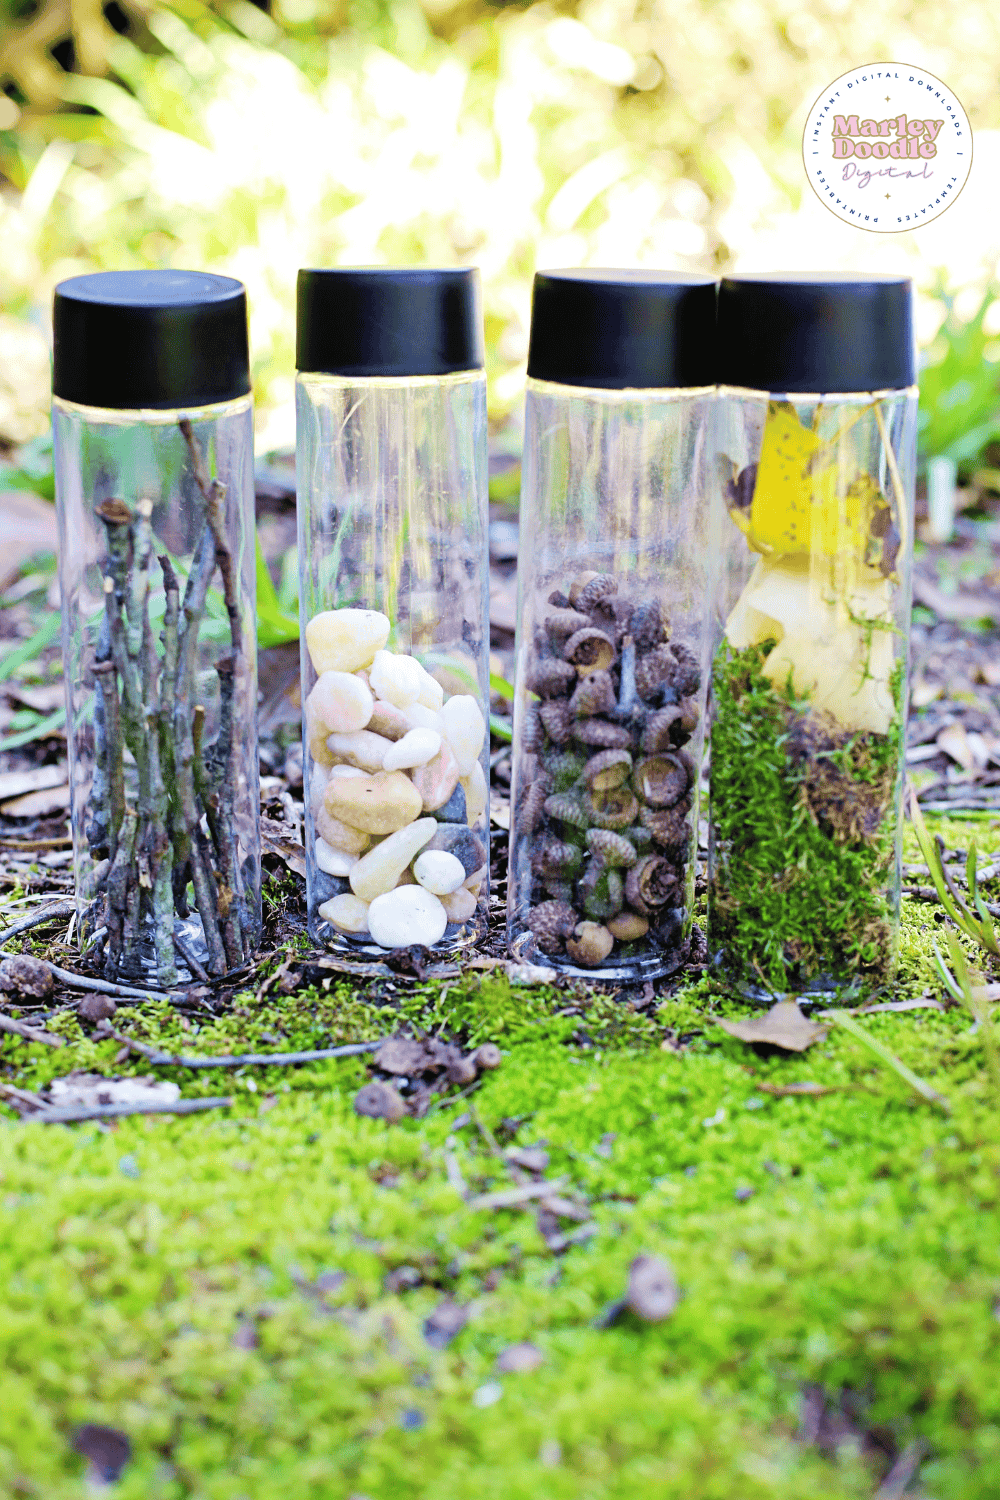
Helpful Tips
Use sturdy, clear bottles – Look for bottles with wide openings so little hands can easily drop in materials. Make sure they’re strong enough to handle a good shake!
Leave space to shake – Don’t overfill the bottles—leaving room allows the materials to move around and make more interesting sounds.
Seal the lids securely – Use hot glue, strong tape, or secure caps to keep bottles closed, especially for toddlers or younger kids.
Prep some materials in advance – If you’re short on time, collect a few nature items ahead of time and let kids choose from a “nature tray” instead of going on a walk.
Use during calm-down time – These bottles are great for quiet moments, calming corners, or post-transition wind-downs
Easy Activities With Rocks
A Container For Rock Collecting
Use this free printable to transform an ordinary egg carton into a cool rock collection container.

Print the covers, cut, cut them out on the dotted lines, and attach them to the egg cartons with a little glue or tape. Tada….you are ready to create a rock collection. Add the collection to your science center.
Gather Rocks
I think that going out and finding rocks is a fun activity and I bet your kids will too. Fancy rocks are not required at all….so this is a super inexpensive activity.
Who doesn’t love free learning materials?

Where can your kids find rocks?
In their backyard: If none are visible, give them a trowel and challenge them to start digging.
In their neighborhood: Kids can go on a rock hunt to find some.
On the playground or at the park.
By water: (beach, riverbed, creekbed). Of course, they should be thoroughly supervised while searching.

Now that your kids have filled their collection box with their favorite rocks…the fun and learning can begin. Here are some ideas.
WASH THE ROCKS
If you collected the rocks in nature, they probably need to be washed. If they are already clean, kids will definitely have fun cleaning them again.
Fill a container with water and provide some soap and a toothbrush. You can also provide a spray bottle filled with water for some extra fine motor practice.
Examine The Rocks
Rocks can be pretty interesting when you examine them….and there are many different ways to examine them.

Open-end Questions
What happened when the rock got wet?
How do the rocks look different after they have been cleaned?
EXAMINE THE APPEARANCE
Pick out a rock and really look at it. Use a magnifying glass or a loupe if you have one….but you don’t need one.
More Information on Rock Activities for Older Kids
Rock Balancing Stone Stacking Art for KidsGet The Rock Collection Free Printable
Fun Rock Activities for Kids for outdoor play
Have you ever thought of fun free games like rock activities for kids? Summer is officially here in our part of the world and we are more than excited to tell you more about this!
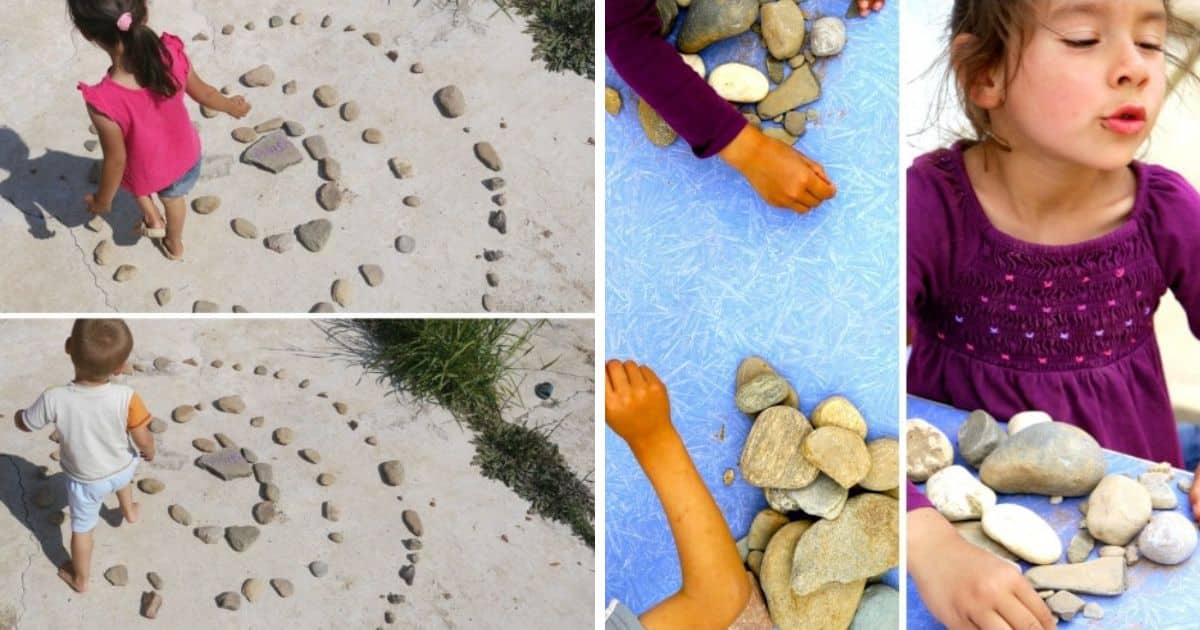
We are so happy to get into playing outdoors all day everyday, so we decided start new series on our blog. It's a challenge our family will take. I will name it FREE PLAY: it's free to your wallet and it's free to the kids, meaning I will try direct and suggest and set up as least as possible. Free play encourages creativity, team work, imagination and problem solving.
Fun Rock Activities For Kids
Every day I will give my kids one item to play with. The item will be either something from nature (a rock, wooden stick, water) or a household item (straws, pots, buckets, rope).
I will try my best and not interrupt by suggesting what should they play. I am really curious and excited to see what will they come up with.
Let the free play begin...
Today is the first day and we decided to start with fun ROCK activities for kids
So basically we collected a big pile of rocks from our farm property and talked a little about how to play safely with them. The most important rule was "no throwing rocks".
Then, I sat and watched. With my camera in hands.
Here are some of the Rock Activities For Kids I captured:
5 Rock Activities For Kids
1. ROCK JUMPING. Place the rocks in curved line on the ground (preferably grass). Space them out at the size of average child's step. The activity is to jump from rock to rock (on one feet or both feet) without falling off the rock.
It's a great physical activity that will encourage jumping and improve self coordination.
To make it educational you can suggest your children to write letters or numbers on the rocks and yell them out when one steps on the rock.
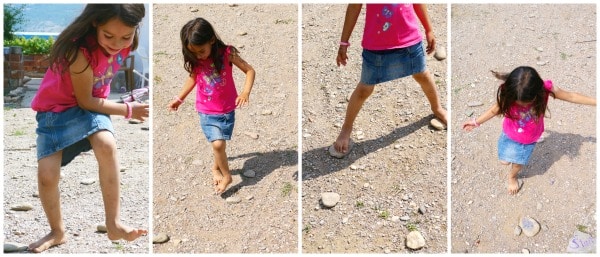
2. ROCK MAZE. Kids made the maze from rocks. They made a circle shape, but it could be any shape. The bigger the maze the more fun is to play with. My kids tried to jump on feet and get out of the maze, they also tried to go through it with closed eyes.
My toddler had the most fun with it. He was going rounds and rounds and couldn't get out of maze. There were a lot of laughs.
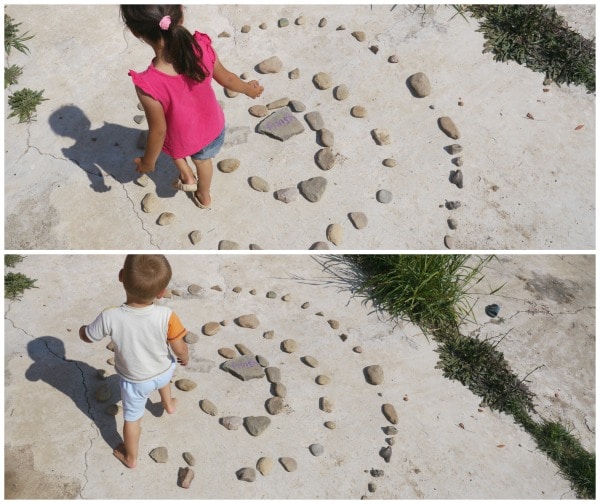
3. ROCK HUNTING. Mark or color the rock, hide it and let the other kids find it. Kids tried to play this game with clues.
4. ROCK ROLLING. Neighbor boy came to visit us today and he showed his favorite rock game. Both kids divided rocks into 2 equal parts. Then put 1 rock in the middle of the table and tried to hit it and move it by rolling other rocks (from their piles) into it. There were more rules of this game but I didn't get all of them yet.
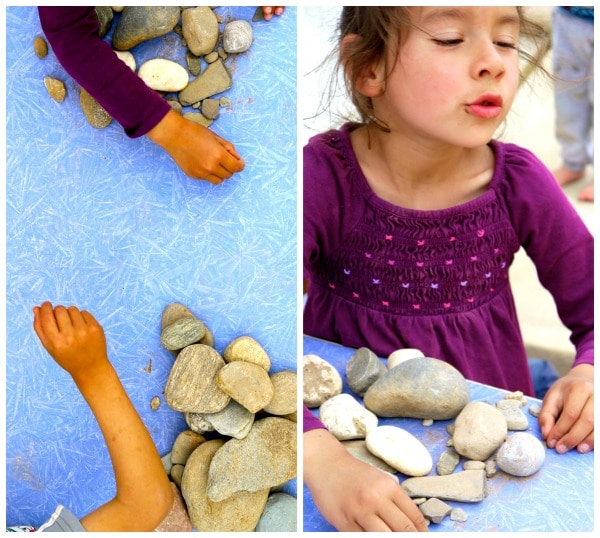
5. STORYTELLING WITH ROCKS. For a more quiet time kids can color the rocks and have a Story Telling Activity.

Few tips
don't expect kids to play with rocks all day. They may play a game or two and move on to other activity. And that's OK.
if you see they are loosing interest of they have lack of ideas on what to play, try adding another item to help them with the ideas.
Kids had a blast playing and were pretty surprised with how fun and easy was to play with rocks. Mostly, they were amazed by the activities they came up with.
Rock Activities
Inside: 12 games and activities with rocks that will engage young minds and promote both fun and learning.
Do you want to give kids an opportunity to explore, play, and learn — all while using simple, natural materials? Rocks can be a great way to engage young minds in an exciting adventure right in your own backyard — and you don’t even have to leave the house to get started!
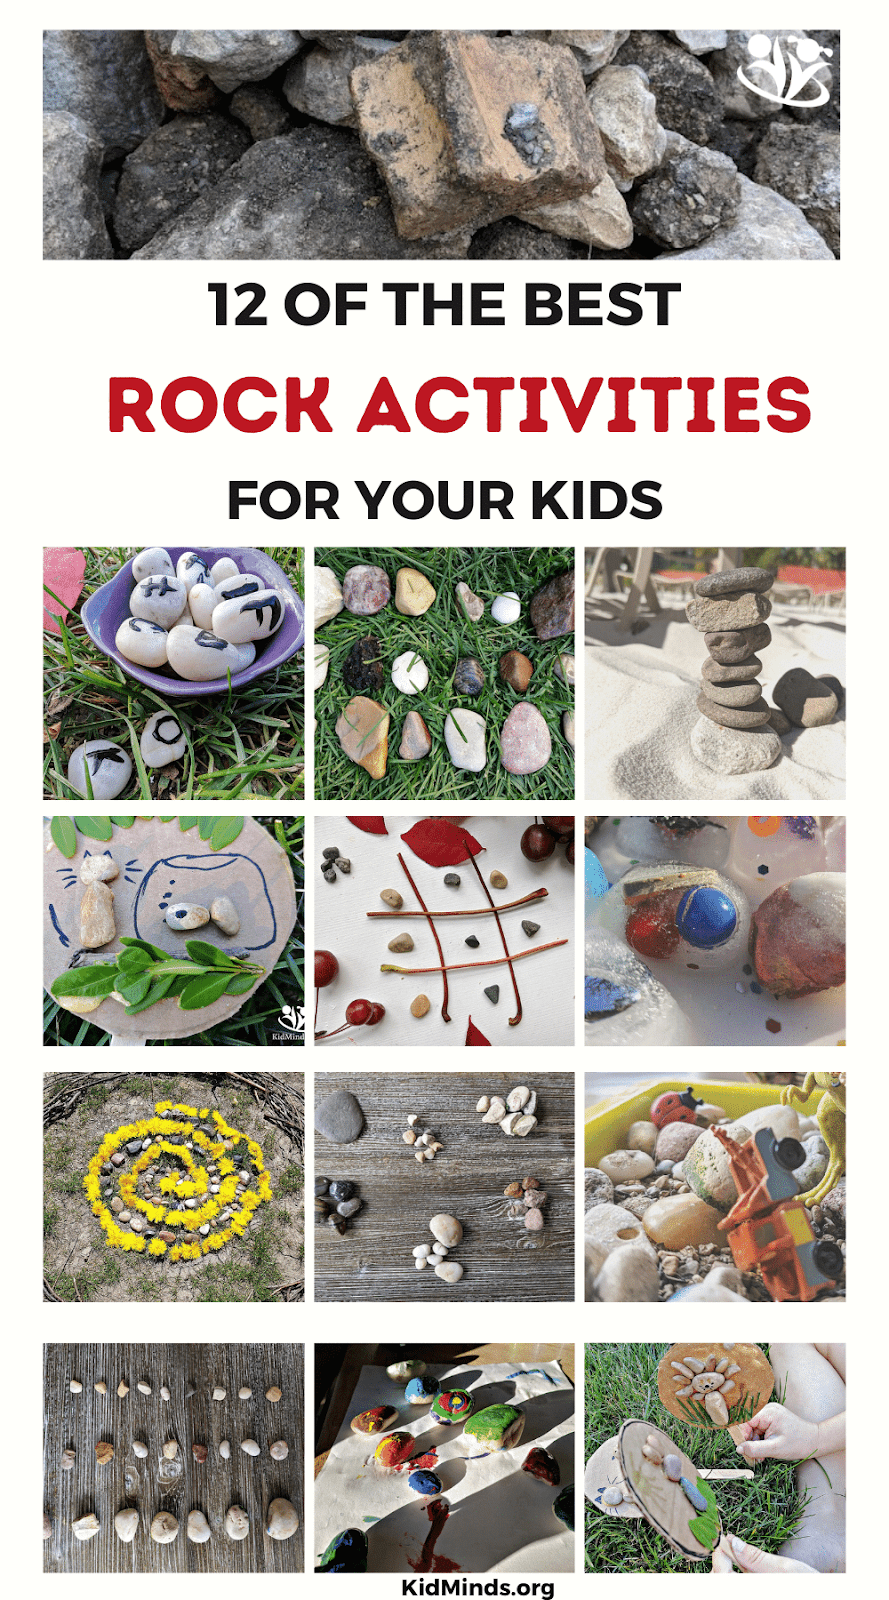
From art projects to sensory activities, we’ve got 12 of the best ideas to kick off your rockin’ adventure. So get ready to explore the endless possibilities of what can be done with rocks to spark creative thinking, promote learning, and have a-rockin’ good time!
12 Exciting Games and Activities with Rocks
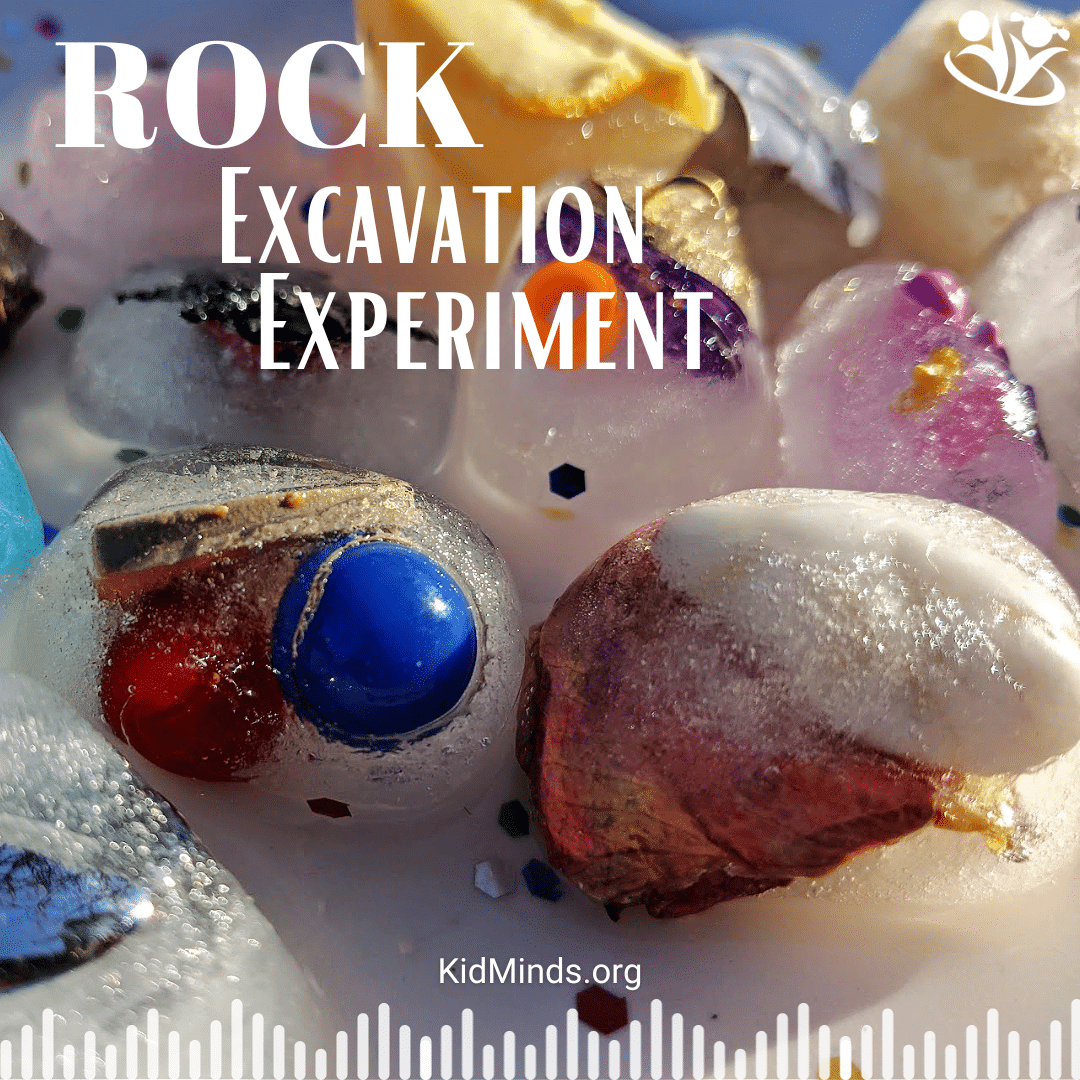
1. Rock Excavation Experiment
Arrange rocks, pebbles, and other small items in an ice tray, fill with water, and put in a freezer overnight. This activity not only improves problem-solving skills (kids have to figure out how to extract the items from ice) but also enhances patience, perseverance, fine motor skills, and creativity (warm water, salt, sticks: what works best?).
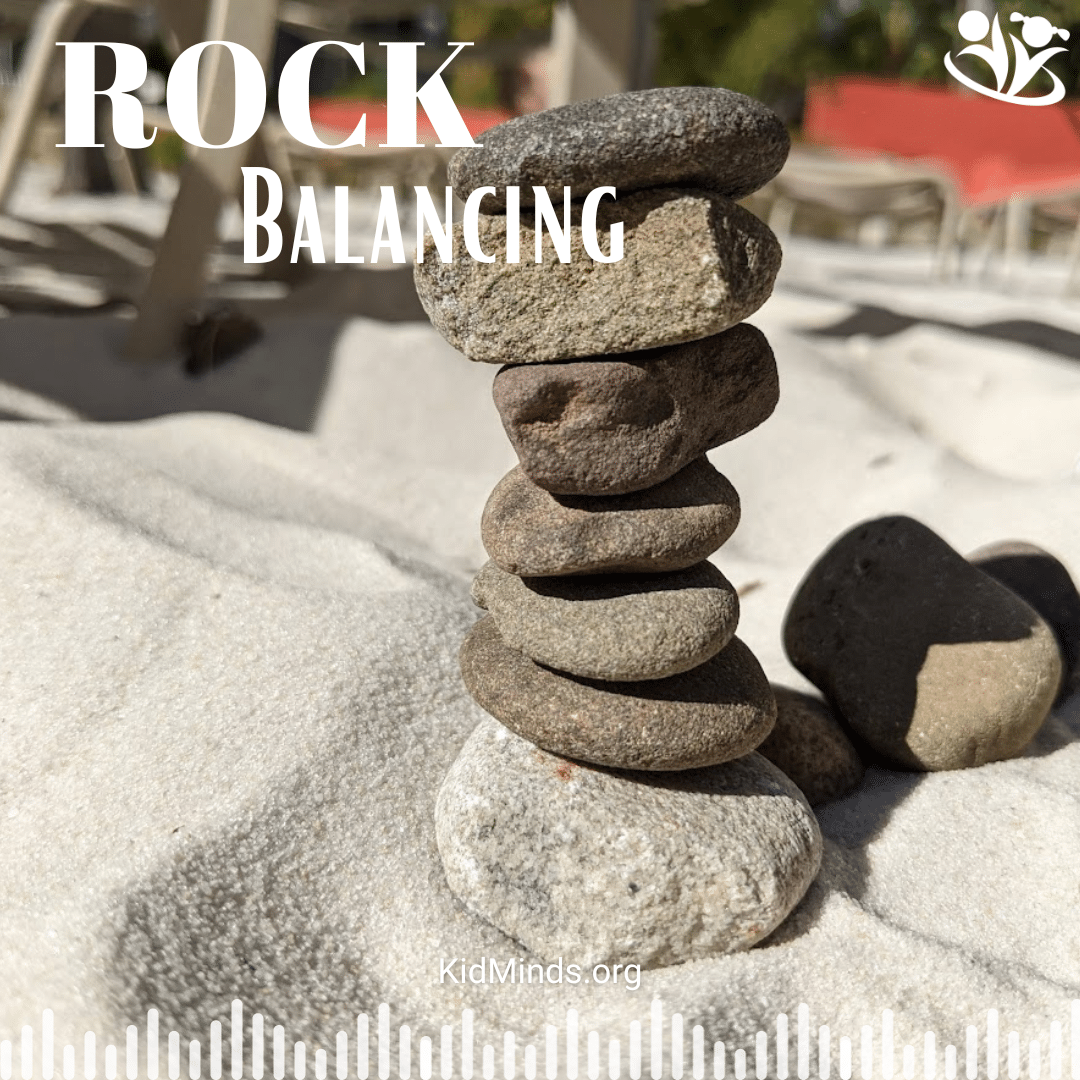
2. Balance Challenge
Collect a variety of rocks and challenge your little ones to create precarious rock towers or sculptures. Ask, what happens when you put a smaller rock on the bottom? Why do rounded rocks refuse to stay put? This activity not only enhances finger dexterity but also encourages kids to think critically about balance and stability.
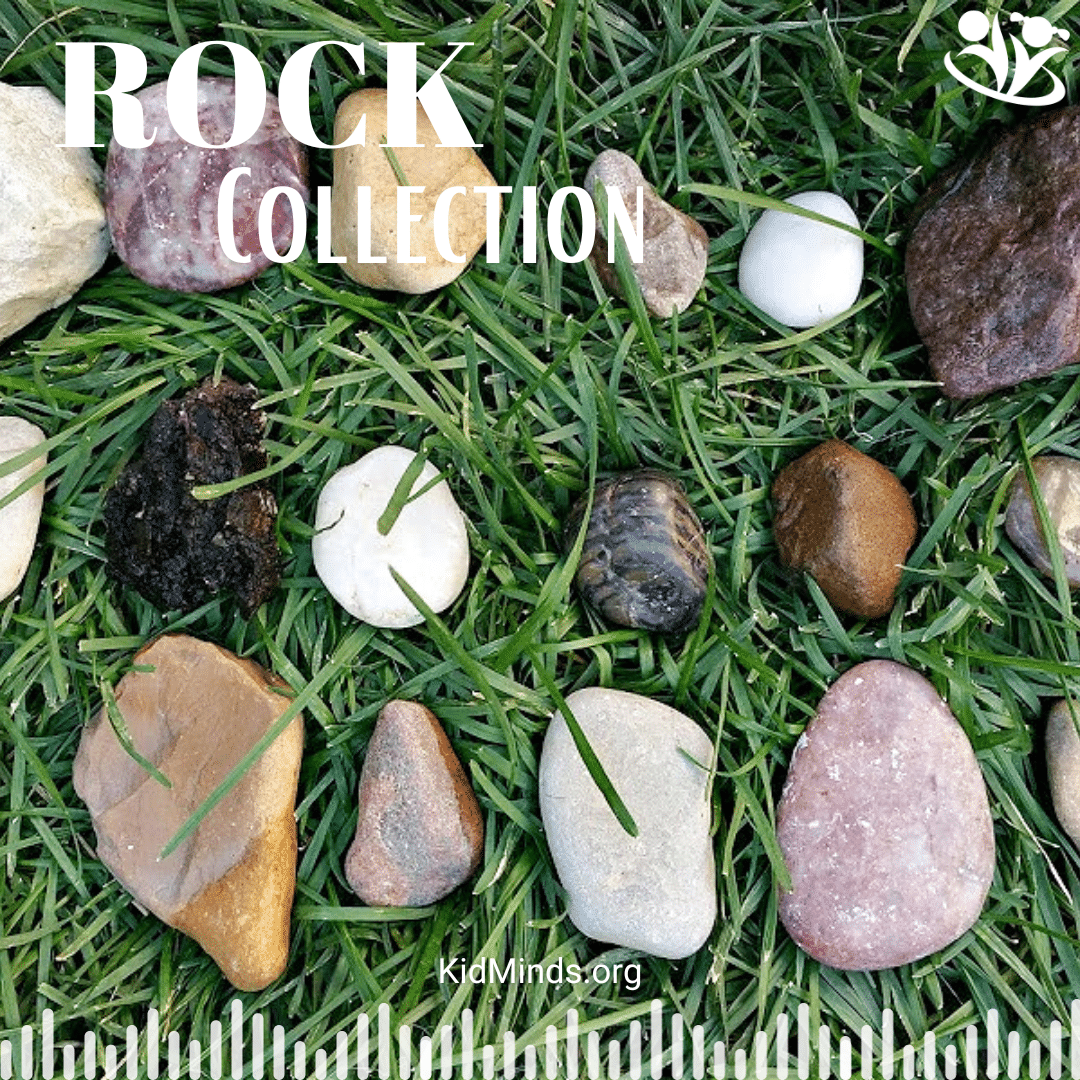
3. Rock Collection
Venture out into nature and embark on a rock-hunting expedition. Encourage children to collect different rocks and later identify their types using guidebooks or online resources. This activity not only introduces them to geology but also nurtures their observation and research skills.
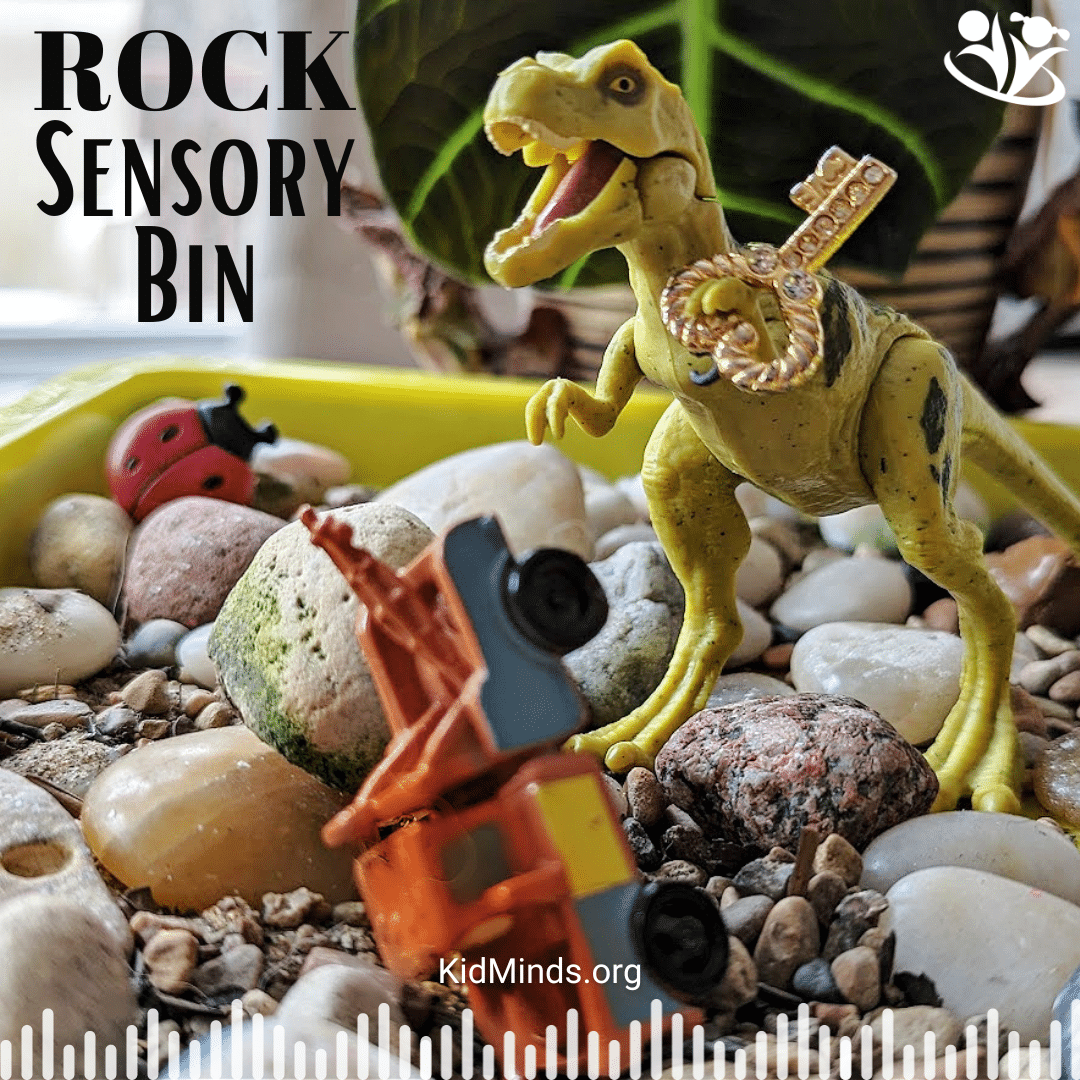
4. Sensory Bin
Fill a large container with an assortment of rocks and pebbles, burying small objects or toys within. Children can then dig, search, and discover hidden treasures, enhancing their sense of touch and promoting sensory exploration. My kids love to add their construction trucks, dinosaurs, and sparkly gems into the mix!
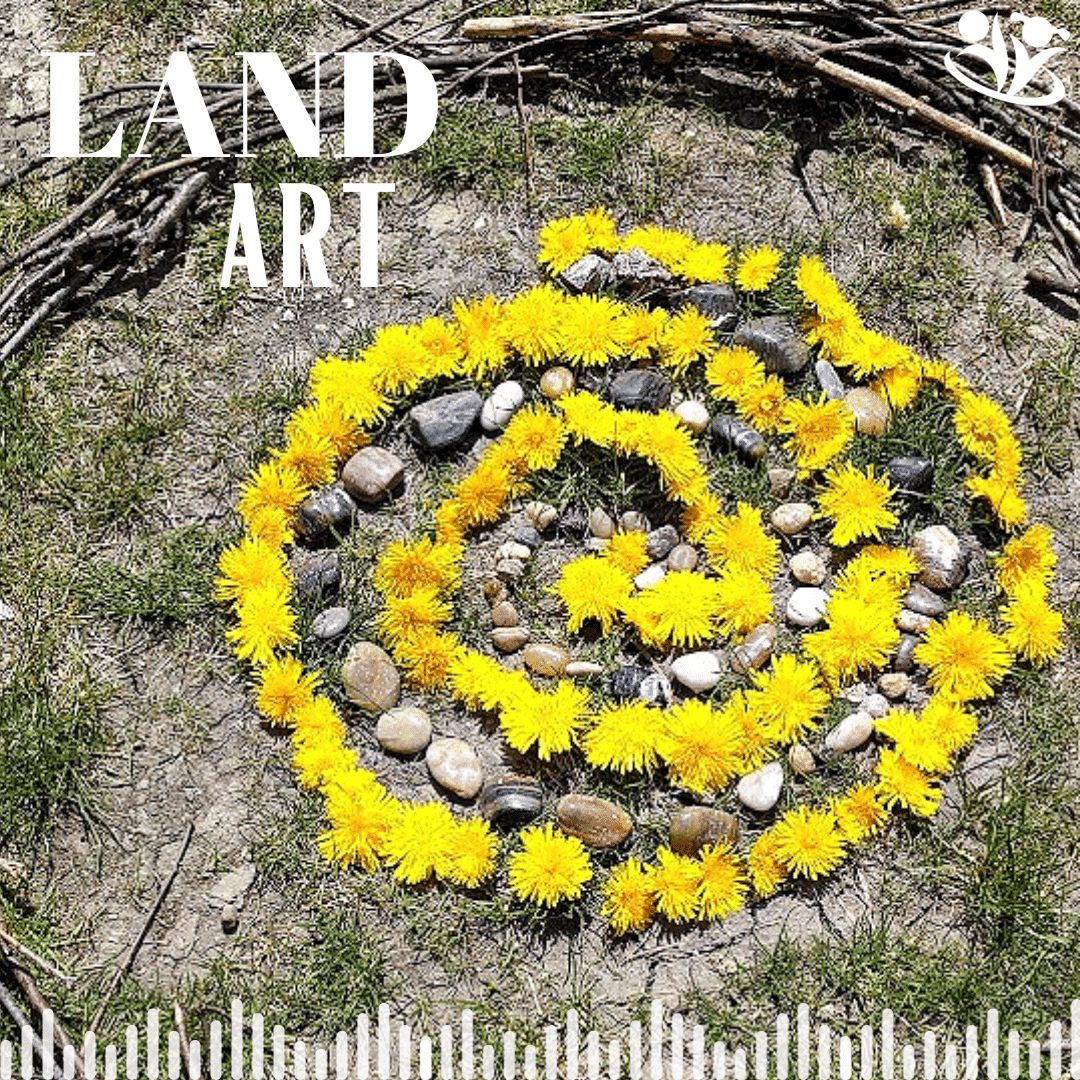
5. Nature’s Art Gallery
Arrange rocks, pebbles, and other natural materials like sticks, pinecones, and flowers in various patterns or imaginative designs. Encourage children to create unique outdoor art, exploring symmetry, color combinations, and shape formations.
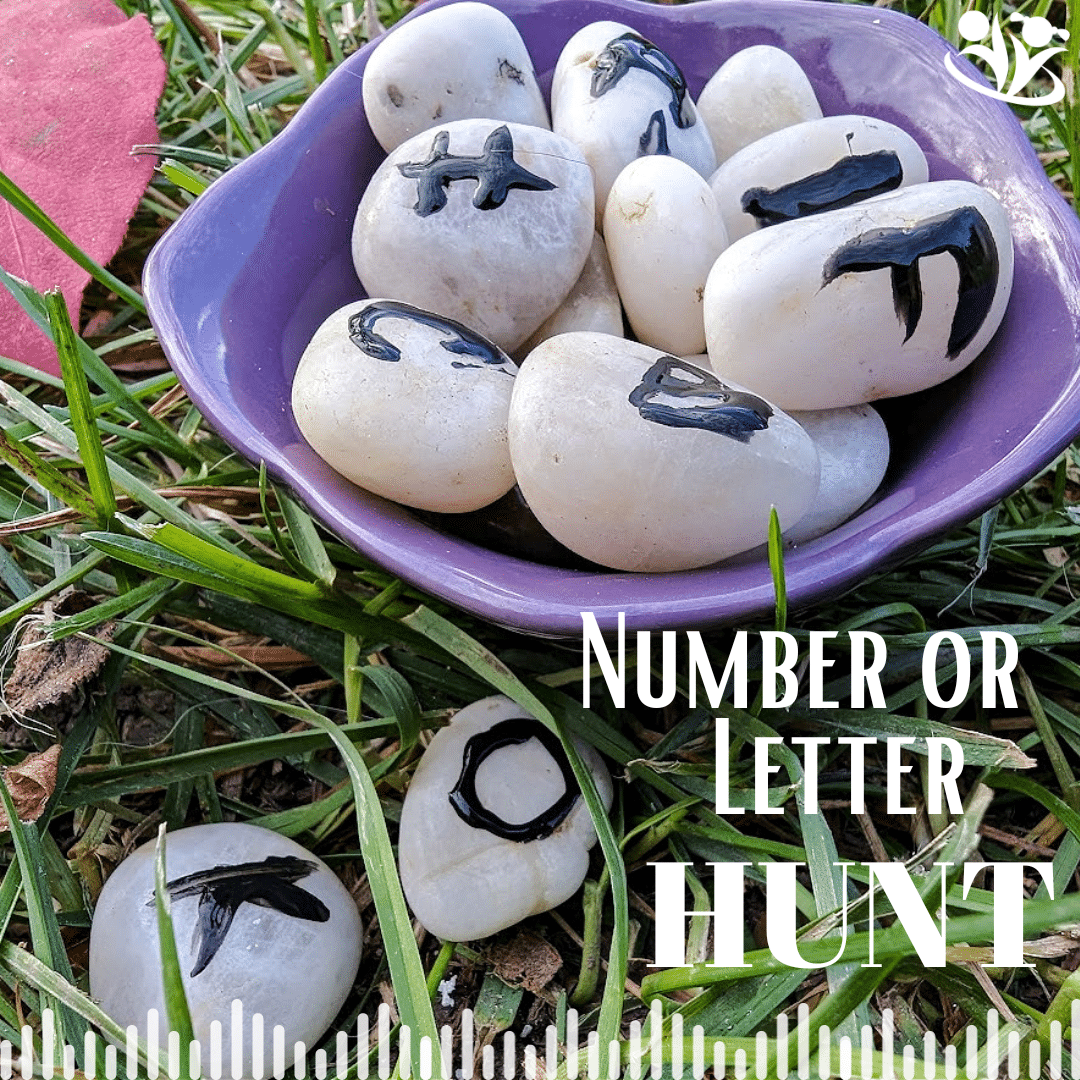
6. Letter or Number Hunt
Paint letters or numbers on individual rocks and scatter them around the play area or (even better) outside in the backyard or at the park. We used black acrylic paint. One idea is to write your child’s name with each letter on a different rock before hiding it. Another idea is to write the whole alphabet (or a certain range of numbers) and encourage children to find and match the rocks to their corresponding counterparts on a printable, making learning letters and numbers a thrilling treasure hunt.
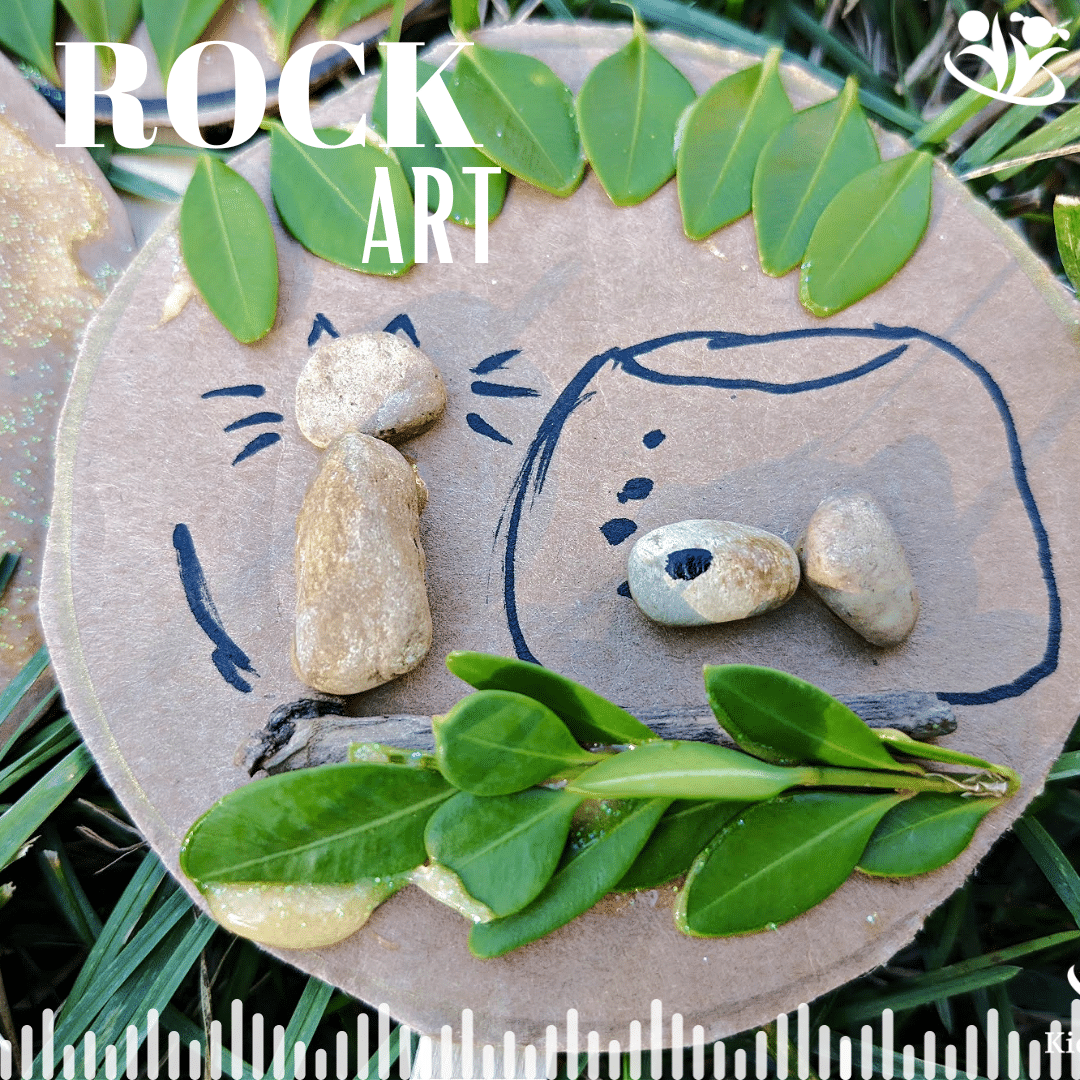
7. Stone Art
Collect some pebbles or stones, then move them around, arranging them this way and that way to see what you can accomplish. Is it the face of a lion? A bunny? Or a fish in a fish tank? Glue the pebbles on a cardboard, and add a few fine touches with markers. With this activity, kids practice creativity and imagination, work on fine movement control, and build confidence, all while having fun!
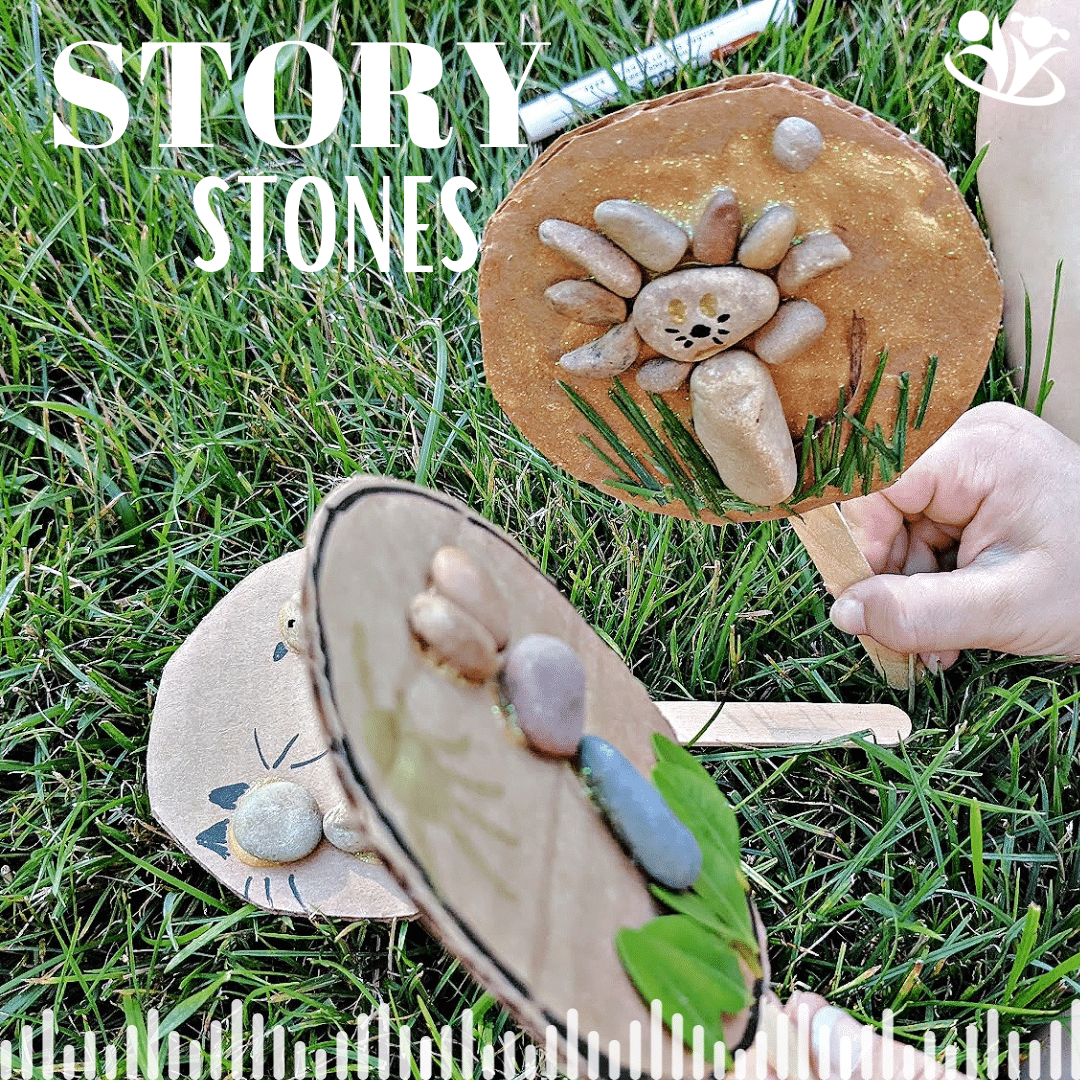
8. Story Stones
This activity can be an extension of the above activity if children turn their pebble art into puppets (refer to this post for instructions). Or invite children to paint different faces or objects on smooth stones (or even simply use stickers) and use them as prompts for storytelling. Sometimes, the best way to get started is to invite kids to randomly select a few stones and let their imaginations run wild, weaving tales inspired by the pictures on the rocks.
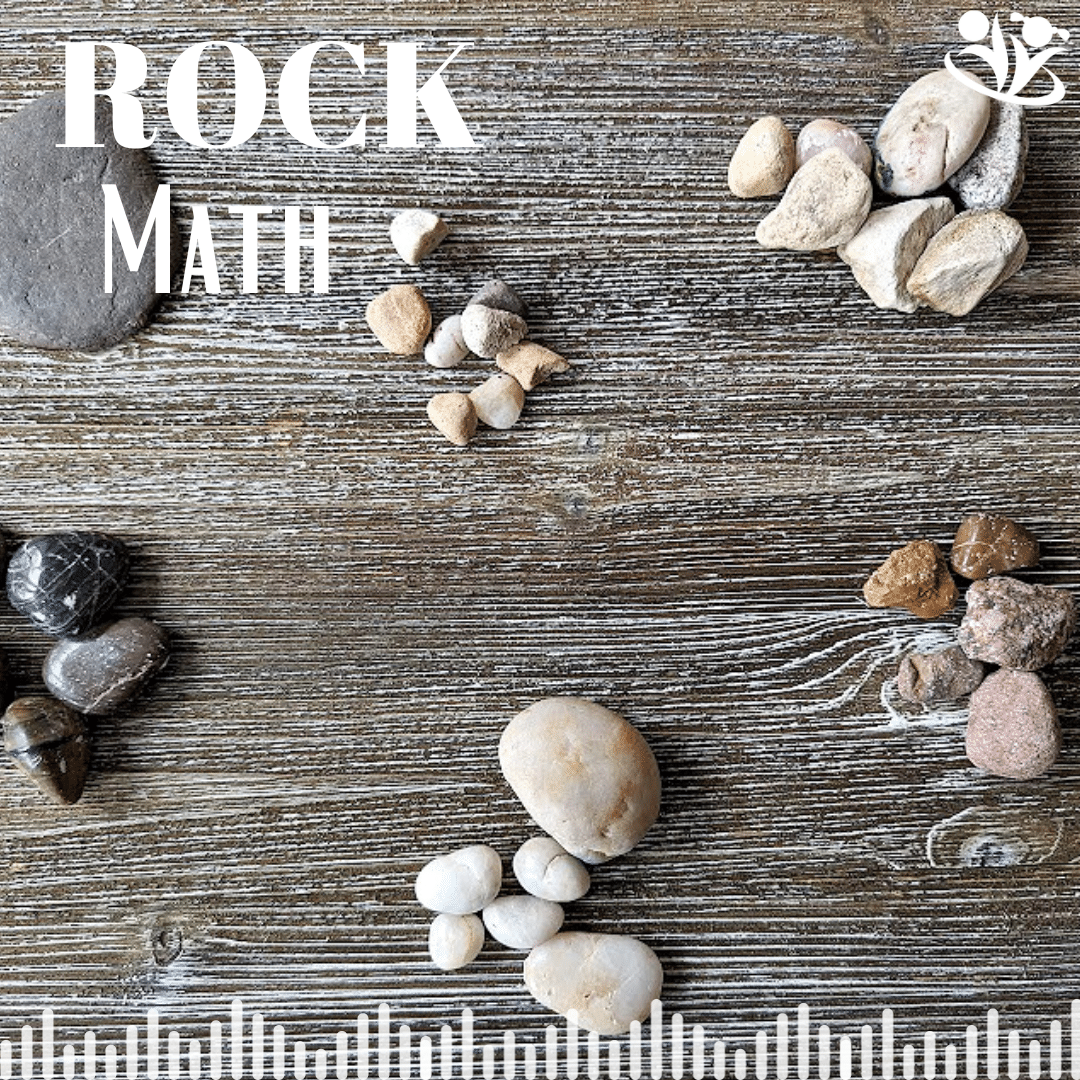
9. Counting Rocks
Support early math skills by having children count groups of rocks or pebbles. Ask, Can you add them all up? How high can you count? Rocks can also be used to practice addition and subtraction. Make 2 piles of rocks and ask kids how many rocks they have all together. Take a few rocks away and ask, how many rocks do we have now? Using stones as manipulatives can make math more engaging and tangible.
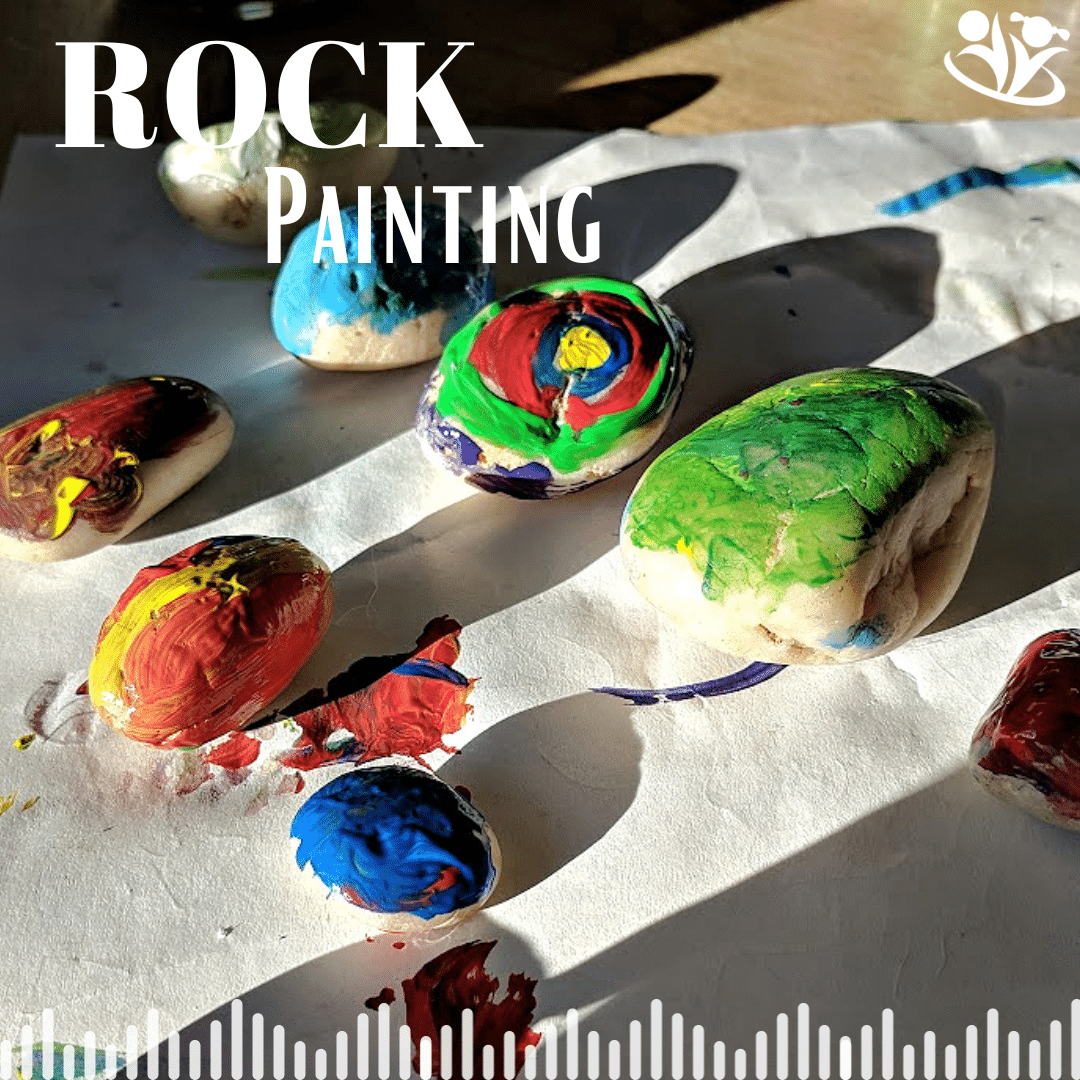
10. Rock Painting
Grab a handful of smooth stones and a few paint jars, and unleash your creativity. Whether painting vibrant patterns, creating cute animal faces, or even spelling out words, rock painting is a fantastic way to express oneself artistically while enjoying the tactile experience of working with natural materials.
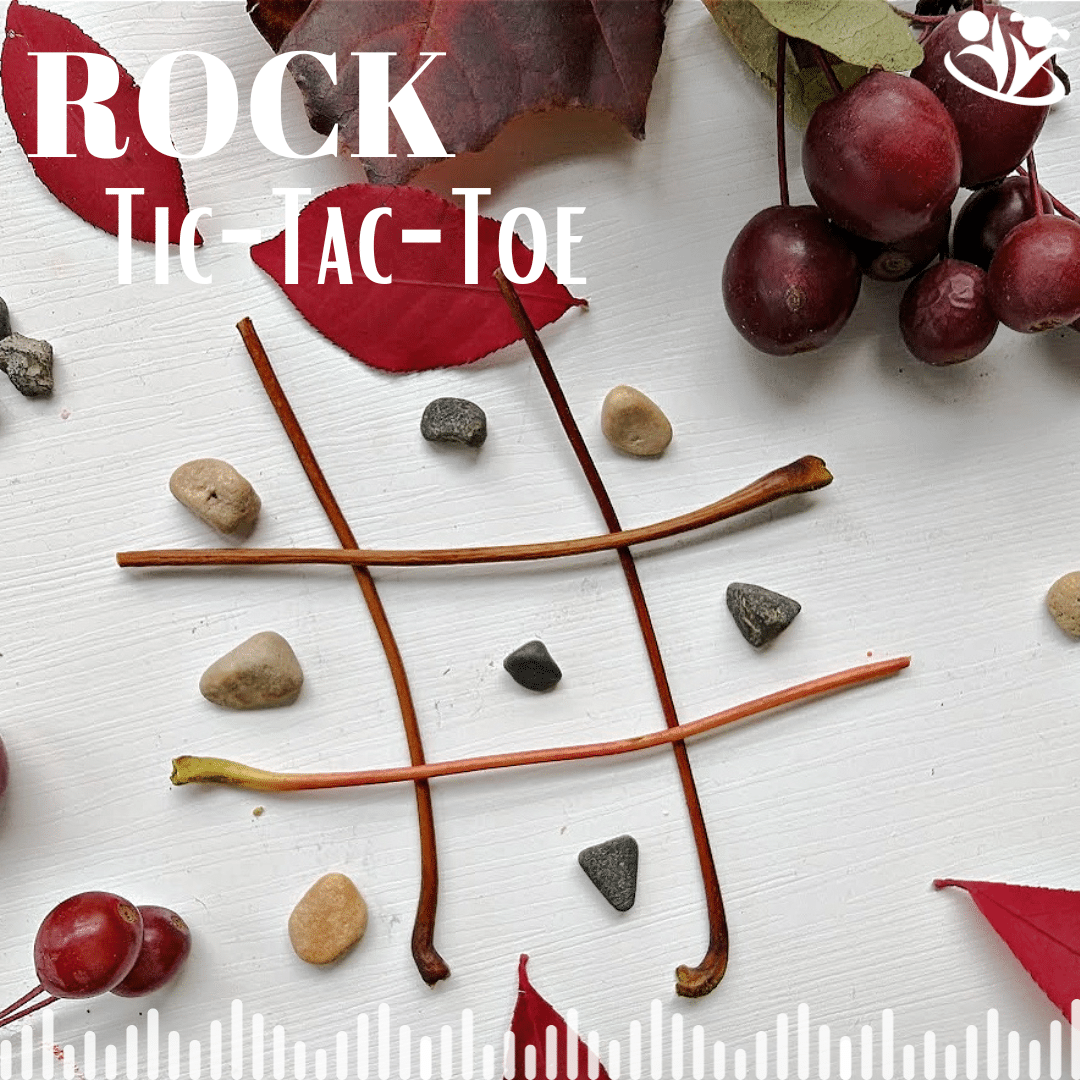
11. Rock Tic-Tac-Toe
You can play this game anywhere! Use sticks to create a tic-tac-toe grid on the ground. Players pick their marks: dark stones or light-colored stones. Then, take turns placing the chosen rocks in the grid, strategizing, and competing while reinforcing understanding of game rules. As usual, the game’s goal is to position the marks to make a continuous line of three cells vertically, horizontally, or diagonally.
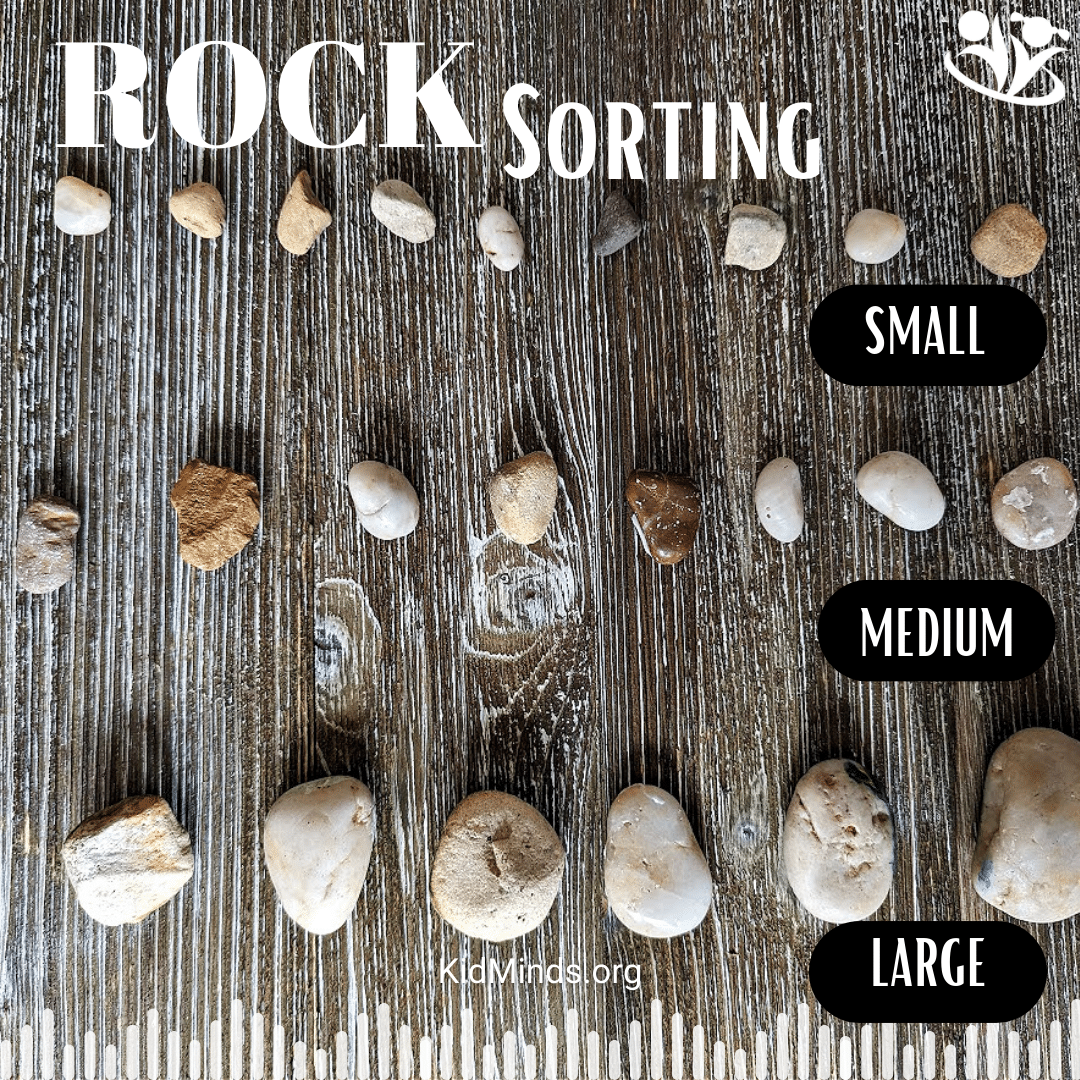
12. Sorting Rocks
Gather a diverse collection of rocks and have children sort them based on different attributes such as color, shape, size, or texture. Ask, Do you see another rock of this size? Color? Or shape? Touch this rough stone! Can you find another stone that is rough like that? This exercise promotes categorization skills and helps kids develop a keen eye for detail.
By engaging children with these 12 Games and Activities with Rocks and Pebbles, we are not only providing them with endless hours of entertainment but also fostering their curiosity, creativity, and various essential skills.
Rock Printables
Would you like to download our Types of Rocks PDF? I just added it to our library of resources! Enter your email here to receive the login information.
10 Activities using rocks/stones
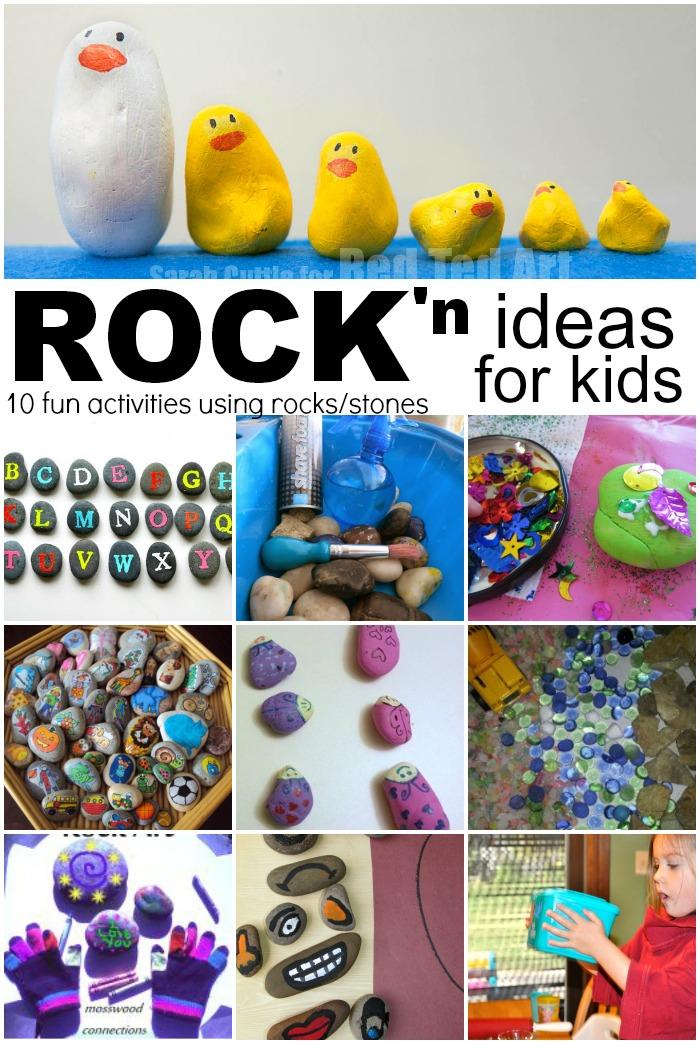
"10 Rock Activities"
Rocks are a favorite material at our place and are often used in a variety of sensory activities or imaginative play scenes. We have a large tub full of smooth black river rocks that we purchased for a few dollars from a place that sells garden supplies. Here in Australia places like Bunnings, The Reject Shop, Big W, etc. all stock them and won't set you back much for enough to play with.
Here are a bunch of fun activities and ideas we found for playing and learning with rocks.
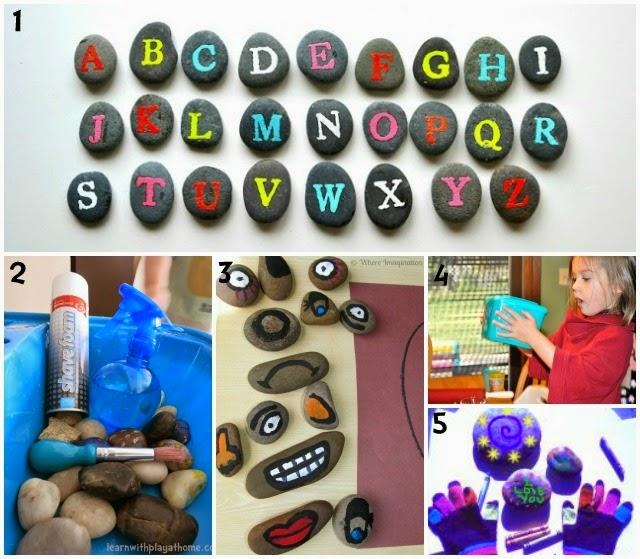
1. Alphabet Rocks from Thrive 360 Living
2.Cleaning rocks sensory play from Learn with Play at Home
3.Make a face emotion stones from Where Imagination Grows
4. Tumble painting with rocks from Motherhood on a Dime
5. Rock Art project from Mosswood Connections
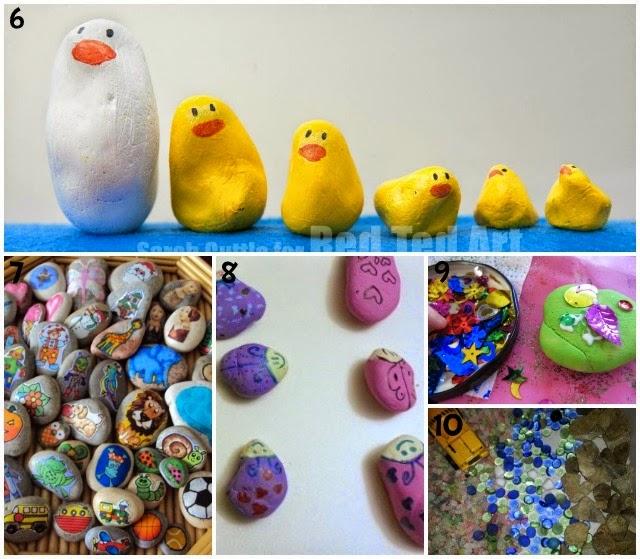
6. 5 little ducks. Nursery rhyme and rock craft. from Red Ted Art
7. Story stones from Happy Hooligans
8. Counting and sorting with love bugs from Where Imagination Grows
9. Treasure Rocks from Learn with Play at Home
10. Mini construction site from Squiggles and Bubbles
Creating Earth Art
Head outdoors and create some eco-friendly earth art using gathered natural materials and the sand or grass as a canvas.
This is a fun process art activity for all ages, and can also be a great collaborative art idea.
You might also like these nature craft ideas
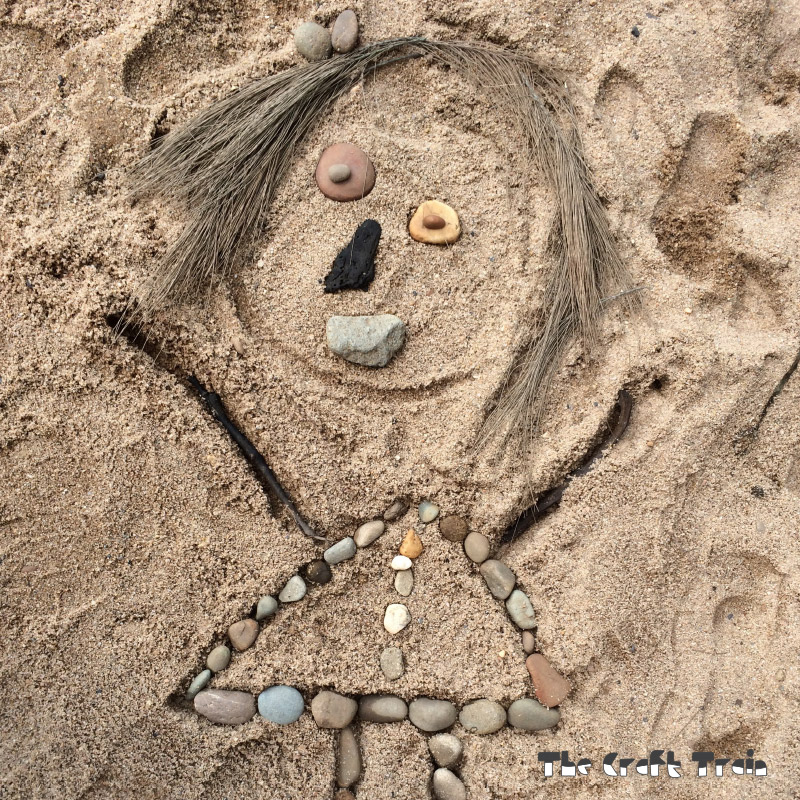
We live in an area surrounded by natural bushland and far from the ocean but that doesn’t mean we can’t go to the beach. We’re lucky to have some nice river beaches in our local area and my kids love going there to swim and play in the coarse river sand, sometimes collecting the smooth flat rocks that can be found in abundance.
Last time we visited we decided to use some of these rocks to create earth art.
Earth art is a simple, fun and free nature craft for kids of any age – and maybe even for adults too. It’s creative, open-ended and environmentally friendly. There is definitely something about getting your fingers and toes in the sand that is soothing and relaxing, so don’t be afraid to have a dabble with it yourself!
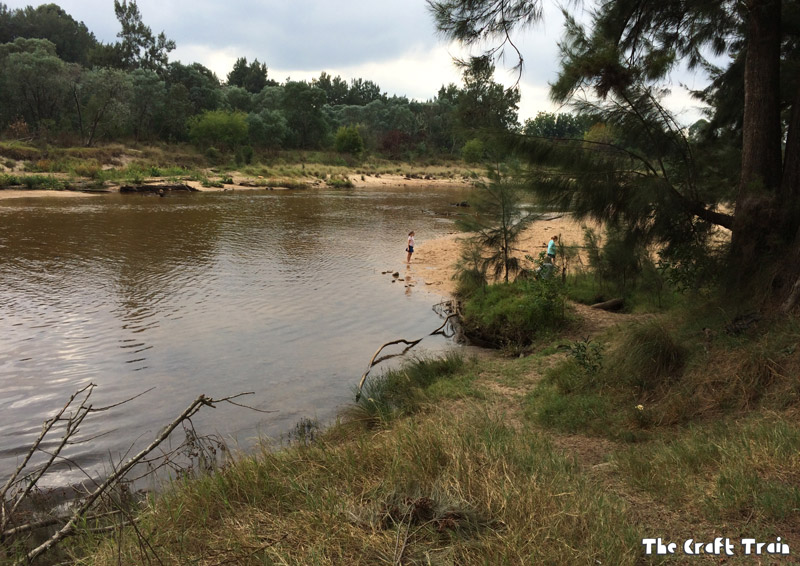
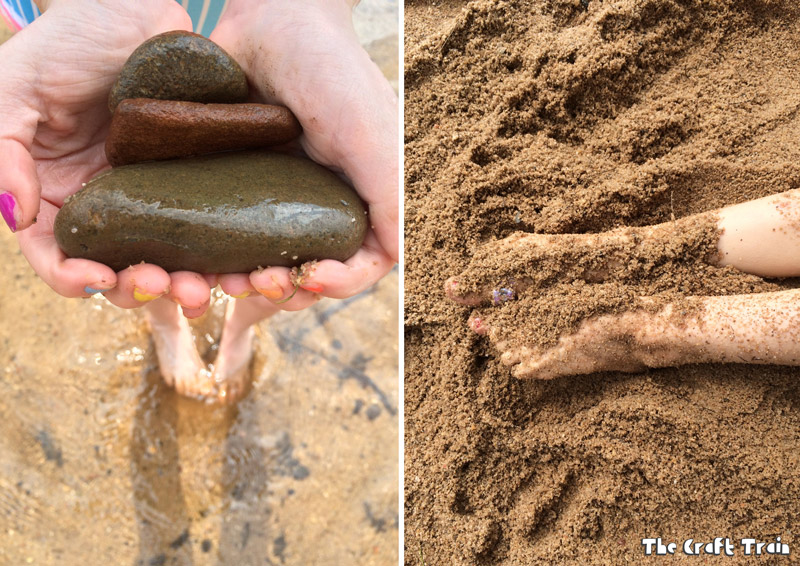
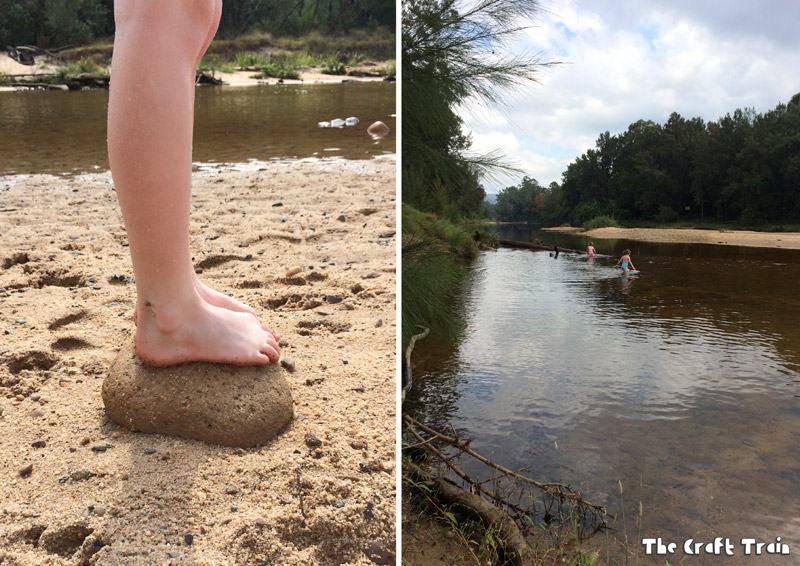
Sand makes a great base for creating earth art, although of course you don’t need sand. You can create earth art anywhere outside using the earth as a canvas; it might be grass, dirt, leaves, mud, clay, you get the picture.
I started it off by idly making some rock faces whilst the kids were splashing in the water and my daughter joined in by drawing heads and bodies for my faces and together we added more rocks and sticks to the picture. We used pine needles for hair, small rocks for teeth, sticks for arms and bark for a nose. It’s pretty easy to get carried away with this activity.
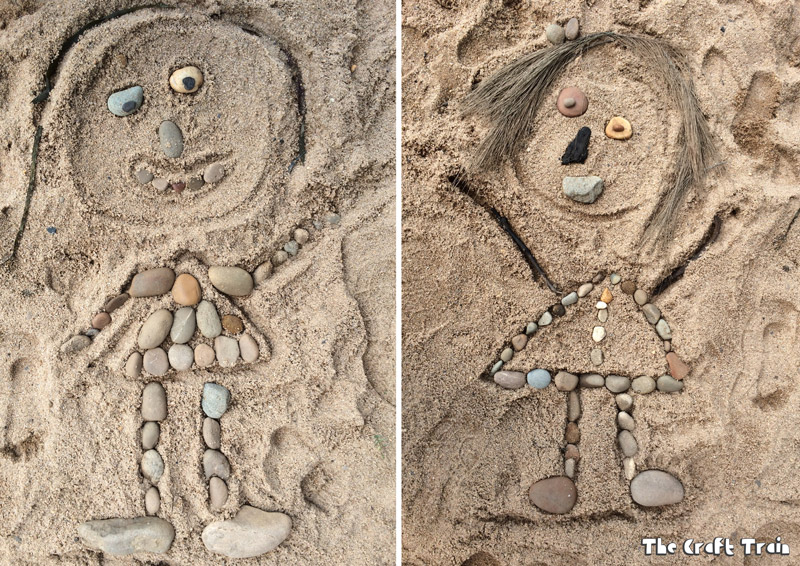
Miss K requested I make her a mermaid tail like I’ve done once before, and we also created a giant flower using large rocks for the petals.
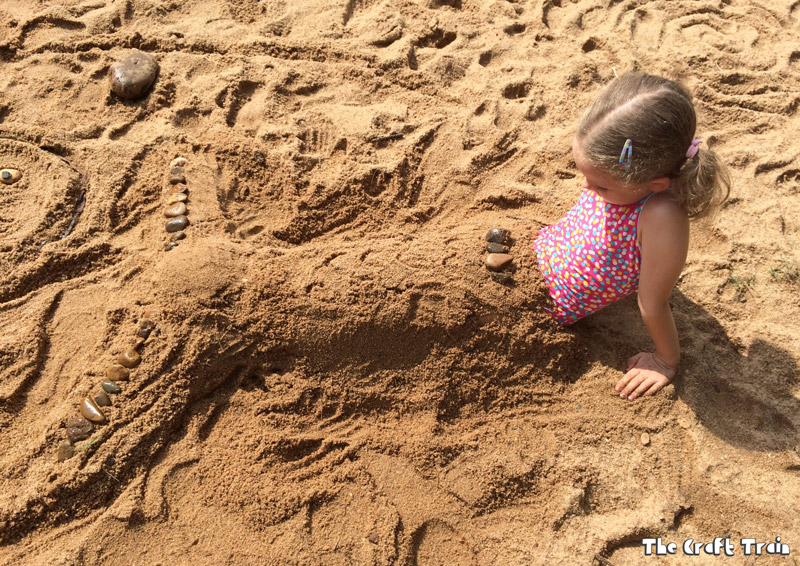
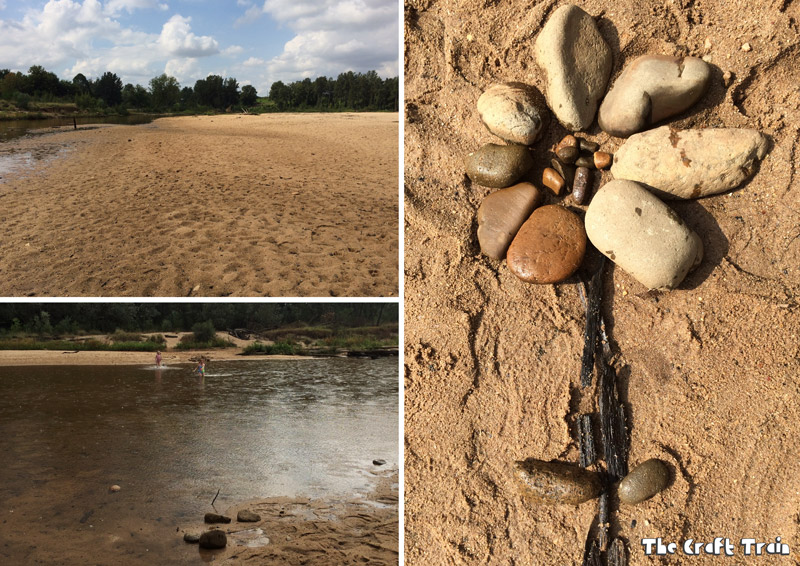
It was a sunny, rainy, cloudy sort of day and the kids were caught swimming in the rain but that just adds to the fun when you’re in the water anyway, doesn’t it?
Have you ever made earth art with your kids? It’s such a simple and enjoyable way to create, and it costs nothing at all.
You can make your own DIY construction kit using nature and a bit of blu-tack – there are so many fun things to make with it!
Draw outside on the pavement using nature and chalk – a fun process art idea for all ages
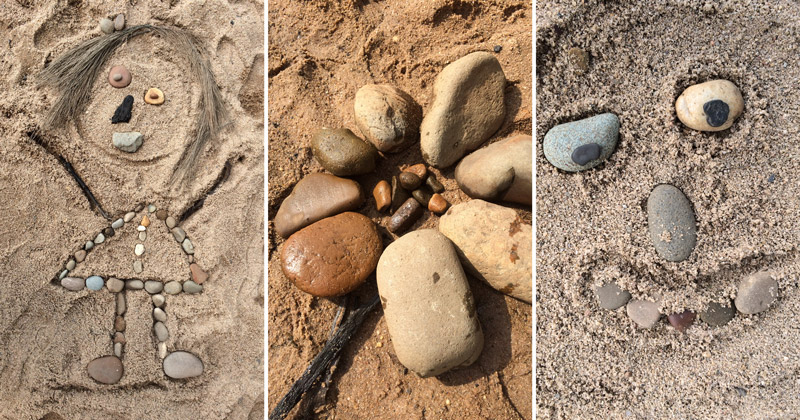
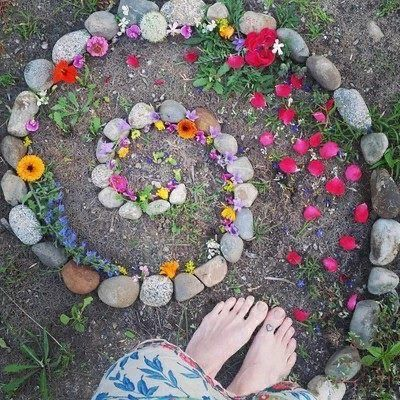
Have you tried making melted crayon rocks?
Liking a rock the way they found it is Ok!!! Please don’t forget to ask a child if they want to paint their rocks that they collected. If they just want to make it shiny, a good layer of Mod-Podge works. Hope often just wanted to coat them with
glitter glue to make them sparkle.
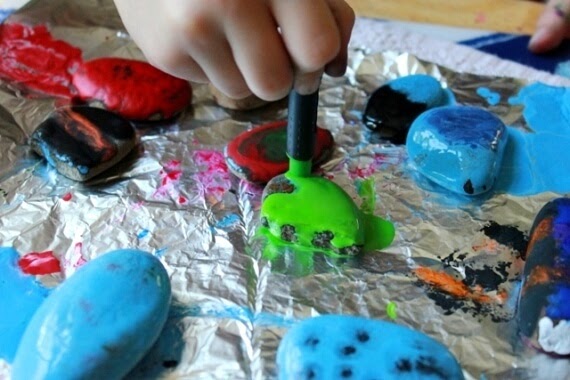
The crayon melts over the surface of the hot rocks and creates a smooth, vibrant, colorful coating that hardens into a waxy shell. It is SO satisfying. A tad addictive even.
Open Ended Stone Mosaic
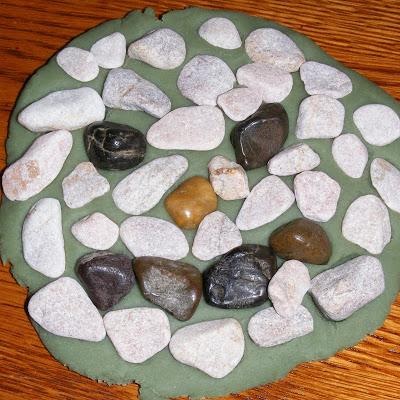
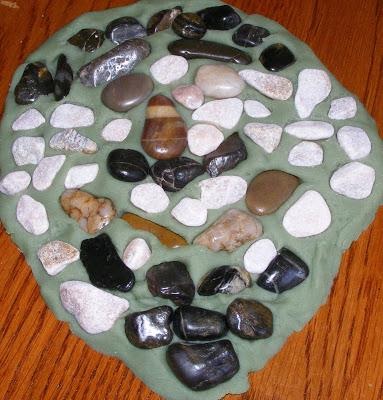
Open Ended Art is dedicated to mosaics the whole month of September. Each week is featuring a different item to be used in our mosaics. This weeks "theme" was pebbles.
I didn't want to buy a kit and I didn't want the little kids trying to glue pebbles to cardboard, so I came up with this idea. I made a batch of playdough in a "natural" color and then had the kids make their mosaics on this. It provided a great substance for the pebbles to "stick" too, and they could experiment with this technique over and over again.
Rainbow Rocks
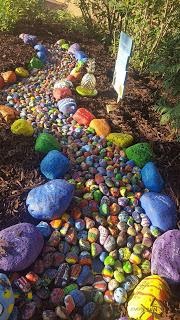
HOW TO MAKE A PAINTED STONE RAINBOW
Supplies:
river rocks
paint in the color of the rainbow
toddler paint brushes
Step 1: Gather your river rocks and set them up as a rainbow.
Step 2: Group the rocks by the color they will be painted. Prepare your paints and paintbrushes.
Step 3: Paint the rocks color by color. Little ones will need to do one color at a time So first try 3 purple pebbles, then move up the colors giving them one color paint at a time
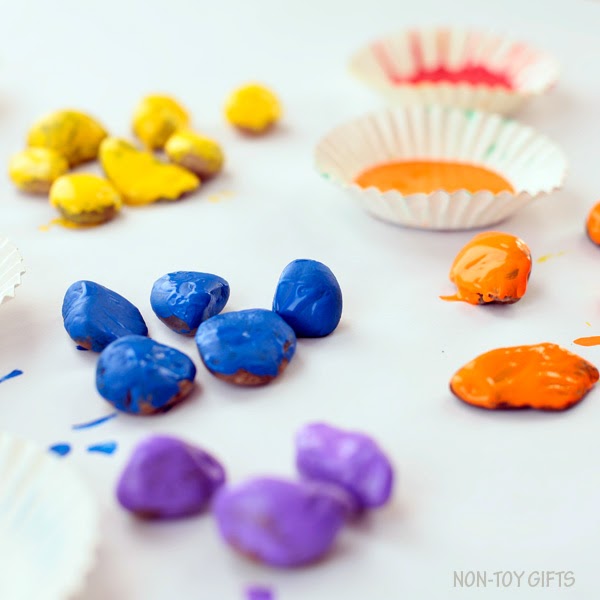
Step 4: Wait for them to dry. Turn them over and paint the other side with the same color.
Step 5: Arrange the stones as a rainbow starting with the purple layer.
NOTE 1: For Rock Blocks- Just paint however many you want- Remember to use different sizes. For toddlers- you might want to make cards with outlines. Just trace the stones and pebbles into different shapes.
Note 2: Rock Garden was painted by 700 students but man is it impressive to show students there is only one you. But when it is combined with others, it can make something beautiful.
More about Rock Blocks: Children will have fun with this construction and early learning manipulative. Ideal for developing fine motor skills, and for counting, sorting and creative design. How many pebbles can you stack before they topple over? Encourage visual perception, fine motor skills, sorting, counting, stacking, and more! The wonderful tactile experience of the smooth, or rough pebbles in six different colors will delight the senses.
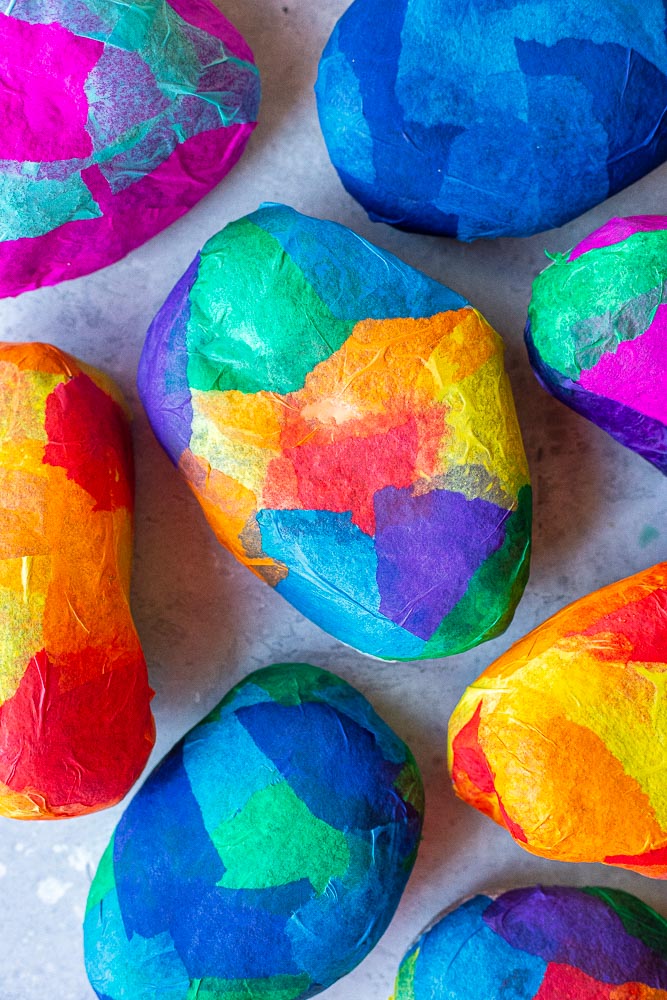
Stained glass rocks
These Stained Glass Rocks are fun to make and so pretty! They’re a great way to spruce up the garden or give as a gift to a friend!
It’s spring, the weather has been so nice lately and we’ve been spending a lot of time outside. Our yard isn’t huge but it’s just the right size for the kids to play in and for me to plant flowers and vegetables. We love making our backyard look beautiful and unique and these Stained Glass Rocks add the perfect touch!
I was inspired to make these Stained Glass Rocks after seeing a little glass lantern my son had made at his Waldorf class. They took small glass jars, pasted tissue paper on them and then put a little candle inside. They were so pretty and easy to make! It got me thinking about what else I could paste tissue paper on and it turns out it great on rocks too!
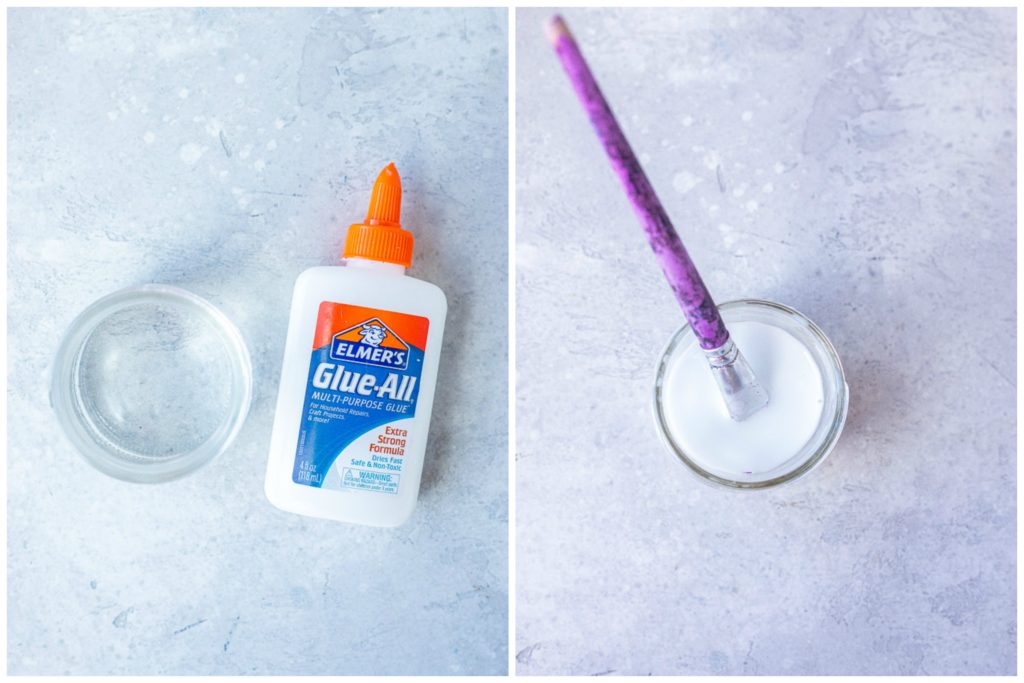
WHAT YOU’LL NEED TO MAKE THESE STAINED GLASS ROCKS
Rocks – I live in the southwest and it seems like there are rocks everywhere around here! I was able to find lots of smooth, roundish rocks just in our neighborhood. You can use any shape or size you like though.
Tissue Paper – I recently bought a pack of rainbow colored tissue paper and it worked great for these Stained Glass Rocks. I’ve seen lots of different shades of colors out there though. Tissue paper is important for this project because it gives that nice stained glass look that regular construction paper wouldn’t. It’s also light enough to easily stick to the rocks.
Glue & Water – You can create an easy glue-y liquid just by mixing gluten and water together. You then use a paintbrush to brush it on the rocks and the tissue paper easily sticks to them.
Paintbrush – Any old paintbrush will do to paint the rocks with the glue mixture. If you don’t have a paintbrush you can also dip the pieces of tissue paper in the glue mixture and then stick them on.
Waterproof Sealer – If you’re putting these rocks outside you will want to coat them with a waterproof sealant. You can find one at a hardware store or craft store.
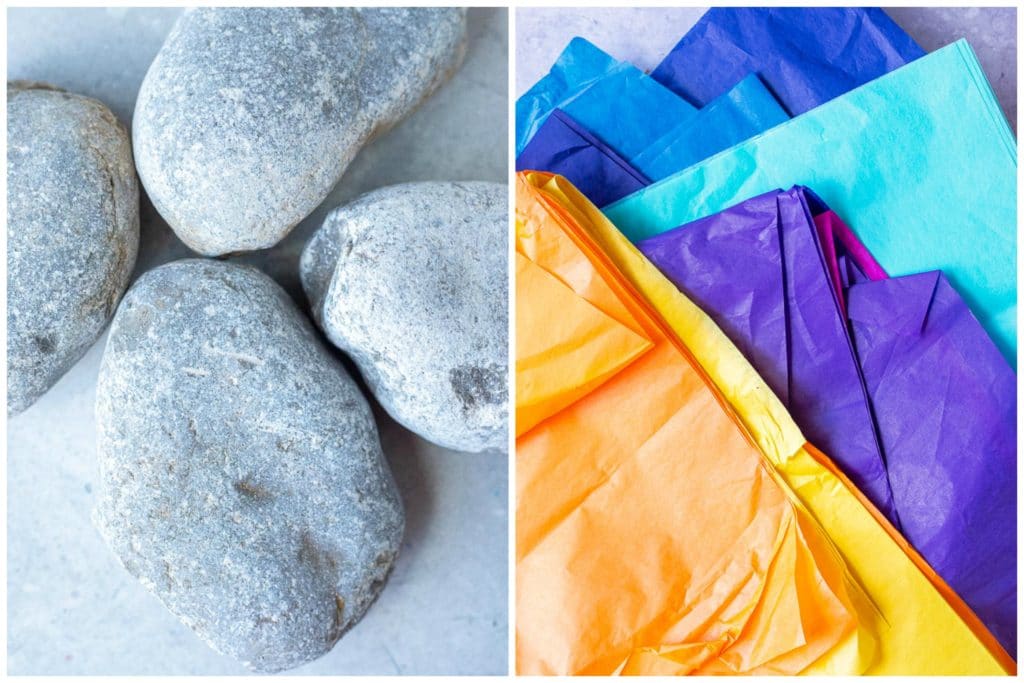
HOW TO MAKE A STAINED GLASS ROCK
You want to start by making sure your rock is clean. I just give mine a rinse with water and let dry before decorating.
Mix your glue and water together. I used about a half and half ratio but it doesn’t have to be exact.
Tear your tissue paper into small pieces. It’s nice to have your tissue paper torn up before you start gluing it down.
Use a paintbrush to paint the glue mixture on the rock and then start pressing your tissue paper on. The glue dries fast so you will have to reapply it a few times. I also like to do one top coating of the glue once all the tissue paper is on.
Let rocks dry completely before putting on your waterproof sealer. Allow the waterproof sealer to dry and then find the perfect place for your rock outside!
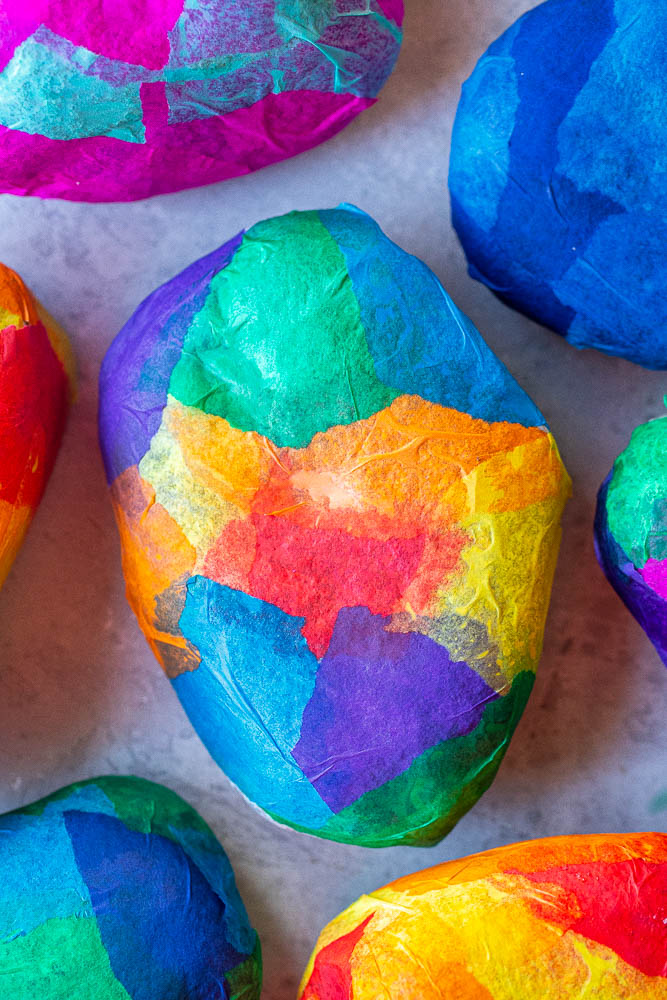
WHY WE LOVE THIS CREATIVE ACTIVITY
You don’t need very many supplies – If your kids are into artwork, you probably already have all of these materials on hand! All you need to do is go outside and find the perfect rock.
It allows your children to play with colors – They can decide if they want to use all the colors to make a rainbow rock or they can choose just a few of their favorite colors. They could even do all one color if they like!
They will look great in your yard – My kids love being able to pick a special spot for their rocks. They really liven things up and add a great pop of color.
They’re great to use as gifts – They’re a really thoughtful gift that your child can make for a friend or family member.
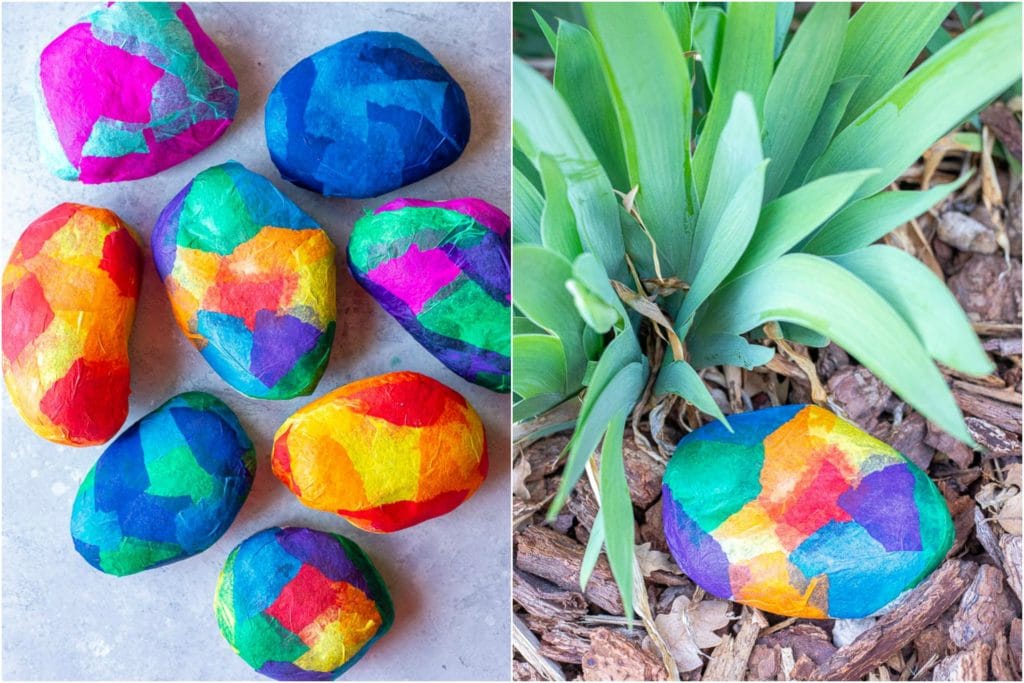
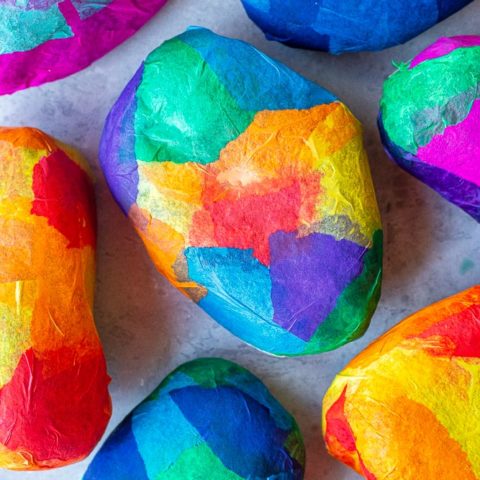
STAINED GLASS ROCKS
active time:20 MINUTEStotal time:20 MINUTESdifficulty:EASYestimated cost:$10
These Stained Glass Rocks are the perfect addition to your garden!
MATERIALS
Rocks, smooth ones are best but you can use any size or shape
Tissue paper
Elmers glue
Water
Waterproof sealer such as polyurethane
TOOLS
Paintbrush
INSTRUCTIONS
Wash your rock with water and let dry. To a small cup or bowl, add about 1/3 cup of water and 2 tablespoons elmers glue and mix until combined.
Tear your tissue paper into small pieces. Use a paintbrush to cover the rock with the glue mixture and start laying down your pieces of tissue paper. You will probably have to reapply the glue a few times. I also like to do one coat of glue on top of the tissue paper after you've finished.
Let the rocks dry completely and then apply a few coats of waterproof sealer. Let dry and then place them in your yard or garden!
Plaster Paris Mosaic
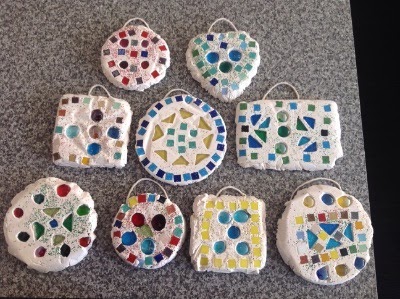
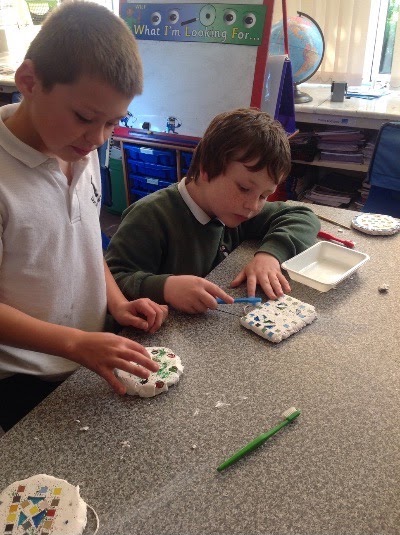
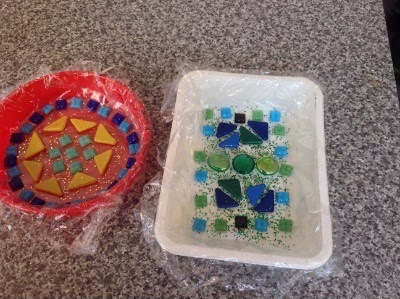
On Tuesday we made Roman mosaics. First we used tiles and glass pebbles and painted rocks to make a design in the bottom of a pie plate or shallow plastic container. which we had lined with cling film. Then we poured plaster of Paris on top of the design and left it to set. After half an hour or so we carefully lifted the cling film out of the tin and left the mosaic to dry out further. To finish we used plastic tools to scrape out any extra plaster, and polished off the mosaics with an old toothbrush and some tissue. Beautiful!
Make cool bugs
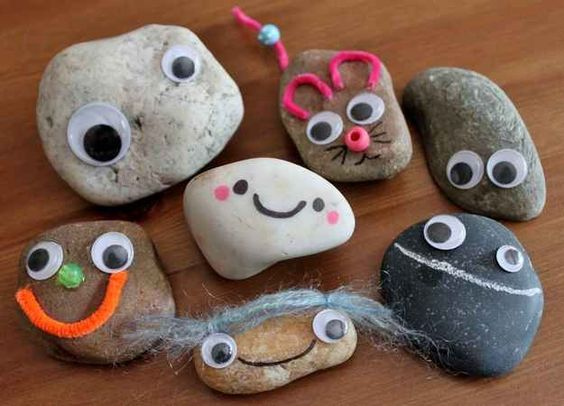
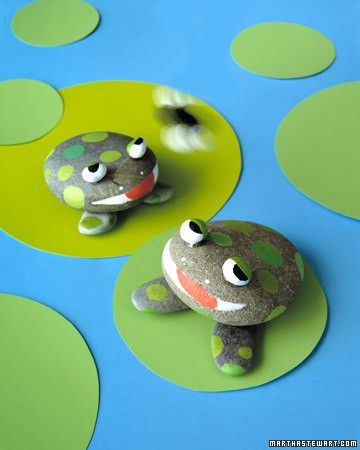
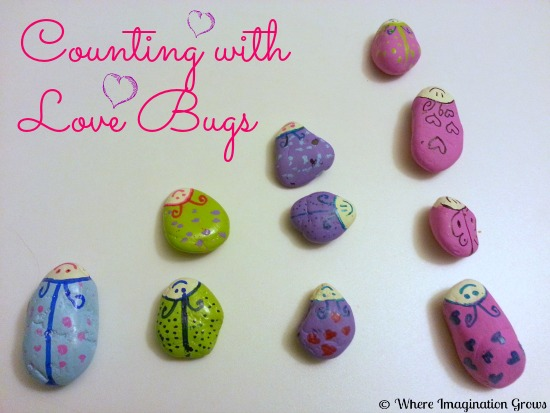
Easy Pet Rocks link Animals Rock Love bugs link
What do I need?
Grab a few pebbles and some paint
Collect some leaves and twigs if you need them
Child-friendly glue
Paper
Child friendly paint
Colorful Sharpies
Wikki Sticks (optional)
Start the activity showing children photos of a range of species and talk about them (How many legs do they have? Do they fly? Where do they live?). Ask children to paint their pebbles to look like mini beasts or design their own bugs; have a look at the ones in the photos. You could stick pebbles together to make a loooooong insect or use leaves and twigs to make features like wings and legs!
Why?
Here children can let their imagination free as they design their very own bug! They will be able to create a whole new species all to themselves and really experience a true sense of achievement.
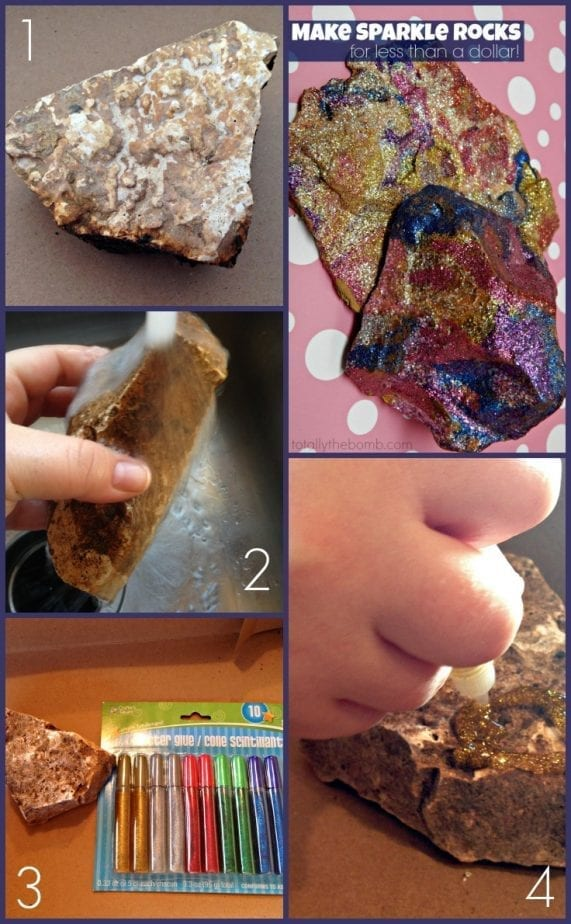
Easy Rock Painting
We love rocks. They’re seriously one of my favorite things to craft with because they’re FREE! I love painting them, but that doesn’t always hold up when we put them in the garden outside. So, I found this glitter glue at the dollar store, and we’ve been painting all of our garden rocks to sparkle!
STONE AND ROCK CRAFTS:
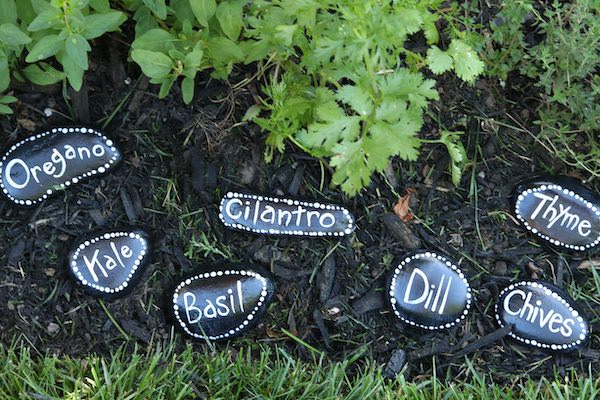
Below you’ll find links to my favorite Nature Crafts for kids. Whether you have toddlers, preschoolers, elementary kids or tweens, you’ll find plenty of ways for your kids to make art, homemade gifts, and interesting crafts with stones, sticks, leaves, pinecones, seashells and more. Save money on craft supplies and spark your kids’ creativity with these fun and easy ideas.
Then come home and get creative with your findings.
STONE AND ROCK CRAFTS:

PAINTED STONE GARDEN MARKERS
These garden markers are great for marking vegetables and herbs in the garden. They make great gifts for parents and grandparents who like to garden.
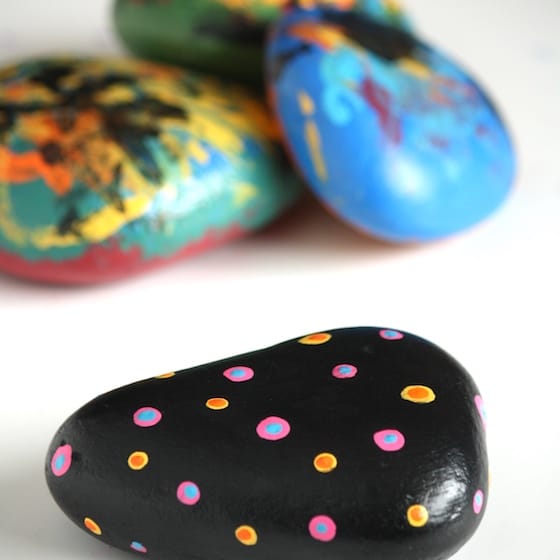
Painted Rock Paper Weights
Rocks can be incorporated into craft time in many ways. Here, we’ve painted them to make homemade paper weights for the kids to give as gifts.
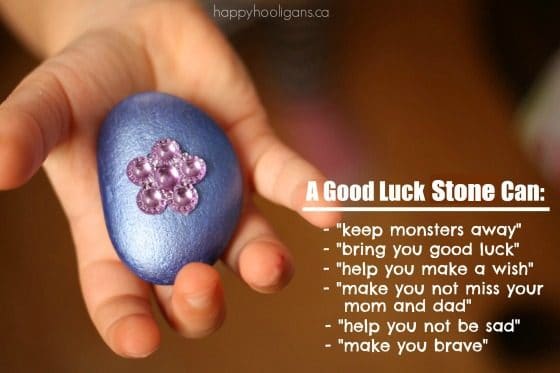
Good Luck Stones
Kids can easily turn smooth stones found on a nature walk into “good luck charms” for themselves or for friends.
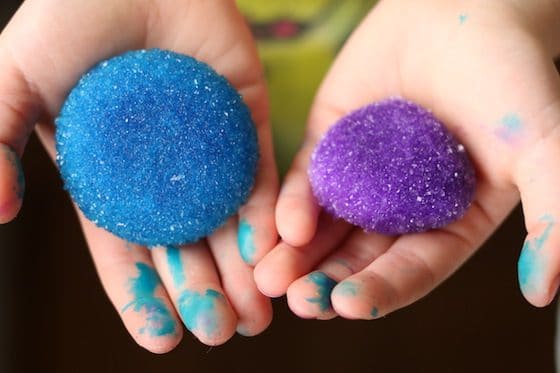
Crystallized Stones
Kids can turn ordinary stones into colourful, crystallized paper weights with borax, water and liquid watercolours.
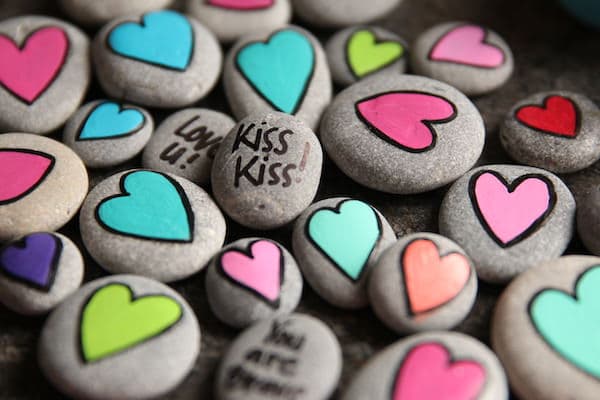
Worry Stones
Transform some small beach stones into “worry stones” that kids can keep in their pocket to squeeze whenever they’re feeling anxious or stressed.
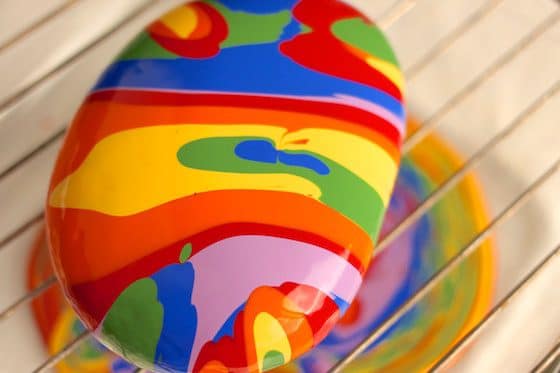
Pour Painted Rocks
Pour painting is another terrific way to turn an ordinary stone found in nature into a homemade paper weight.
SEASHELL CRAFTS:
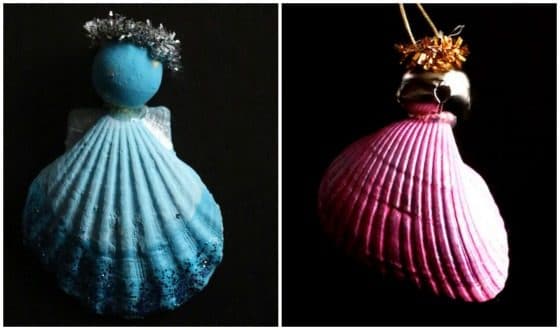
Seashell Angels
Bring some nature home from the beach and craft up some of these sweet angel ornaments. Kids can hang them on the Christmas tree or they’d make a lovely gift for someone special.
Stone Faces
We've also shared our Painted Rock Faces craft, painting different facial features on rocks to create lots of funny faces. Add leaves, twigs, or flowers to create hair and eyebrows.
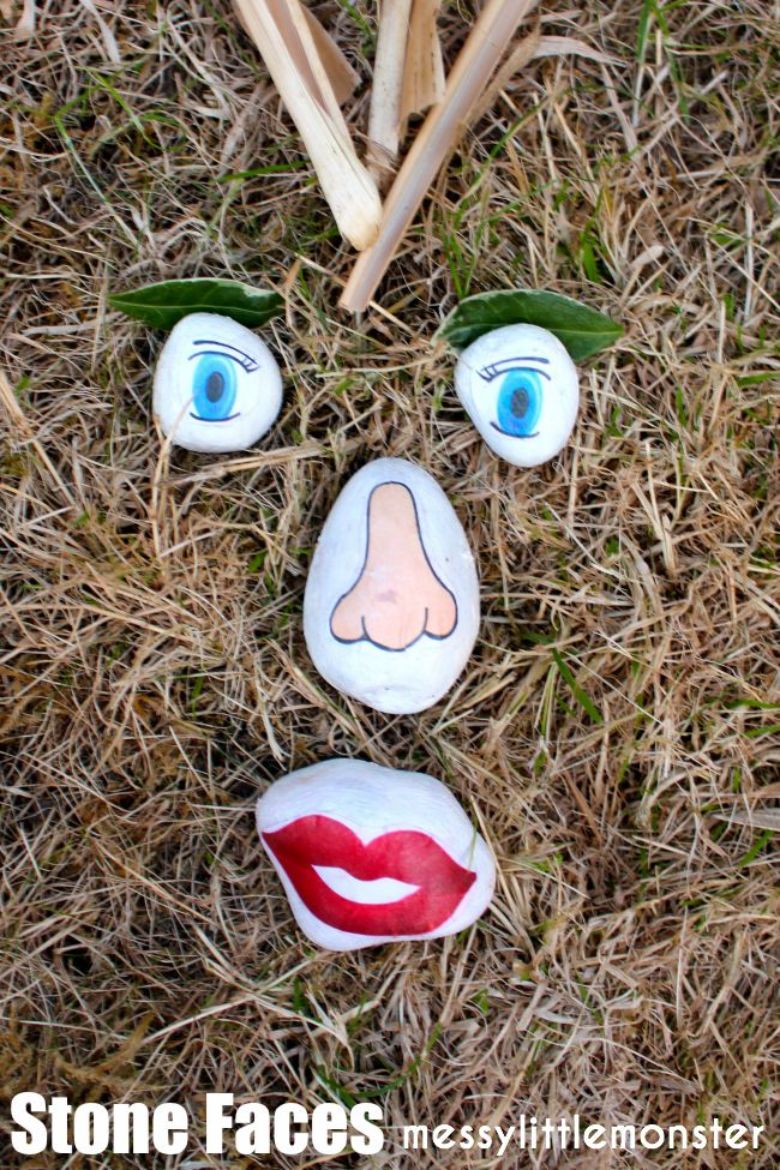
Stone art & craft ideas
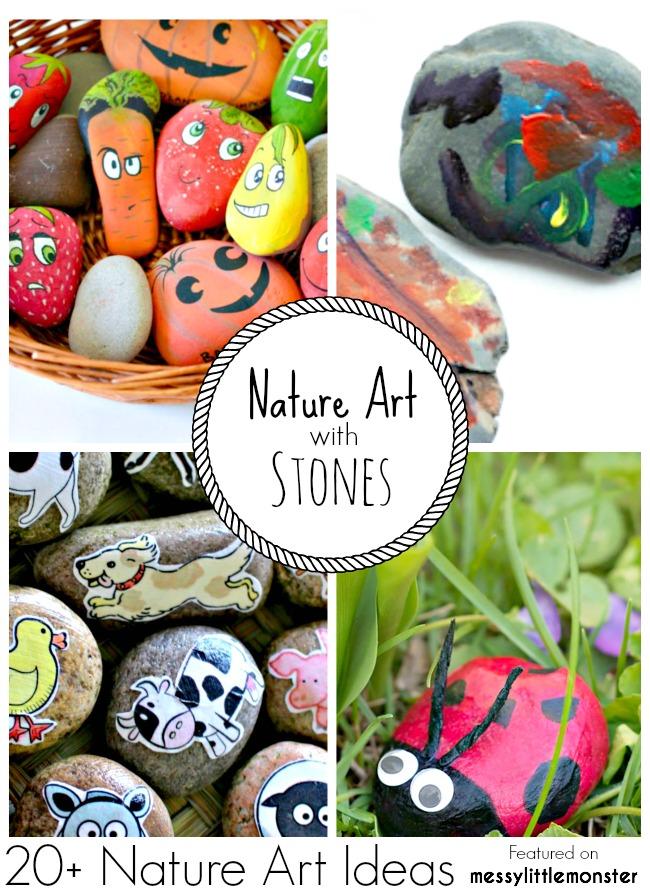
Make a cute ladybug stone - Fireflies and Mudpies
Use our free printable to make simple story stones - Messy Little Monster
Make memory rocks - Learning and Exploring through Play
Turn painted stones into garden markers - Adventures in a box
Make a collection of stone creatures - Daisies and Pie
Lay pebbles out in a frame to make a pebble art - Zing Zing Tree
Pressed Flower Pebbles
Try using a flower press to create these most beautiful pebbles. Press your flowers then attached them carefully with glue to your pebbles. Cover with varnish to secure the petals.
The Simplest Painted Rocks
For a simple craft activity to keep the kids busy in half term, we decided to do painting rocks and stones. I had seen some really lovely examples on pinterest, and although ours are maybe not as impressive as some (well the kids are only 4, 3 and 1 – and I am a bit “artistically challenged” shall we say!) they really enjoyed the activity and I think the results have come out quite well.
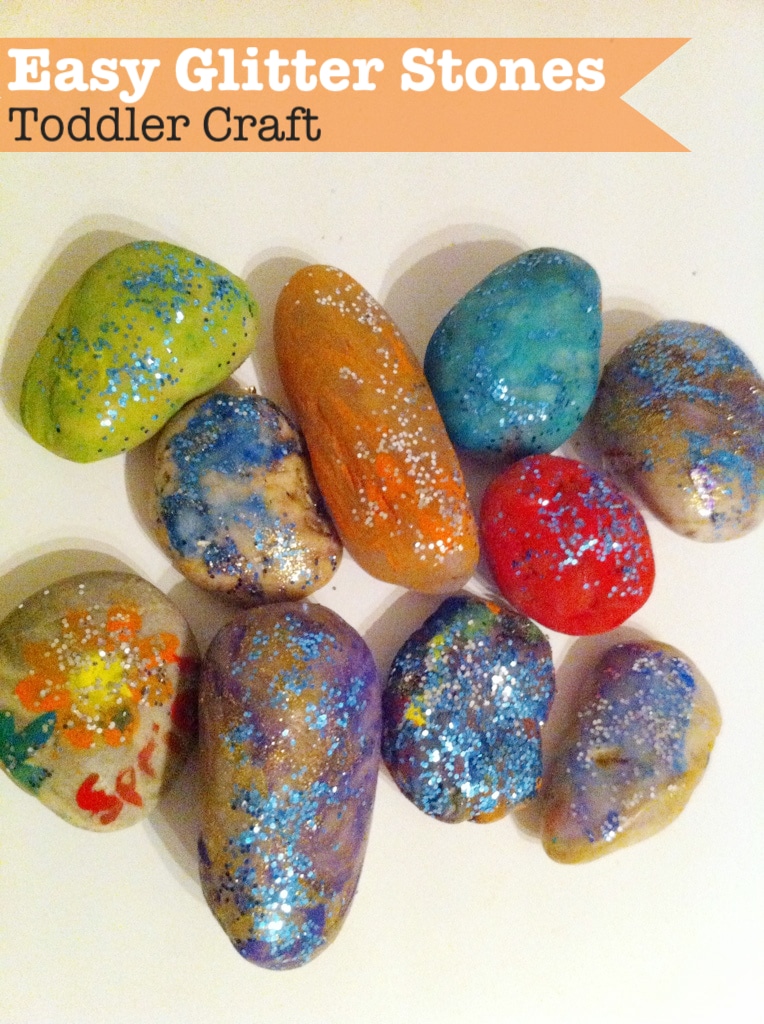
This is a really simple activity to do, all you need is some paints, some paintbrush, some quite large smooth stones, and any extras like glitter to decorate if you want.
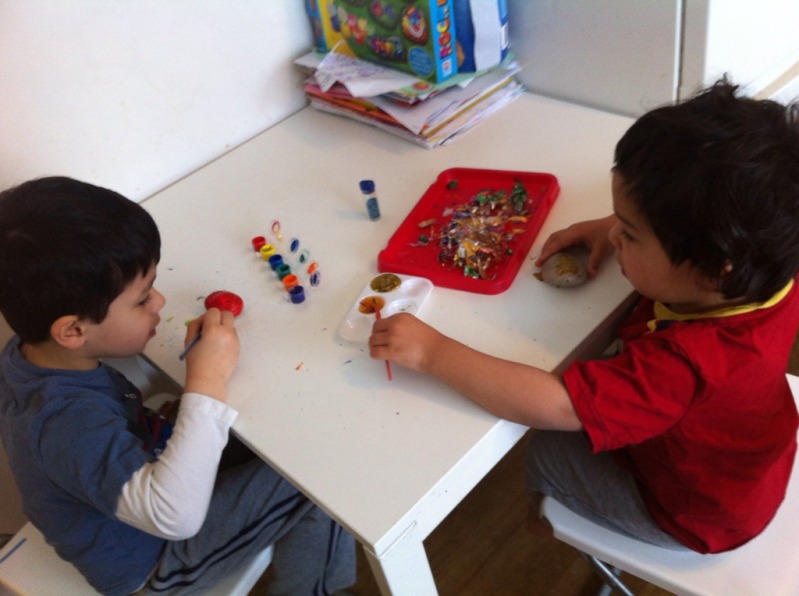
We took the easy route and bought a kit with the stones in it from the works, but now that we have done this I will be looking out for any suitable looking stones and rocks when out in the garden or park, or a similar thing could be done with shells collected on a day out at the beach.
The nice thing about painting on stones is that it adds an extra sensory element to just normal painting on paper! It really got them more excited and kept their concentration.
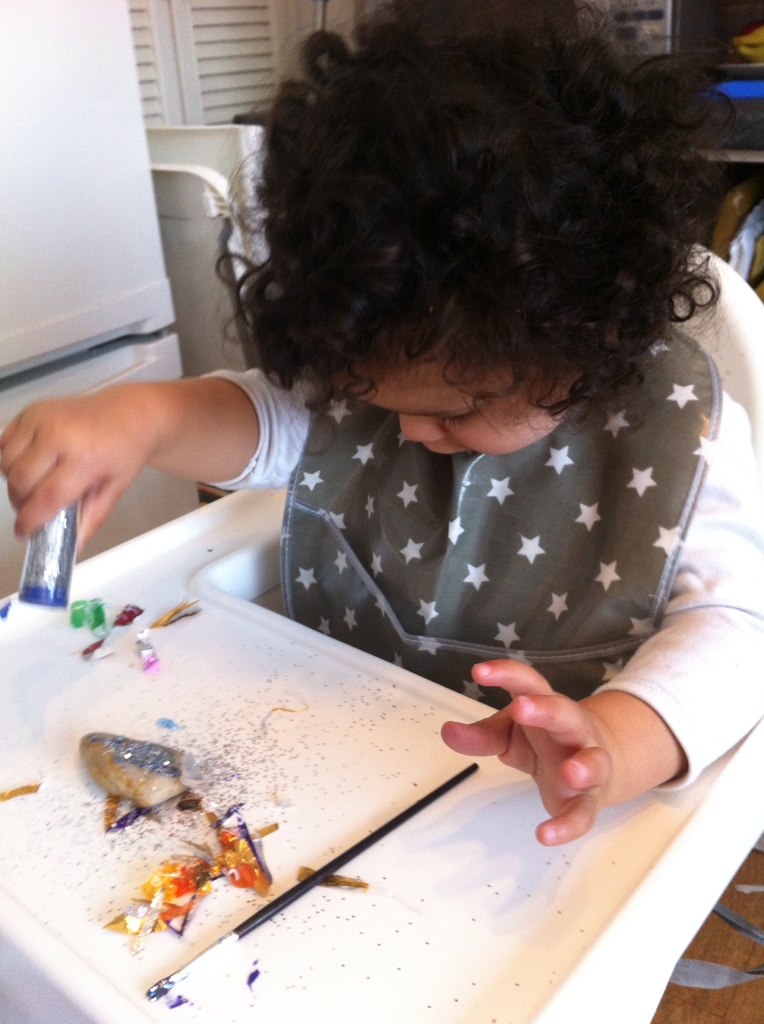
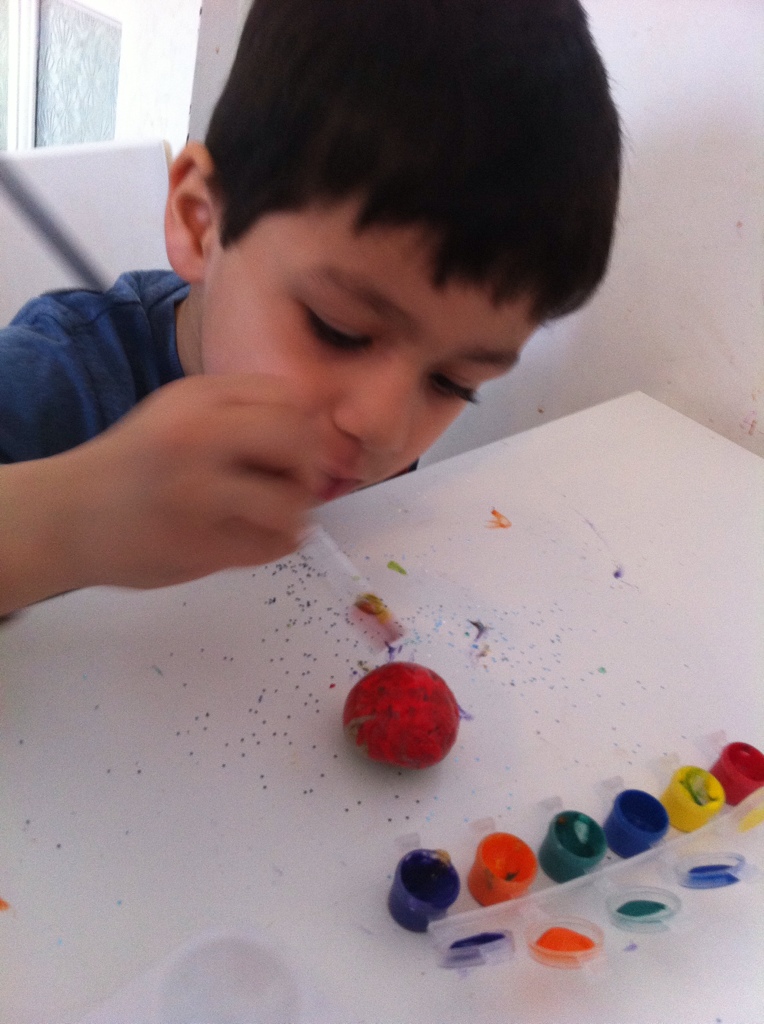
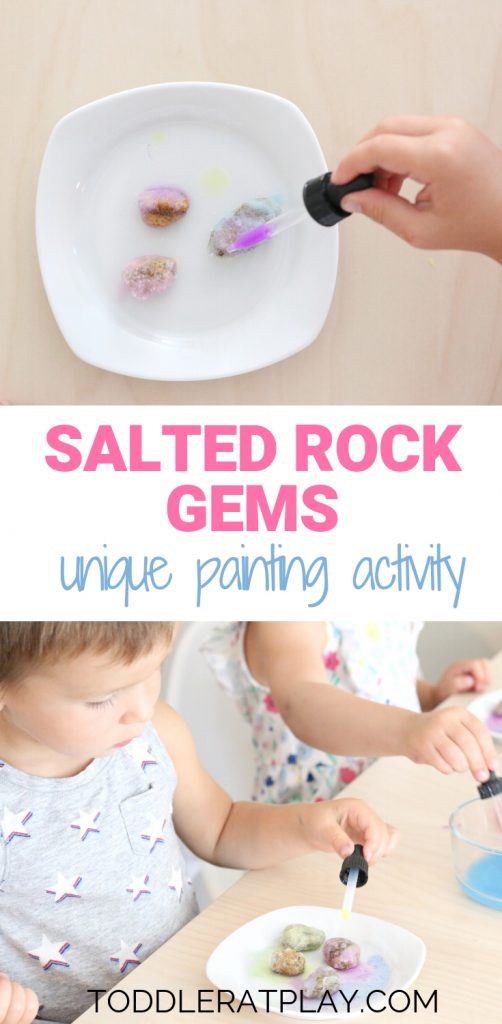
This Painting Salted Rock Gems activity is an easy to prep, fun and exciting activity you can do with your kids in no time (besides freezing the rocks overnight!).
These Salted Rock Gems make a gorgeous color mixing activity. Create beautiful color combinations by using the dropper to paint the rocks, melting away the salt! It’s super fun and time consuming. Both of which makes the kiddos and mama happy. 🙂
RELATED: Story Stones
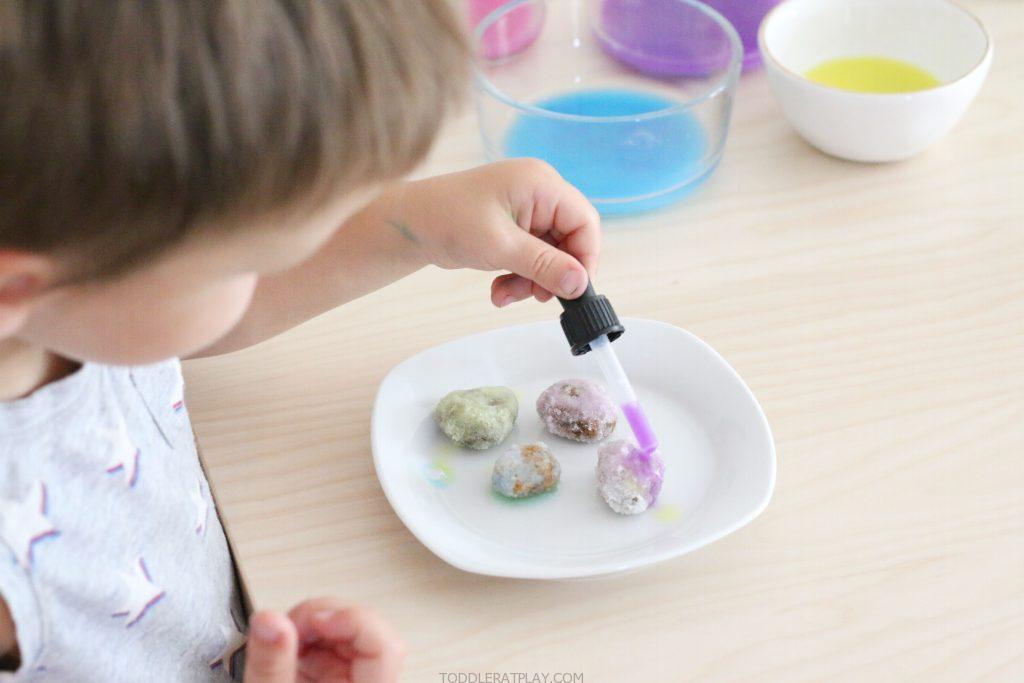
MATERIALS FOR PAINTING SALTED ROCKS GEMS:
Rocks (we found some around our house)
Glue
Salt
Dropper
Washable kids paint
Bowls with water
INSTRUCTIONS:
The day before doing this craft, cover the rocks in glue and rock in salt. Place on a plate and pop in the freezer to freeze overnight.
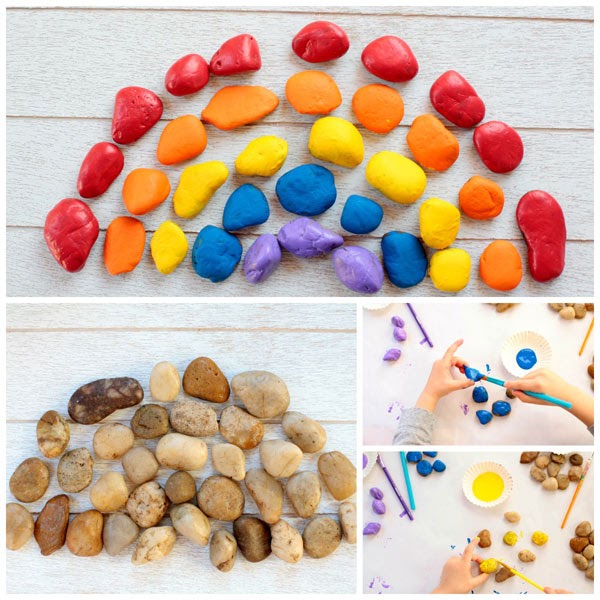
Once frozen, prep the paint by placing a small amount of desired paint into a bowl and add a bit of water, mix.
Arrange the paints with droppers and take out the salted rocks out of the freezer, last minute. Now you’re ready to paint the salted rock gems!
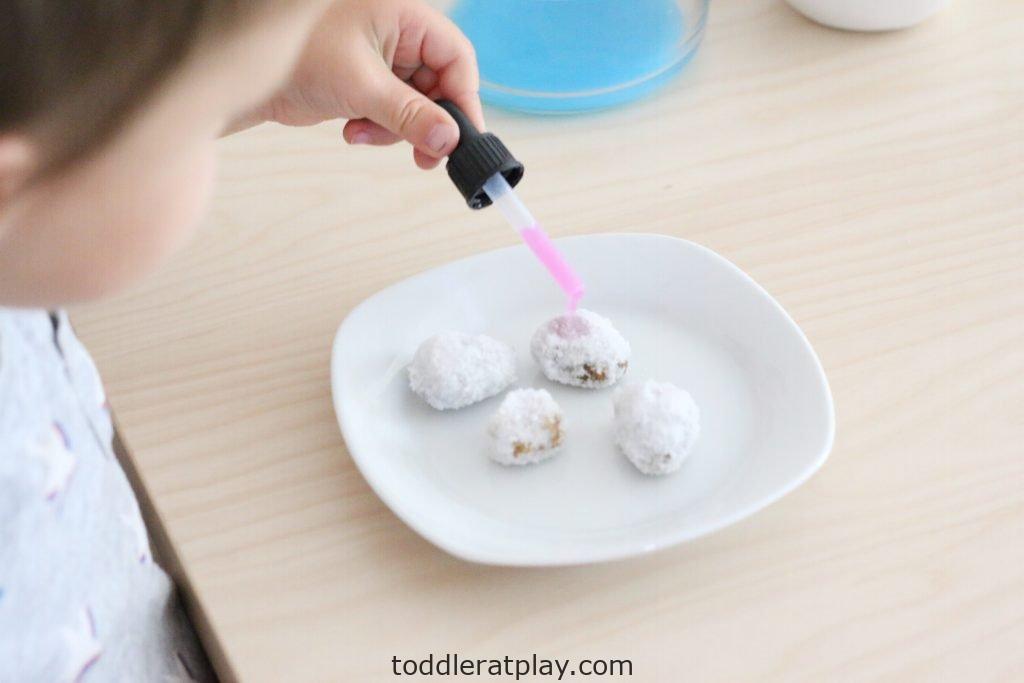
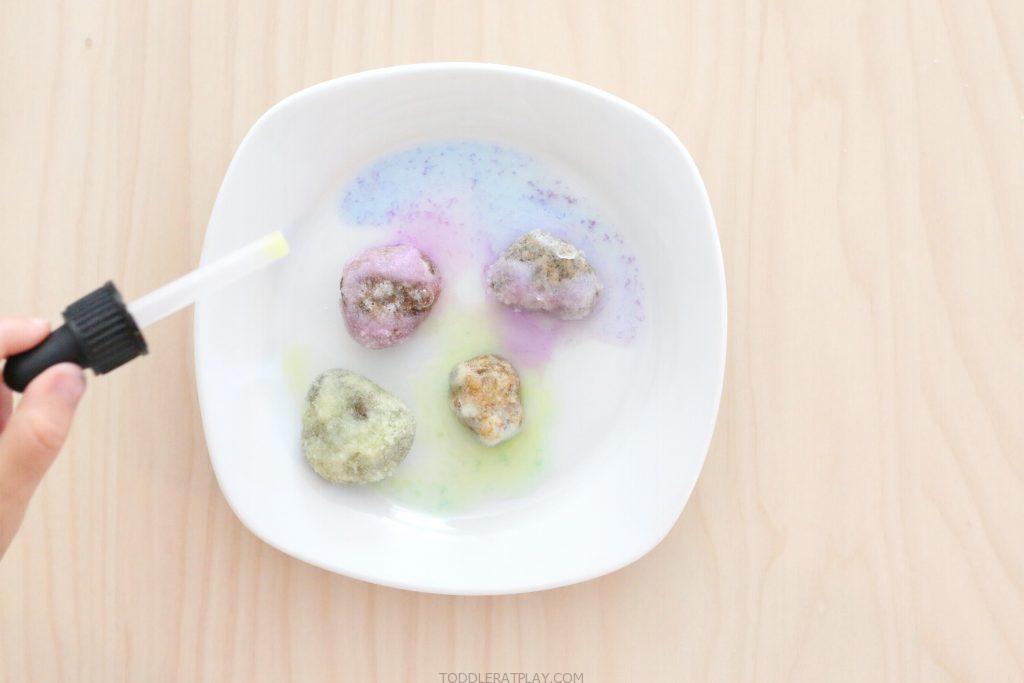
WHAT IS MY CHILD LEARNING AND IMPROVING?
Creativity (choosing the colors, creating little gems)
Fine motor (pinching the dropper, releasing it, holding the small end of the dropper)
Hand-eye coordination (filling the droppers with paint, releasing the dropper over the small rocks)
Independency
Focus and concentration
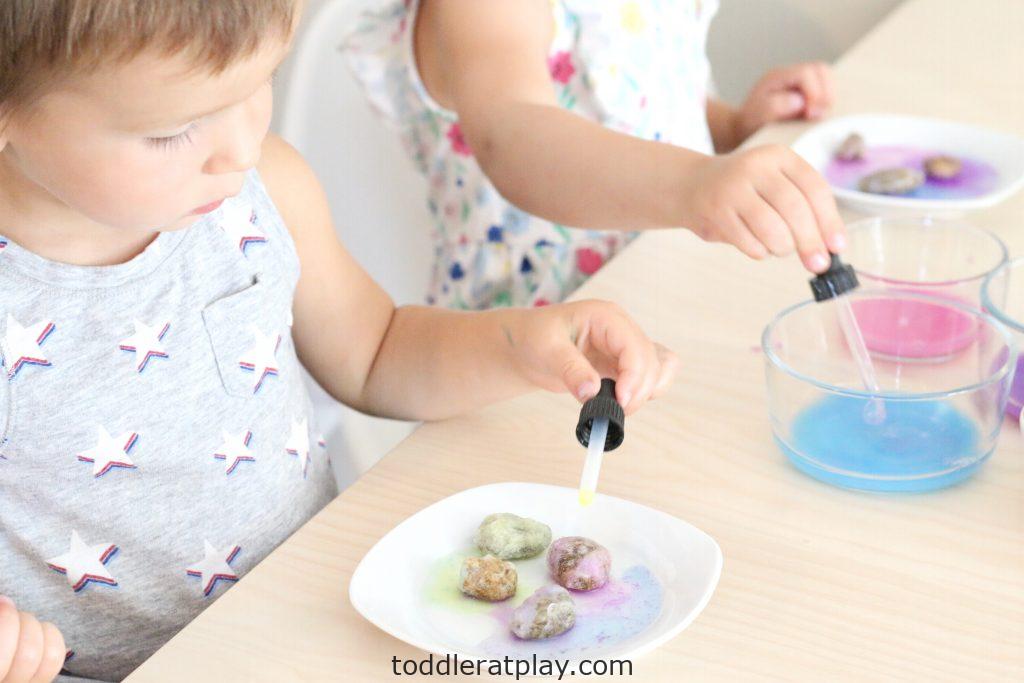
(after painting their rock gems they continued to have fun with the color mixing that kept them happy and busy!) in Create· Fall· Spring· Summer· Winter· Year Round
DIY Pebble Art for Kids
Pebble art is so easy to make and fun for people of all ages! They are completely customizable and each picture has a one-of-a-kind and unique look. I love that these can be given as a creative gift for any holiday or event or make one for yourself to hang in your own home. Try this DIY pebble art project today!
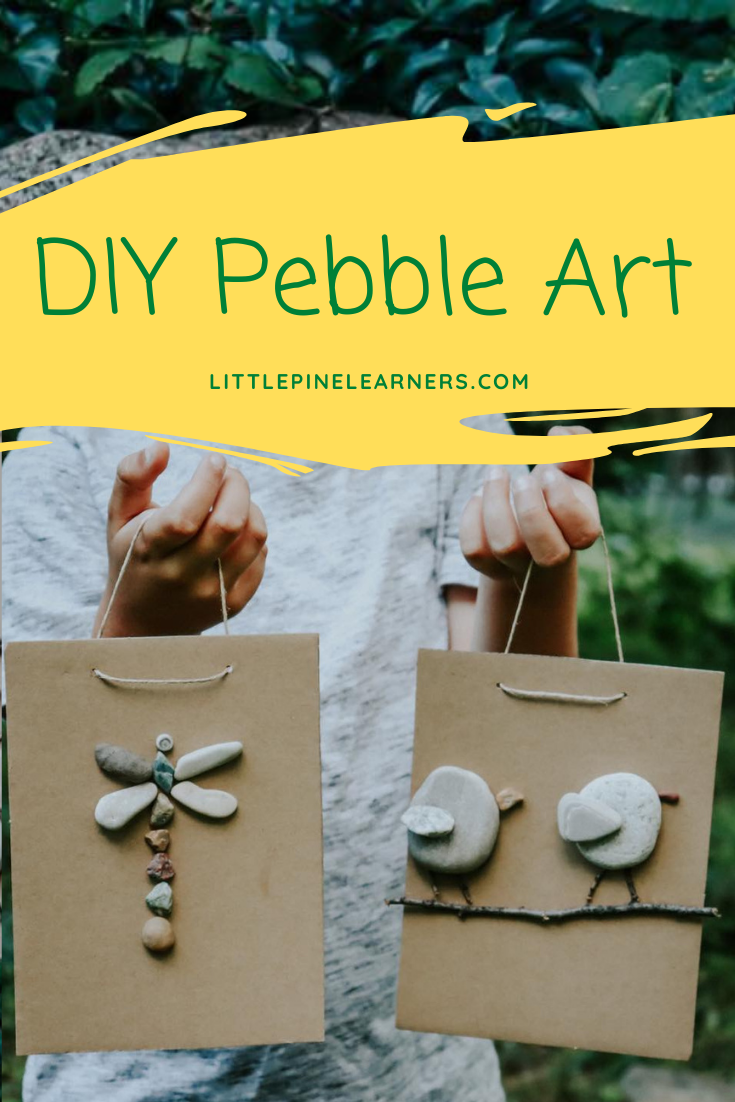
We have a large nature collection! We collect cool sticks, rocks, pinecones, flowers (that we press), moss, shells, and other unique pieces of nature. I love the idea of creating memories with these pieces of nature by turning them into a beautiful piece of nature art! Pebbles create the perfect pieces of art because they don’t have an expiration date and will last forever. If you are looking to make a beautiful piece of art that will last for years to come, try this DIY pebble art project!
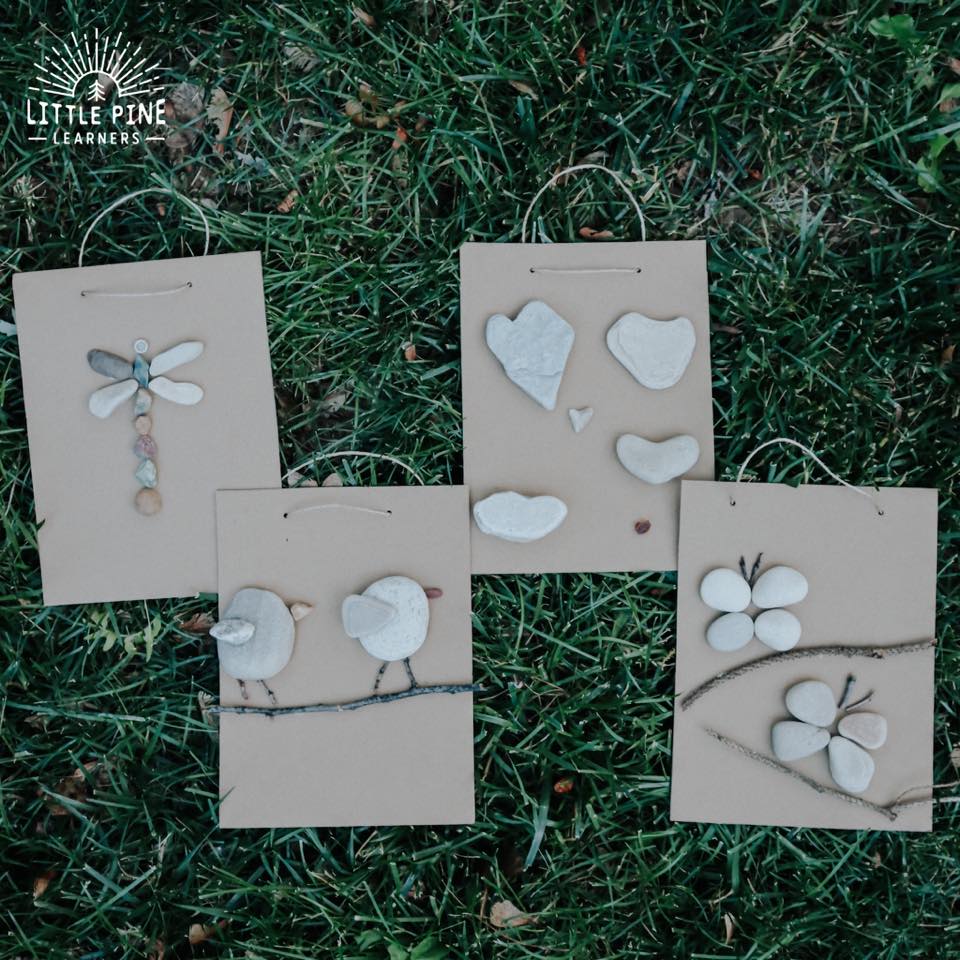
Ready to make one or two? Here’s what you’ll need….
Supplies:
Pieces of cardboard- If you don’t have a steady stream of Amazon boxes coming in
, these cardboard sheets are handy to have for cardboard crafts!
Paper punch and twine
Scissors or crafting knife (for adult use only)
Stones and other pieces of nature- Here are some stones if you don’t have access to any in nature
RELATED: Check out 10+ Simple and Beautiful Stone Activities for Kids!
Here’s How We Made These DIY Pebble Art Projects:
Step 1:
First, cut out pieces of cardboard. Our pieces measured out to 8×6 inches each. You can keep the cardboard like this and hand them out as a card or place them on a shelf. If you would like to hang them, then punch holes through the cardboard and thread a piece of twine to make a hanging loop.
I love that this craft doesn’t require a store bought frame. It’s a good reminder that we can often reuse items around our house to make art!
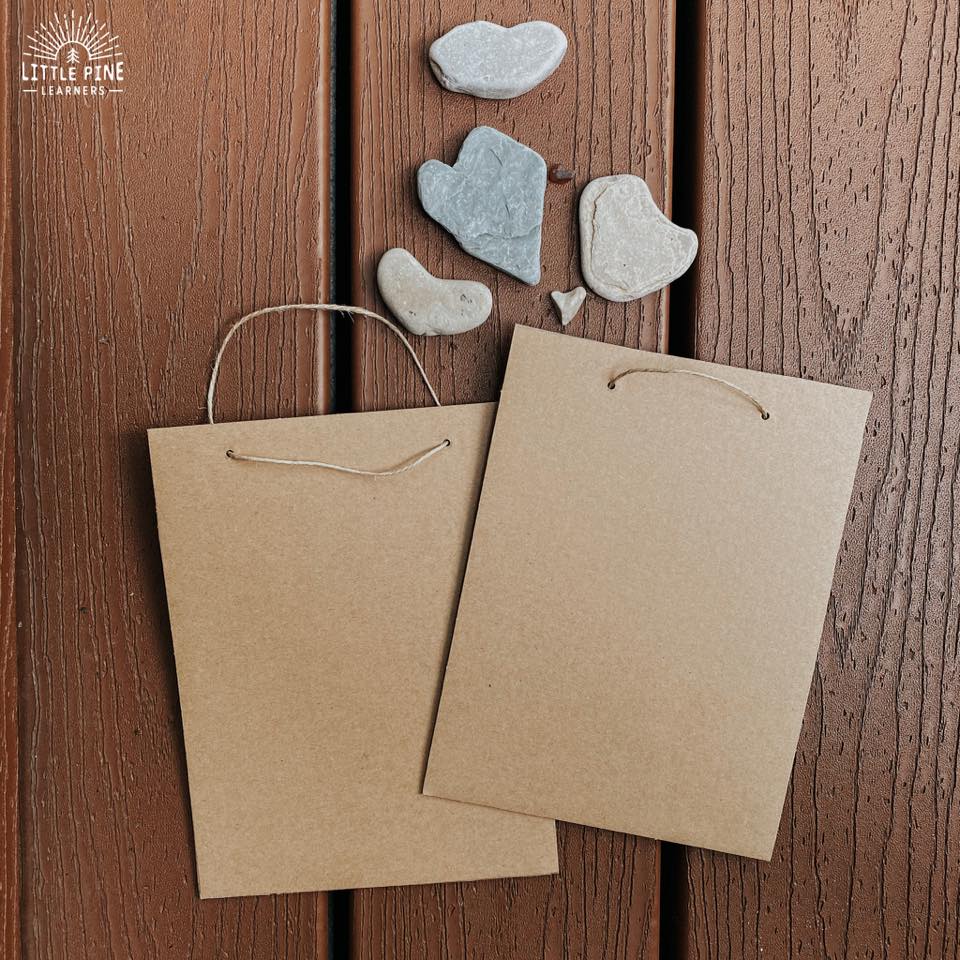
Step 2:
Move the pebbles around to make different designs and pictures to see which ones you like the most. You also want to make sure you have the specific stone shapes to suit your picture idea.
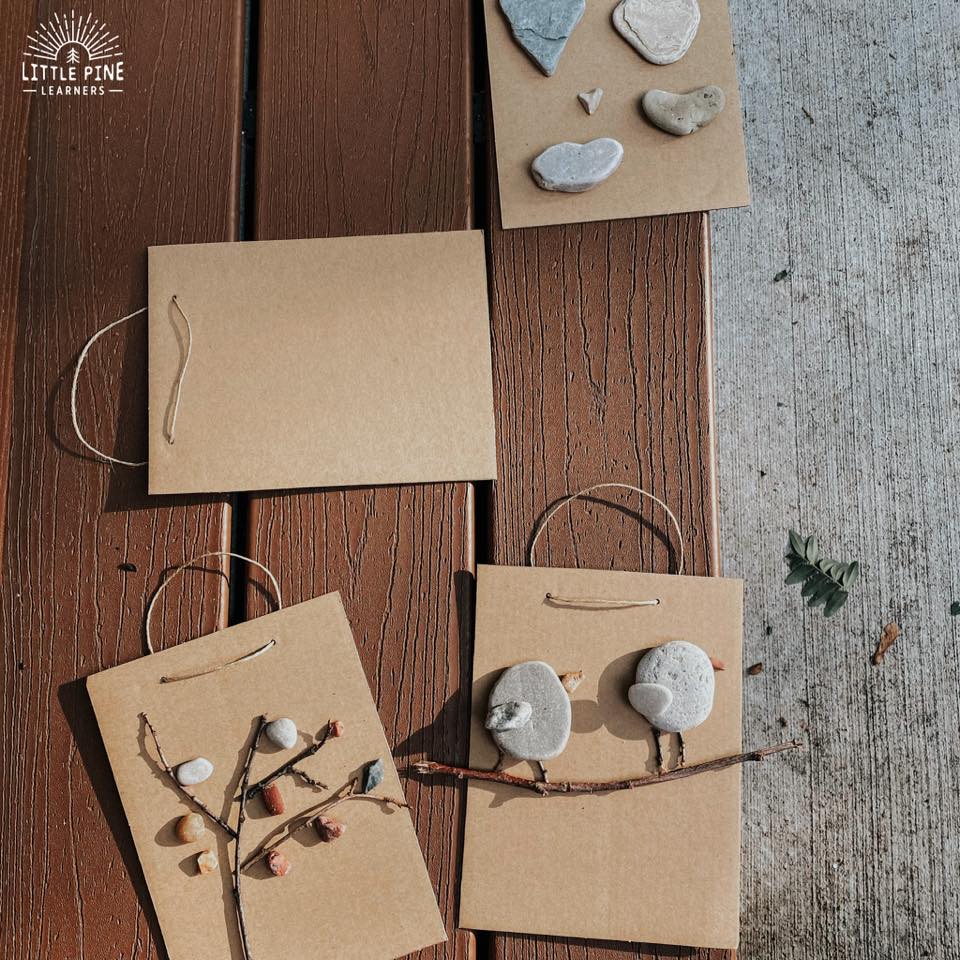
Step 3:
Last, glue your pieces of nature in place. I love using Tacky Glue for nature crafts! It has a strong hold, dries clear, and young children can use it. Let your glue dry for about an hour before you move your pictures.
You don’t need to make a complicated picture. We decided to glue our collection of heart shaped rocks to a piece of cardboard and this one turned out to be my favorite! This will make a perfect Valentine’s Day gift next year! What design ideas do you have?
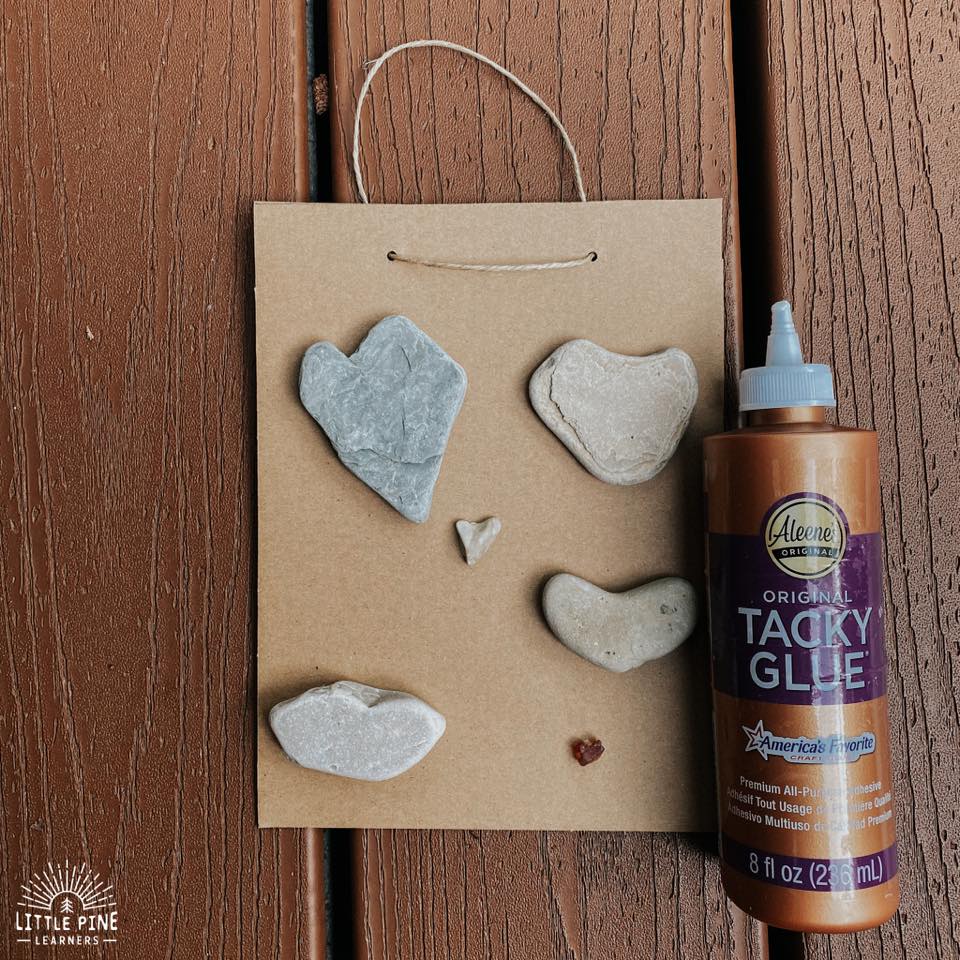
What design ideas do you have? Tag your DIY pebble art pictures at @littlepinelearners on Instagram so I can see them! Here are a few more close ups of our designs. Here are the birds!
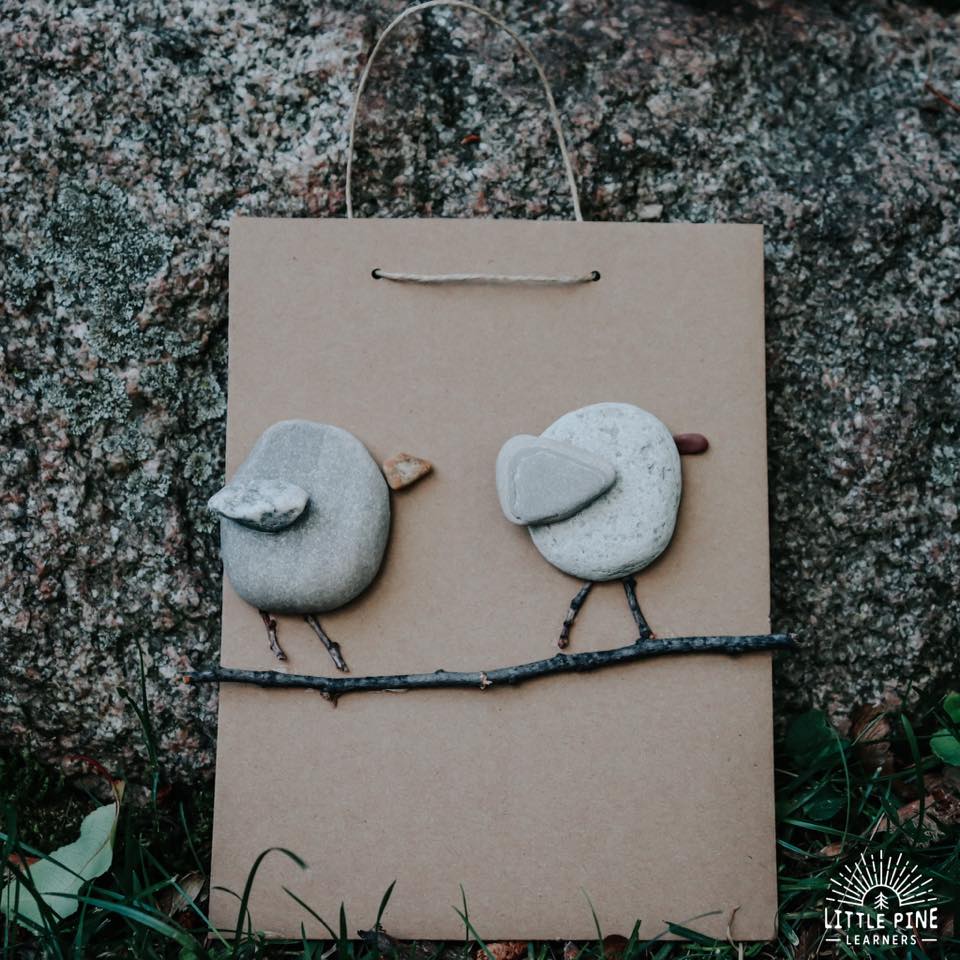
Check out this beautiful dragonfly.
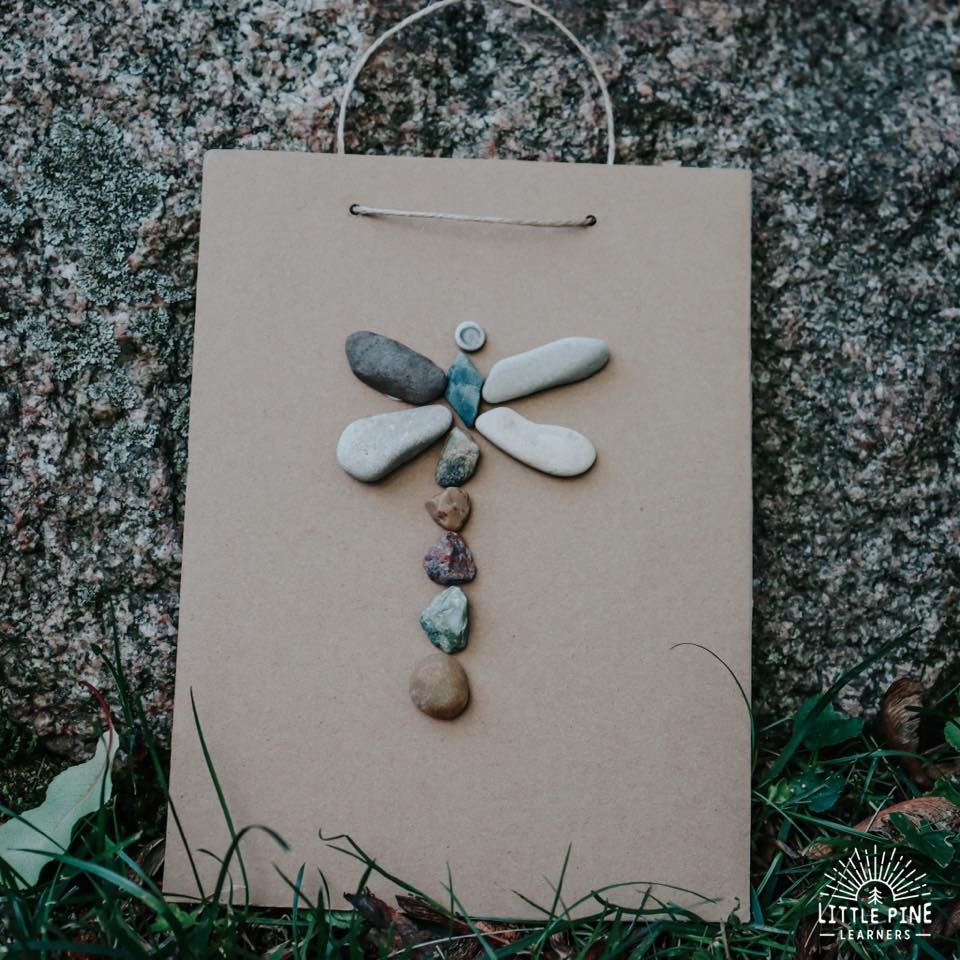
And more more! I love these sweet butterflies.
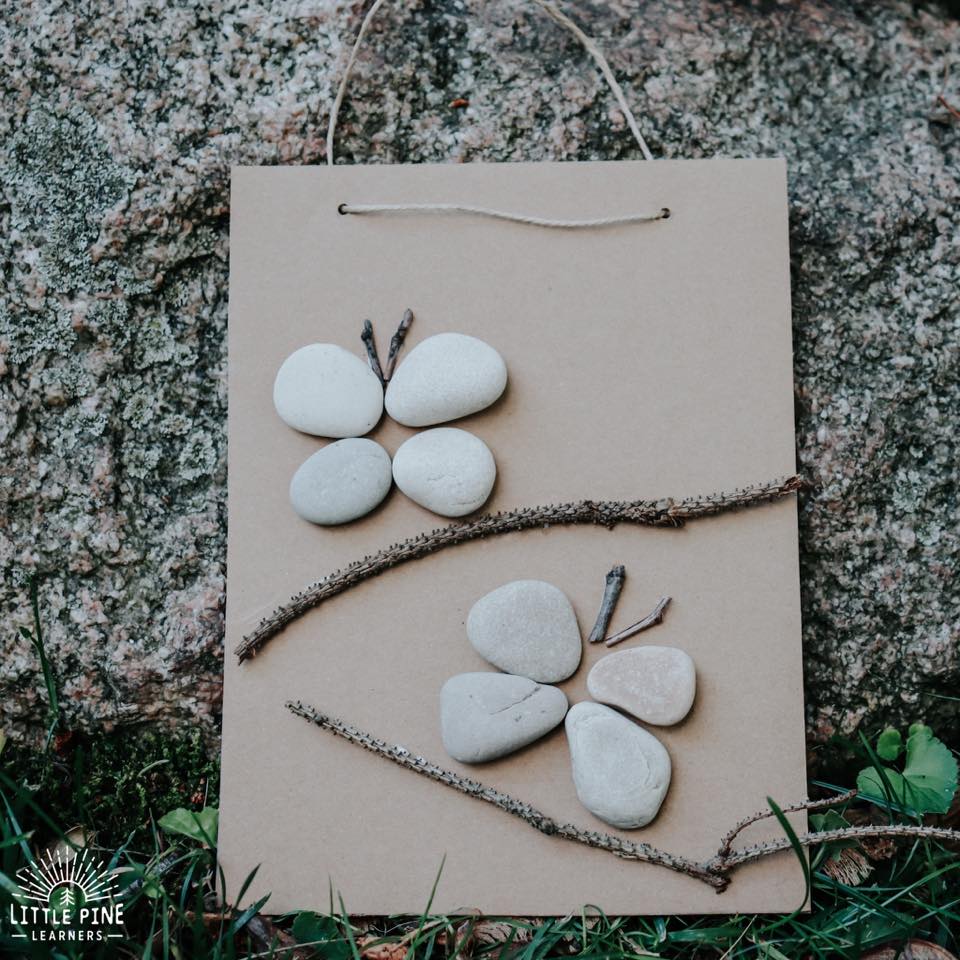
I hope you give these DIY pebble art projects a try!
Rocks and fossils have been treasures that all four of my children have enjoyed exploring and collecting. We live in a state that does allow fossil collection in designated locations and we have been fortunate enough to visit two of them: Caesar’s Creek State Park and Trammel Fossil Park. This month’s theme for Nature Book Club is Rocks, Gems and Fossils and we thought we would share some ways to learn about fossils.
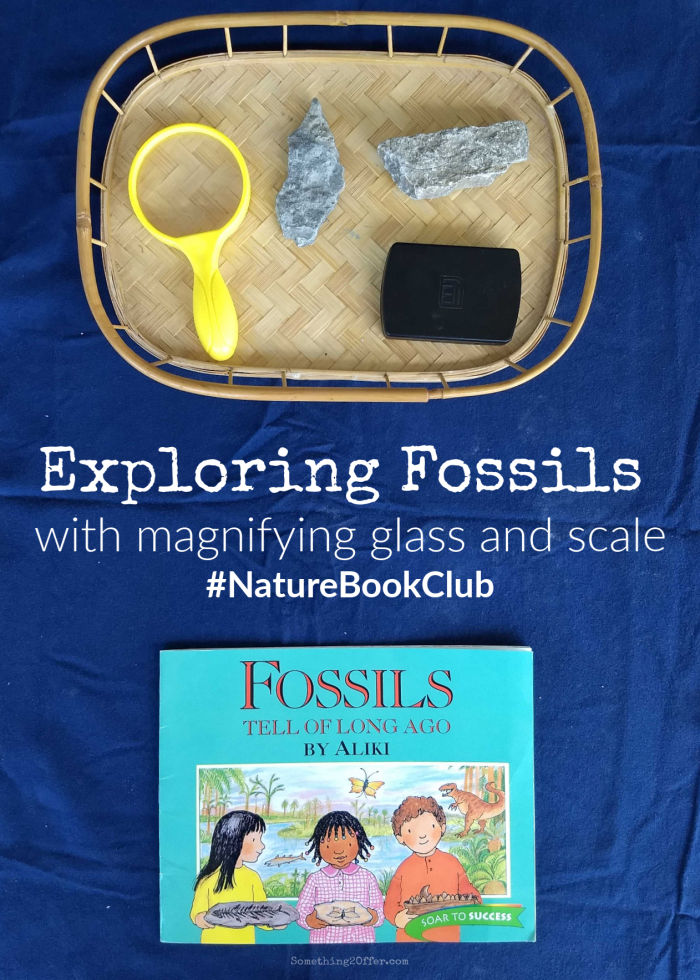
We have ventured out and done some fossil collecting without reading anything about fossils but we do own a book by Aliki called Fossils Tell of Long Ago! I let Lil’ Red check out the pictures in the book and he was able to identify how a fossil was created without me even reading a single word to him!
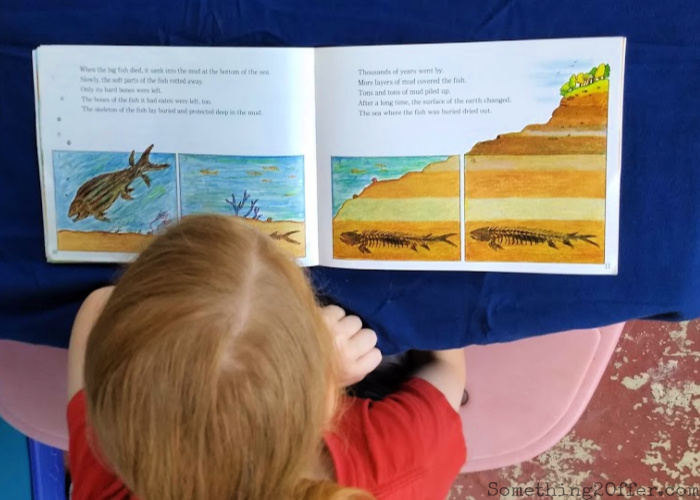
I let him take some time exploring a few of the fossils that we found with a magnifying glass. At first he said they were just rocks because he couldn’t see the fossils right away but upon closer inspection he was able to find at least one fossil per rock.
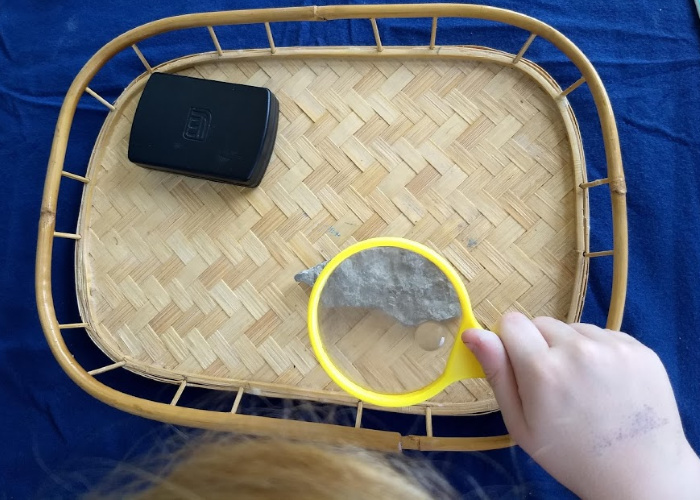
Next I showed him how to use our pocket scale to weigh each fossil after taring the scale. We changed the measurements to grams and went to weighing each fossil. He read the numbers off as he weighed each one.
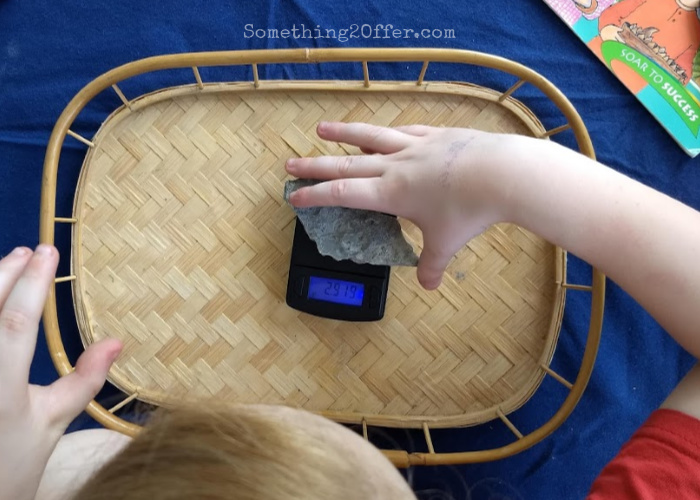
Welcome to Nature Book Club Monthly Link Up No. 21
Rocks, Gems & Fossils
There Are Rocks in My Socks Online Book Club inspired by “There Are Rocks in My Socks,” said the Ox to the Fox from Dachelle at Hide the Chocolate
Fossil Exploration inspired by Fossils by Aliki from Thaleia at Something 2 Offer
Rock Cycle Game inspired by The Street Beneath My Feet from Karyn at Teach Beside Me
Growing Eggshell Geodes inspired by A Rock Is Lively from Emily at Table Life Blog
MY ROCK COLLECTION
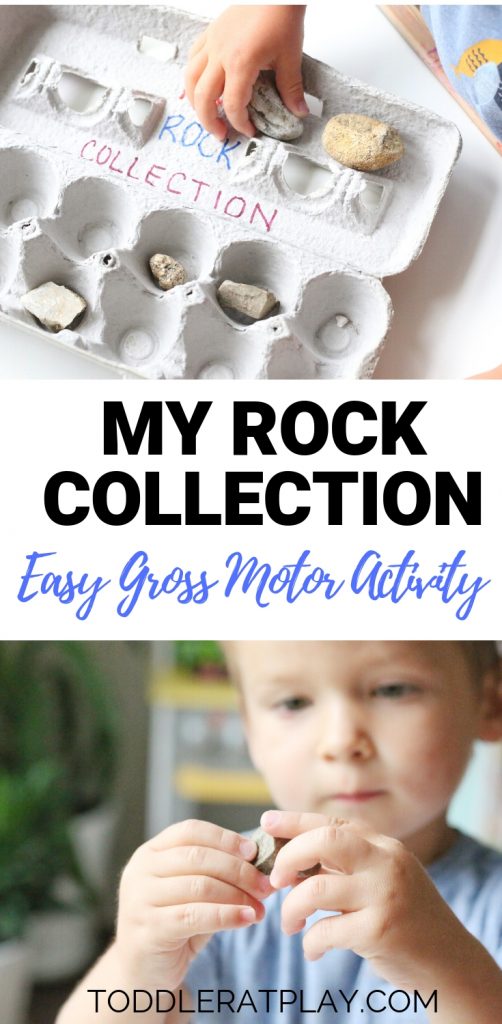
Enjoy the outdoors with this My Rock Collection Activity! It’s a super quick and easy, low prep kids activity that works on both gross and fine motor skills.
You’ll only need an egg carton and markers to make this fun activity happen! I prepped this in under a minute and told my kids we’re going on a rock hunt outside. They absolutely love hunting activities (that’s why we do them so often) and they were totally thrilled looking around the whole neighborhood for different rocks. We found many different ones, many varied in color and size and the whole hunting experience was an eye opener, in a sense. They had so much fun learning about them. Afterwards, we brought them inside to “inspect”. I brought in a flashlight and a small magnifying glass to take a closer look and the kiddos felt so special observing the rocks like they’re some sort of scientists!
Take a closer look at the areas of development kids are learning and improving below!
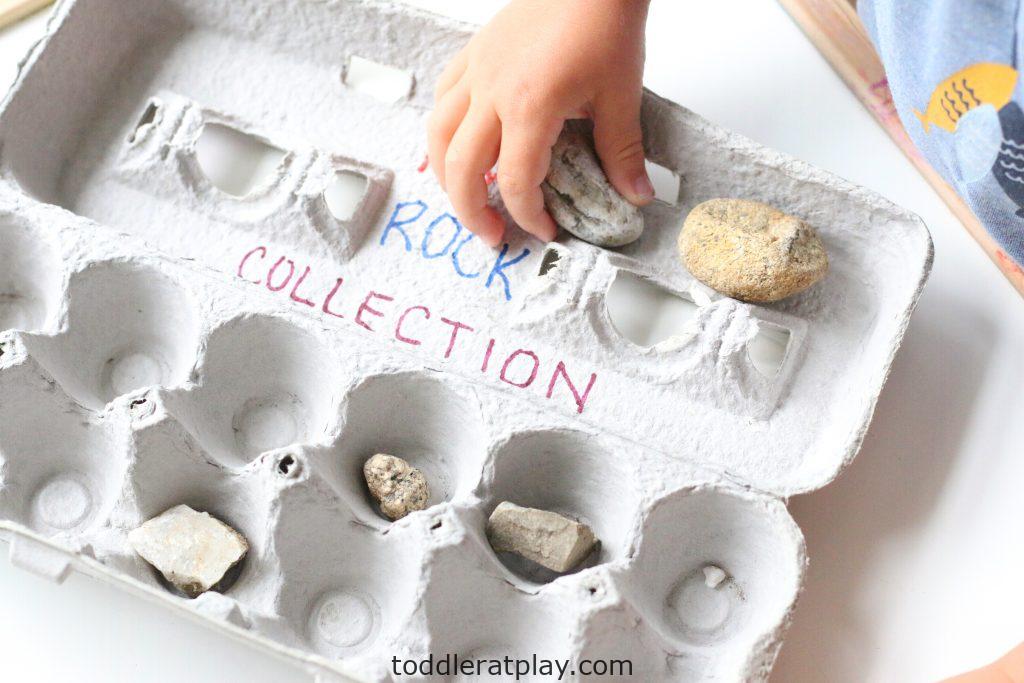
MORE OUTDOOR ACTIVITIES YOUR KIDS WILL LOVE:
MATERIALS FOR MY ROCK COLLECTION ACTIVITY:
Egg carton
Colored permanent markers
INSTRUCTIONS:
Inside, at the top of the egg carton write “My Rock Collection”. I used different colors of permanent markers to make it more fun!
Now head outdoors with your little ones on a fun, outdoor hunt for rocks!
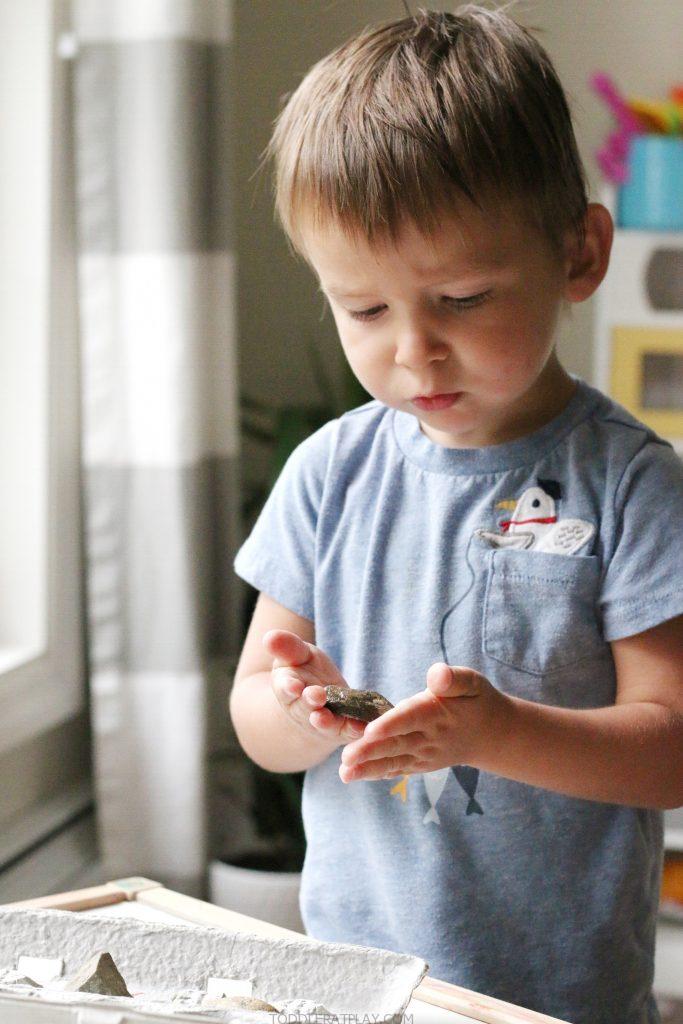
WHAT IS MY CHILD LEARNING AND IMPROVING?
Gross motor skills (children are running around, walking, bending over to pick up the rocks, exercising and strengthening their lower part of the body such as thighs, legs, ankles, feet)
Fine motor skills (using their fingers to pick up the small, or large rocks)
Creativity
Cognitive skills (kids are thinking, matching, comparing, analyzing each rock/object)
TIP- when doing this activity with your children, discuss each rock, its color, shape, size, weight.
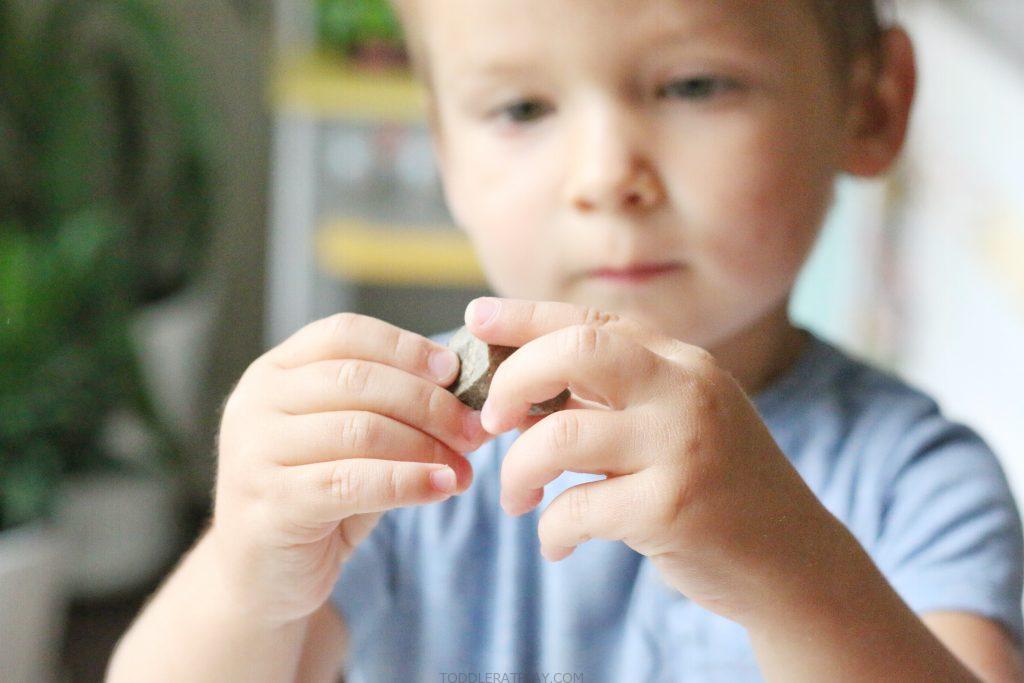
HOW FUN AND SIMPLE IS THIS “MY ROCK COLLECTION” ACTIVITY?
LEAF PRINTS ON STONES CRAFT
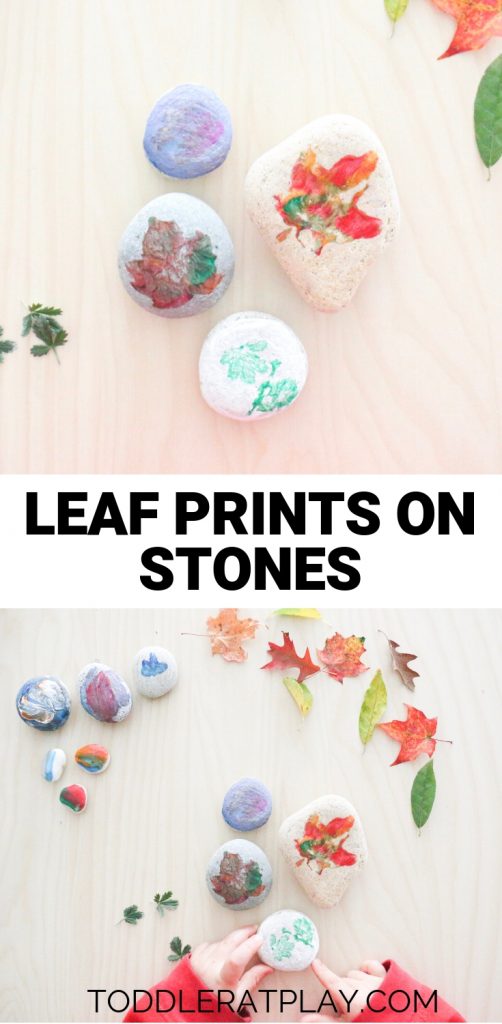
Make lovely prints with this Leaf Prints on Stones Craft this Autumn with your kids. It’s a perfect, fun and fairly easy craft idea that will let you see all of the distinct and beautiful features of the leaves. This craft requires no fancy materials, meaning you can do this today, without heading to the store…my favorite type of craft :).
My kiddos loved this idea. Painting stones is always fun, but creating these gorgeous leaf prints is even more exciting! We brought the stones we used for these leaf prints from our vacation in Cape Cod over the summer and have been using them in various ways all this time, which makes it so special. We made Story Stoneswith some as well, which kids love to play with still.
Keep reading to see how easy these Leaf Prints on Stones are to create!
MORE STAMPING AND PRINTING IDEAS
Rock Painting {a summer favorite}
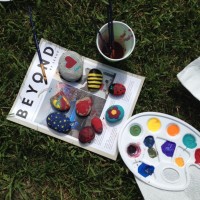
Painted Name Rocks
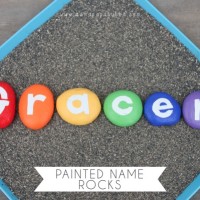
Back in early spring while hanging out down by the river, we stumbled upon a new-to-us rock beach area begging to be explored. While Miss G enjoyed throwing rocks into the water, I sort of randomly began filling my pockets with particularly smooth, nicely-shaped stones with some sort of craft project in mind (crazy mom… Read More
Simple Fun:
Rock Painting
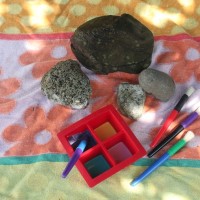
My Baba, (grandmother)who is probably one of the most talented, creative, do-it-all women I know, always made sure we had adventures to go on, activities to… Read More
Make your own Pebble Pets
After looking through her ever growing collection of pebbles Minnie decided to give some of them a little personality. She grabbed the googly eyes we'd been using for another craft, some art pens for ceramics, & set to work creating her pebble pets!
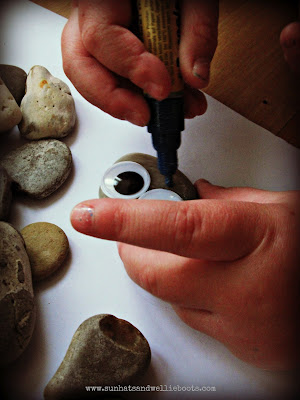
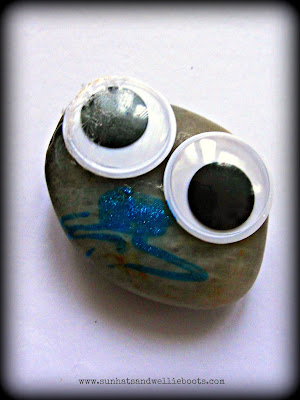
She decided her creations needed a home, so gathered together these sections of wood for the pebble pets, who were soon developing names & characteristics!
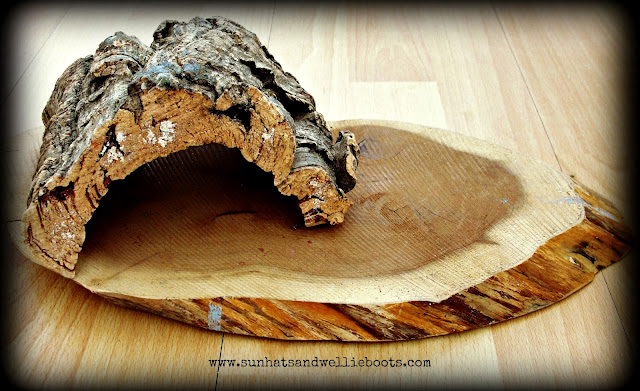
She added a few leaves & autumn nature finds from a recent woodland walk, & the pebble pets' home was complete. This play set up has been played with frequently, & the pebble pets have been taken on numerous adventures around the house & garden.
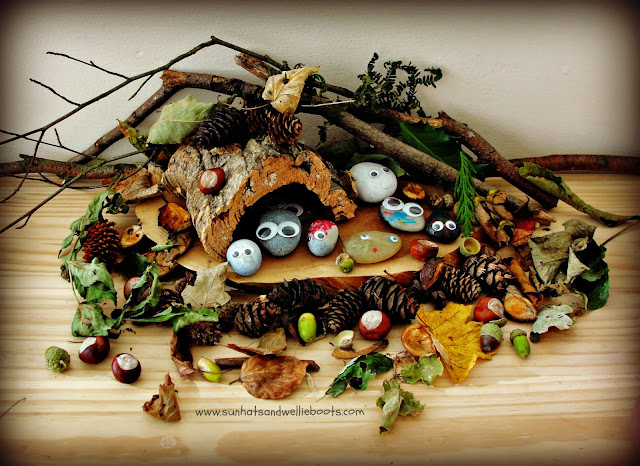
Individually they're also a perfect size to pop into a pocket, & one of the pebbles has been taken to school in the bottom of her school bag every day this week. (Great for providing a little reassurance & a link between home & school.)
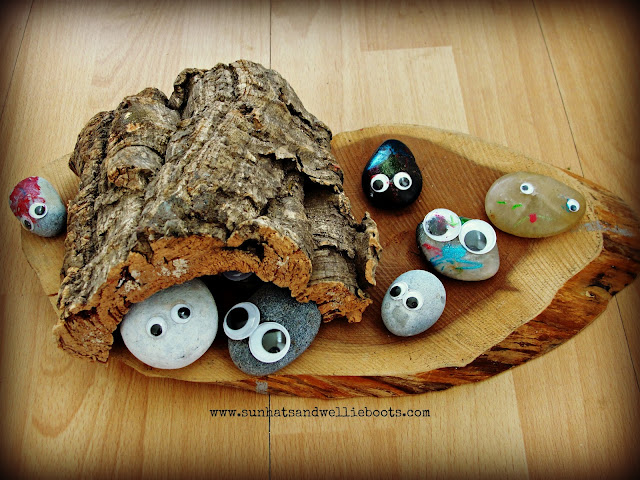
Love this simple nature based activity which encourages creativity, imagination, storytelling & more.
Incredible Rock Projects to Do with Kids
It’s the perfect time of year for rock projects! When was the last time you made your own pet rock? Or collected river rocks to paint? This is an awesome collection of rock crafts, activities, and science for kids that includes making beautiful garden stones and rock play.
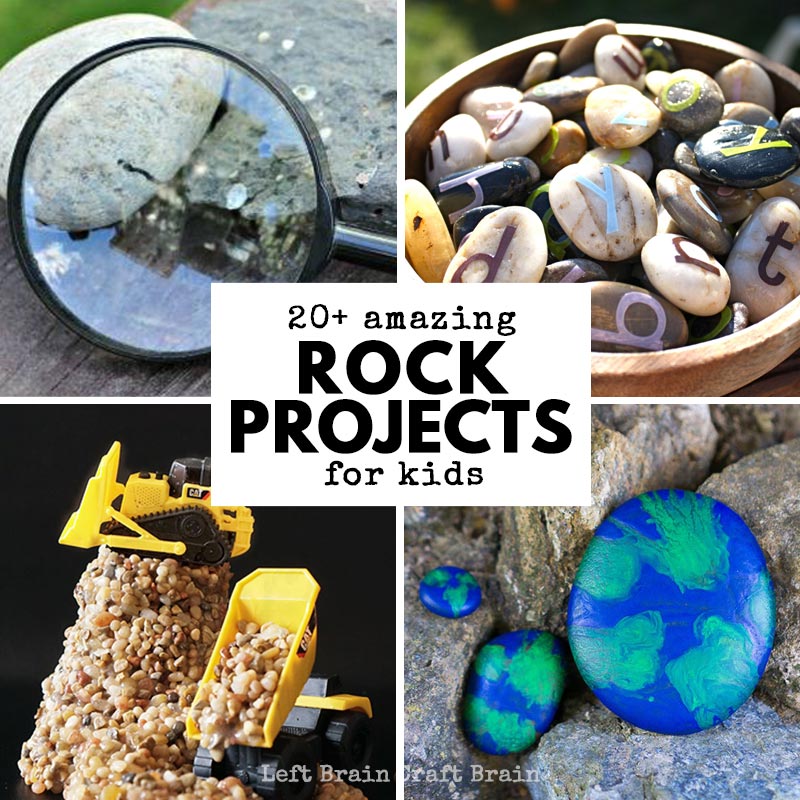
We are a participant in the Amazon Services LLC Associates Program, an affiliate advertising program designed to provide a means for us to earn fees by linking to Amazon.com and affiliated sites.
Rocks are all around us… Just begging to be picked up, played with, and learned from! First up are some rock crafts, then rock play activities, and rock science. Just don’t steal them from your neighbor’s yard ;)
Rock Crafts
Rocks are an amazing arts and crafts supply. They are one of our favorites because you can find them everywhere!
Pour Painted Rock Garden Markers|| Left Brain Craft Brain – These rocks are so fun to make and really look great in any garden. They make a great gift, too!
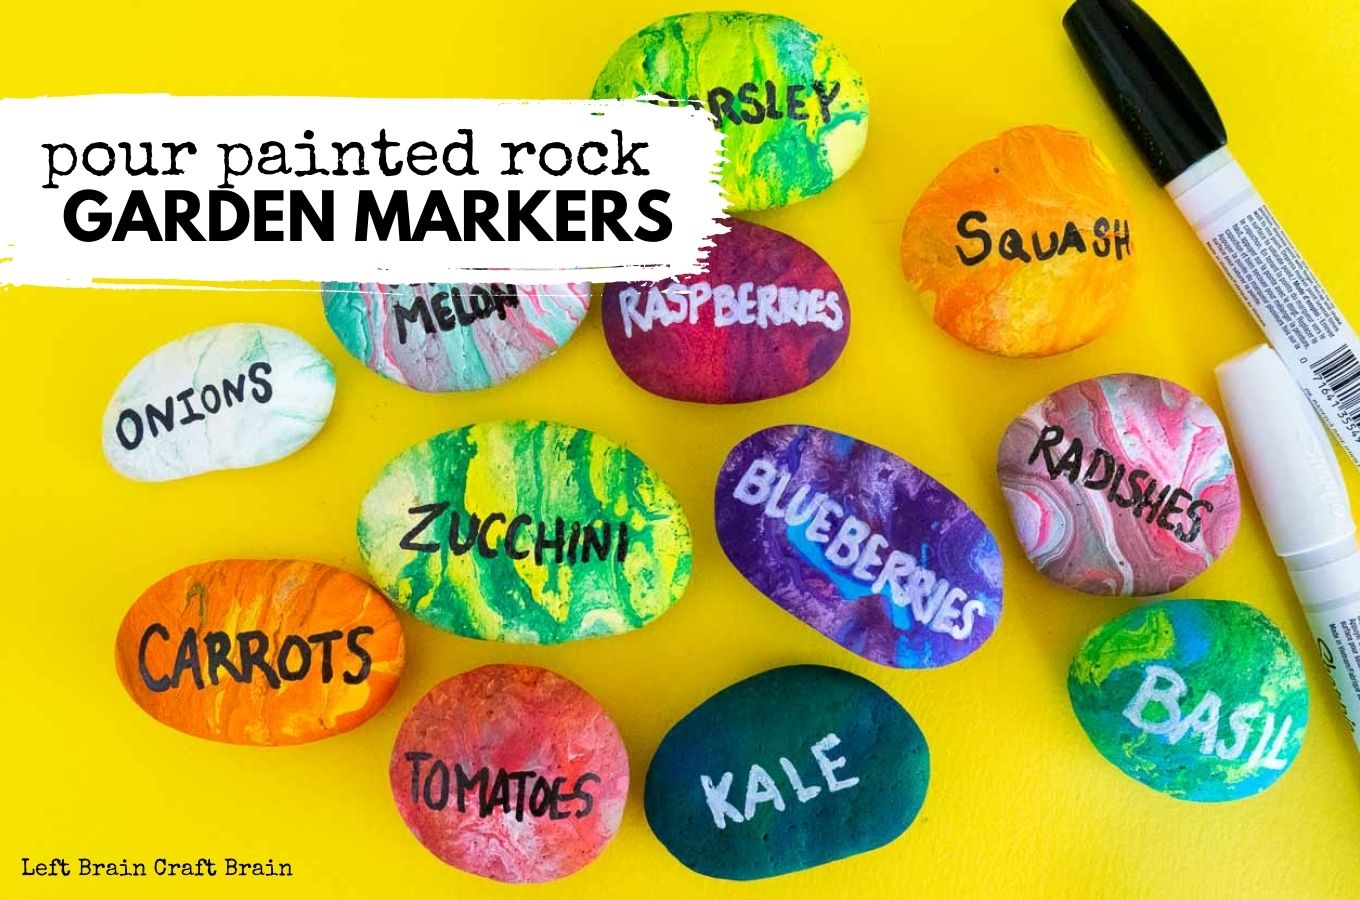
They’re a sneak peek into the STEAM Explorers Garden Ebook. The kids will love creating art for the garden, exploring the magic of vegetables (really!), and capturing critters in their garden journal! You’ll love the helpful standards-based learning, printables, and tools that make STEAM (science, technology, engineering, art, & math) exploration easy!
Earth Melted Crayon Rocks for Kids || Left Brain Craft Brain – We have created some really amazing rock projects in the past, but this is one of my favorites!
How to Make Story Stones || A Crafty Living – These planet-themed story stones and galaxy play dough are so easy to make and even more fun to play with.
Puffy Painted Rocks || Babble Dabble Do – This is your next go-to craft project! It’s a simple setup and makes beautifully painted rocks.
A Garden Treasure Hunt with Painted Rocks|| One Perfect Day – Create your own treasure hunt with painted rocks!
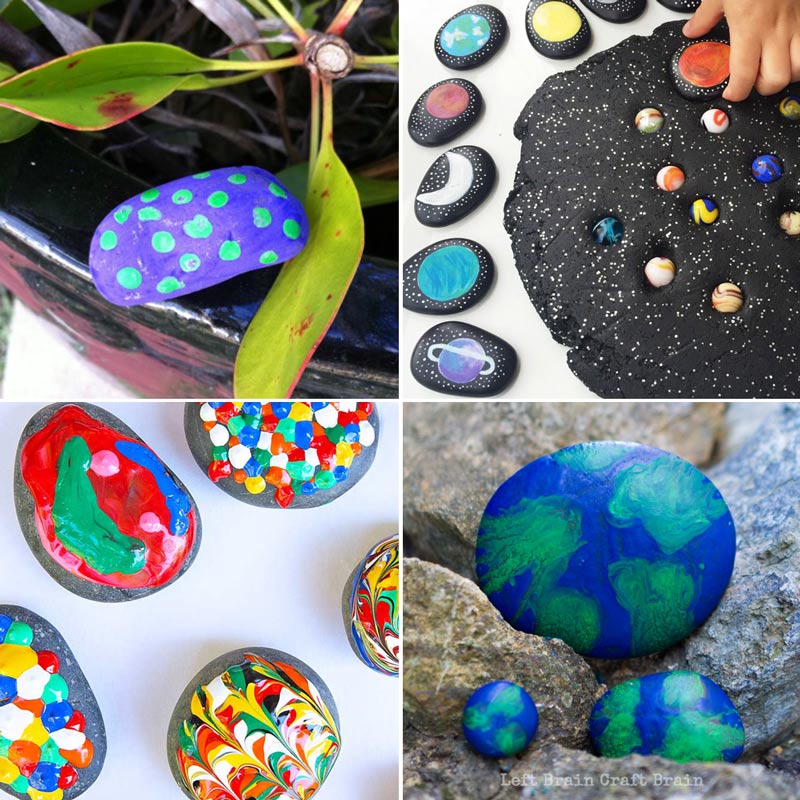
Make Your Own “Rock” Band || Fantastic Fun and Learning – Give your kids a chance to make their own rock band. They are going to love it!
Pet Rocks || Living Well Mom – I’m a sucker for DIY projects. Pet rocks have been one of my favorite things to create since I was a kid!
We will rock you…with googly eyes! | Little Moments to Embrace– This is adorable! Put a fun twist on your next pet rock.
Earth Day for Kids – Stone Painting || Twitchetts– Make earth day for your kids more exciting and knowledgeable by allowing them to paint rocks and learn about the texture of the earth.
Chalk Rocks|| Babble Dabble Do – Your kids are going to love this one. Make your own chalk rocks!
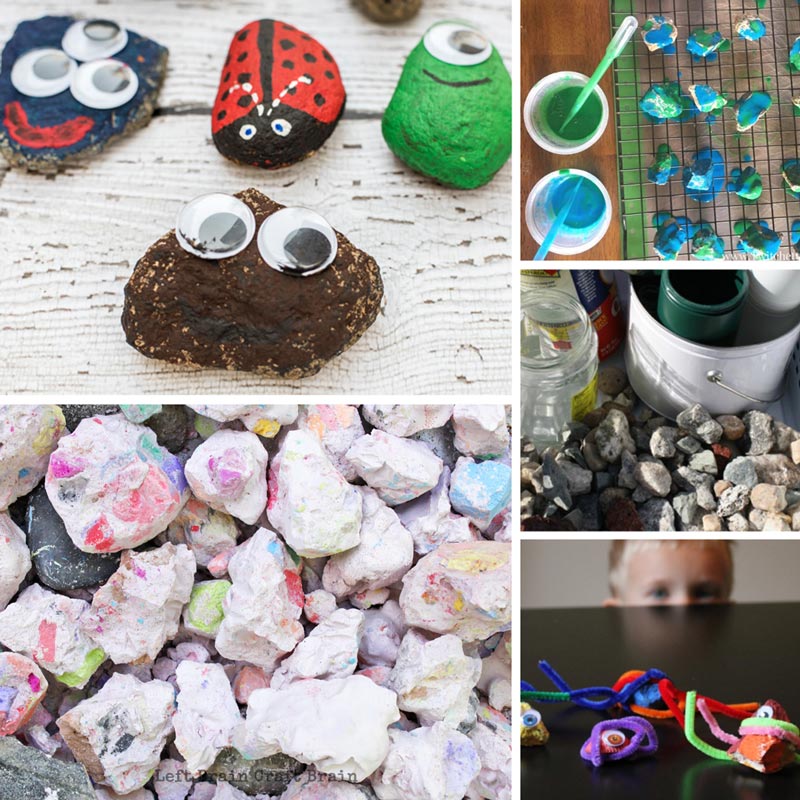
Rock Activities
Add a little play to your rock game with these fun rock activities.
Buildable Rock Slime|| Left Brain Craft Brain – Your kids are going to LOVE this DIY rock project! Grab a couple of your favorite trucks and have fun exploring. Check it out in action here.
The Rock Collection || Inspiration Laboratories – Kids love collecting rocks! Give them a fun way to explore their new rock collection.
Letter Stones || Buggy & Buddy – Have you tried making letter stones? It’s the perfect learning activity!
Rock Memory Game || Spell Outloud – Make a fun rock memory game next time you’re hanging out outdoors.
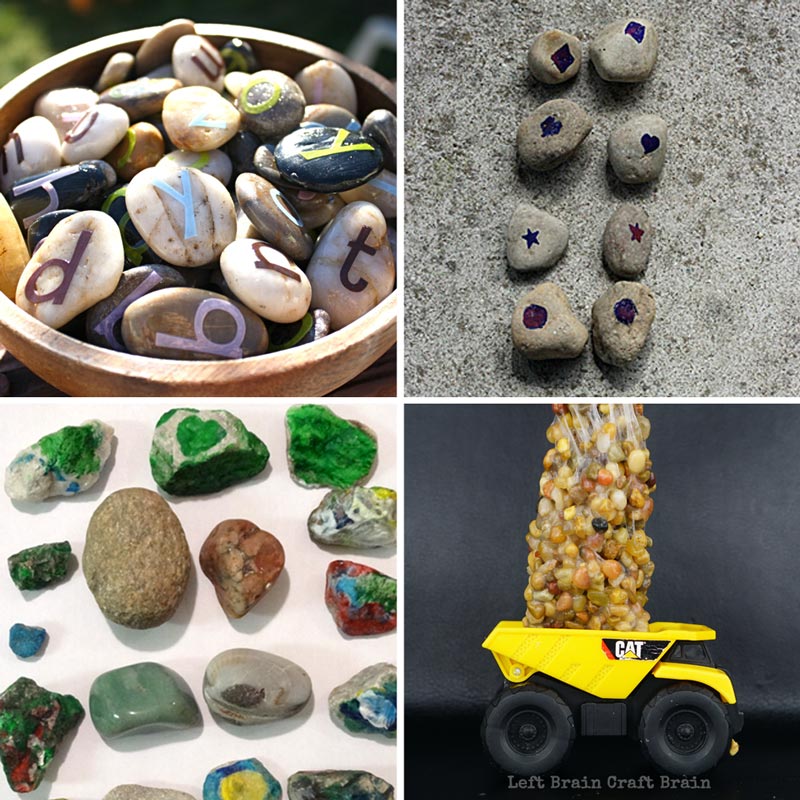
Play Dough Petroglyphs || Left Brain Craft Brain – Try adding a little history to your next creative, hands-on lesson.
Stone Craft: Build Towers || Inspiration Laboratories– Building towers are one common activity that kids love to do with their collection of rocks.
Rock Balancing Activity || Rhythms of Play – Wow! This will be one of your go-to rock projects. It’s a great DIY rock project your kids can create independently!
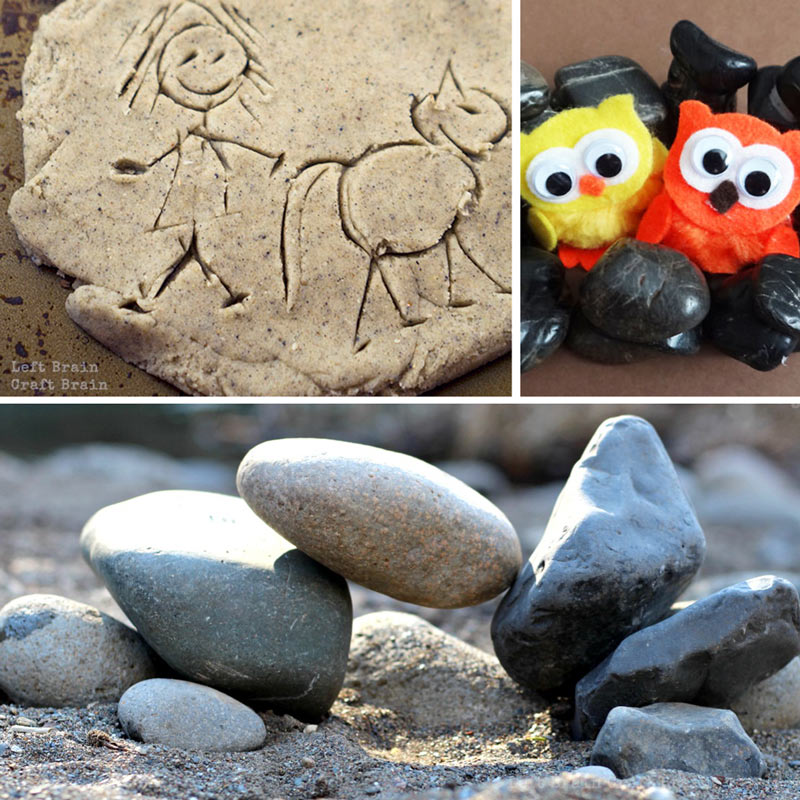
Mix & Match Painted Rock Faces
Painted rock faces are a wonderful nature craft to do as we are nearing Earth Day!
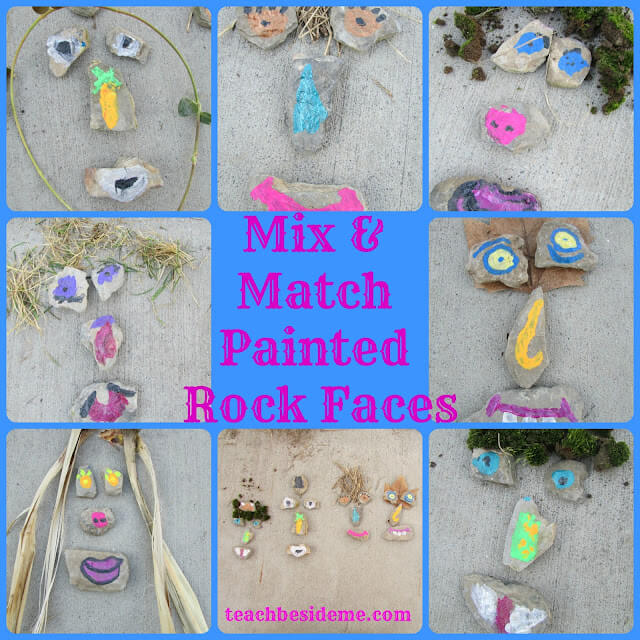
We had so much fun making these painted rock faces- and they were so easy to make!
How to Make the Painted Rock Faces:
To start, we went outside and collected some mostly flat rocks. Then we washed them off and let them dry in the sunshine. We are lucky to live in a rocky area, so rocks are easy to come by. (Perks of living on a mountain!)
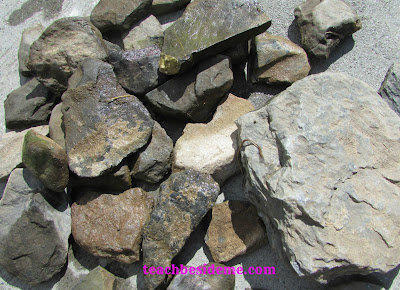
Next, we put out some newspaper and began painting the rocks into our silly little faces. We used an acrylic paintto make them more durable. My kids had fun coming up with different facial features and ideas for the painted rock faces. You can really get creative here!
For the eyes, try to find some rocks that are similar sizes and make a pair of eyes that match. Make a variety of shapes, colors and expressions so that you can have lots of fun mixing the facial features around.
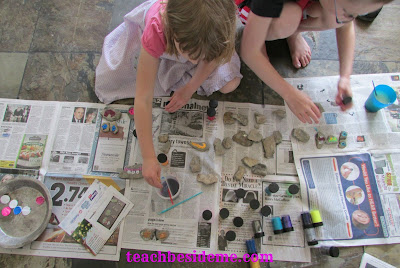
When the rocks are dry, start building faces with them. It’s like a giant never ending puzzle or art project! Use other parts of nature to make the hair and the heads. We used leaves, twigs, brush, grass, moss, and more! We really enjoyed assembling the faces and adding leaves or moss or twigs for hair.
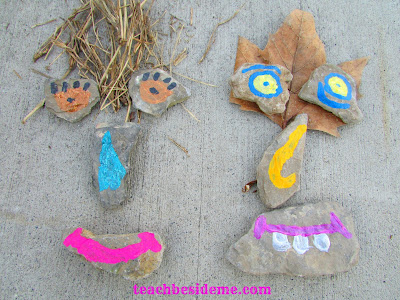
What was fun about this project is that my kids then began making up silly stories about the characters they created with their rock faces. It really go their creative juices flowing.
Aren’t these Painted Rock Faces adorable? I really love the way my kids painted these faces! You could glaze them with a varnish to make them last a lot longer, too.
HOW TO MAKE PAINTED ROCK FAIRY HOUSES - EASY ROCK PAINTING IDEAS
If you are looking for easy rock painting ideas for kids you will love these painted rock fairy houses. Follow our step by step instructions to learn how to make painted rock fairy houses using a few simple rock painting supplies. Kids will love this easy painted rock craft which will leave them with a fairy garden full of colorful painted rock houses. Even toddlers and preschoolers can get involved with making and then playing with this fun fairy garden idea.
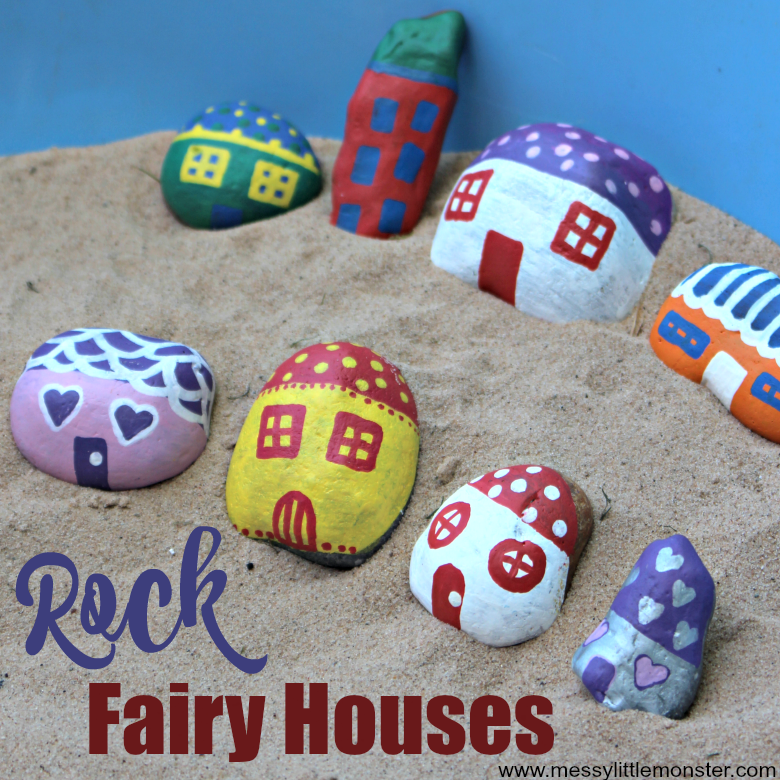
Rock painting and pebble painting has become such a big thing! We have been painting, hiding and finding painted rocks everywhere this summer, so I am very excited to share this easy painted rock craft with you.
If you have any spare rocks or pebbles left after making these painted rock fairy houses take a look at our funny face rocks(these mix and match stones are lots of fun) or our 'Old MacDonald' nursery rhyme stones, or alternatively check out our collection of rock painting ideas.
The fairy house rock painting idea that we are sharing today was made for our own garden rather than for hiding and Brooke (aged 3) has had lots of fun playing with them. If you know any toddlers or preschoolers that love fairies (or of course older children too,) you might want to take a look at our cardboard tube fairy houses, our plant pot fairy houses or our craft stick fairy doors.
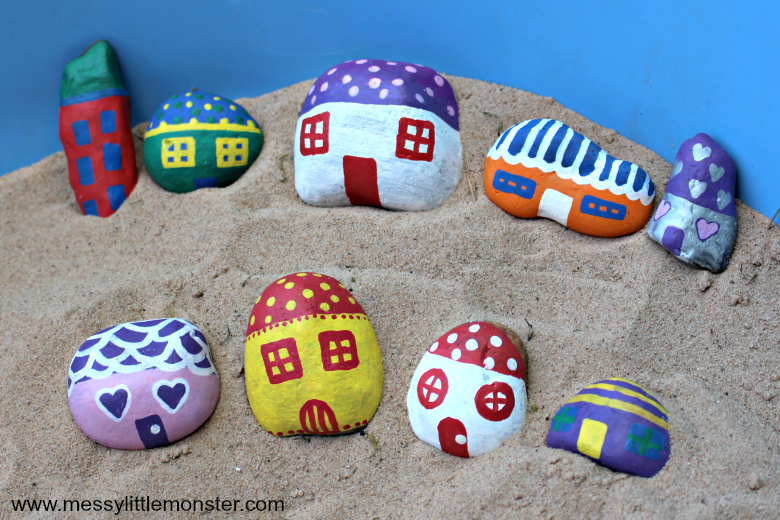
We made our fairy house painted rocks using paint pens (more details on the best paint pens for rock painting below).
Rock painting using paint pens means that even really young children can get involved and create painted rocks that they are proud of. It also means that there is far less mess than if you use paints. Another benefit of using paint pens for rock painting and pebble painting is that they dry really quickly so you are easily able to layer colors on top of each other. We made a set of rock fish using paint pens too!
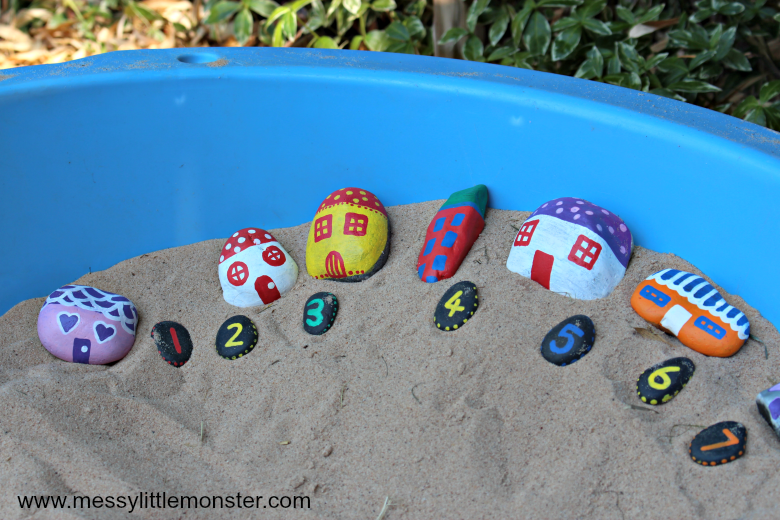
Rock Painting Supplies
I've supplied links to Amazon for easy purchasing! Just click the links below to be taken to the product pages!
Acrylic Paint Pens (I would recommend using acrylic paint pens for painting on rocks. They are easy to use and last well. We used a set of standard thickness paint pens to make our rock fairy houses, but if you want to add more fine details you may need to purchase a set of fine acrylic pens too)
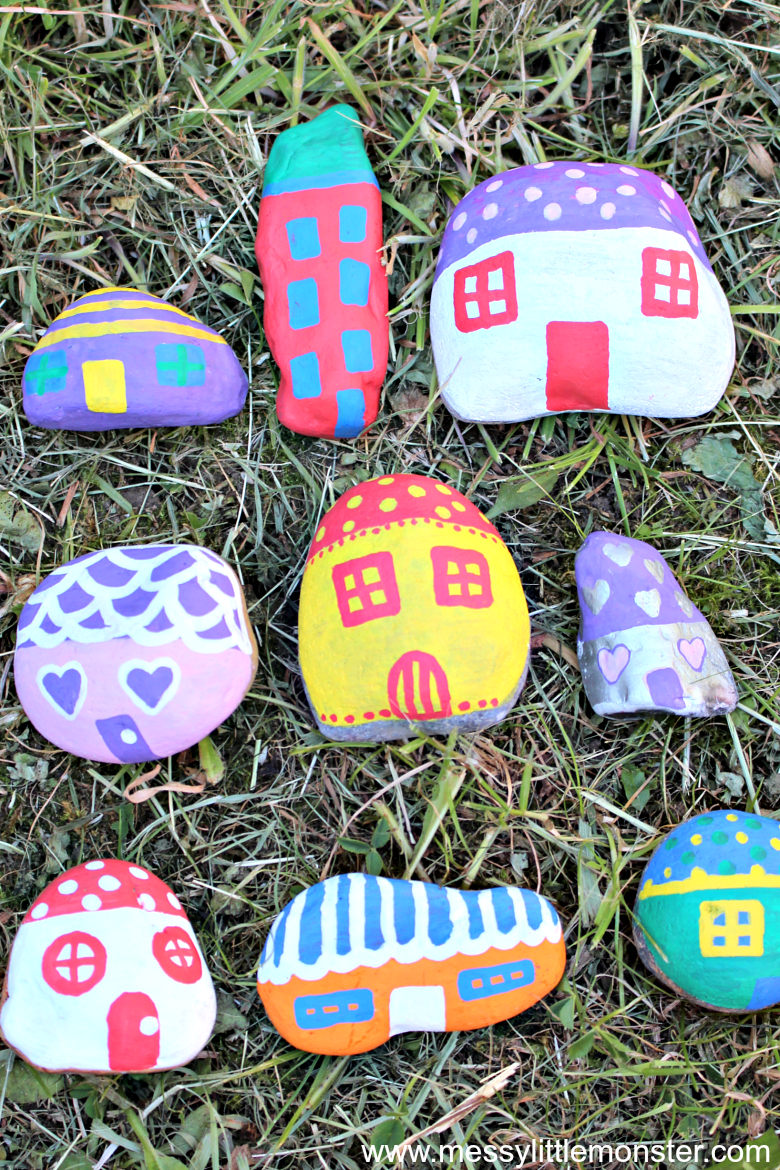
How to make painted rock fairy houses - easy rock painting ideas
STEP 1: Find your rocks, stones or pebbles
Finding the rocks, stones or pebbles that you want to use for this painted rock craft can be as much fun as the painting! Whether you go to the beach, to the woods or you end up having to go to the garden center, have fun choosing the perfect rocks. If you can't find any rocks suitable for painting you can get your rocks to paint from amazon. Think about the shapes and sizes that you want your fairy houses to be when picking your rocks.
STEP 2: Clean the rocks
Give the rocks that you have collected a wash with a little soapy water so that you have a smooth and clean surface to paint on.
STEP 3: Add color to the rocks using acrylic paint pens
Now it's time to add a little color! Begin by coloring the bottom half of the rocks using one of your acrylic paint pens. If you use a lighter color you may have to color a second coat of your chosen color, but this is easy to do as the acrylic paint pens dry really quickly. Once you have added color to the bottom half of all the rocks choose a contrasting color for the top half, this will create the roof of your rock fairy houses.
You could make all the rocks the same color or use a selection of bright colors like we did.
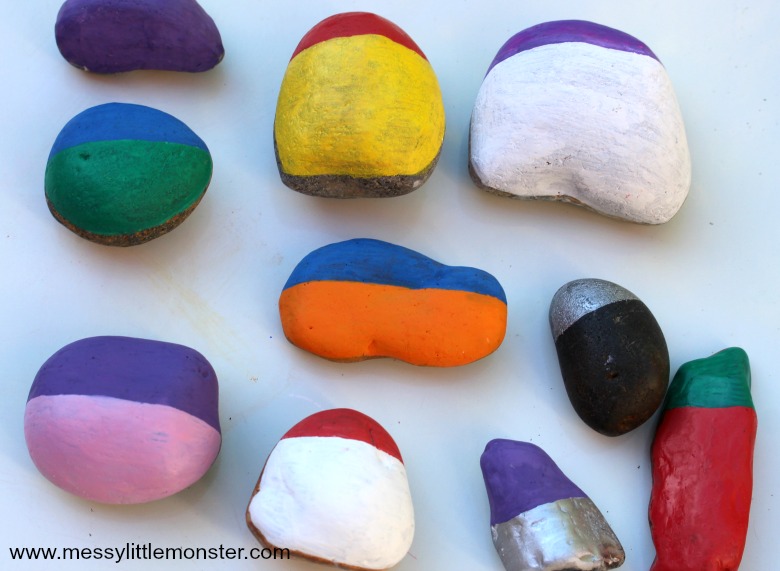
STEP 4: Add details to your painted rock fairy house
Once the base color has dried it's time to have fun adding details to this fun painted rock craft. Add windows, doors, roof tiles or just have fun adding patterns.
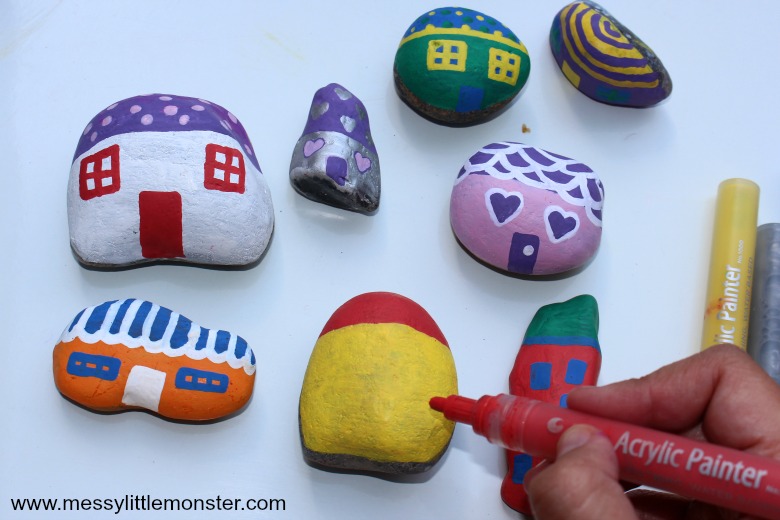
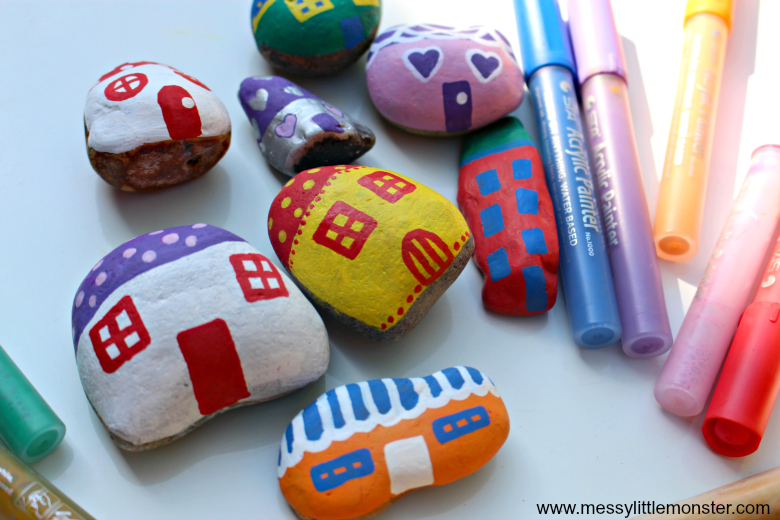
You really can't go wrong. Even toddlers and preschoolers can have fun mark making on the rocks to create their own fairy houses.
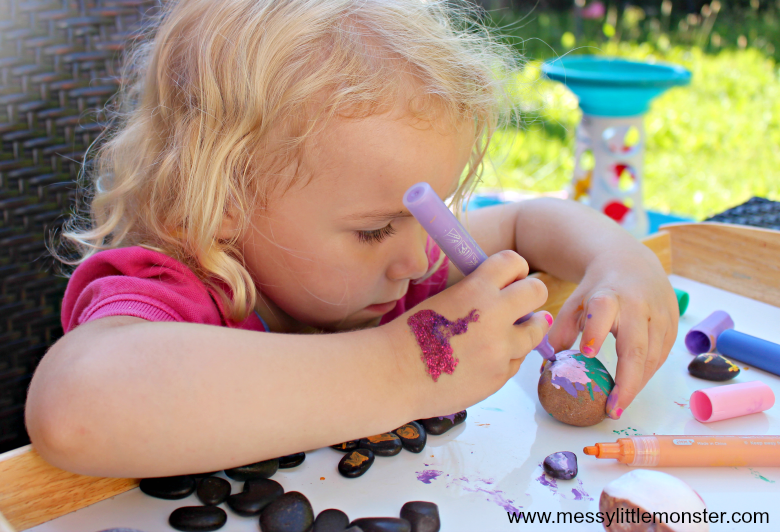
STEP 5: Seal your painted rocks
If you want your painted rocks craft to be weather proof you will need to seal your painted rocks. We have added a clear spray sealer that works well for sealing rocks to our rock painting supplies list above. You will need to spray your painted rock fairy houses outside in a well ventilated area. We sprayed a couple of coats to make sure they were totally weather proof.
The painted rocks will feel a little tacky for a while after they have been sealed, so it may be a good idea to leave them overnight before playing with them.
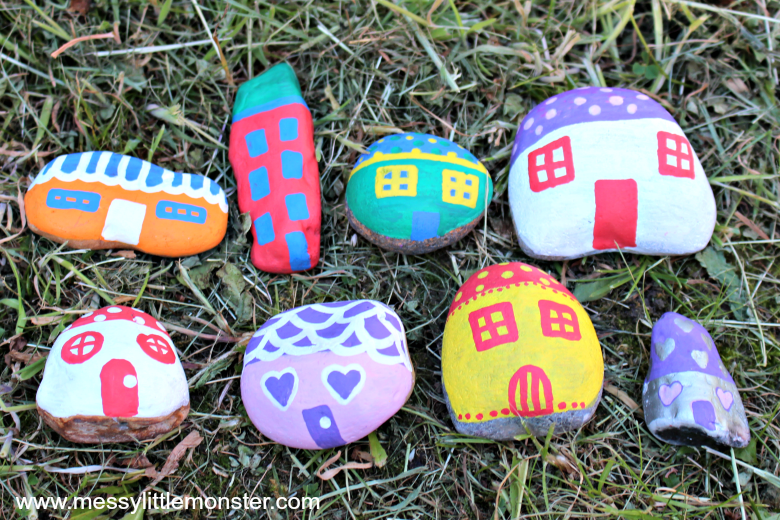
STEP 6: Create a rock fairy house village
It's fun to make a whole collection of these painted rock fairy houses. You could either place all of the rock fairy houses in one place to create a fairy village or spread them out across the garden.
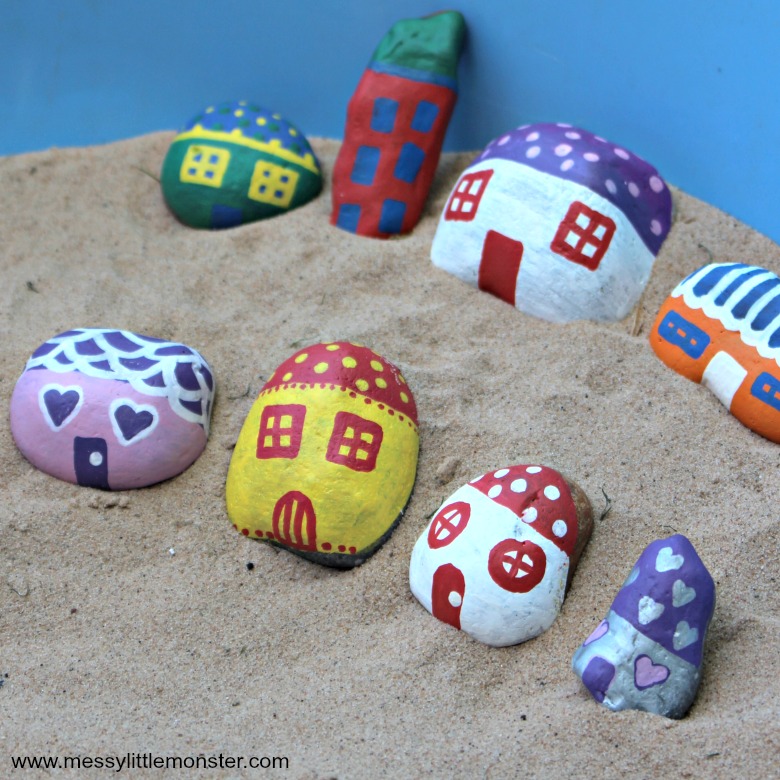
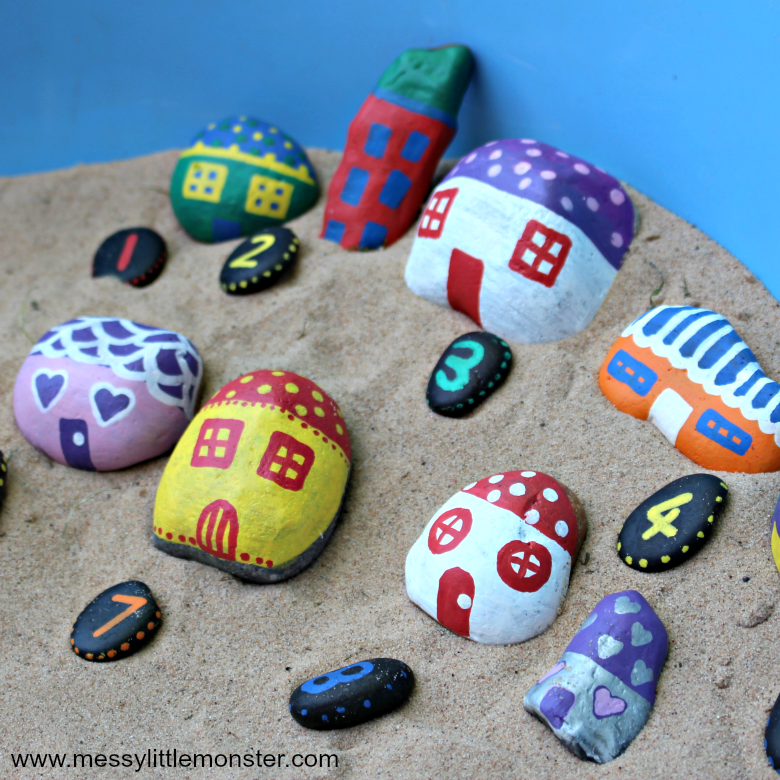
We even added house numbers to some of our rock fairy houses.
STEP 7: Engage in fairy themed small world play
If you are making this painted rock craft for preschoolers or toddlers they will have SO MUCH fun engaging in small world play once the fairy houses have been painted.
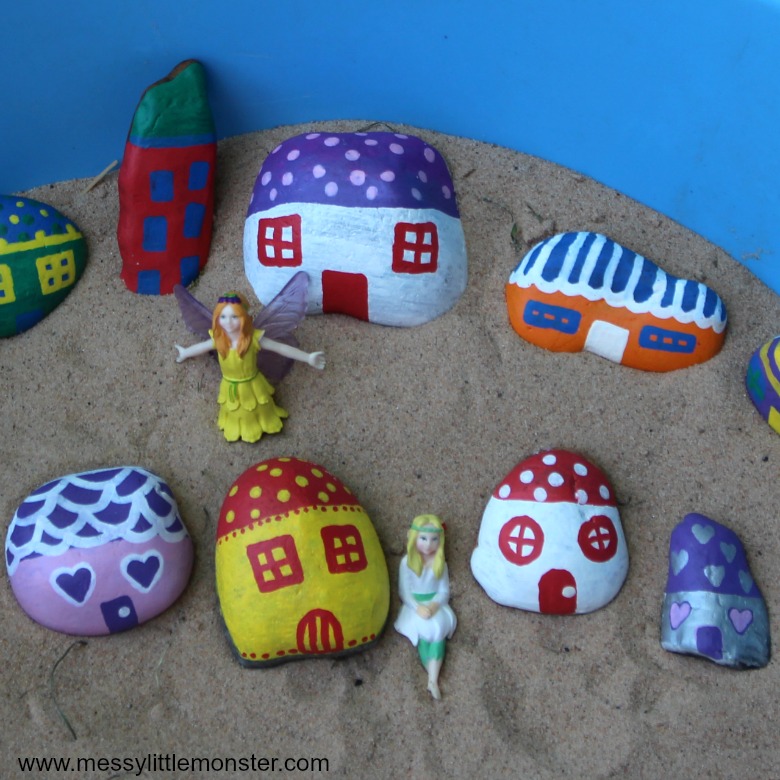
Brooke (aged 3) loved setting up her painted rocks in the sand pit. She had loads of fun moving the painted rock fairy houses about in the sand to set up different villages and she loved bringing her fairies and other small world animals into her play.
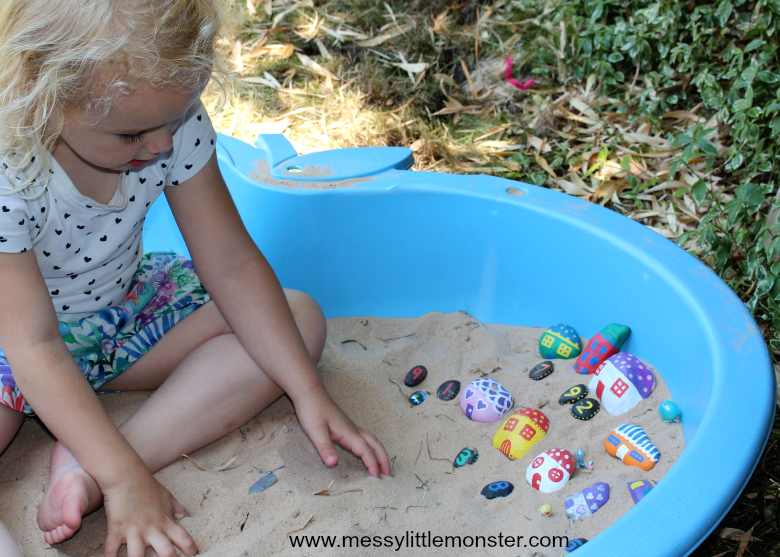
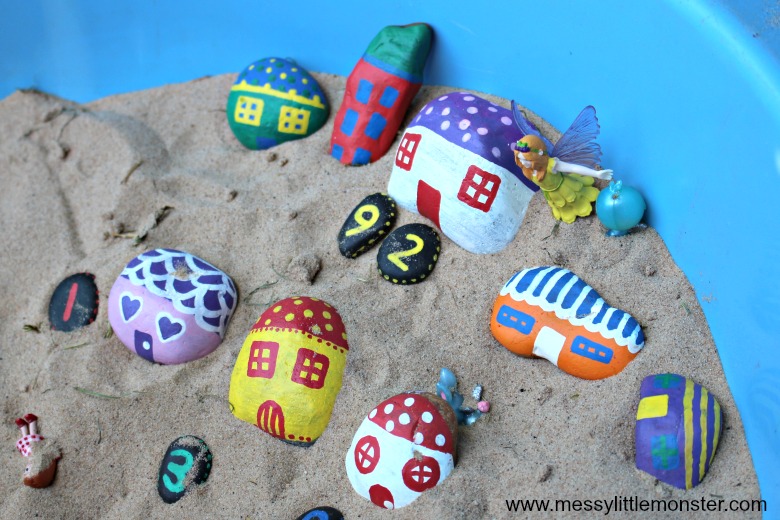
It was lovely watching her use her imagination, we had fairies moving house, getting new pets and even a sand storm!
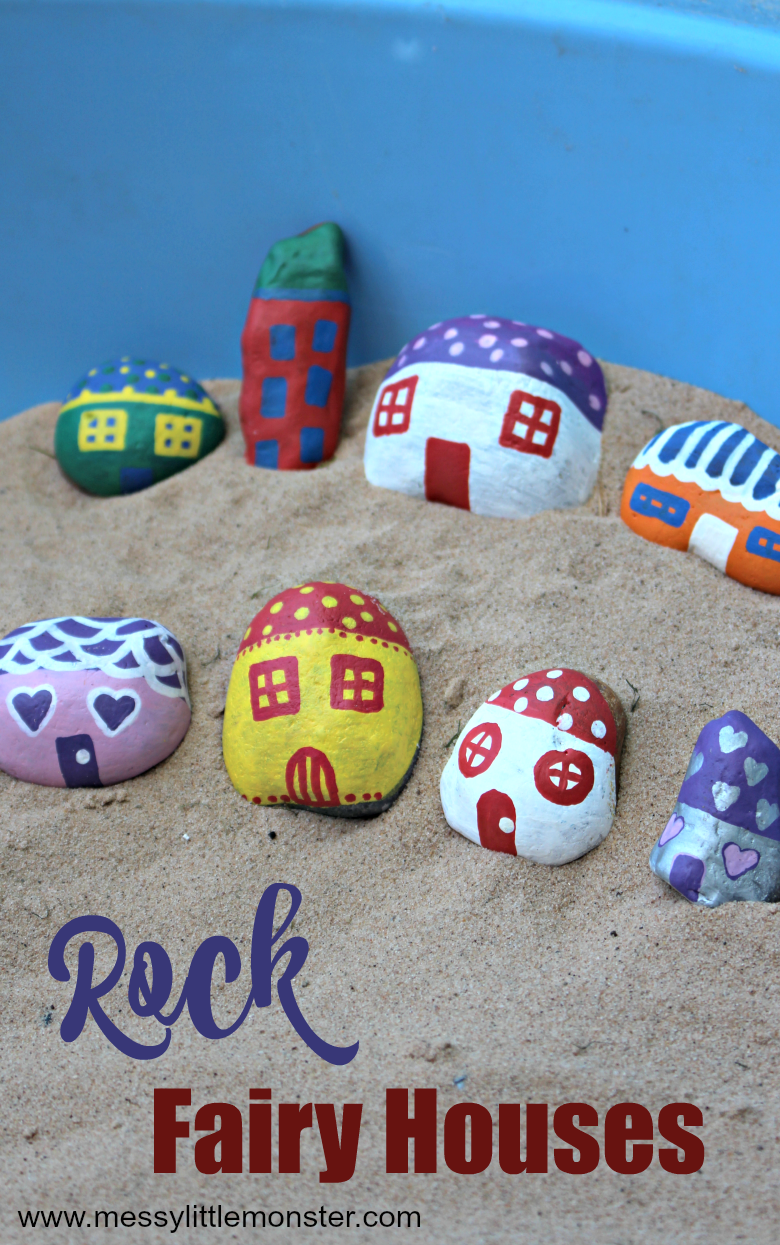
We hope that you enjoy making and playing with this painted rock craft as much as we have! Kids of all ages from toddlers and preschoolers upwards will love making a fairy garden using a set of these painted rock fairy houses.
If you want to try more easy rock painting ideas for kids take a look at our fun rock faces and painted rock fish.
More Hands-on Fun for Kids
Looking for some more STEAM inspiration that you can use right now? Instant gratification style? Check out STEAM Explorers!!The coolest creative experience for kids is here! It's a digital book of the month club filled with tons of fun stuff for the kids to do and learn. All engineer, teacher, and mom-approved. And most definitely KID APPROVED!
GLITTERY SEASHELLS & ROCKS
This Glittery Seashells Craft is the perfect summer craft! They’re easy to make, colorful, glittery and kids will love the process!
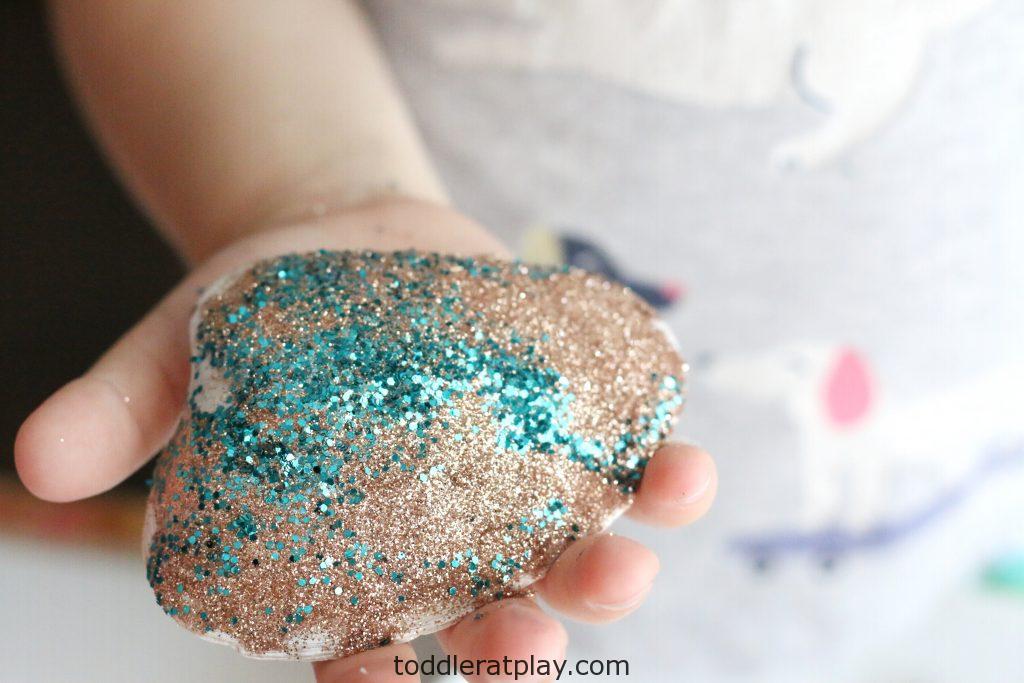
MATERIALS:
Seashells
Tray with rim
Spoon to scoop
INSTRUCTIONS:
Start by placing the glitter into the tray. You can “layer” the glitter by alternating the colors, you can mix the glitter together to create a new color or you can even “draw” something with glitter. You’ll be stamping the seashells into the glitter, so get creative! Next, paint the seashells with the paintbrush and glue, making sure to get every corner nice and evenly. Now, stamp the seashell into the prepared glitter, using the spoon to help scoop the glitter onto the empty spots and let dry completely.
DIY Car Track That Rocks
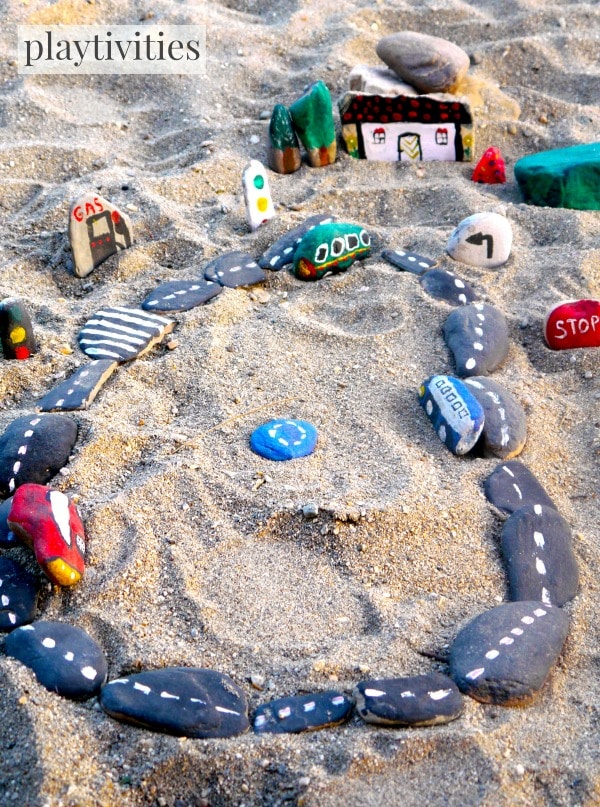
DIY car track with cars, gas station, some street signs, trees and a house is finally in our sandbox and on the blog of course for you to see.
Instead of spending hundreds of dollars on plastic car tracks (that will be broken and lost in no time) you and the kids can create something that will last you a lifetime (and longer). It's a perfect craft which turns into even more perfect toy. Can it get any better?
I love that every rock gives a child many creative challenges such as: different shape, texture, size.
The story behind today's craft and activity
Our little baby toddler is turning into a real boyish boy. He loves cars, actually anything that has wheels. He would try to imitate car with about anything. And then one day he picked up a rock that really reminded a shape of a real car and start playing with it...
As it happens with most of our crafts and activities, the inspiration moment has happened and mama is heading for some paint, brushes and more rocks.
Later on we went on a hike and picked some rocks of different shapes. While we were "shopping" for the rocks Sofia decided that we should make a road for them. Suddenly, our rock basket became "slightly" heavier.
Since we were making the road, we decided to add some road signs, gas station and a house with some trees.
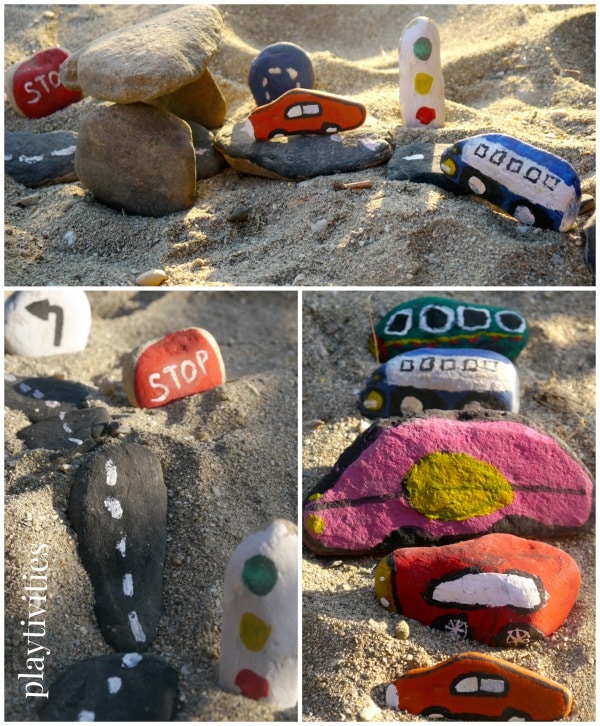
How we painted the rocks
1. We washed them and dried them in the sun.
2. We used acrylic paint.
3. We tried to work in stages: first we colored rocks with the base color, then waited it to dry and then on top we added other colors if needed.
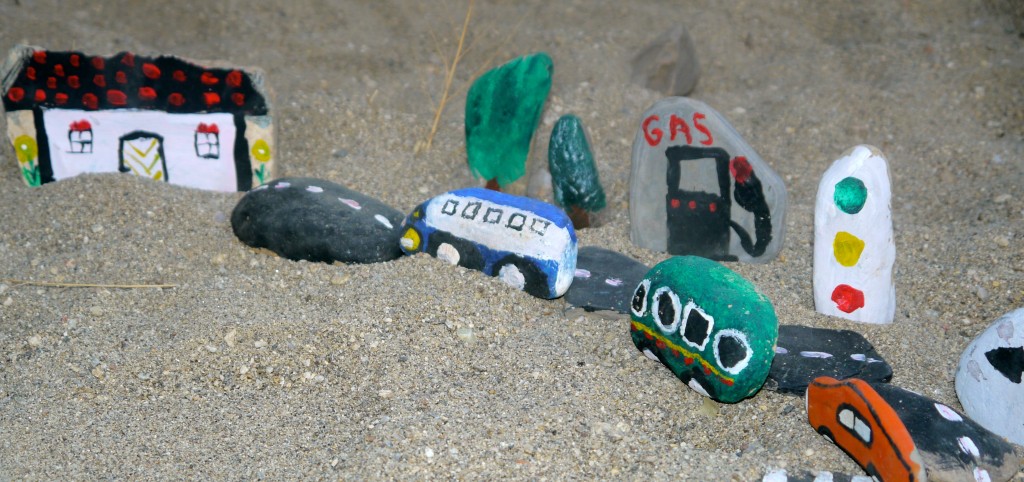
Remember
You don't have to do it in one day. We didn't. We painted some and continued on next day and next day. I think it took us maybe 4 different times to finish them up. It's all about fun, isn't.
Why this toy is amazing
I am not a bragger, but this one is really a 'killer' around our house (sandbox) now.
I love this DIY car track set for many reasons.
1. It's portable. After kids done playing they can just put everything in the box, so the sun and the rain won't damage them. It's also perfect to take it to the beach (if you can convince your husband to carry those 50 rocks).
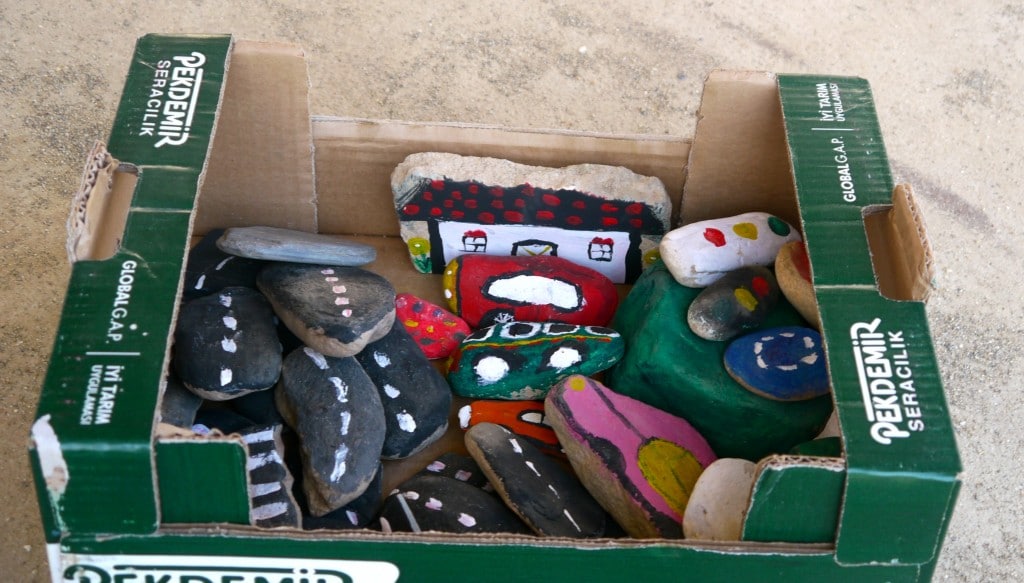
2. You can customize it. Kids can build a new set every time. By changing up locations, turns, stops and traffic lights. It's a part of the game for them.
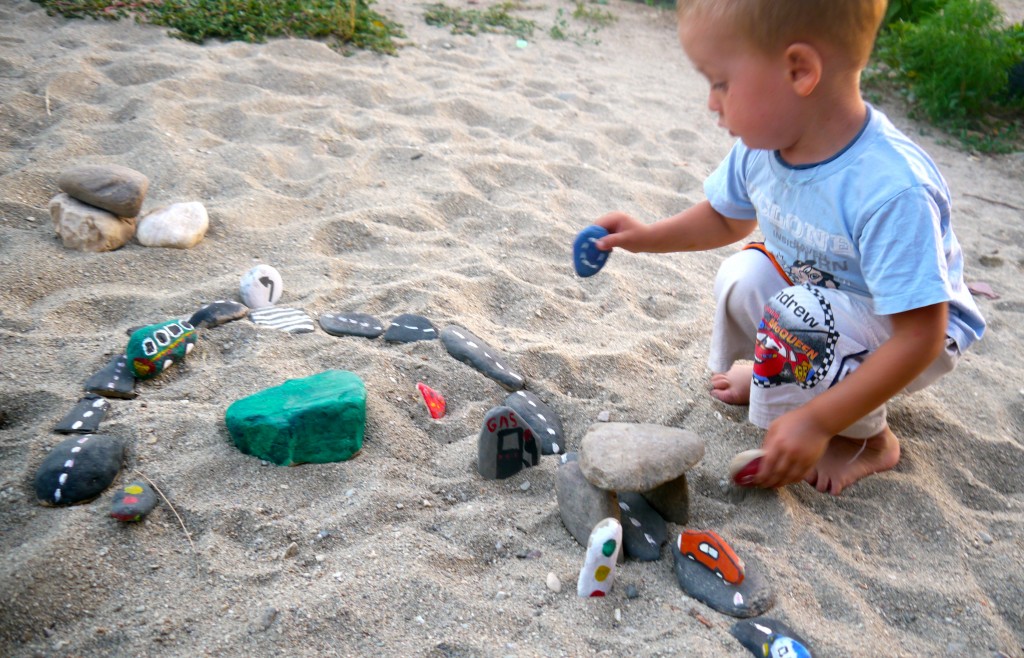
3. It's very easy to add on and expand this set. Add more road, houses and you have yourself a whole rock town. You could even add people rocks.
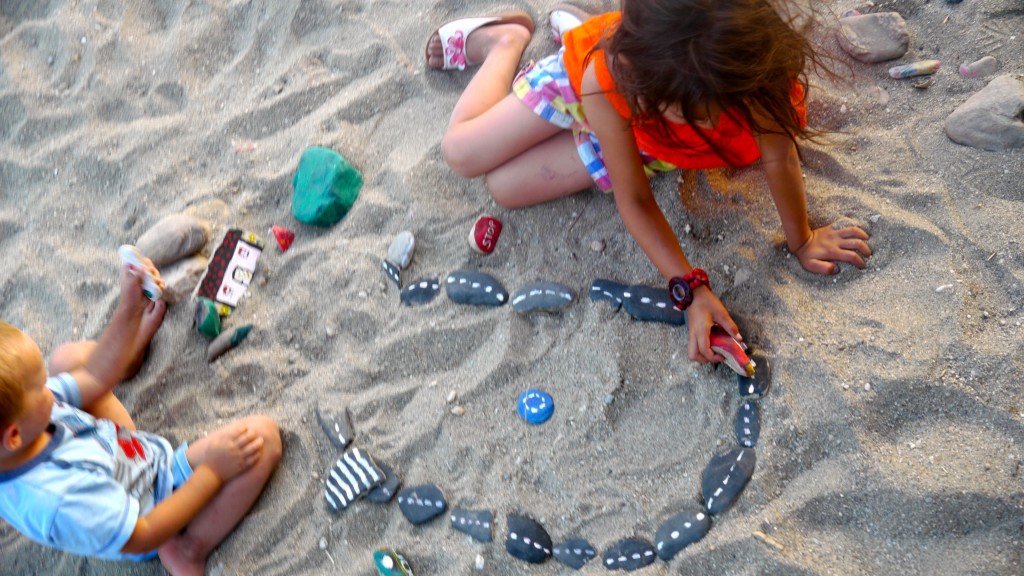
4. Playing it on the sand is so much fun. We experimented with the relief by making little hills from sand and digging holes for rivers and lakes.
5. It's easy to position the rocks in the sand.
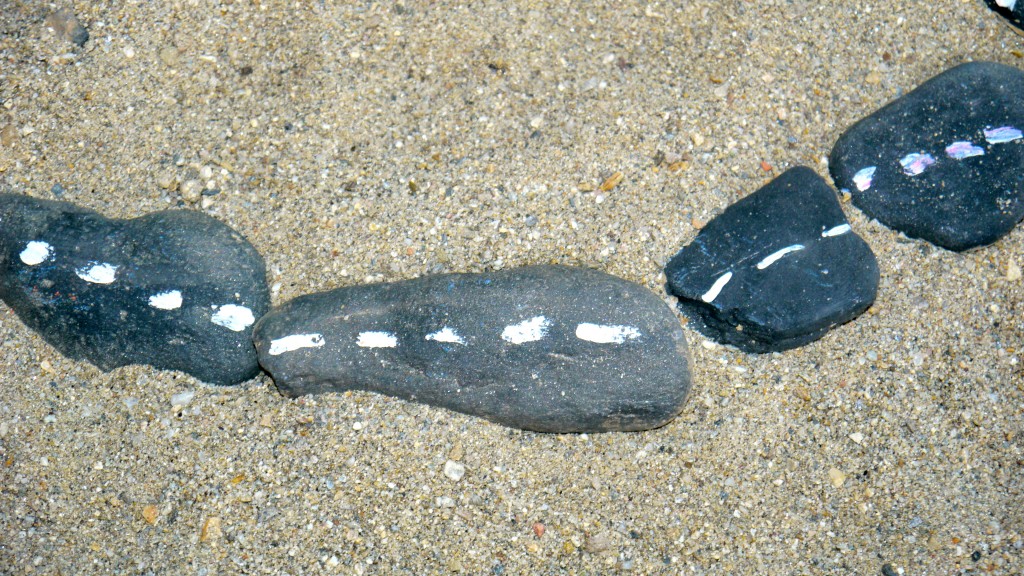
6. But I guess the best part about this DIY car track is that it will never brake. Literally. The color might ware off after some time but the shape will stay.
7. Painting rocks is very relaxing. And addictive. It truly is. You should definitely try it.
You might notice that we are slightly obsessed with rocks. We had this very colorful storytelling activity that literally rocked, then kids had an awesome free play with rocks, where they came up with 5 rock activities.
5 Tips for Climbing with Kids
Take your little monkeys climbing they will love it
Introduction
Kids seem to naturally climb everything; stairs, chairs, railings, fences, trees, and the list goes on. There is something universally fun and natural about climbing. Playgrounds wouldn’t be so popular if climbing stuff wasn’t fun!
3 year old rockin’ out
We have learned that if our young kids see us doing something they will likely be eager to try it out themselves. We found this for skiing, snowboarding, hiking, biking and now climbing. Spending time together is our top priority. The planning and effort we put into getting the kids out with us is always worth it.
5 Tips for Climbing with Kids
1. Show & Tell
Start taking your kids to the crag, bouldering, show them climbing movies and talk about climbing. We try to show and tell before we have our kids try a new sport. We find this process makes them excited and less nervous.
Dad’s taking the lead
2. Location
Location, location, location! Do your research and choose an appropriate location. There is a lot of awesome sport climbing that requires a significant hike, and although these crags may be less busy or ‘better’ climbing the convenience and ease of a short approach is often blissful in comparison. Our advice, at least to start with, choose a climbing location that has an easy approach for your kids. Some approaches are so short you can almost belay from your car, these are amazing with small kids. The small pleasures of a cooler, lots of water, changes of clothes and toys you don’t have to take from the car unless needed is convenient. There are a number of great climbing locations for kids in Alberta and British Columbia. I’m sure you can scope them out almost anywhere in the world. We will put together a list of our favorite family climbing locations soon.
Parking lot to access crag, now that’s a short flat walk
3. Gear
Kids need the same gear as adults. Take all the same gear like you are hiking plus climbing gear. The list may include hats, sunscreen, shoes, a toy, layers, etc. Climbing areas are often cooler, at least in the Canadian Rockies, so we often pack our light down jackets in case it’s chilly. For our daughter we have a child’s climbing harness, shoes and helmet. If the climb is close to the car pack a picnic blanket, cooler, and other extras you might enjoy.
Toddler sized climbing harness and shoes
4. Drinks and Food
Snacks are always on my list, we love food and lots of it. Bring sandwiches, fruit, nuts, treats, and make sure to bring extras to share with friends (especially kid friends). If the climbing area is flat we bring a picnic blanket to relax and eat on.
The amount of water a family of 4 can drink is sometimes shocking. We bring our water jug for the car even when we aren’t climbing by the car so we always can re-fill when the day is done. We bring at least two liters of water for our dog as well. The dog water bowl always gets tipped over and other dogs often find their way to it as well.
Picnics and climbing go great together
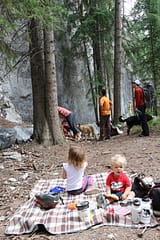
5. Friends
Have a small group of kids with you. This may not always be possible but having playmates for the kids helps entertain, takes a load off adults needing to entertain and they are awesome cheerleaders for each other and adults.
Crag buddies
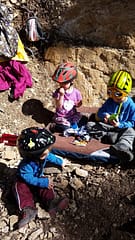
If you don’t climb but want to give your kids the opportunity to learn check out your local climbing gyms, many do camps and lessons for kids as young as 4.
Check Out Other Great Climbing With Kids Posts
Climbing with Preschoolers - Born to be Adventurous
Kids Climbing Gear - Off-Road Discovery
Rock Climbing with Babies and Toddlers - Off-Road Discovery
Rock Climbing with Kids:
Must-Have Gear for Little Adventurers
Toddler and Youth Rock Gear and Tips
