Nature Play that Rocks
tODDLER LITTLES NATURE CRAFT FAMILY

Little Explorers
Wonder filled nature exploration

Toddlers need interesting things to look at, as well as a variety of sounds, temperatures, and smells. Research shows that being outside gives them a more meaningful sensory experience than being indoors. Imagine the difference between lying on a blanket outside watching the flickering leaves of a tree, feeling the sunshine and the breeze, hearing a dog bark nearby and smelling freshly cut grass. Now contrast that to lying on a blanket in the house and looking up at a ceiling or mobile. The sensory experiences cannot be matched. 

Their senses are stimulated by vibrant colors, new scents, the attributes of temperature and weather, and the natural sounds like birds, bullfrogs and crickets. Nature is balanced just right for stimulating their senses. I love just hanging out with children outdoors and doing whatever peaks their interest for that day. If you can just go with the flow, the day will be a great adventure. H. M. Fales

5 Ways to make wonder a part of your child’s day

5 Ways to make wonder a part of your child’s day

Your child was born full of wonder. Everything seen, tasted, touched, smelled is a first time experience met with exploration.

These experiences lay the foundation of brain development and learning. What gets emphasized as important in the first 5 years of life, actually shapes how the brain functions.

Connecting to nature everyday is a key environment for wonder. Even more than wonder, studies show that time outdoors supports your child in every major developmental way - intellectually, emotionally, spiritually and physically. This is reflected in better creativity and problem solving.

Time in nature has also been shown to reduce ADD symptoms as well as improve social relations, reduce stress, and increase well-being.

And then there’s the wonder. Nature provides the perfect space for seeing the beauty of our world. It encourages creativity, and gratitude for its stunning range of shape, color and texture.

The key to getting all the benefits is to make sure you and your child get frequent and very regular doses.

This is fantastic news for you as a parent, because it is something that you can provide so beautifully each day. You do not need wilderness to get the benefit of nature. A tree and a patch of grass will do perfectly.

Here are 5 easy ways to make wonder a part of your child’s day:

1. Visit local festivals, gardens, zoos, aquariums or animal refuges where other families are enjoying being out in nature… with a camera! 

Sometimes we just need to feel apart of group that loves nature, in order to see how others enjoy nature. Snap a picture of ideas that you or your children seem interested in so you can replicate it in your family outings. I took Hope to the beach one day. She heard the family near us say that all the white kids seem to be having fun. Hope hates racism, but noticed the disappointment on their little girl's face. Hope got up and took it upon herself, to make sure that girl learned how to have some fun on the beach.

She told the parents that on her first trip to Florida she was so concerned about the dirt in the water that she almost missed out on having fun at the beach too. Then offerred to show the little girl a few ways to enjoy the beach. They made drizzle castles and played in the sand and Hope got the whole family to run from the waves as they came in, and asked if they had a camera. She started taking pictures and the family turned into typical beach goers and started posing. Within a few minutes they were enjoying their day at the beach.

Sometimes it takes another person to give you some ideas then you can just roll with it. Your kids will find ways to have fun. Which brings up another thing to use your camera for. Taking pictures of your family or tribe always amps up the fun.    

2. Plan a listening hike or discovery hike

People say that the birds will tell you all sorts of stories about the world. I have got to tell you that I have never understood that quote. However, how many stories can you hear? Turn on the spy skills to see how flowing the sound of all the wildlife will lead you to the wildlife that love to live in the wild if they can become a nature spy. They need to quiet themselves and stay hidden in order not to scare the animals away.

3. COLLECTING NATURE’S TREASURES

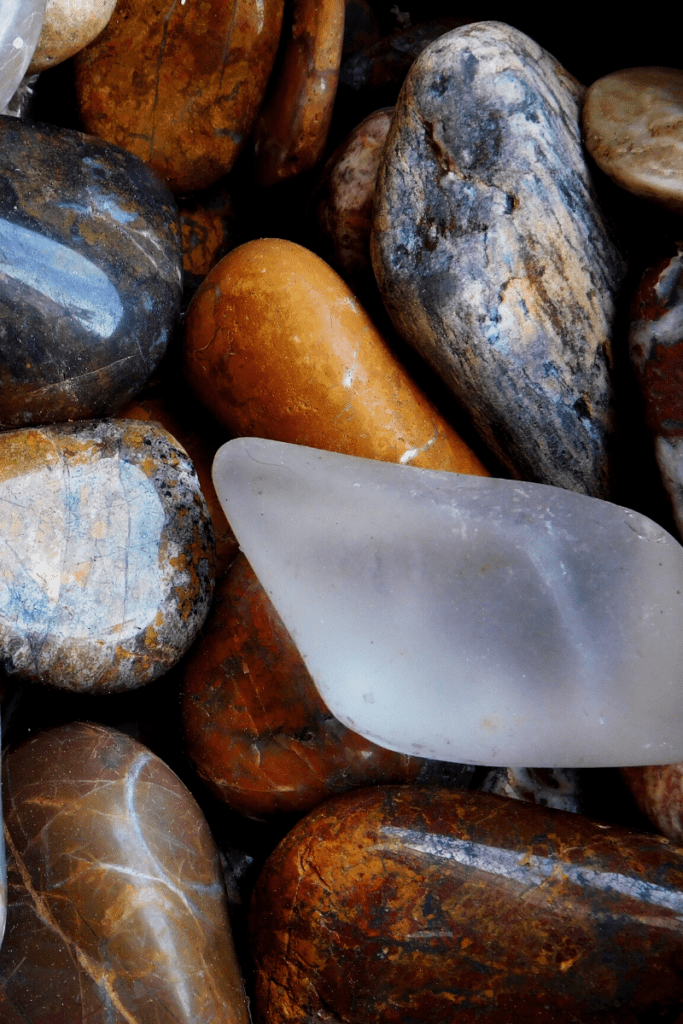
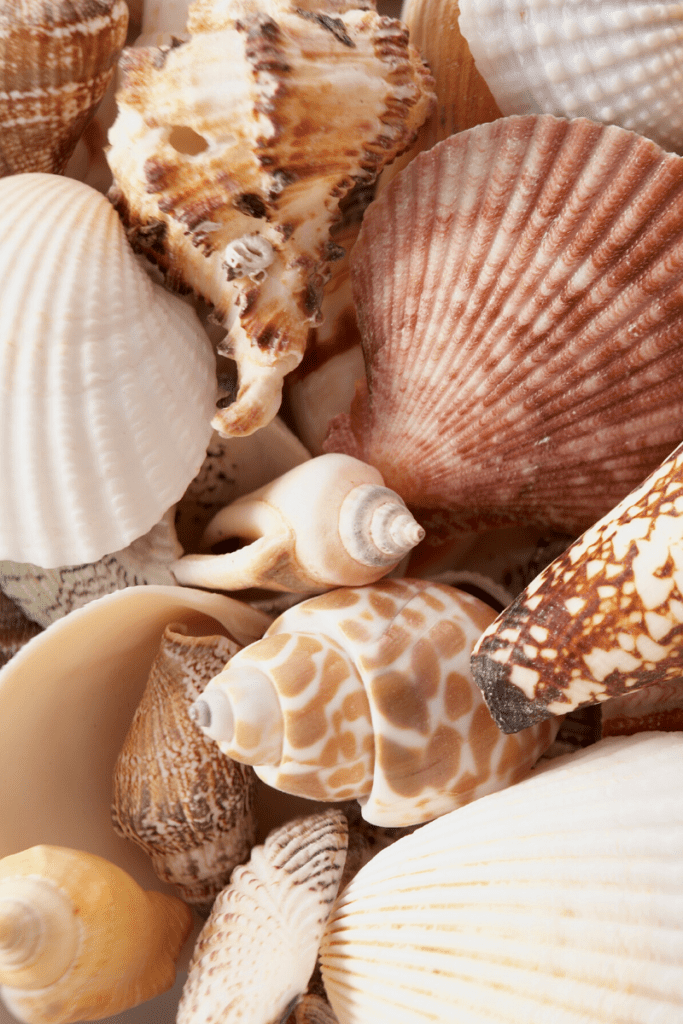
Collecting small pieces of shell, stones, flower parts and leaves are all fair game for creating nature art or to stay and play awhile.

Give children time to enjoy and explore anything that captures their attention. Learn some interesting facts about the native plants and berries that can be useful or enjoyed on your hike. So much can be done with cattails creatively and nutritionally. My great grandma taught me about cattails in the ways that they enriched the lives of the local indians since I have always been interested in the stories in history.

4. JUST ADD WATER

Water in any outdoor environment makes play so much fun. Containers, or a small hose or sprinkler bring the idea of flow to your child.

5. Watch the sky

Where is the wind coming from? Hope was always mesmerized by seeing the wind. What shapes do you see in the clouds? Looking at the cloud shapes always focused and calmed my boys. Can you find the sun? It has a lot to do with whether the boys could take their shirts off as they explored. The moon? Well it changes the forests quite a bit and the wildlife that come out at night are totally different. As your children grow, night hiking is a great way to explore nature.

Watching the sky is also a great way to keep the sense of being part of something incredibly big and beautiful.

When you realize how simple yet powerful daily outdoor time can be for your child, you will find many 'reasons' to play in that world. And, you yourself will get the benefit of the time spent outdoors.

You see as you create space for your child to be in wonder, you get some of that magic for yourself and feel more rested and less stressed.

I hope you find beautiful places to spend time with your little ones...

2 Super Easy Nature Activities for kids-
Nature's loose parts on a sticky wall

Posted on February 26, 2018 

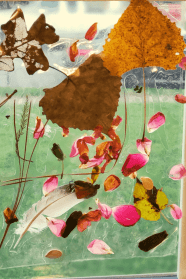
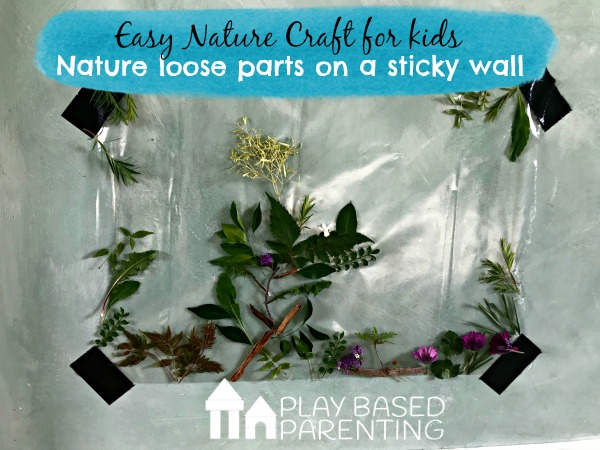
Miss T had been asking me to craft with leaves for days. She wanted to glue them all on to cardboard and make a picture from nature. I could just imagine gloopy glue, sticks and leaves all over the house. I was not in a messy play mood. Instead, we did this easy nature craft for kids using nature loose parts and a sticky contact wall.

easy nature craft for kids

Learning in nature

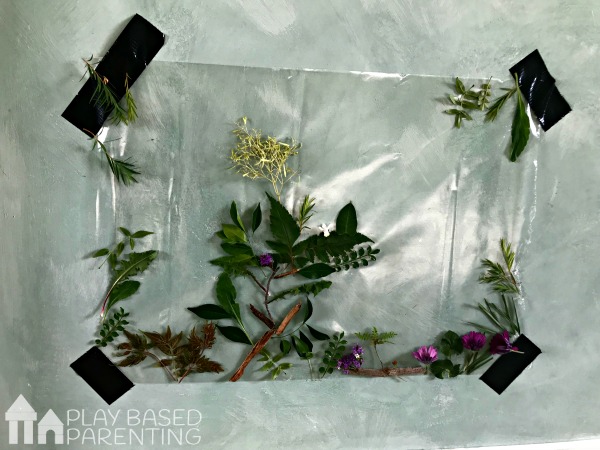
It turned out a bit like a scenery. A mosaic of leaves, grasses, weeds and flowers. That wasn’t even the fun part!  The fun part was going for a walk in nature for a good hour, collecting natures loose parts.  Before this easy nature craft for kids, there was lots of learning.  Miss T chatted about different style leaves, she noticed the textures and colours in different plants, we talked about how some plants are poisonous, she counted X amount of leaves from different plants.

She was quite inquisitive investigating pollen in flowers and watching bee’s go from petal to petal. We talked about the purpose of bee’s and flowers. After discussing nature, flowers, trees, bees and the dangers of nature we headed home with our collection of natures loose parts.

It didn’t stop there.

easy nature craft for kids invitation to play with natural loose parts and a sticky wall

Easy nature craft for kids

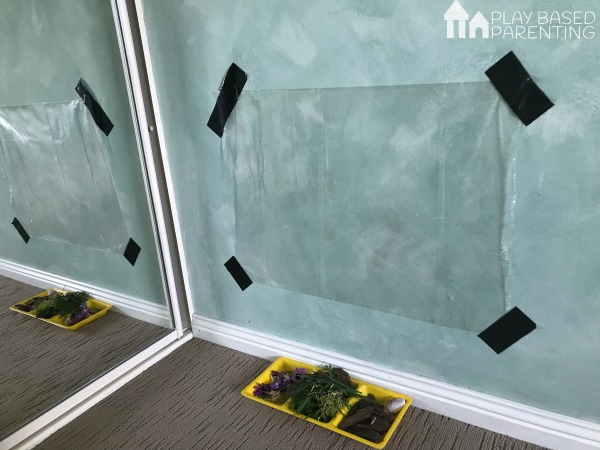
I gave Miss T a tray and she sorted her loose parts into categories. She had a collection of different flowers, a pile of foliage and a pile of bark and twigs.  She thought we were heading for the craft cupboard to get the glue when I told her she should make a picture on contact. “What is contact?” she asked.

Helping tape the contact up on a wall Miss T was experimenting with the sticky surface. She kept poking her fingers on it, and then at different speeds she was seeing how long it stayed stuck to her finger. Yes, we sacrificed one piece of contact. It ended up with hair, fluff, finger-hand and foot prints on it, and then she tried to see if the cat would stick to it. Kitty was not impressed.

easy nature craft for kids nature and a sticky contact wall.

Nature loose parts on the sticky contact wall. 

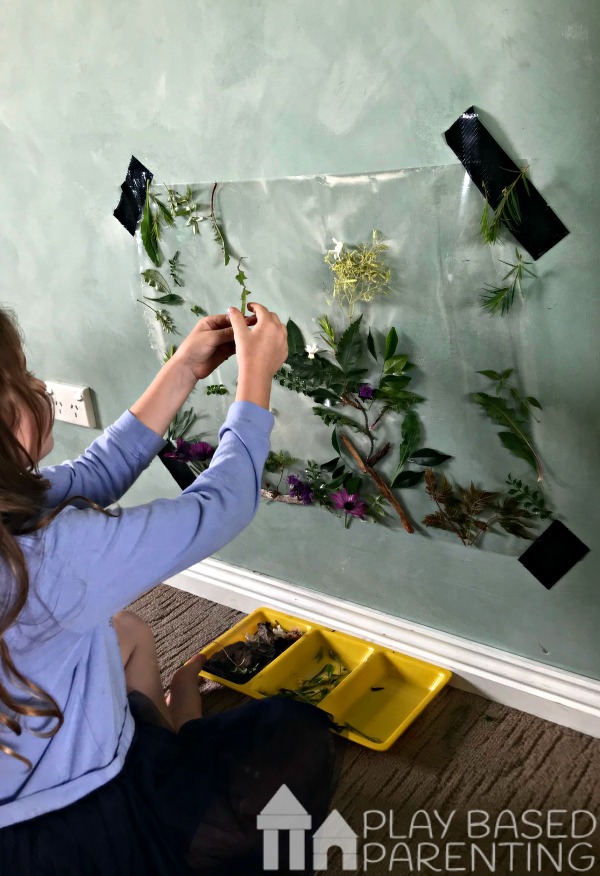
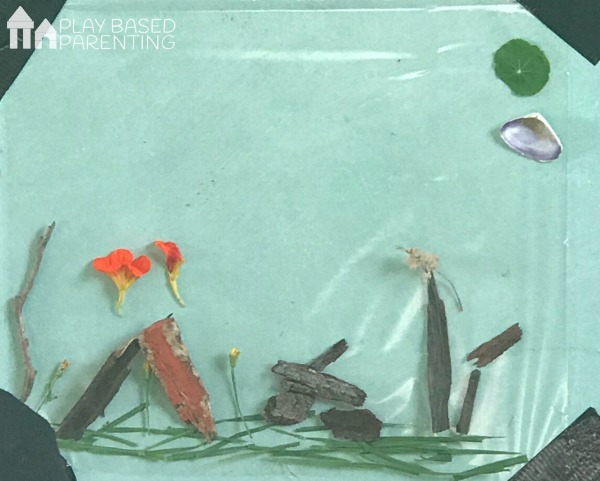
Take two. Miss T stuck the nature loose parts on to the stick wall. She used twigs and bark to make a trunk of a tree.  She used grass to border the bottom.  She tried to use larger pieces of bark chip but they were too heavy and kept falling down. Frustrated at first she kept trying to stick them, pushing them on harder and trying to hold them for longer.  Another experiment that didn’t work. So, she skipped the bark chip and tried out some flowers.

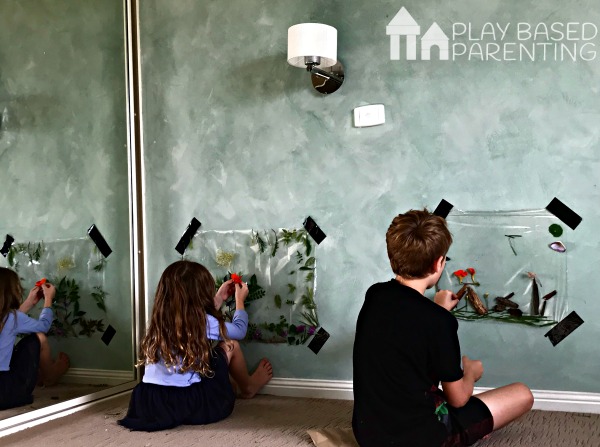
Certain objects stuck better. She learnt to press on the surface and not on the contact herself as it bumped things off.  She learnt that bigger flatter leaves stuck better. she learnt that oily flowers did not. She then showed big brother Dimples her nature craft and asked if he wanted to. of course he did.

A natural loose parts easy nature craft for kids on a sticky wall

Side by side they did some easy nature craft for kids together. Miss T, who is very very talkative, told Dimples all about her exploring and where she found the loose parts, what we seen and who we seen, how many bees she counted and so on.


easy nature craft for kids - Mess free

NATURE COLLECTION BOTTLES

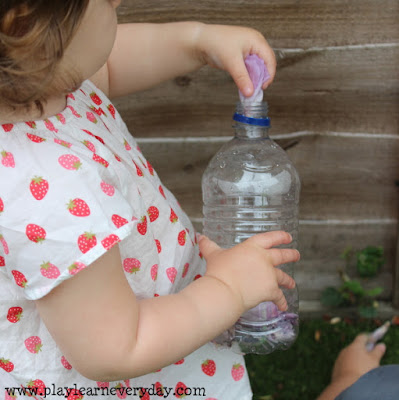
If there is one thing that toddlers absolutely love- it's collecting things from outside.  Whenever we go on walks or even just play in the back garden they are always picking up anything and everything.  We're always looking for ways to use these treasures in our crafts and our play, but sometimes the fun is just in collecting!

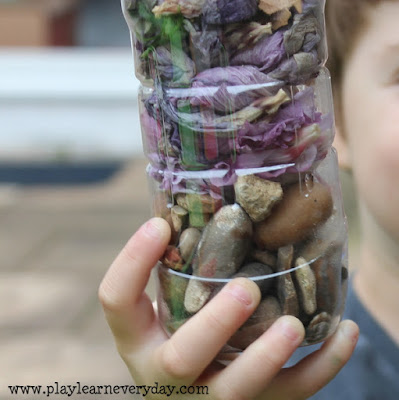
I always love it when the kids come up with their own activities as well, and this was one of those days!  We had come back from preschool and Ethan had pockets full of rocks that I asked him to empty out in the garden, and on the way out he picked up an empty water bottle and asked if he could put them in there instead.

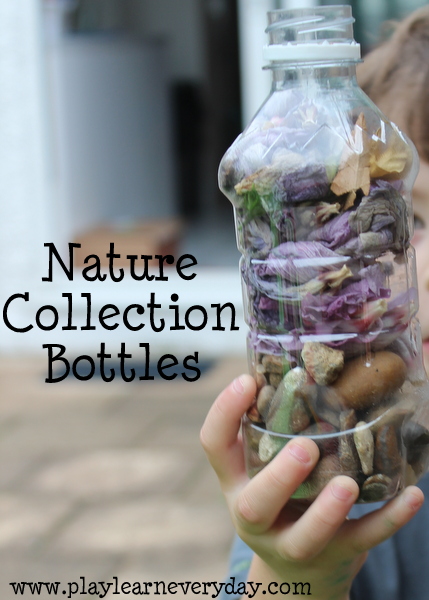
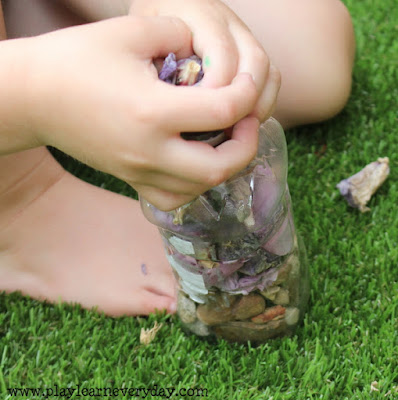
So we all went out into the garden with empty water bottles and filled them up with the rocks that Ethan had collected.  Some of them were a bit challenging to put into the small opening of the bottle, but it was a great exercise for Ethan's fine motor development and problem solving skills to get them in there.

Ivy went off on her own and started collecting some flowers that had fallen off some of our plants and putting them into her bottle.  She quickly discovered that she had to put them in a certain way so that they would go into the bottle smoothly and not come apart.

After Ethan finished putting all of the rocks that would fit into the bottle, he joined Ivy with the flowers and found some leaves and small sticks to add to his bottle as well.  It was such a simple activity but kept the kids busy for ages collecting things and finding ways to make them fit in the bottles, and Ethan was so proud of his bottle when he finished too!

Early Childhood Nature Play

Observe animals in their natural habitat. 

As you walk with your little one, point out sounds she can listen to, such as a bird chirping or crow cawing at the top of a tree. Point out the insects crawling, the doggies running around sniffing, and the squirrels climbing up trees. As your baby begins to use some language, she may call your attention to a bird flying up and settling on a tree branch. Rejoice with her excitement. The world of animals and birds is a new kind of discovery for her. Spying on Squirrels and More with Ranger Rick For more about other animals, use theTreehugger Site

Encourage touching. 

In the park, you can introduce your little to a great variety of nature's textures. Invite him to feel the grass and pinecones; to touch smooth, bumpy, and grainy textures.

Explore a creek or river

There’s something special about the water, moss, rocks, small creatures and plant life that you find in and near creeks. There is so much to do you can spend hours playing, exploring, learning, and cooling down on a hot day.
Exploring a river, looking for water critters, catching tadpoles, finding special rocks or even arrowheads was a favorite pastime I shared with my Dad. Kids require little direction when it comes to this kind of fun. Give them a river, some water shoes and set them free.

Enjoy Bird Watching Together

Try to guess which bird is singing that song. Explain male and female colors. In the spring, leave some scraps of material or yarn for the birds to find and use in making their nests. In the winter, drive through areas where there are trees to see the nests they have built.


Get Outside & Connect: Roll Down a Hill

Do you remember rolling down grassy hills as a child? I sure do. I remember rejoicing with my brothers and neighborhood friends whenever we found the perfect spot to go for a roll. We laughed, we squealed with joy, we connected with nature, and we helped our bodies develop properly. What could be better than that?

Children need to move and play outside on a regular basis in order to develop healthy sensory systems. Rolling down hills is a great way to get outside, connect, laugh, and have fun. It is also the perfect activity for the developing sensory system. Get outside and go for a roll down a hill today!

Play in the Leaves:

Who doesn’t love jumping in a huge pile of leaves? I know its a fantastic way for the whole family to get involved

Jump in Puddles:

I don’t know about you but just the simple act of jumping in puddles can be a blast for any kid. It is bound to bring on the smiles and the laughs, as well.

Feed Ducks

Many duck species are as at home on the water as they are on land and in the air. Ducks have two unique features that make them such good swimmers—webbed feet and waterproof feathers. From whistles and coos to yodels and grunts, ducks have a lot of different things to say. If you're wondering what to feed a baby duck without starter feed, consider some fruits and vegetables: cut them very small. For more about ducks and other animals, use the Treehugger Site 

Engaging Toddlers in Nature Play

MONICA WIEDEL

Your child is watching your every move and picking up cues based on how you interact with nature. If your aim is to instill respect and love for all things wild, try these simple activities with children ages three months to two years old:

  •  Let baby crinkle dry leaves on the ground. Crunch the leaves with baby as he enjoys the sound.

  •  Visit shrubs and trees to allow baby to touch and grab at the green leaves. Smell the leaves with baby.

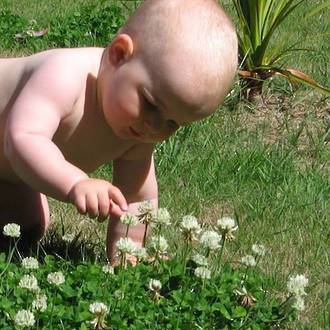
  •  Invite baby to grab and feel soil with hands and toes.

  •  Quietly watch birds fly overhead and squirrels pitter patter.

  •  Listen to bird sounds and mimic them for baby: “teacher-teacher-teacher”, “peter-peter-peter”, or “caw caw”!

  •  Visit nearby flowers. Gently touch and smell the flowers. Say color names to baby and describe how the petals or leaves feel.

  •  Pick up twigs and seeds for baby to manipulate. Try tossing helicopter seeds to watch them spin.

  •  Blow bubbles in the wind. Listen to the sounds of the bubbles pop on blades of grass.

  •  Make sounds with what you find outside. Try tapping acorns, walnuts, or twigs together and invite baby to join in.

  •  Touch tree bark and describe how it feels to baby (rough, smooth, bumpy, scratchy).

  •  Pick up a worm, cricket, or ant and show baby how it moves in your hand. If baby is welcoming, let the tiny animal crawl in baby’s hand.

  •  Stand your barefoot baby on soft grass or moss. Encourage baby to touch the grass or moss with fingers, too.

  •  Play in a puddle. Stir up water with twigs, dip fingers or toes in, or float leaves in the water.

Your curious child will develop positive feelings about nature through happy, sensory associations of nature play with you. As you explore together, you are making more than memories; you are nurturing baby’s lifelong love of nature!

Walking the trails


Never underestimate the value of a nice long walk along a trail that takes you through your favorite park. Walking in the forest is great for stimulating children’s senses. They will smell nature, listen to birds chirping, touch vegetation, observe plants, etc. A walk in the forest also provides children with the opportunity to test their limits and work on their balance. They will climb a rock, step on a variety of different textures, admire the colors… You can invite other adults to accompany you to ensure your entire group is always supervised.

Chances are if you had a fall or winter baby, then springtime will be the first chance to enjoy being outdoors and delighting in the dirt and nature. Remember your baby is looking at the sky if they are on their back in a stroller. Although cloud watching is fabulous for a few minutes, your baby is missing out on the fun below. Sit them up or use a carrier so they can see everything our world has to offer them.

Always inform someone before heading to the woods. Tell a friend or neighbor or write a note on your door. If you get lost or something happens, someone will know that you went for a walk in the woods and will therefore be able to find you. Be sure to have a stroller, carrier or other means to transport young children if they get tired or are unable to walk. If children are able to walk the whole way, a stroller can still be used to transport your survival kit, extra clothing items, your lunch, etc. 

Any walk into the forest grants you the opportunity of experiencing perfect sensory outdoor play, encouraging and stimulating curiosity, exploration, understanding and self-reflection – and this is true for children of all ages…Babies are sensory motor learners.When newly born, they have a well-developed sense of touch overall, but limited finger pad sensitivity and – due to nature’s programmed survival instinct – most of their senses are concentrated around certain areas on their bodies, for example, their lips.

To aid toddlers’ development, adults need to provide a sensory-rich environment with many textures, temperatures, colors, smells, and sounds. Consequently, the great outdoors is an ideal learning environment for even tiny infants, as here all of their senses are engaged. Their physical development is advanced to new levels in response to the many different sources of stimuli: varied environmental effects motivate them to move their bodies in many different ways, encouraging them to learn to pull themselves up, to reach, to grasp, to sit, to crawl and also to walk. Being outside also supports babies to begin to use their hands, as natural physical support (e.g., sitting between logs) helps them to concentrate on other activities, rather than the sitting itself.

The outdoor environment has a great impact on the development of vision, hearing, and touch of babies, too. In the open air, their brains, motivated by the abundance of stimuli, build new neural pathways – the ‘wiring’ of the brain – in order to cope with the vast amount of new information they are processing. This increased brain activity supports all areas of development, as while receiving and learning to decode the new information, the developing brain also has to store, use and link it; it to older information. 

When baby’s activities are slow and easy, they activate the brain’s movement centers and the brain can process all the new information for future use. So, take it slow and enjoy your time in the woods.  In forest program, where time and space is given to allow slow and concentrated movements, the brain is allowed to be free to make important sensory distinctions.

10 ways your little one will learn as you explore and walk…

In the snuggly, your newborn will feel your heart rate increase as you walk briskly, fondly reminding her of that time not so long ago when she was so closely connected to you in every way. She’ll love the sensory input of your heartbeat.

  • Babies really enjoy looking at all the new sights when you go outside – everything is different! The colors, the movement, the moving light. It’s a whole new world visually!

  • As you walk your baby using a snuggly or infant carrier, they’ll enjoy the rhythm of your movements. This vestibular input helps coordinate movement between the eyes, head and body, helping your baby develop a sense of balance and visual-spatial perception.

  • When we go outside, the big, open air just feels different and elicits interest as your baby looks around and takes it all in. It’s old hat to you, the smell of rain or someone grilling in the backyard. But for your baby, it may be their first time to ever experience that!

  • Sounds are totally different outside. Cars going by, birds chirping, airplanes, dogs barking, lawnmowers – all these sounds give you a chance to talk to your baby and give words to describe what they’re hearing. “Do you hear Cooper barking? I think he hears us walking by on the sidewalk. He’s saying hello!” As you narrate what your baby is experiencing, you’re helping with language development.

  • Neural connections are different when we go outside. Sensory stimulation is less rapid, more fluid, allowing a ‘pause’ of sorts. This enhances brain development and can even affect a child’s behavior (see reference below)

  • Toddlers and older children who walk on their own have lots of chances to discover and learn as they walk around the block. There’s countless opportunities for physical development as they walk keeping rhythm with your steps, jump over cracks on the sidewalk, run ahead, hop instead of walk and all the other beautiful ways children naturally “practice” their emerging physical skills.

  • And of course, as they walk, they’ll stop to look at bugs and other critters along the way, picking up sticks and other stuff, smelling flowers, noticing patterns along the way. All these ‘treasures’ support math and science in a spontaneous, self-discovery method of learning.

  • Walking with your child is not a fast process, like the brisk walk you take to get a little exercise. Slow down, allowing time to inspect storm drains, weeds in sidewalk cracks and other fascinating things along the way. This natural intellectual curiosity is how your child takes in new information and draws conclusions about the world. Allow lots of time for pauses along the way.

14 Themed Walking Adventure’s

:: Signs of the Seasons: looking for the first signs of a new season

:: Plant Hunt: looking for a particular plant that is in season such as snowdrops, daffodils, bluebells

:: Bird Watching:focusing in on the birds that you see, trying to identify them, watching their behavior

:: Bug Hunt: take your magnifying glass with you and see what you can spot, on trees, plants, and on the ground

:: Color Walk: see if you can find a leaf in each color of the rainbow

:: Footprints Walk:look for tracks – great in the sand at the beach, or in the snow

:: Sense of Taste Walk: a wild foraging walk, or visit an orchard or fruit farm

:: Cloud Watching:take a picnic blanket to an open spot in a meadow or at the beach, lie back, and see what you can see in the clouds. Use a weather book to identify the types of clouds you see

:: Bat Walk: head out at dusk in the later summer and see if you can find any bats

:: Star Walk: take a nighttime walk and look up at the sky, see which constellations are visible

:: Moon Walk: head out and take a walk by moonlight. You can time this with a full moon, or take several walks through the month to observe the phases of the moon

:: Rainy Day Walk: go puddle jumping and worm hunt!

:: Dawn Walk: get up early and head out to see the sunrise. This is best for winter months as you won’t have to get up quite so early!

:: Sunset Walk: watch the sun go down. This one is wonderful on the Summer Solstice. We headed up onto cliffs, with the girls in PJs, to read bedtime stories as the sun set over the sea. We even saw a pod of dolphins in the bay, so truly a special midsummer
::Walking in the rain: When the weather is warm and it is raining lightly, go for a walk in the rain with your group. Encourage children to notice the sensations associated to raindrops falling on their skin. We often forget this simple pleasure.

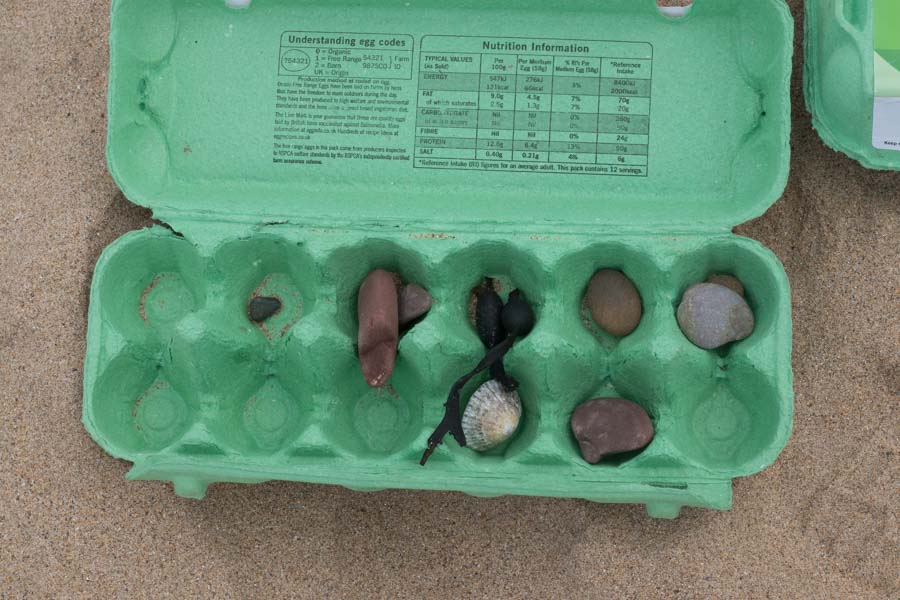
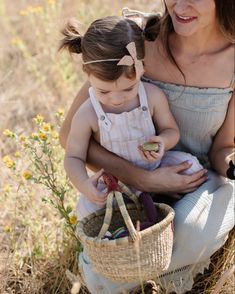
::Collecting Nature's little treasures: If you have the opportunity to take your group for a walk on a pedestrian path, you will be able to let toddlers walk safely. You don't have to go very far. Just a few steps will be enough for little ones to make plenty of discoveries. Provide small buckets or containers (egg cartons work well since they can be opened and closed) and let children collect treasures.

Children and nature:

Are we supporting the connection?

Nature activities for children and ideas for using more natural materials in the child care environment.

Children and nature have always been connected. We all are connected to the natural world. The natural world is one of the best environments for children to explore, absorb, and enjoy. As those who care for young children, are we supporting the connection children need to have with nature? Some researchers suggest that children seem to be exposed less and less to the open invitations of nature.

Today’s children are on tight schedules, with child care, school, and extracurricular activities. Even if the children are outdoors, the activity is usually structured, and not one of free adventure and immersion into nature. Often, outdoor experiences are for a short period of time only. As adults working with young children, we need to find ways to support not only our own connection with nature, but the children’s as well.

Nature’s Invitations

When young children are exposed to nature, they see the beauty just as we do; but more importantly, they begin to interact with its offerings. Children automatically become hands-on in nature. Just think to a time you were in nature with children: Did you see children jumping in puddles, climbing on rocks, swinging from trees, and picking things up?

Children begin to wonder in nature. Natural materials such as pine cones, grass, rocks, leaves, rain, spider webs, sticks, frogs, fossils, dirt, seashells, pebbles, and sand provide endless possibilities for play and imagination. These materials don’t come with directions: The children come up with ideas of how to use them. What are they? What can they do? How do they feel? What do they look like? How does it move? How does it grow? What can I do with this?

Nature provokes children into thought, action, and formulating their own ideas. When children are involved in experiences with nature, they are absorbed and completely attentive to what is at hand. This exposure to nature can be simply going for a walk, playing in the yard, or hiking in the woods. There are many advantages to all types of exposure to nature.

How can adults help?

Adults can help children by providing natural environments to explore and adding tools to enhance explorations, such as shovels, magnifying glasses, pencils and paper, cameras, and related resources.

It is important to observe where and what the children are interested in and support those interests by asking open-ended questions. What did you discover? How does it feel?

What does it look like? How does it move? What should we do? Ask questions that will encourage the children to observe and to describe their observations. It is vital that adults share the natural world with children by planning related activities, but it is important for children to have the opportunity to discover nature on their own. When children connect with nature and freely explore its components, they develop their own personal relationship with nature. It is this relationship that will carry meaning into their understanding of nature.

Bring nature inside

Nature can also be brought back to our homes or classrooms. Some early educators use many components of nature in their indoor environments. Tree stumps are used for sitting or for the block area. Water, sand, and dirt are explored, measured, and poured. Tree branches are suspended from the ceiling and display children’s artwork.

Loose materials, such as pinecones, stones, seashells, leaves, and twigs, are displayed in baskets for children’s imaginations to provide an idea. Nature’s artifacts, such as feathers, a bug’s shell, fossils, or a bird’s nest, are used for exploring.

Bringing nature to the classroom reinforces its beauty, purpose, and gifts. Open the door to the outside and support wonderful connections with nature!

Nature’s gifts

Children need consistent contact with nature and ample time to explore and become familiar. Nature inspires physical challenges: climbing over a rock, walking up a hill, rolling down a hill, swinging from a branch, running freely, or scooping and digging dirt. With the rise of childhood obesity, nature is a positive encourager to physical well-being.

Nature also provides us with a sense of calm and visual images of beauty. Children become observant and use
their senses, such as listening to leaves in the wind, or looking at spiders’ fancily woven webs, or hearing the call of a bird. Even though open spaces in nature invite children for wonderful spurts of running, jumping, and climbing, they also invite children to slow down.

Providing children opportunities to care for nature, such as watering plants, feeding animals, picking up trash, and treating “creatures” gently, supports a sense of respecting nature and developing empathy. It also creates opportunities for children to work together. Experiences such as these help build lifelong skills and give children a connection that may in the future support caring for their environment, as well as each other.

Nature Play-
NaturesTreasure Hunt

List of things to collect on your hunt

If you’re looking for ideas, here are some things that you might be able to collect on your next walk.
  • Sticks – by far our favourite thing to collect. Kids love sticks. I even wrote a post with ideas for 30 fun things to do with sticks.
  • Pinecones – another great free natural craft material. How about using them with play dough and making hedgehogs?
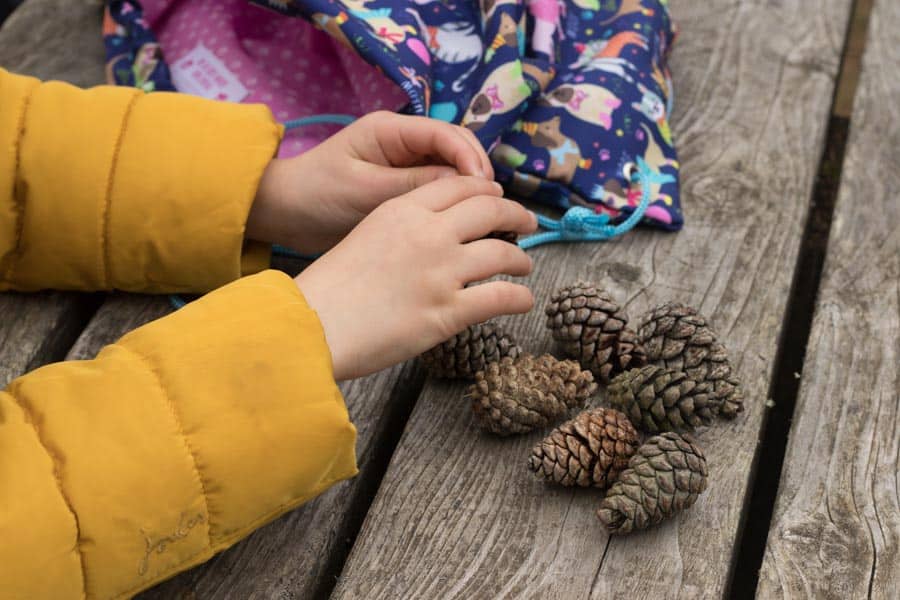
Child with a pile of pine cones
  • Leaves. Fallen leaves are easy to collect even for toddlers. How about asking them to find 5 different coloured leaves or 5 different types of leave. They’re also great for taking home to paint like in this autumn process art activity.
  • Acorns
  • Conkers – Wondering what to do with all your autumn treasures? You need my autumn activities for preschool post.
  • Helicopter seeds
Egg box filled with shels, pebbles and sea weed
  • Stones. Why not take some home to paint?
  • Shells, the ultimate things to collect on a trip to the beach
  • Drift wood
  • Seaweed
  • Fossils if you’re really lucky
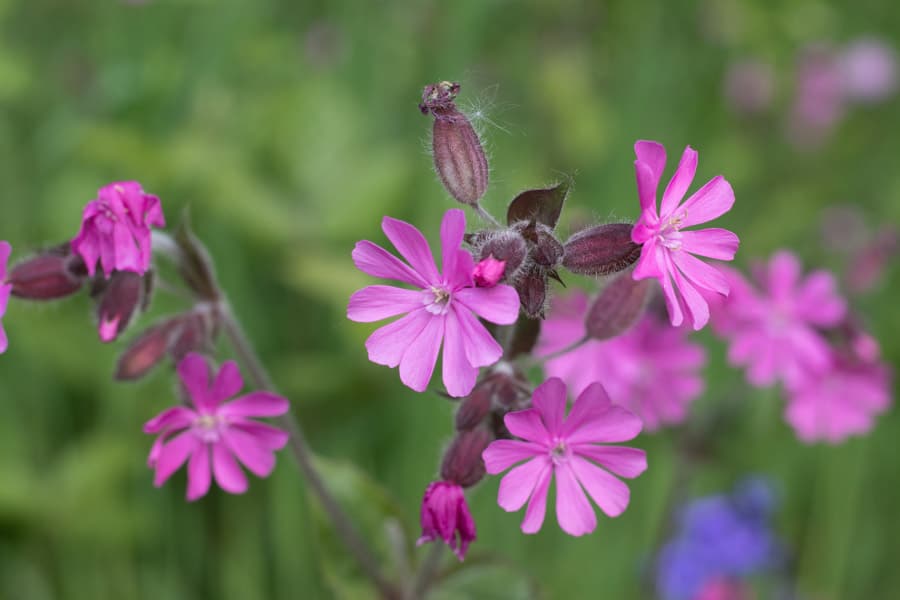
Close up photo of pink wildflowers
  • Wildflowers (never pick flowers from other people’s gardens, parks etc and don’t pick protected wildflowers like bluebells. We only ever take a few. Leave more than you take.) Once home why not try making these beautiful gelatine flower suncatchers.
  • Moss
  • Feathers

Creative ways to collect nature on a walk

You could simply give your child a list of things to collect on a nature walk or you could try one of these different ways. They are still all about collecting nature but they add a creative element to it. Sometimes they even add a competitive element too if you have more than one child to entertain.

 Nature weaving

I saw this gorgeous idea on one of my favourite blogs for nature crafts, Little pine learners. All you need it some cardboard and some rubber bands or string/wool.
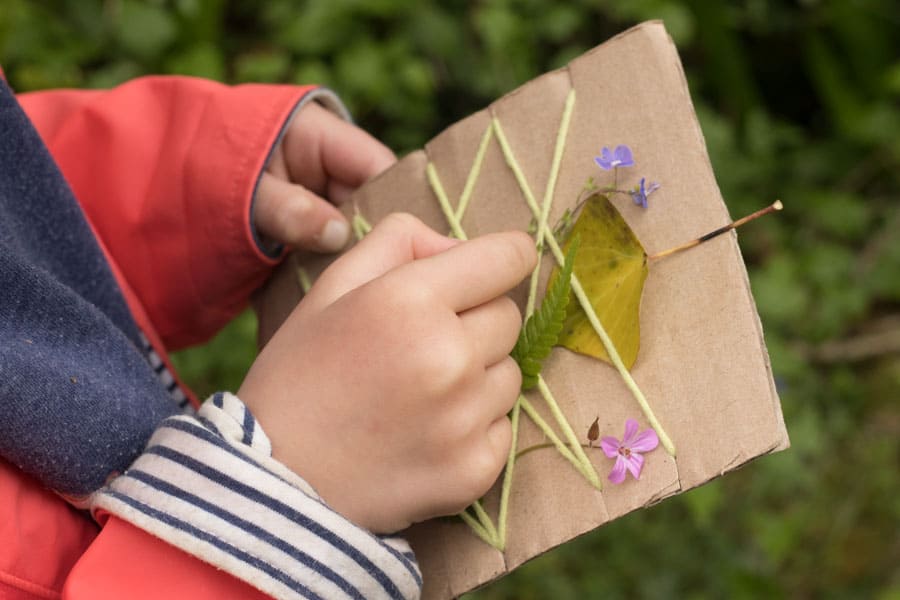
Child's hands adding nature to a piece of card board with wool wrapped around it

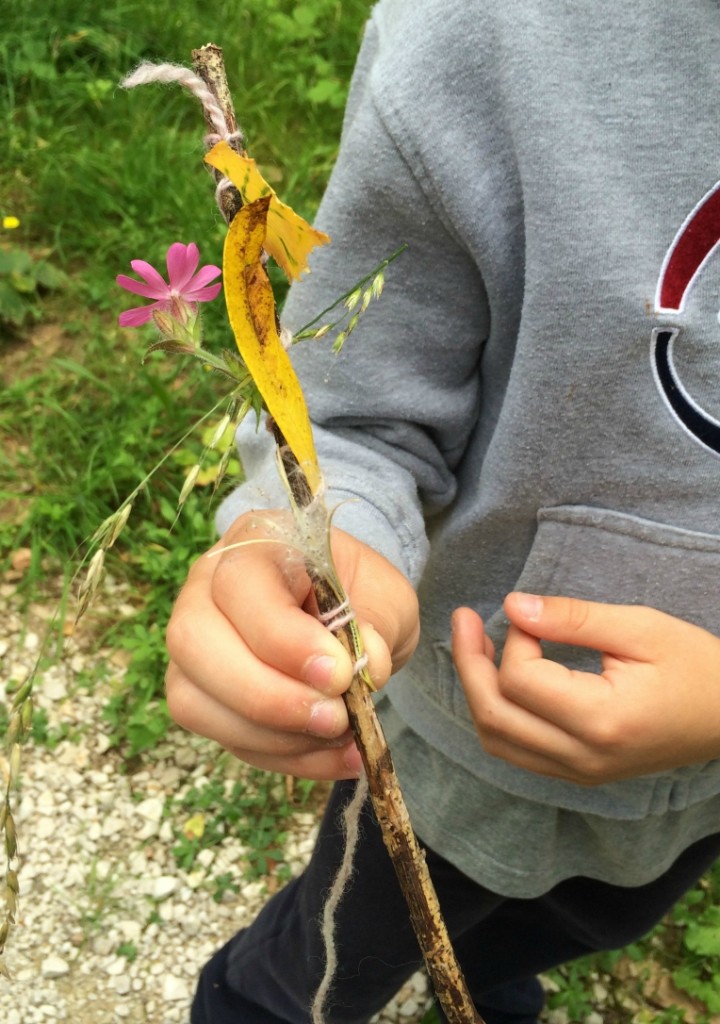
Create a journey stick

We love to creating journey sticks on walks. They’re a really fun way to collect things on a walk. All you need is a stick and some wool or string to tie your nature finds to your stick as you walk.
Go find it cards

Why not make collecting nature into a game using a set of go find it cards. We love our set and use them regularly on walks.
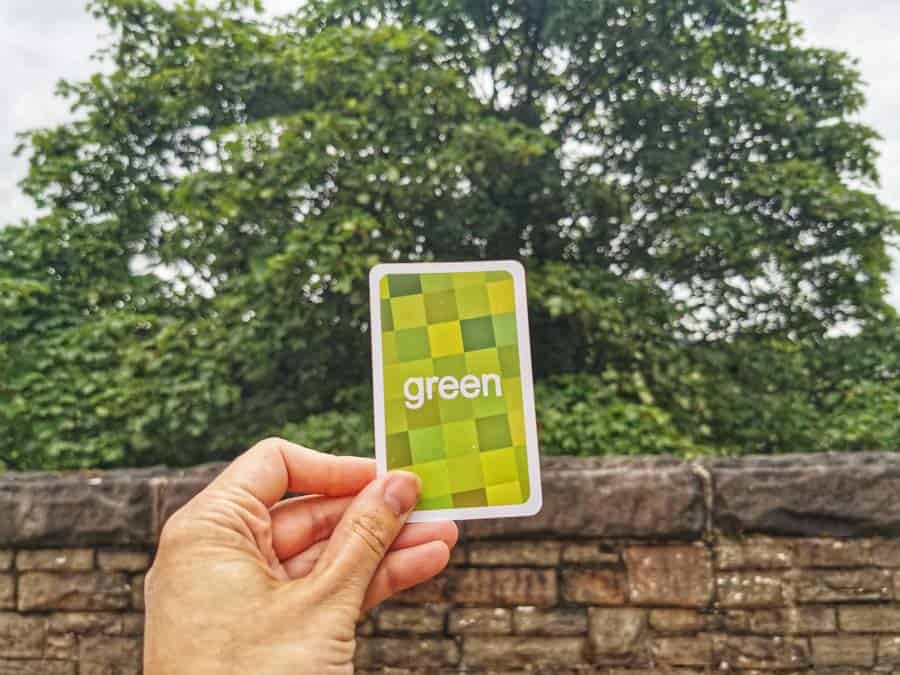
Green go find it card held up with a green card in the background


Heading out into nature is a great way for the family to enjoy quality time together. It's also a fantastic opportunity to put down the tech and learn to appreciate the world around you. If you happen to have some public woodland near your home, it's a great destination for a family day out. You can pack a picnic, get some exercise, and reconnect with each other away from the stresses of busy family life.

I'm not sure what the attraction is with hunting, does it attach us back to our prehistoric roots and make us hope that we could survive even if everything wasn't handed to us on a plate?

The boys definitely enjoy all kinds of hunt (although strangely, finding a missing shoe when we're late for school is the one time it doesn't seem to appeal.)
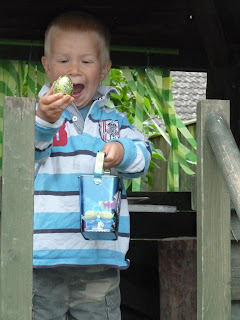
Found one!

Simple Play Activities to Explore Nature

  • Look at the Clouds  Talk about the shapes and colors.  Watch them move.

  • Collect Leaves  Find leaves, stack them, talk about their shapes, colors, and sizes.  Which leaf is bigger/smaller?

  • Crinkle Leaves  Talk about how it feels.  Talk about the smells.  Throw the little pieces of leaf in the air and watch them fall to the ground.

  • Collect Sticks  Find big sticks and little sticks.

  • Play with Sticks  You can stack them or build with them.  Stick them in the ground.  Throw them (safely, of course!).  Break them.  Dig with them.  Rub or tap them against different surfaces and talk about it – “that’s loud/quiet”, “that’s bumpy/smooth”, etc.

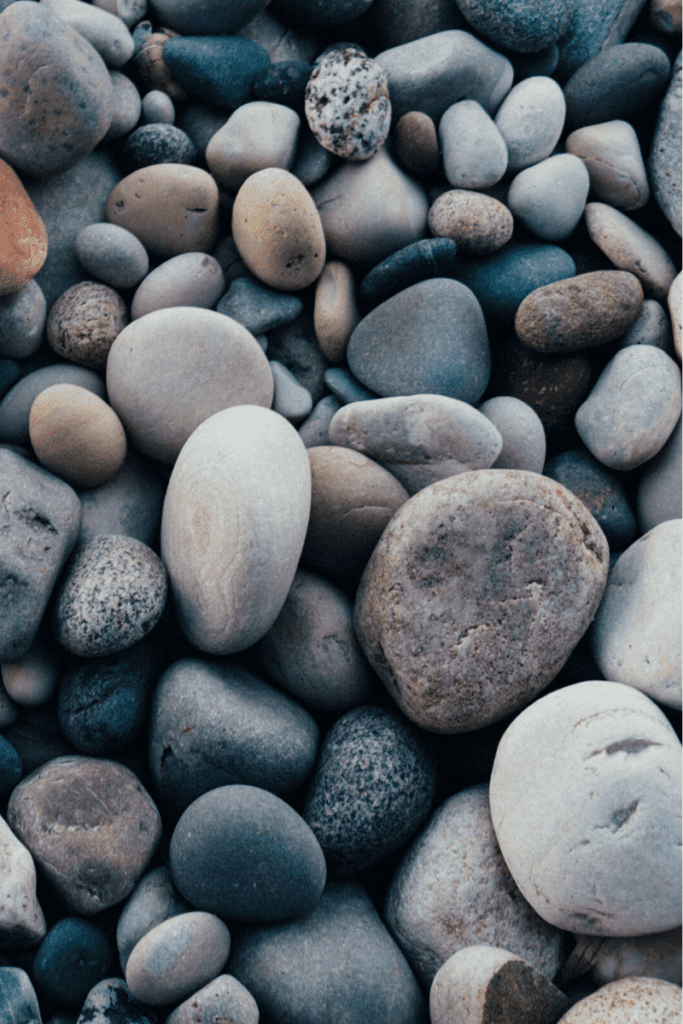
  • Find Rocks  Talk about sizes, textures and shapes.  Line them up.  Count them.

  • Stack Rocks  See how many you can stack.  Count out loud.  Make it a fun challenge.

  • Bring Playdough  Make imprints of rocks, leaves, sticks, acorns or tree bark.

  • Look at Birds  Observe and talk about the bird’s behaviors.

  • Look for Bugs  Flip over rocks.  Observe and talk about the different bugs you see.

  • Observe Animals  What animals can you find?  Squirrels, lizards, turtles, ducks?  Observe and talk about what you see.

  • Make Nature Stew/Pretend to Cook Pick grass, fallen leaves, weeds, etc. and mix together to make pretend stew.

  • Pick Up Litter  If you see litter, pick it up and take the opportunity to talk about littering.  Make sure you use hand sanitizer afterwards!

  • Sit on the Ground  Take a break and just sit.  Run your hands through the grass or feel the cool ground with your hands.

  • Lay on the Ground  It’s amazing how laying on the ground vs. just sitting on the ground can give you a completely different experience and perspective.

  • Play in the Dirt  Get those hands dirty!

  • Explore Tree Bark  Touch it, talk about it, compare different ones.  Look for fallen tree bark.

  • Go Climbing  Kids love to climb – it’s in their nature (see what I did there!).  While ensuring safety, allow kids to climb on tree roots, tree limbs, tree stumps or large rocks.

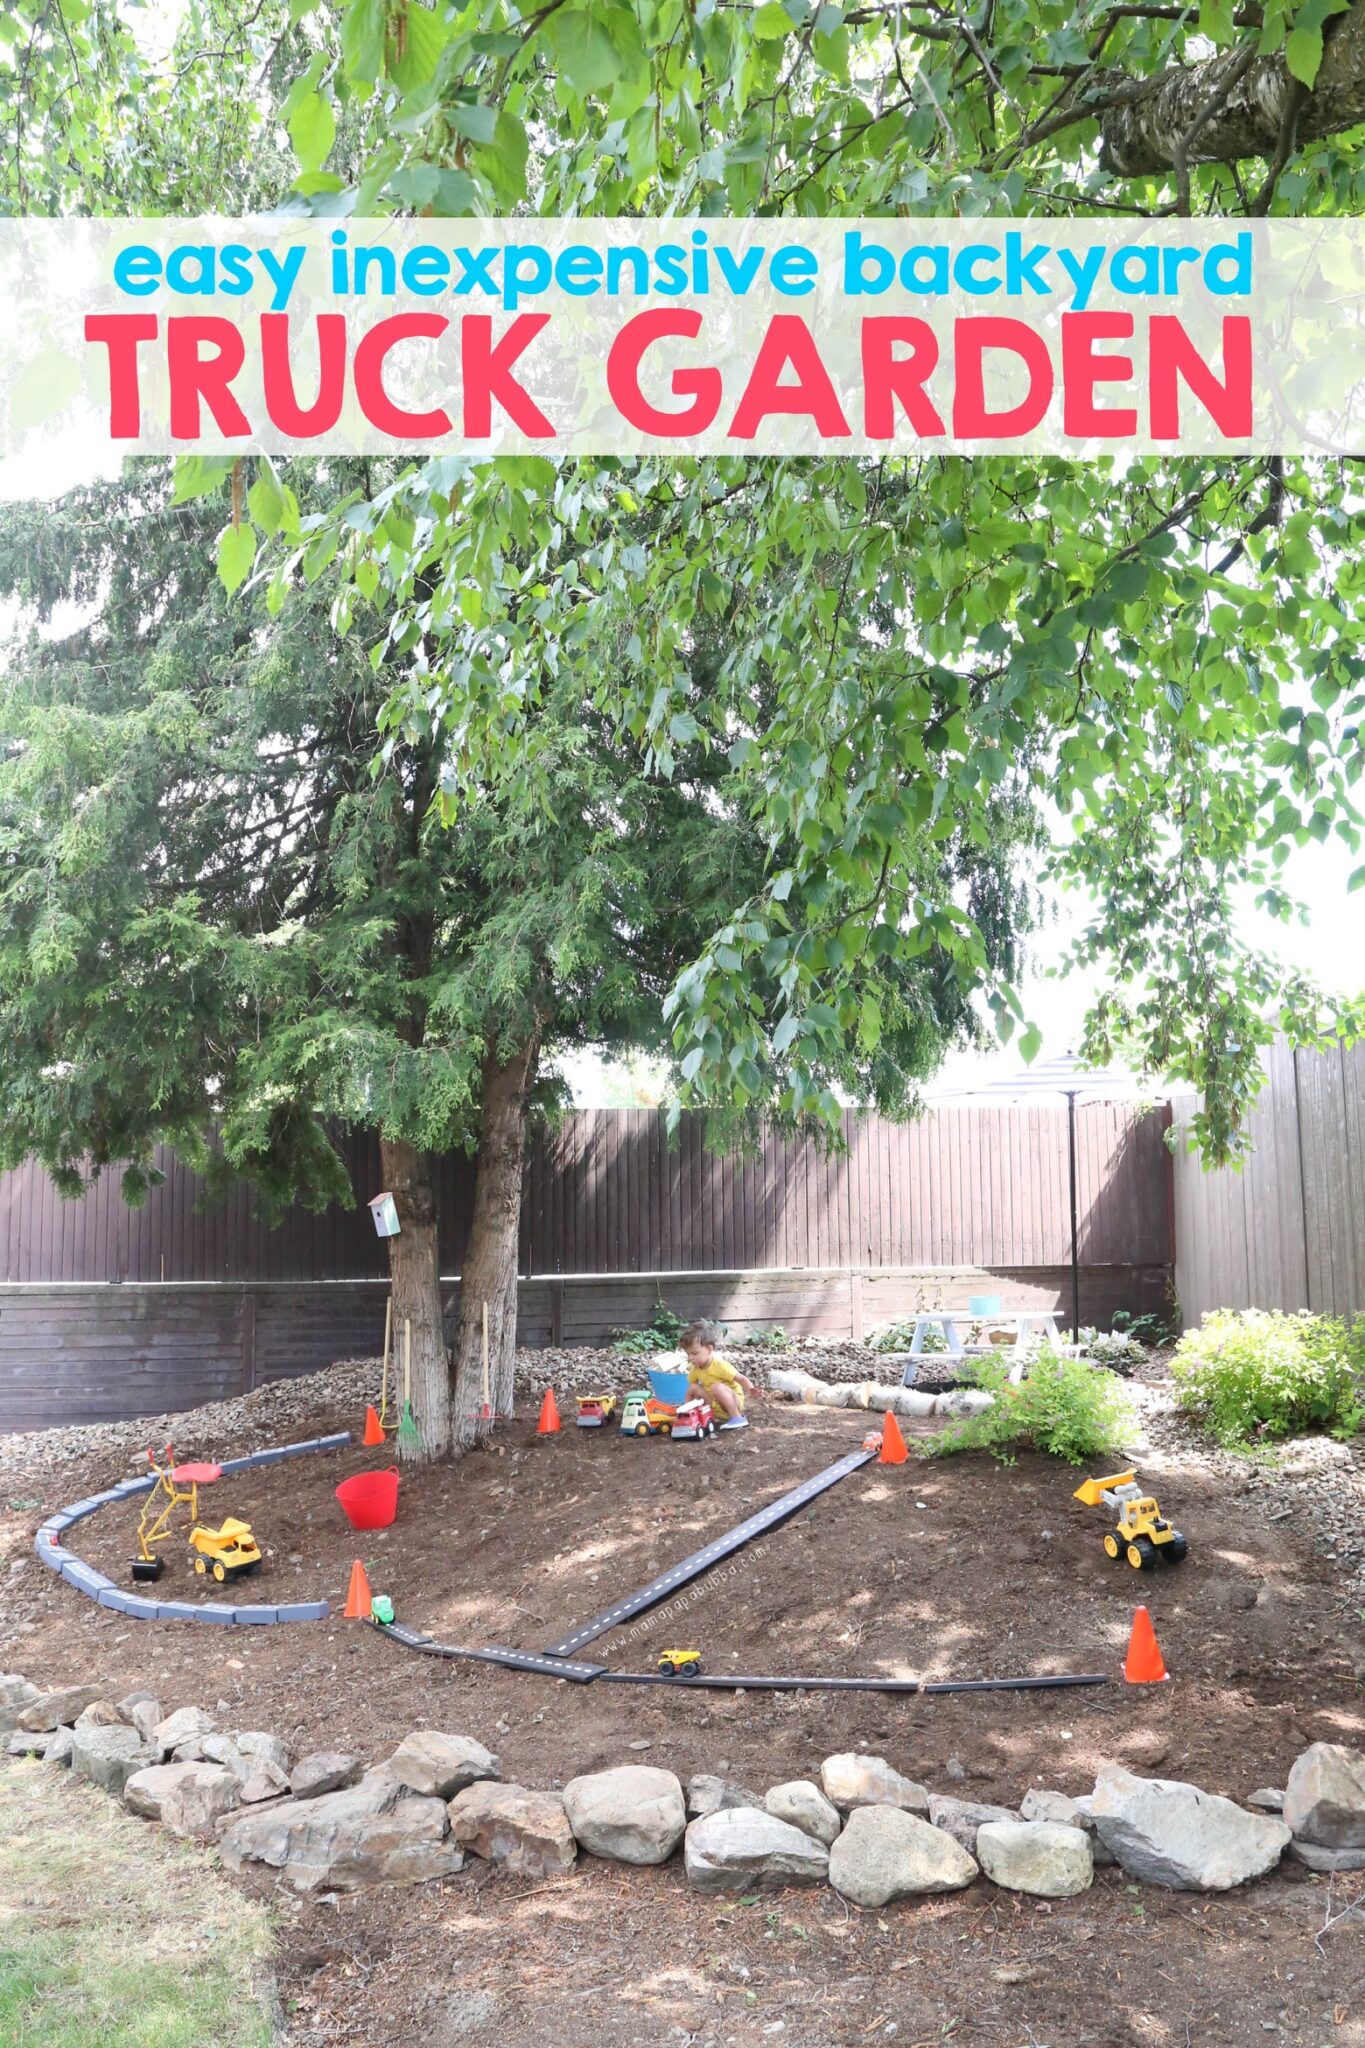
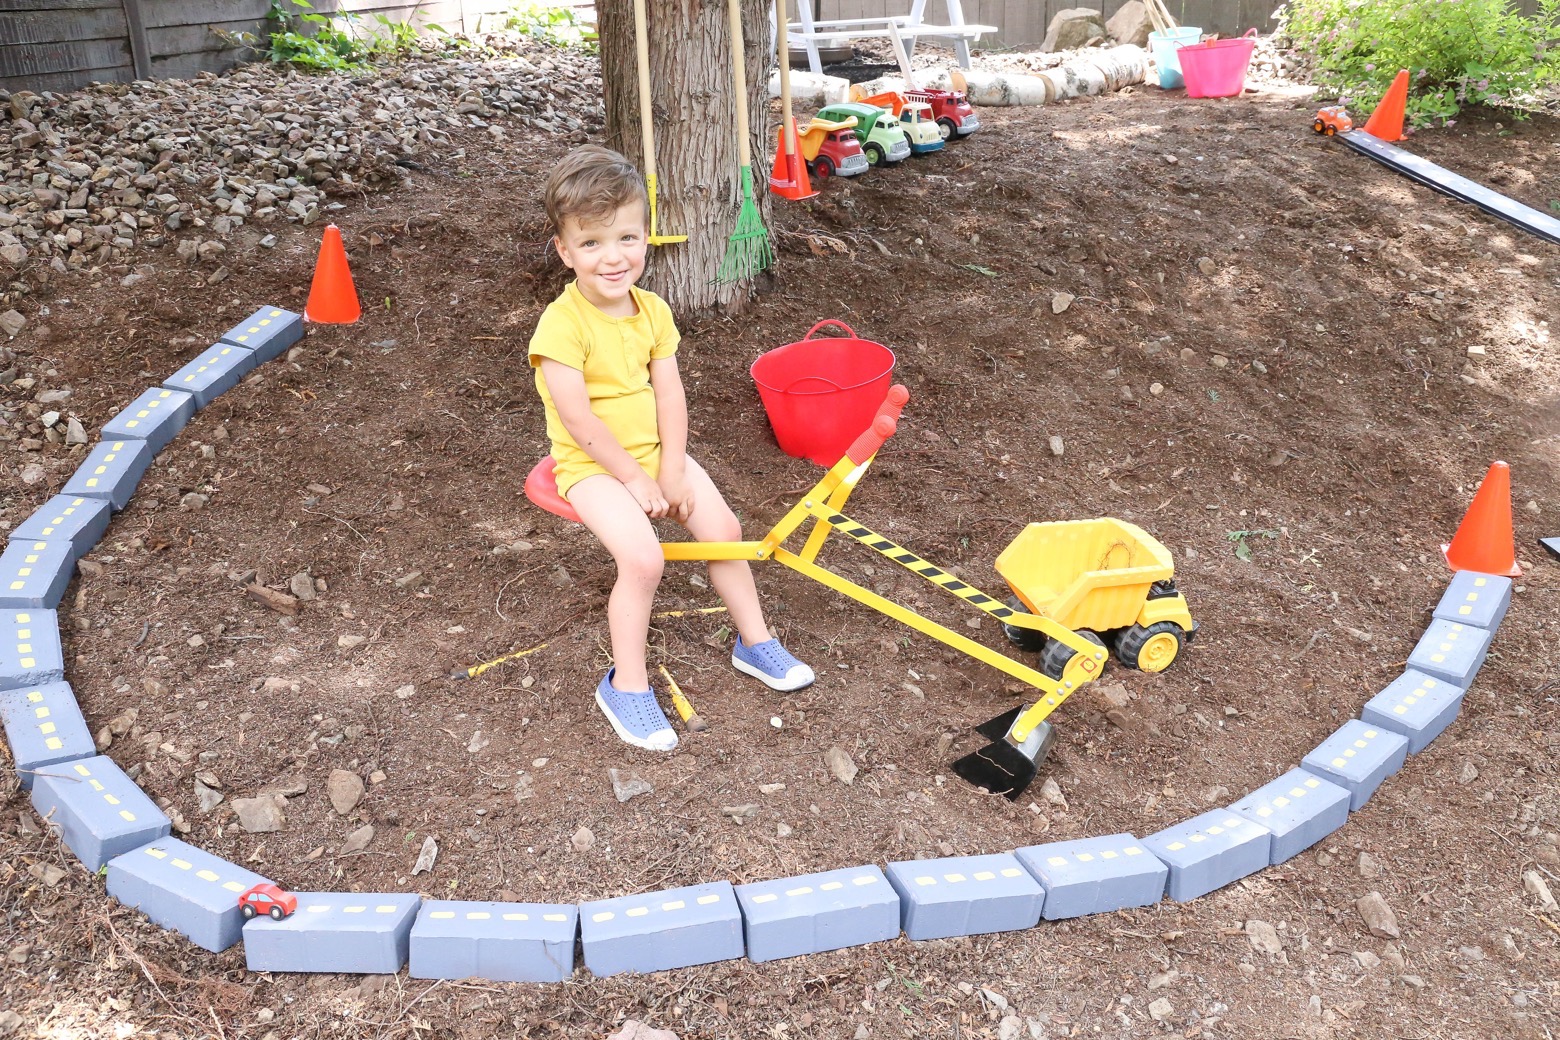
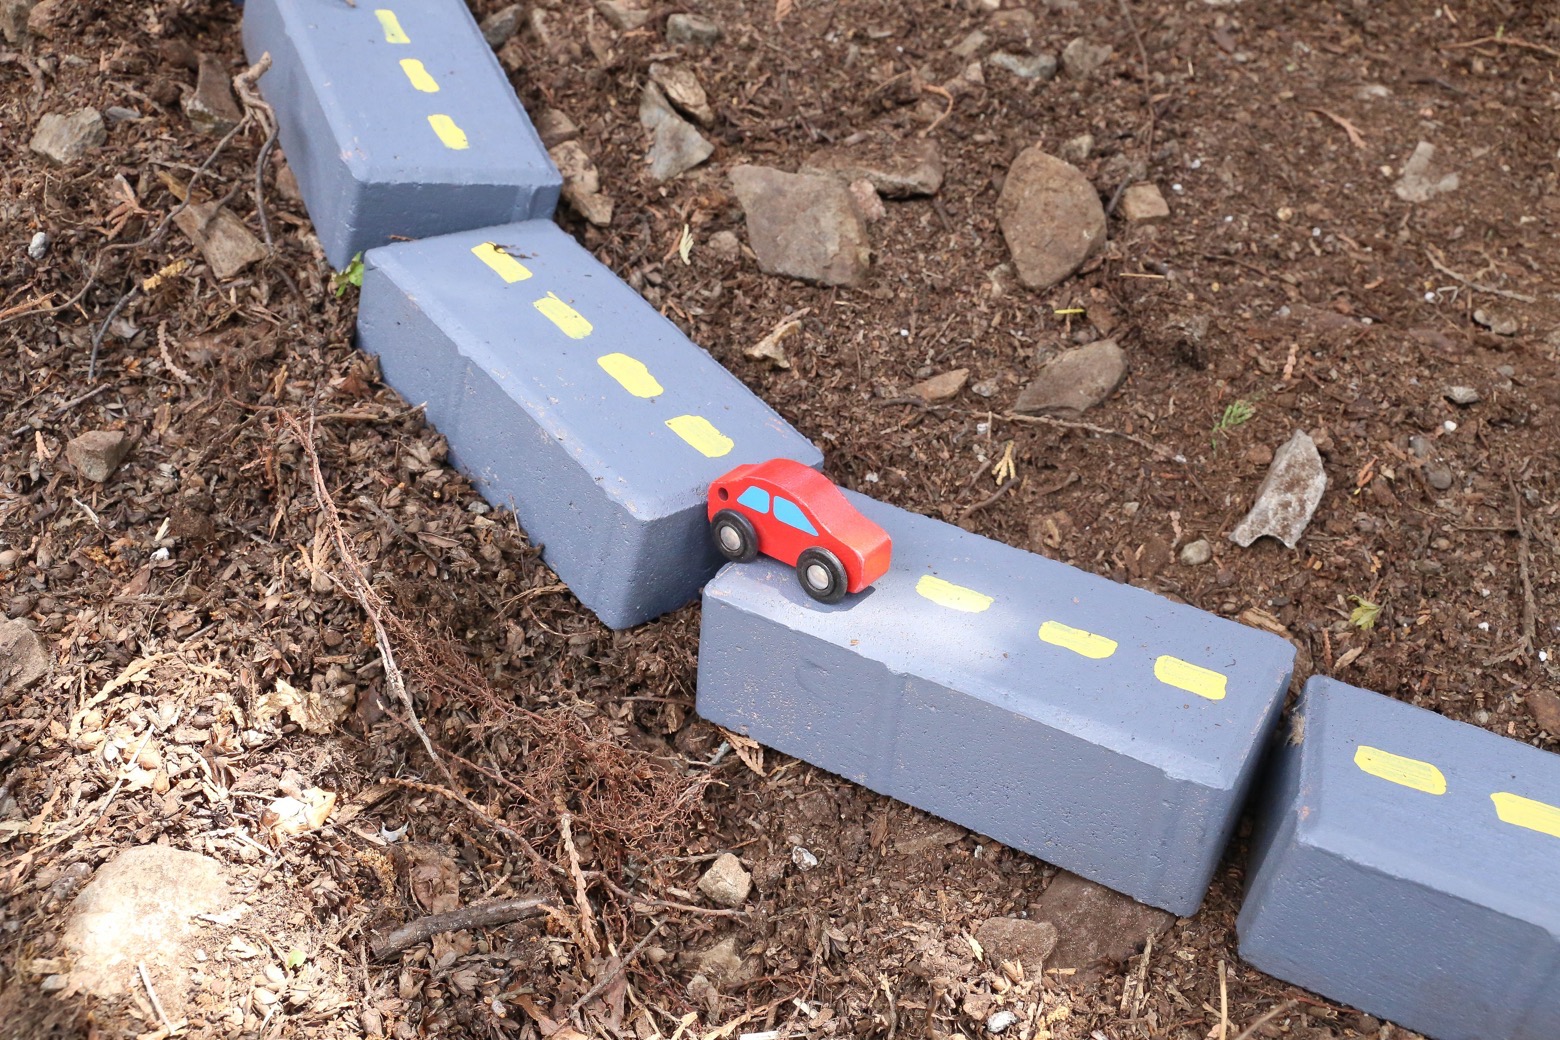
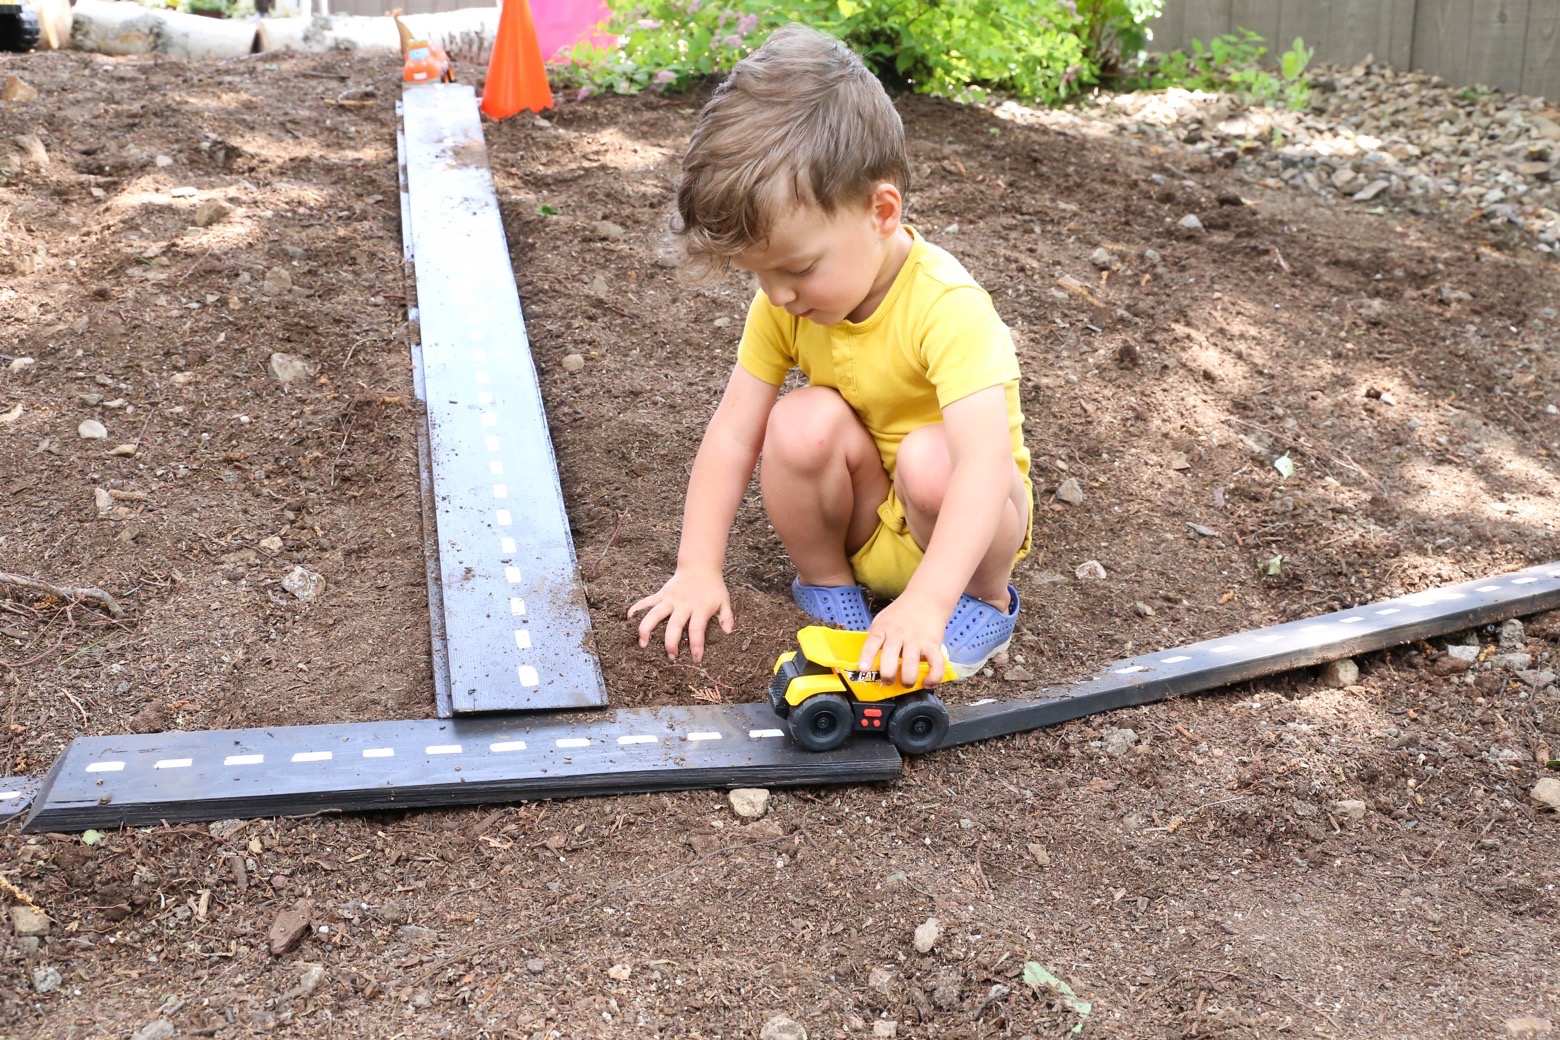
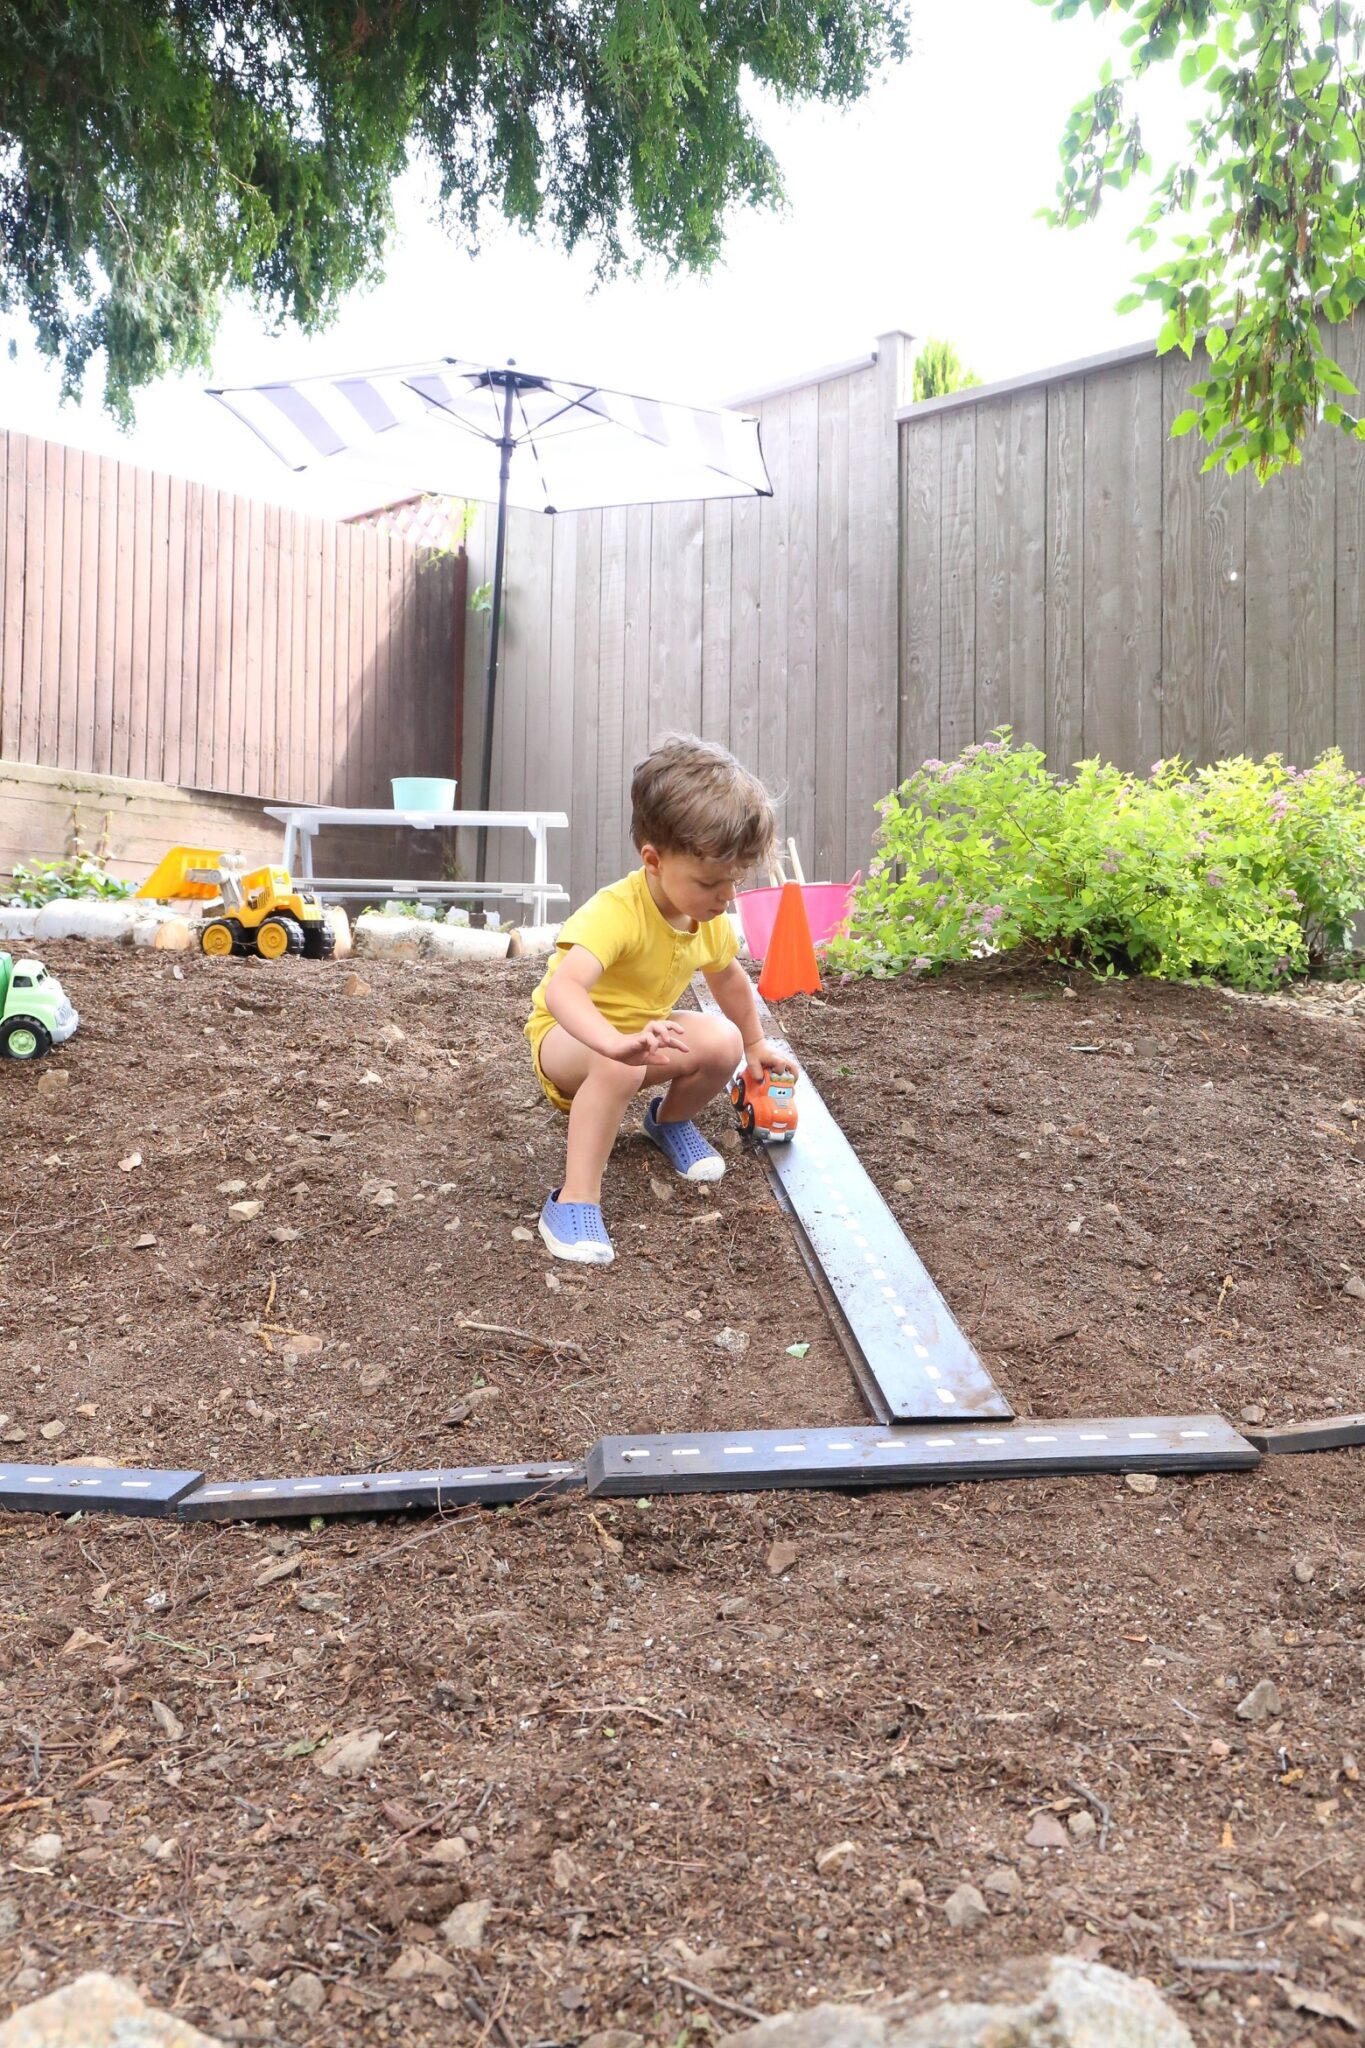
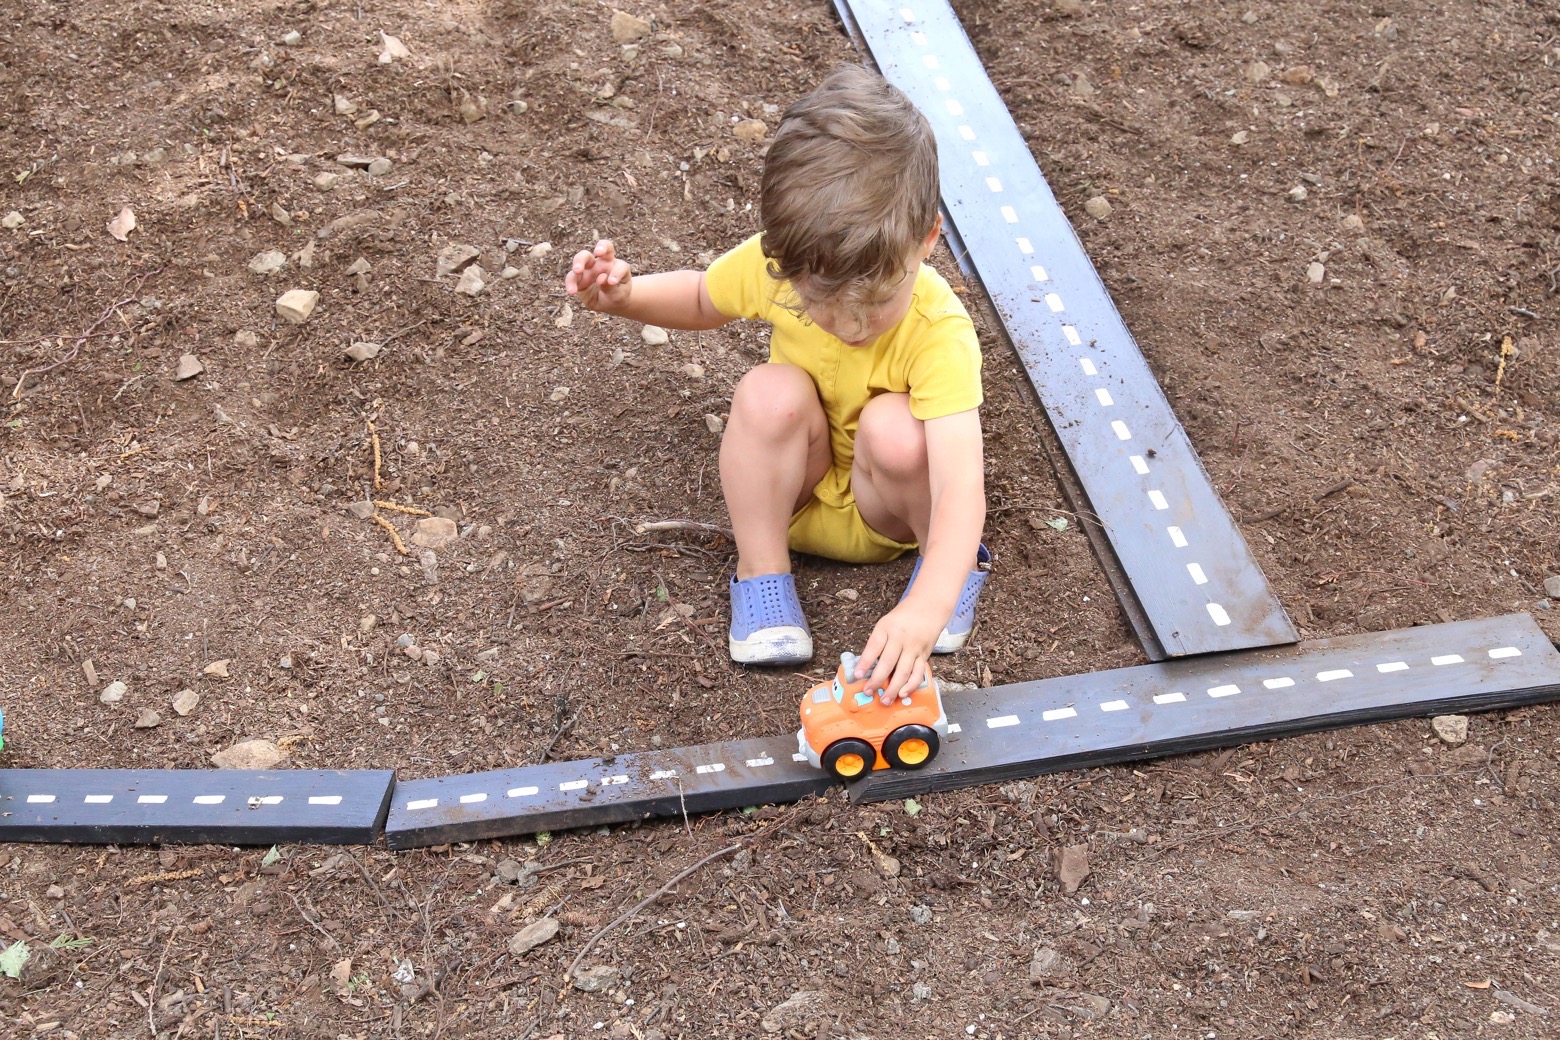
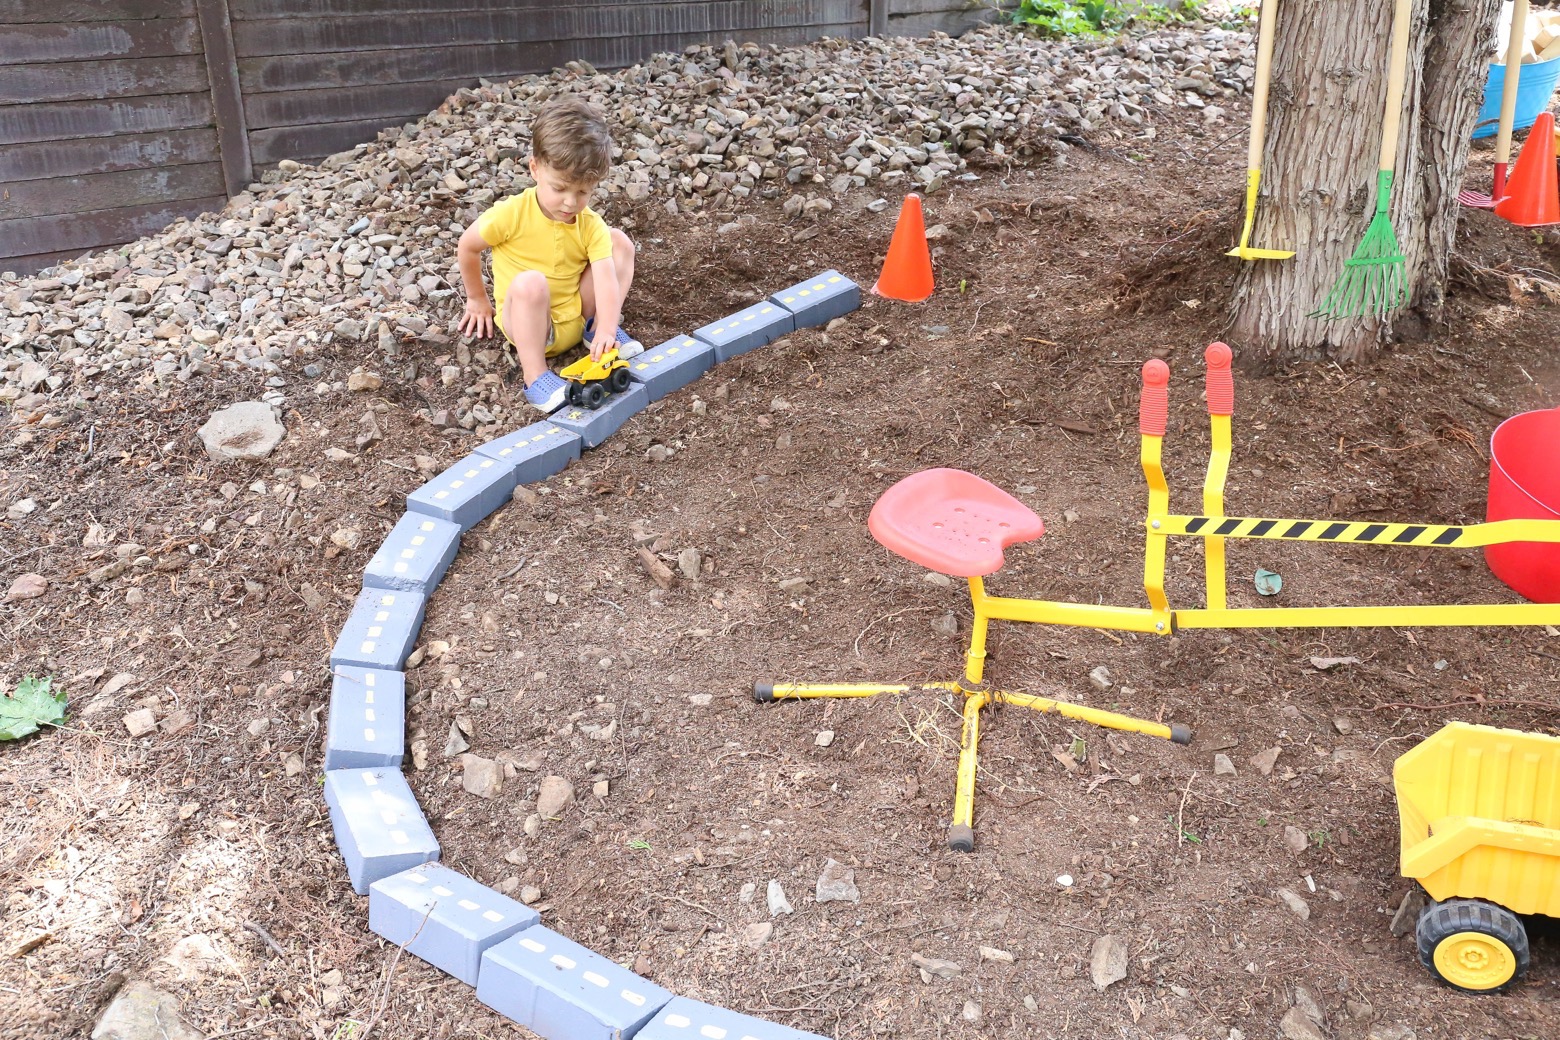
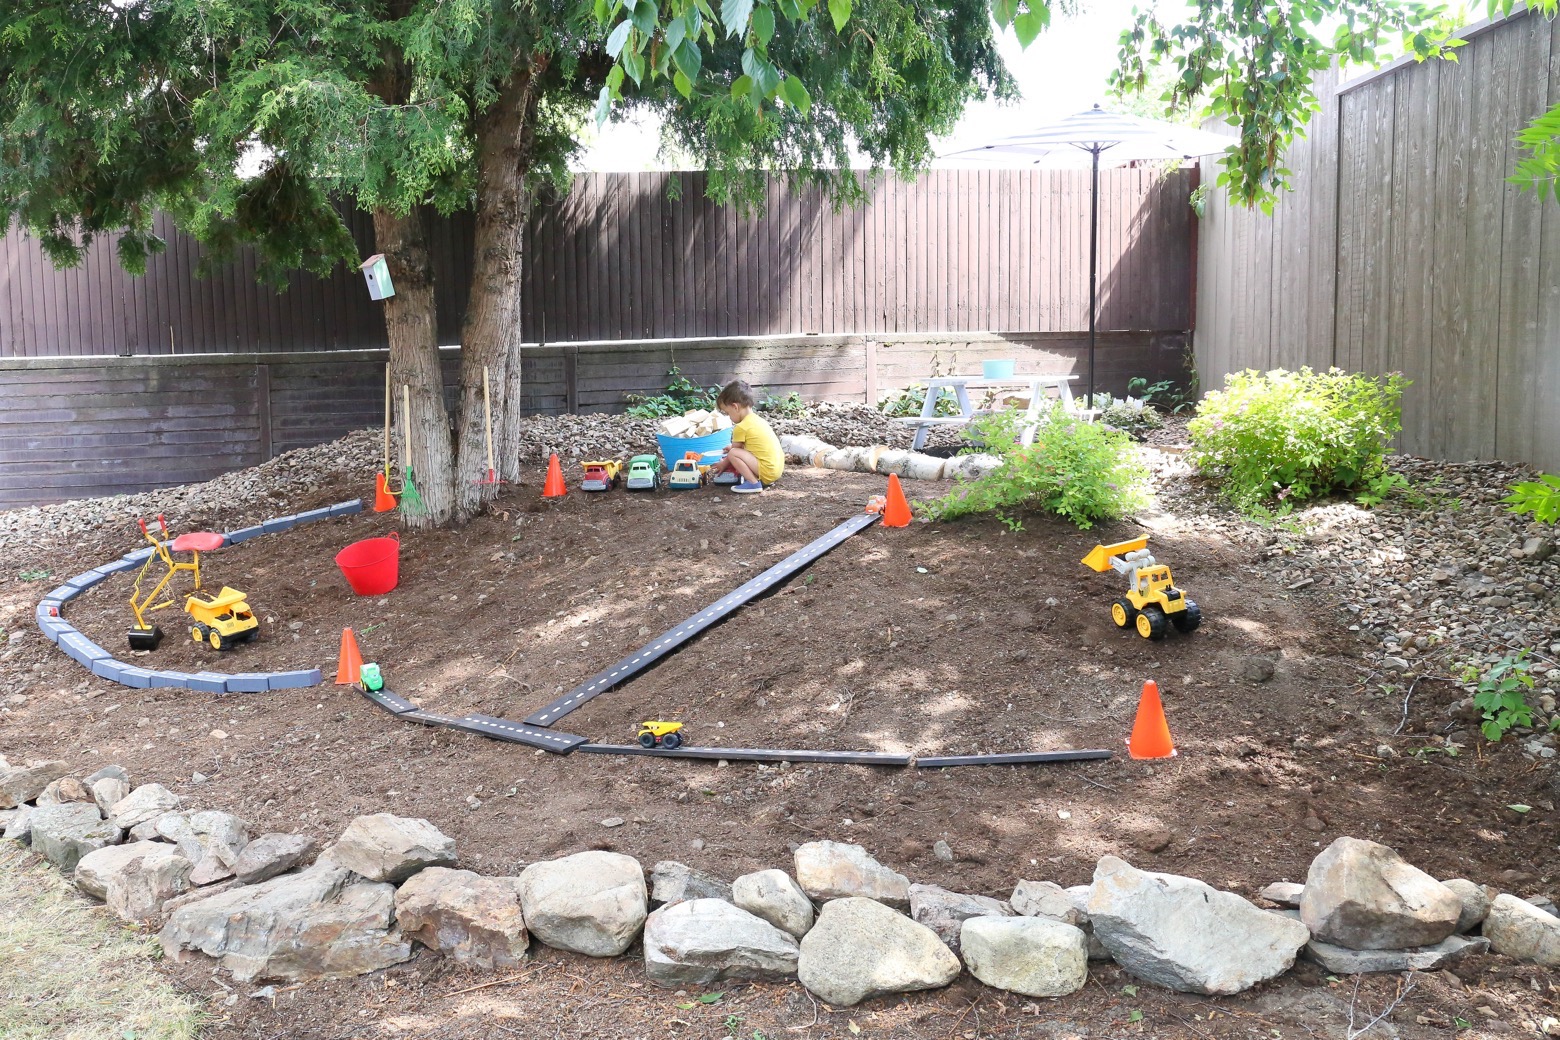
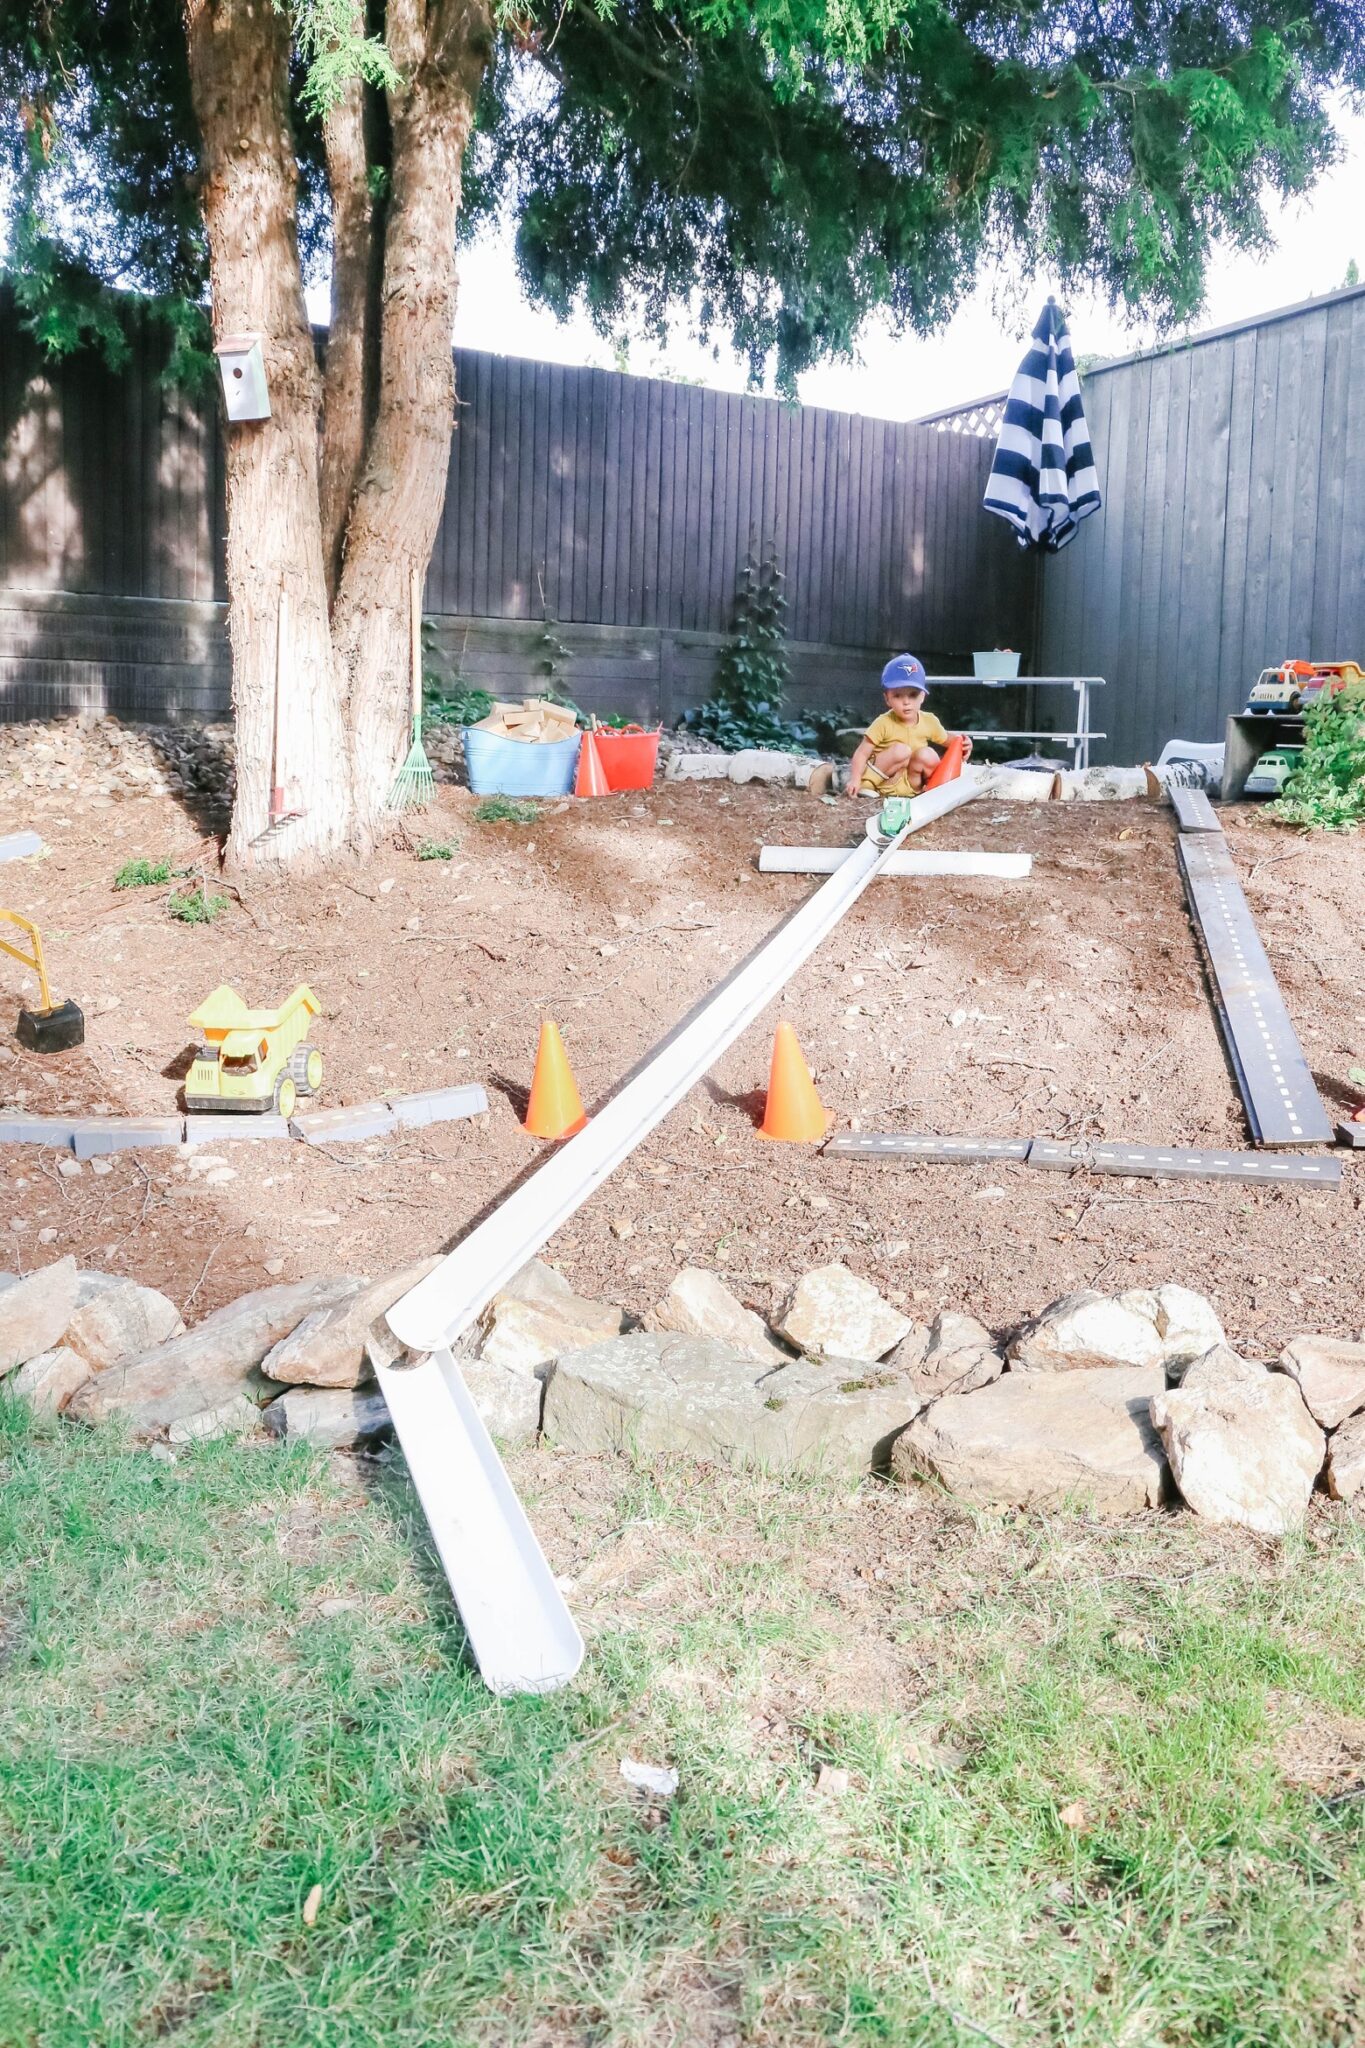
  • Drive Toy Cars Through Various Terrain  Bring along a little toy car.  Have fun driving it through the dirt, grass, rocks, tree roots and other various terrain.

  • Bring a Favorite Toy  Bring along your child’s favorite toy and incorporate it in your nature adventures!

  • Have a Picnic  Bring along a snack or meal to enjoy on your nature walk.

  • Smell Flowers  Stop and smell the flowers!

  • Draw Nature  Bring along some paper and crayons.  You can your child can draw things you see on your nature walk.

  • Draw With Nature  Using water and dirt, you can draw on paper or pavement.

  • Splash in Puddles  Go on a nature walk after a rainstorm and you may come across some puddles – perfect for jumping in and splashing around.

  • Take off Your Shoes  Take off both your shoes and feel the grass and dirt under your feet.  Talk about what it feels like (is it warm/cold?  is it smooth/rough?  does the grass tickle your feet?)

  • Sing Songs  Sing some of your favorite songs while outside.

  • Listen to Music  Play some music from your phone.  It can be relaxing or upbeat!

  • Dance Get all your kid’s wiggles out!  “Freeze dance” is favorite in our house that always gets us dancing!

  • Act Out “We’re Going On A Bear Hunt”  If you haven’t heard of this book, we highly recommend it!  There’s also various renditions of the story in song  form!

  • Pretend to be Different Animals  Let your surroundings inspire you!  Can you pretend to be a bird?  Or let your imagination run wild!  Is that cow I hear?

  • Play a Game of Tag Run around and chase each other (if it’s safe to do so!).

  • Read a Book  It’s amazing how reading a book outside can totally change the experience!

  • Stretch/Do Yoga  Use nature as your inspiration!  “Can you reach up and stand tall like a tree?”

  • Make a Birds Nest  Gather some sticks and twigs and see if you can make a birds nest.

  • Talk About Colors  Look for specific colors (for example, things that are yellow) or point out what colors you see.

  • Talk About Sounds  Point out the different sounds you hear.

  • Talk About Shapes  Point out any shapes you see.

  • Talk About Letters  Be on the lookout for any letters you see and point them out and talk about what they spell.

  • Talk About Smells  There are so many different scents to be found outdoors! Smell around and talk about them.

  • Talk About Texture  Feel various natural objects around you and use them to teach about the different ways they feel.

Discovering the Woods

When you get to the woods, watch them explore and see what they do on their own without offering suggestions. Do they run? Build? Climb? Even an activity as simple as digging leads to exploration. Children learn how to dig, the way soil feels, the angle of the slope before loose dirt slides back down, and the difference between dry and wet soil.

Ask open-ended questions if they are old enough. As children explore on their own, remain involved. Ask about their discoveries. Ask open-ended questions they can understand and answer with their observations. “What did you find? Oh, a bug? What does it look like? How does it move?” You do not have to know all the answers to children’s questions. Discuss what you see—the shape of leaves, the color of the soil, the movement of the grasses. The more your child observes, the more the world around him will make sense. Discovering how to learn through observation is important. Your child doesn’t have to know the names of all the plants and animals he finds. He will learn through his observations. You can even suggest he make up descriptive names of his own. 

Play Space For Free Play

18 Free {or almost free} Cool Features to Add to Your Backyard Playground

Create a fun and exciting backyard playground for your child or your daycare for free or for few dollars!  You don’t need expensive toys and fancy equipment to have an outdoor play area that will thrill your kids.  These inexpensive ideas for a backyard play space will make your yard the funnest place in the neighbourhood.

The far corner of the backyard draws the children in like a magnet.  It’s the play area in our backyard that’s entirely dedicated to the daycare kids, and it’s where the  most care-free and magical moments of our day take place.

The old-fashioned simplicity of our outdoor play area makes it an enchanting place for kids to play, explore and learn.
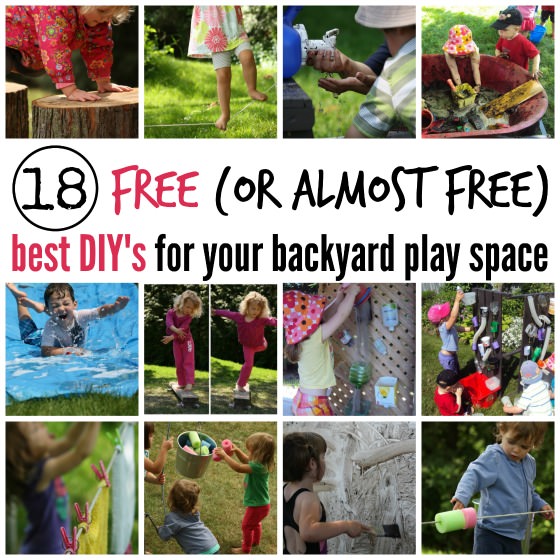
best diys for a backyard play space

There’s our play-house, and sandbox, which are popular for sure, and there is a myriad of other inexpensive play features that entertain, challenge and engage the hooligans for hours every day, all year long. It’s these play features I’m going to tell you about today.

Having an extraordinary outdoor play space doesn’t have to cost a fortune.

You may be thinking “But, how much does it cost to create a backyard playground like this?”

Well, that’s the beautiful part!

Aside from the playhouse and sandbox, which my husband built, most of the play features in our backyard cost next-to-nothing. In most cases, I’ve used items from around the house, thrift-shop finds, and various bits and pieces from nature to create this outdoor play area for the hooligans.

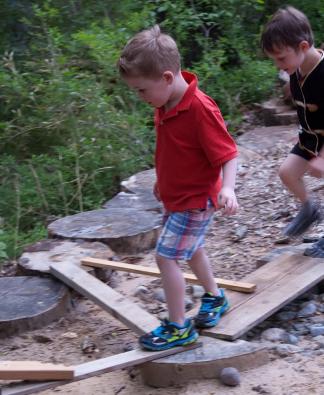
Tight-ropes, pulleys, water walls, balance beams…  all just pennies to make, provide countless hours of fun and learning.

They spark the imagination,  challenge gross motor skills and co-ordination, and encourage critical thinking and creativity.

Be sure to grab our printable list of 100 Fun Things To Do At Home This Summer too! Your kids will never be bored again!

Ready to have the funnest backyard on the block?

For your convenience, this post contains affiliate links.

18 GENIUS, FREE THINGS TO ADD TO YOUR BACKYARD PLAYGROUND

Click the links or photos below for the full instructions for each play yard feature.

MOBILE MUD PIT
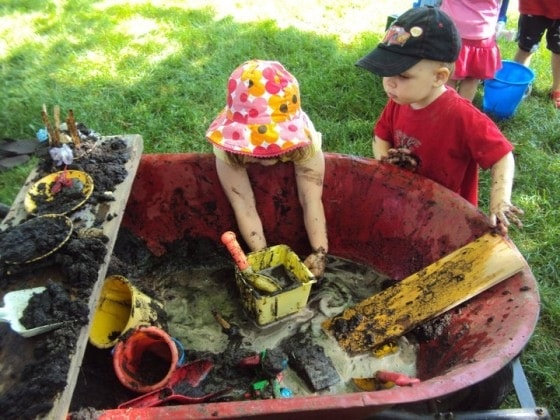
mud pit in a wheelbarrow

Want a mud-pit without sacrificing your lawn?  Click here to check out our mobile mud-pit!  Easy set up, easy clean up, and you can tuck it away at the end of the day.

Alternatively, you can buy this mud pie kitchen on Amazon.

PLAY LOGS
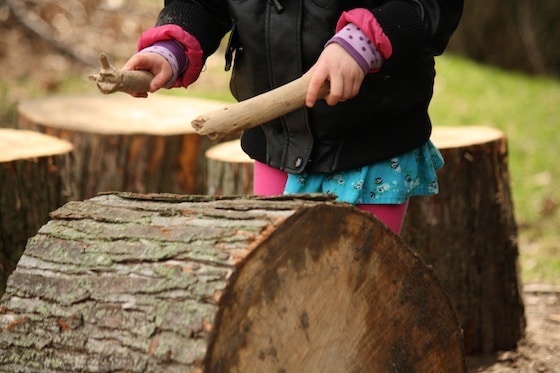
play logs for the backyard play space

If you know anyone who’s having a tree cut down, see if you can score some play logs!   They’re one of the most versatile and popular features in our backyard.  Click here to see ours in action, and to find out more about them.

No space for logs? Check out these balancing buckets for indoor and outdoor use.

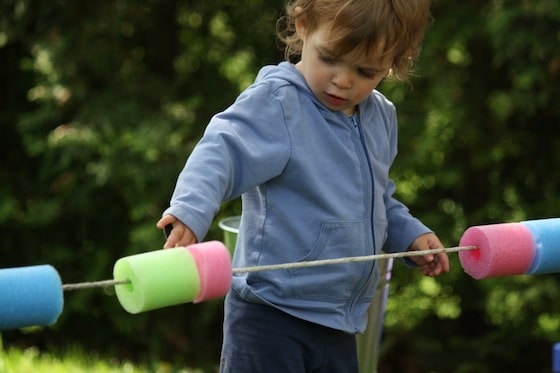
POOL NOODLE ABACUS
IMG_8628

A backyard “abacus” is simple to make and provides lots of fun and learning. The toddlers love this one.  Click here to learn more about our pool noodle abacus.

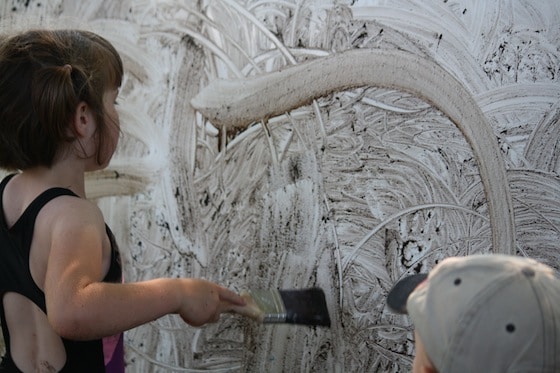
RE-PURPOSE AN OLD WHITE BOARD
white board in the backyard

Got a white board that’s too marked up to use anymore?  Move it outdoors!  The hooligans got a couple of seasons of outdoor art out of this white board that was headed for the trash.  Here, we’re painting with mud on International Mud Day.

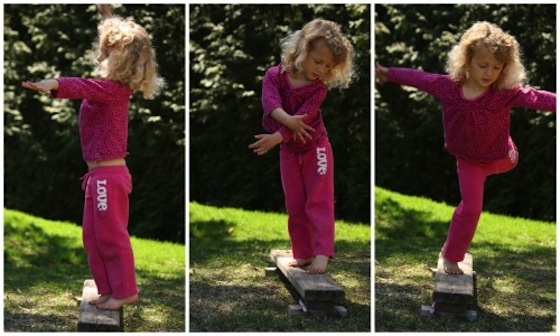
BACKYARD BALANCE BEAM
homemade-balance-beam-happy-hooligans

A few scrap pieces of wood make a toddler balance beam for a budding, young gymnast.  It provides hours of pretend play and exercise and I can tuck it out of the way at the end of the day. Click here to see more of our outdoor balancing activities for toddlers and preschoolers.

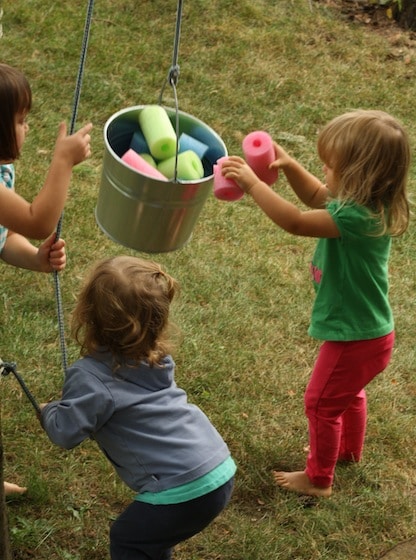
A ROPE AND A BUCKET
bucket and a rope backyard activity

Without question, this simple contracion is one of the best things I’ve ever added to our backyard play area.  The hooligans play with it all  year round.  Not only is it great for strengthening muscles and co-ordination, it also fosters team work, critical thinking and co-operation.  See how I rigged up our Bucket & Rope Contraption here.

HOMEMADE WATER WALL
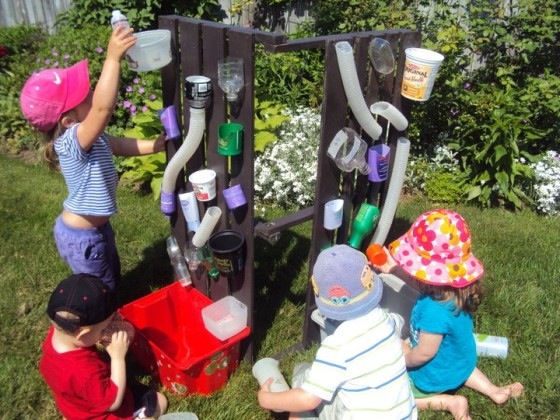
water wall activity

I made this water wall out of recyclables 4 years ago, and the hooligans are still playing with it.  It’s provided them with hours and hours of fun and learning over the years.  See how I made our water wall here.

TIRE SWING
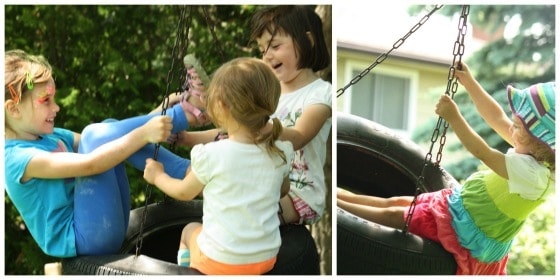
horizonal tire swing

Our tire swing is another one of the most loved features in our back yard.  An old tire, hung horizontally is perfect for one or for a bunch of kids to gather on.   If your vehicle is due for new tires – perfect!  If not, check with a local garage or service station.  They may happily donate one to your backyard project. (photo only/no link)

KID’S CLOTHESLINE
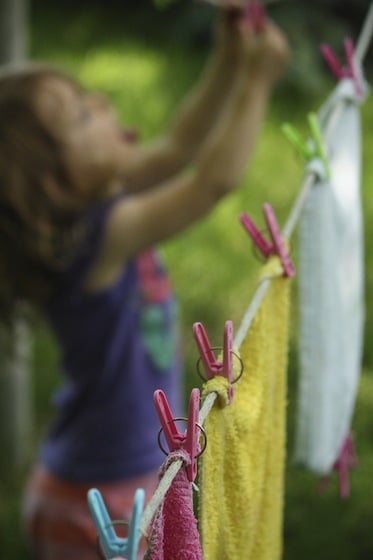
kid's clothesline activity

I rigged up this simple toddler clothesline years ago.  Secured tightly so it’s not a safety concern, it’s just at the right height for the hooligans to use.
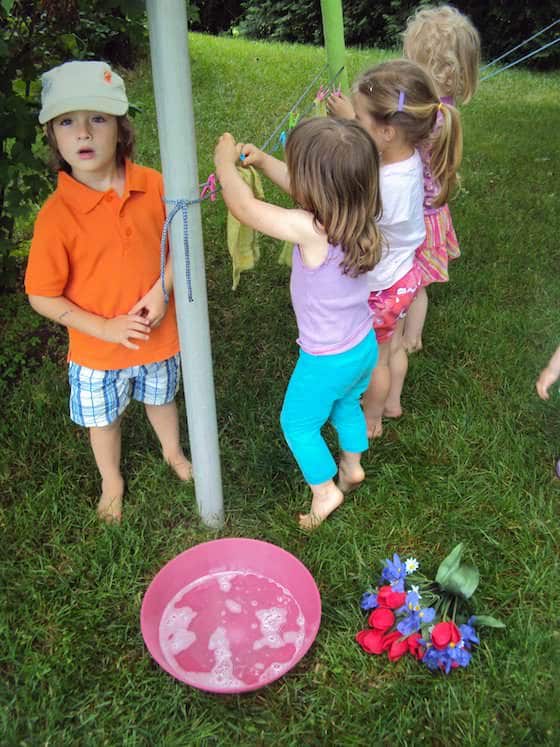
toddlers and preschoolers clothesline activity

Our clothesline provides lots of opportunity for pretend play, and it’s great for teaching life skills, and developing co-ordination and fine-motor skills.  Read more about our clothesline activities here.

ROCKS AND STONES
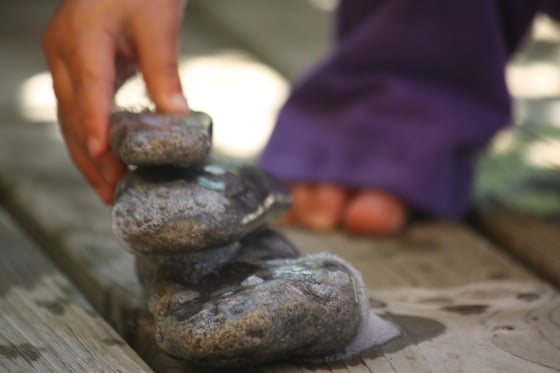
rocks for open-ended outdoor play

We’ve picked up loads of rocks and stones and even pebbles at the beach over the years.  The children always have access to the rocks and stones in the yard, and they play with them daily.  They’re kind of our backyard version of the building block – completely open-ended, they can be whatever the hooligans want them to be.  See 10 ways that we use our stones and rocks here.

SAND WALL
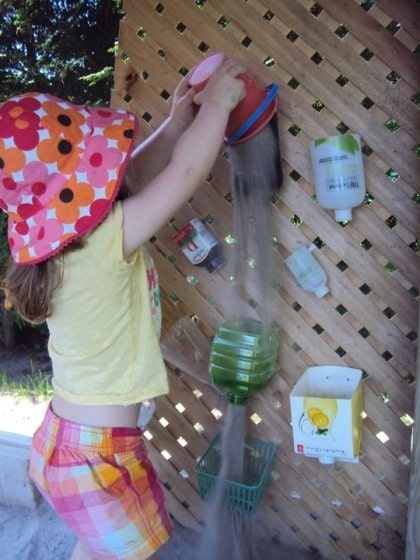
toddler sand wall in sandbox

Much like the water wall, our sand wall is also made entirely out of scraps and recyclables. It’s positioned in our sandbox, and it’s provided loads of entertainment over the years.  Read about our sandbox and sand wall here.

ARTIFICIAL FLOWERS
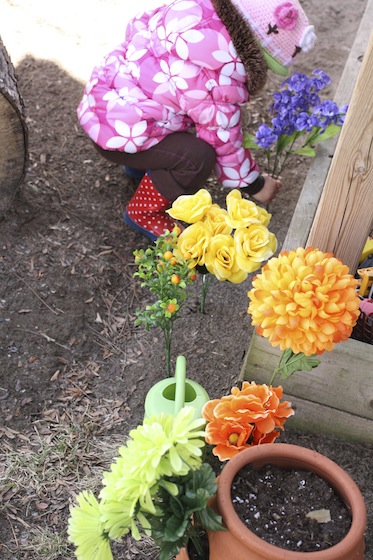
artificial flowers for play in the backyard

Pick up a bunch of artificial flowers at the dollar store or at a thrift shop.  Ours played with every single day.  The kids hold “weddings”, they decorate the playhouse with them, they “plant” them in the sandbox.  Not a day passes that these don’t get used in some creative manner.  Check out one of my favourite artificial flower activities here.

DIY WATER TABLE/SENSORY TABLES 
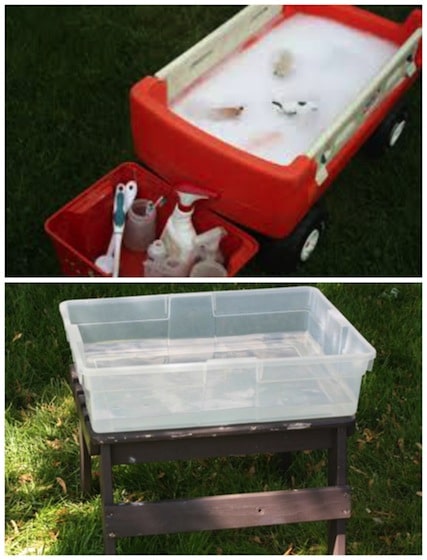
DIY WATER TABLE

Water tables are awesome, but there was no way I was going to spend big money to get one when you can make your own so easily.  I pull one of these together almost every day when the weather is nice.  A storage bin set a top a bench or patio table or even an overturned (larger) storage container are all you need for all your water and sensory activities.  If you don’t have storage containers, no worries – a child’s wagon also doubles as a water table for a group of kids to gather around.  You can check out the way we use it for our water activities here.

BACKYARD TIGHT ROPE
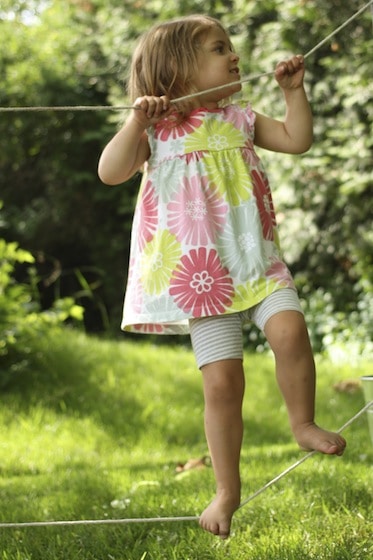
Back Yard Tight Rope

Best thing ever!  This is right up there with the tire swing and the rope and bucket contraption.  We’ve had our toddler tightrope set up in the yard for years. The hooligans use it every day, all year long even when the snow practically buries the bottom rope.  It’s the best for co-ordination and gross-motor development.  I’m not kidding when I say our tightrope has provided hundreds of hours of fun for kids from ages 1-7 over the years.  Read all about it, and see how to make your own here.

HOSES AND FUNNELS
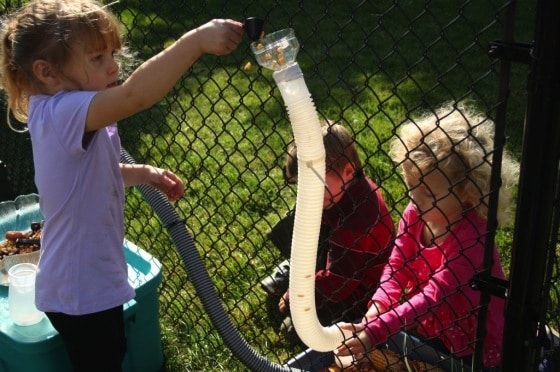
Hose and funnel run through chain link fence

A couple of old pool hoses (or vacuum hoses) pushed through a chain link fence provide hours of fun and learning.  Pop a funnel (or the top section of a water bottle) into the top each hose, and little ones will be kept occupied and entertained for ages.  Read all about our hose and funnel runs here.

THRIFT SHOP COFFEE TABLE
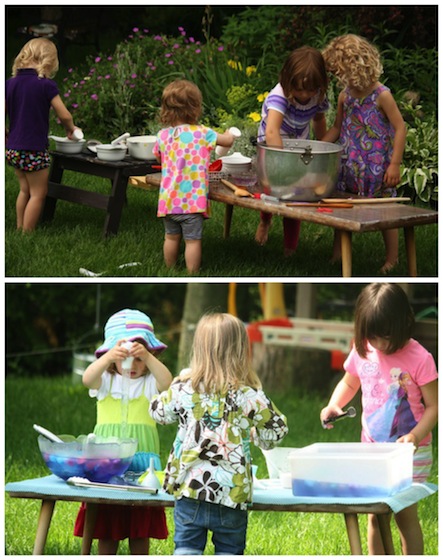
used coffee table as activity table

One of the best but least expensive investments I ever made for my daycare was this thrift shop coffee table.  I got it for 6 dollars at a second-hand shop a couple of years ago, and we use it every day.  In summer, it’s our backyard activity table, in winter it’s our art table in the craft room.  Big enough for a crowd to gather around and water and paint spills don’t matter at all.  See it in action here.

DIY WATER SLIDE
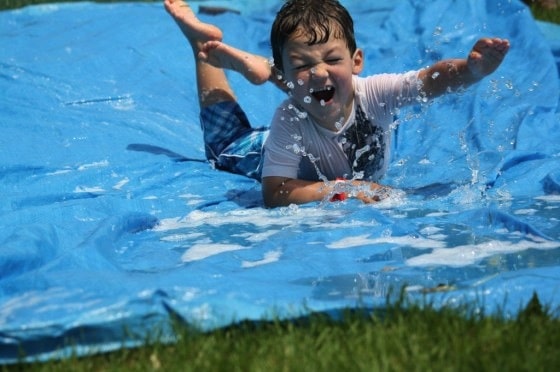
DIY water slide

For the price of an inexpensive camping tarp, you can give your kids a whole day of wet, water, slippy-slidey fun! !  We’ve been doing this for years here in my daycare, and the kids never tire of it.  See how to make your own waterside here.

ADD “RUNNING WATER” TO YOUR OUTDOOR PLAY SPACE
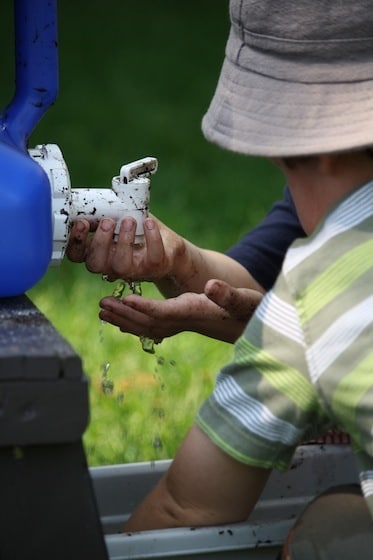
water jug in the play yard

Lastly, my inexpensive trick for adding a source of running water to your child’s backyard play area.  A camping jug!  Theyr’e in abundance at the second hand-stores around here, so if you don’t have one of your own, you can probably scoop up a used one for a couple of bucks!  See some of the ways we use ours here.

And there you have it!

18 inexpensive, super-fun, super-cool things you can add to your outdoor play space this summer!  Your kids (and your neighbours’ kids) will love you for it!

Ultimate List: 110 Ideas for Outdoor Fun in Your Own Backyard

Looking for fun things to do outside in your backyard? I’m sharing 110 ideas for joyful outdoor play. Take a look at this list and find the perfect activity for your toddler or preschooler. From playing with ice to exploring nature, there are endless possibilities for fun. And the best part is, you don’t even have to leave home.

Classic Outdoor Activities

  • Cloud Watching

  • Stargazing

  • Climbing Trees

  • Digging Holes

  • Picking Flowers

  • Jumping in Leaf Piles

  • Making Snow Angels

  • Having a Picnic

Scavenger Hunt Activities

  • Nature Scavenger Hunt – find templates here

  • Sound Scavenger Hunt – buzzing bees, singing birds, splashing water, driving cars

  • Mushroom Scavenger Hunt

  • Nighttime Shadow Hunt – Take flashlights outdoors and explore shadows.

  • Texture Scavenger Hunt

  • Monochrome Scavenger Hunt – How many blue (or green, or brown, or white) things can you find?

  • Bug Scavenger Hunt – Look for bugs plus their tracks, homes, and sounds.

  • Bird Scavenger Hunt – Look for birds plus their homes, feathers, tracks, and sounds.

  • Rainbow Scavenger Hunt – Find an object for each color of the rainbow.

  • Missing Toy Hunt – Hide some toys and encourage your child to search and find them.

Kiddie Pool Activities

  • Giant Sensory Table – Prop a kiddie pool up on crates or cinderblocks for a sensory table children can stand at.

  • Bubble Bath – Add bubble bath to your kiddie pool.

  • Paint Prints – Place a sheet of paper in bottom of an empty pool for larger than life painting.

  • Glowstick Stargaze – Add glowsticks to a kiddie pool during a dusk or evening swim.

  • Plastic Egg Surprises – Plastic eggs float in water. Hide small treasures inside and add them to the pool with scoops.

  • Obstacle Course – Make an obstacle course with a kiddie pool station.

  • Pool Noodle Ball Pit – Cut up foam pool noodles for a DIY ball pit.

Water Play Activities

  • Spray + Squeeze Bottles – Give empty spray and squeeze bottles (hair spray, non-toxic cleaners, sauce bottles, shampoo bottles, etc.) a second life.

  • Water Bucket Relay – Try to quickly carry cups of water from one bucket to fill a line of buckets.

  • Sponge Walk – Line up soaking wet sponges, loofahs, and washcloths for a balance-testing walk.

  • Water Paint with Rollers – Use paint trays and paint rollers to paint the sidewalks, fences, playhouses, and more with water.

  • Splash Patterns – Dip sponges, splash falls, and washcloths into water and toss them to the ground. Explore the different patterns they make. Explore the splash patterns made by squeezing, dripping, and smashing them.

  • Water the Flowers – Using watering cans or spray bottles, walk around the yard to water flowers, bushes, and trees.

  • Puddle Walk – Head outside after (or during!) a rainstorm to take a stroll through the puddles.

  • Pour Station – Place a variety of bottles, cups, bowls, funnels, tubes, and scoops into a large, low bin or an empty kiddie pool.

Ice Play Activities

  • Hot + Cold Sensory Bins – Explore water temperatures with a warm water bin and an icy cold bin.

  • Nature Ice Cubes – Collect items from the backyard in an ice cube tray, then freeze. Add to a sensory bin later.

  • Fizzy Ice Cubes – Freeze baking soda in water. Explore what happens when you spray or brush the cubes with a white vinegar/water mixture.

  • Melting Ice Drawings – Draw on the sidewalks with melting ice.

  • Frozen Nature Collages – In colder weather, freeze nature objects in colorful pans of water.

  • Shaved Ice Sensory Bin

  • Snow Cone Pretend Play – Create a snow cone prop box using ice cream scoops, paper cups, and squeeze bottles of colored water. Make some shaved ice and pretend to run a snow cone stand

  • Frozen Sponges – Explore the textures of frozen sponges as they slowly melt.

  • Ice Cube Building Blocks – Freeze ice in blocks to build with.

  • Frozen Nature Soup – Add nature items from the backyard to a bucket of icy water. Make sure you have a large spoon to stir with.

Book Activities

  • Book Seek + Find – Hide books around the yard to find and read.

  • Nature Books – Read your favorite nature books and connect the stories to backyard play.

  • Bug + Insect Books – Inspire a bug scavenger hunt or pretend play using this list of favorite bug and insect books.Bee BooksSpider BooksDragonfly BooksAnt BooksButterfly Books

  • DIY Book with Outdoor Photos – Take photos of your favorite backyard adventures or discoveries and put them in a photo album.

Imaginative Activities

  • Block Play – Take blocks outdoors

  • Forts – Build forts with sheets, tarps, or even use a pop-up tent.

  • Pot + Pan Band

  • Chalk Lines (or cities) + Toy Cars – Use chalk to create a landscape for toy cars to zoom through.

  • Pretend Play as Explorer – Get your map, flashlight, binoculars, and walking stick to explore through the yard.

  • Pretend Play as Scientist – Gather your magnifying glass, specimen jars, and tweezers to collect samples.

Our Favorite Imaginative Games

READ MORE

Art Activities

  • Painting Nature – Paint on branches, rocks, large leaves, or pinecones.

  • Squirt Gun Painting

  • Bead + Stick Sculptures – Place sticks into the ground and stack beads on the small branches.

  • Play Dough + Nature Sculptures – Decorate play dough sculptures with seeds, stones, twigs, leaves, and more.

  • Nature Weaving – Wrap rubber bands around pieces of cardboard. Collect leaves, twigs, and flowers to weave through the bands.

  • Mud Art – Use mud to paint or create mud sculptures

  • Yarn + Ribbon Wrapping – Wrap branches or even tree trunks with layers of colorful yarn and ribbons.

  • Paint with Nature – Make all-natural paint using berries, dandelions, or chlorophyll from leaves.

  • Nature Photos – Use a camera or a phone to take photos of interesting discoveries in your backyard.

  • Paint on Snow – Use paintbrushes or even spray bottles to paint on the snow.

  • Sidewalk Chalk + Water – Enhance normal sidewalk chalk art with water. Your child will be delighted to see how bright the colors are. They can either dip the chalk into water or wet the sidewalk before drawing.

  • Fly Swatter Painting – Set out paint on trays and hang a sheet up for your child to explore. Don’t want the mess of paint? Hang up a bright, solid color sheet and use water.

Sensory Activities

  • Mud Kitchen

  • Barefoot Walk – Talk about the different textures you feel while you walk.

  • Nature Sensory Jars

  • Explore with Binoculars & Magnifying Glasses

  • No Sandbox? – Make a wet + dry sand sensory table with a plastic bin.

Plant Activities

  • Flower Dissection

  • Flowers + Play Dough

  • Mud Pie Decorating

  • Seed or Dry Bean Sorting

  • Pinecone Painting

  • Bark Rubbings

  • Gardening Pretend Play – Use faux flowers if you don’t have real ones!

  • Plant for Pollinators – Check out this resource to find what plants are tastiest for your local pollinators.

  • Name Your Favorite Plant or Tree – Get inspired with tree facts and flower facts.

  • Wildflower Garden – Pick up packets of wildflower seeds to plant. Take a couple moments (or more!) each week to talk about the differences between the plants as they grow.

  • Bee Feeder – We have to protect our favorite buzzing pollinators. You can fill a low pie pan with marbles and a small amount of water. Bees and other bugs can land on the marbles and have a drink.

Dozens of Hands-On Plant Activities

READ MORE

Gross Motor Activities

  • Cardboard Box Chariot – Attach cord or rope to a cardboard box and create a chariot for your child’s favorite stuffed animals or dolls.

  • Balloon Swatters – Use fly swatters and balloons to create a fun game. Keep the balloons in the air or use the swatters to knock balloons into goals or from point A to point B.

  • Stick Obstacle Course – Place sticks in a line or a ladder shape for a challenging obstacle.

  • Bean Bag Dodgeball – Don’t hurt each other, but a little danger/challenge is fun. You can absolutely swap for lightweight balls.

  • DIY Paper Kites – Decorate a sheet of printer paper (the kite) and staple on ribbon or party streamers. Take them outdoors and run until they catch some air and lift. Pair this activity with the book Kite Flying from the spring book list.

  • Have a Race

  • The Ground is Lava – Use lawn furniture, placemats, paper plates, or kickball bases to set up an obstacle course. Can you get from the porch to the playset without touching the ground?

  • Bedsheet Parachute – Use a bedsheet to make a parachute. Add balls, balloons, or stuffed animals on top for an extra challenge. Hot day? Make those balloons water balloons.

  • Hopscotch

  • Laundry Basket Bean Bag Toss

  • Tug-of-War

  • Giant Dice – Use a square cardboard box to create a movement game. Each side can have a different dance move or activity to do when that side lands up.

  • Car Watching Game – Keep an eye on the cars that pass and make a rule for each type of vehicle. Run a lap when you see a blue car, honk when a truck passes, or say a silly word when there is a delivery vehicle.

  • Sidewalk Walk, No Cracks – It’s a pretty chill activity, but don’t you dare step on the cracks.

Low-Cost Outdoor Toys

  • Bubbles

  • Sprinkler

  • Squirt Guns for water battles, target shooting, and painting

  • Frisbees

  • Hula Hoops for tossing, spinning, and obstacles courses

  • Sidewalk Chalk

  • Beach Ball

  • Splash Balls

  • Water Balloons

Want to venture outside the backyard? Explore A Marvelous Family’s 20 Inexpensive Kids Outing Ideas.

More ideas

A child lies on the grass and reaches for the camera.

30 Interesting Spring Facts for Kids: Nature & Traditions
Child with rainboots jumping in a puddle on a rainy day.

The 30 Best Rain Books for Preschoolers: Rainy Day Ideas

10 Nature Crafts

For Kids

by WhimsyRoo

Nature walks with Roo have been one of our favorite activities together. She calls it “esploring.” It’s amazing how a little exercise and fresh air lifts both of our moods. Granted I don’t get much of a workout at the pace she keeps, but the memories are so much more important! We discuss creation, the science behind the leaves turning, how animals and bugs use camouflage, what makes rain, and anything else she thinks of to ask. I encourage her to use all five senses (except maybe taste…yuck) to experience nature. She creates characters for us to be and stories for us to play out.

Most of all we collect treasures. I never leave a walk without at least one thing in my pocket! Acorns and flowers are a favorite of Roo’s, I like to grab pretty or interesting leaves and rocks, and pine cones are beginning fall. Here are 10 ideas for a nature craft to make with all those collected treasures.

*Disclaimer: Some supplies listed are affiliate links. For my full disclosure click here *

Nature Treasure Collage and Suncatcher
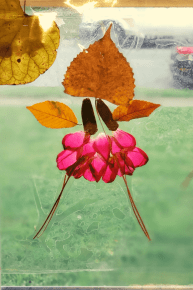
Leaves and Petals Arranged in the shape of a girl


Nature Craft Suncatcher

 Supplies:

Contact paper

Collected Nature Treasures (flat and light weight items work best)

Cut two pieces of contact paper. Place one sticky side up on a flat surface. Allow child to arrange their nature treasures on the paper. Place the second piece sticky side down over the artwork. Hang your nature craft in a window or other sunny place!

Leaf Faces
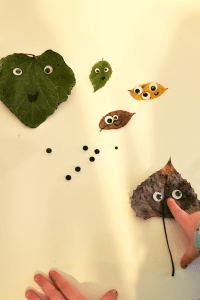
Leaves with Googly eyes Nature Craft

 Supplies:

Googly eyes

Glue

Sharpie

Collected Leaves


This nature craft is so simple, glue eyes to the collected leaves and draw mouths and other facial features with the sharpie!

Leaf Rubbing
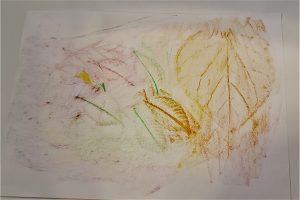
Leaf Rubbing

Supplies:

Paper

Crayons

Collected Leaves

An oldie but a goodie nature craft. Place paper over the collected leaves and rub the crayon over. Encourage the child to keep the crayon flat on its side and not press too hard.

Leaf Impressions
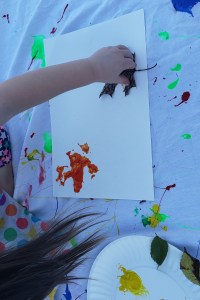
Supplies

Collected Leaves

Acrylic Washable Paint

Paint Pad Paper or Canvas

Pour a small amount of paint into a paper plate or other container. Have the child dip the leaves into the paint and then press them onto the canvas. Encourage them to lift gently to reveal the leaf’s impression.

Pressing Flowers
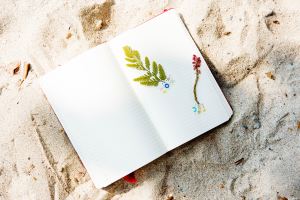
Photo by rawpixel on Unsplash

Supplies:

Collected Flowers

Tissue or White Paper Towel

Heavy Books

Place flower on the tissue or paper towel and either fold the paper around it or place a second tissue over the flower. Place the flower sandwich in the middle of a heavy book. Depending on the thickness of the flower, you may need to stack more heavy books on top of the first book. Leave for 2-4 weeks. The pressed flowers can be placed in a scrapbook to start a nature craft collection, or used in your nature treasure collage craft above!

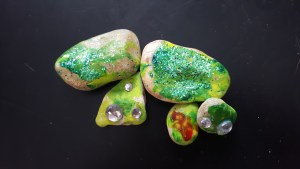
Rock Painting
Rock Painting

Supplies:

Collected Rocks (smooth and flat river rocks work best)

Acrylic Washable Paint and Paintbrushes

Mod podge

Glitter (optional)

Clean your collected rocks and make sure they are completely dry before beginning. Allow your child to paint the rocks. Sprinkle on glitter if desired while the paint is still wet. Once the paint is dry, coat the rock in modge podge to avoid chipping and flaking. You can paint with them and create some Story Stones like we did!

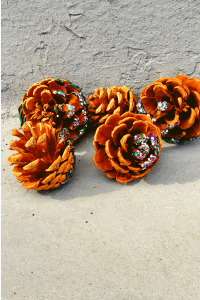
Dipped Pine Cones
Dipped Pinecones Nature Craft

Supplies:

Collected Pine Cones

Acrylic Washable Paint

Glitter (optional)

Pour paint into a small bowl. Have the child dip one side of the pine cone into the paint. Sprinkle on glitter while the paint is still wet. Allow to dry and use this nature craft to decorate your festive bowls!

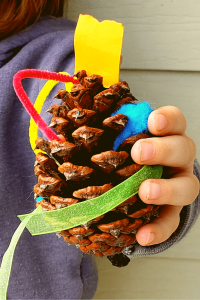
Pine Cone Decorating
Decorated Pinecone

Supplies:

Collected Pine Cones

Pom poms

String, Ribbon, Yarn

School Glue

Sequins and Glitter

This nature craft is suitable for toddlers and preschoolers. It is super easy and requires almost no help from the grownups except assembling the supplies and cleaning up afterwards. Just let them go to work on their creation!

Each of these nature crafts will provide beautiful memories of your hikes and nature walks together. My favorite is the Dipped Pine Cones, they look perfect in my Autumn bowl. I think Roo enjoyed the Leaf Faces the most, she created a whole pretend world for them once they were dry! I encourage you and your child, no matter what age, to bring home some treasures next time and try out some of these projects, and show me what you made.

Loose Parts Play Material List for Early Learners

Adding loose parts materials like blocks, natural objects, and household can make any space into an exciting place for young children to explore their creativity naturally. My loose parts material list to help children engage deeper in learning.

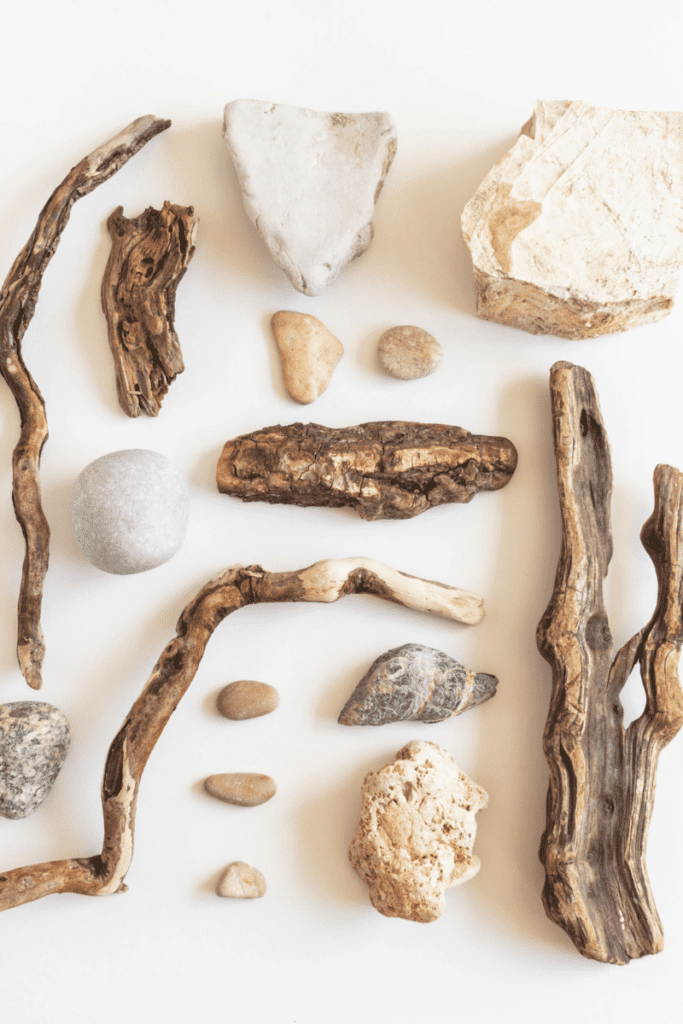
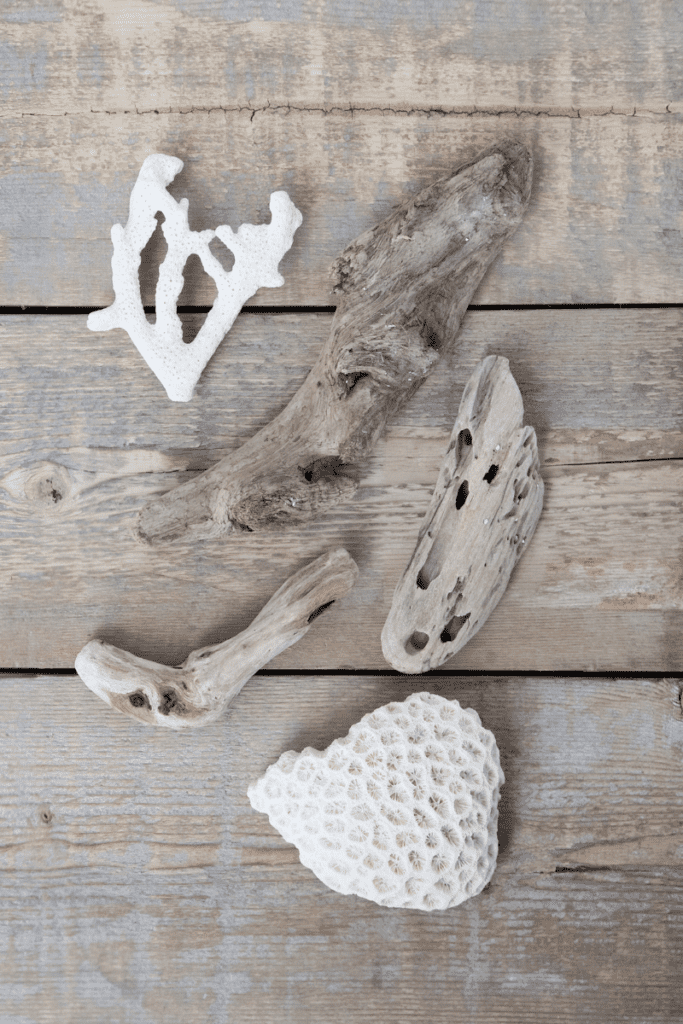
Stones and drift wood for loose parts play for children.

When play spaces are reduced to just a few pieces of equipment, children aren’t able to explore or get creative. Battery-powered toys, tablets, and most “educational” toys don’t align with how children’s brains develop.

Table of Contents

LOOSE PARTS LIST PDF VERSION

Printable created by Live Love Learn Blog.

What Are Loose Parts?

Loose parts are objects and materials that children can explore, experiment with, and manipulate in different ways. They stimulate the senses and invite children to play.

Because loose parts are open-ended, children can meet their individual developmental needs while playing. Loose parts help children both understand the world better and use their imagination. Learn more about the stages of play.

Open-Ended, Child-Led Play With Loose Parts

Loose parts make any space into an exciting place for children to explore their creativity naturally. Children need more places where they can use their imaginations freely. They are curious and naturally seek out what they need for the next stage of development.

Instead of adults instructing children, they can let children explore the materials independently. Loose parts provide a variety of opportunities for children to explore their interests and develop skills at their own pace.

Loose Parts And Direct Instruction

Loose parts are adaptable for both open-ended play and direct instruction. Adults can set up learning stations with loose parts, where children learn in a self-directed way. The adult does not tell a child how to play with the loose parts but chooses loose parts that target a specific skill or interest.

The adult can then use open-ended questions and modeling to facilitate learning. Loose parts can also reveal new interests for a child. Those interests can then be applied to activities that are more adult-led.

Check out these Themed Loose Parts Treasure Baskets.

Loose Parts Material List

For the sake of sanity, I created some categories to keep this list organized. Many items technically could be in multiple lists. I hit my head against the wall to make judgments, so be gentle.

Under each category, I sorted the loose parts materials by “Gather/Do It Yourself” or “Purchase.” Depending on your household or what you have access to, you may not need to purchase items.

For more ideas on where to track down loose parts from the list, jump to Where to Find Loose Parts.

#1 Natural Objects


Gather/Do It Yourself:

  • Leaves

  • Twigs

  • Shells

  • Stones

  • Pinecones

  • Flowers

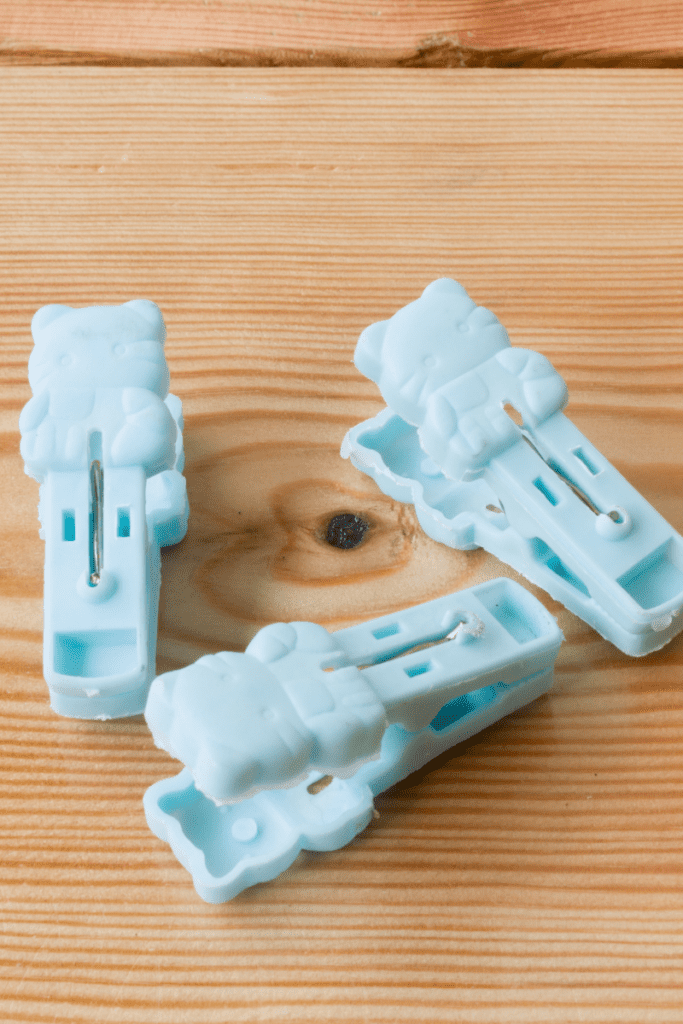
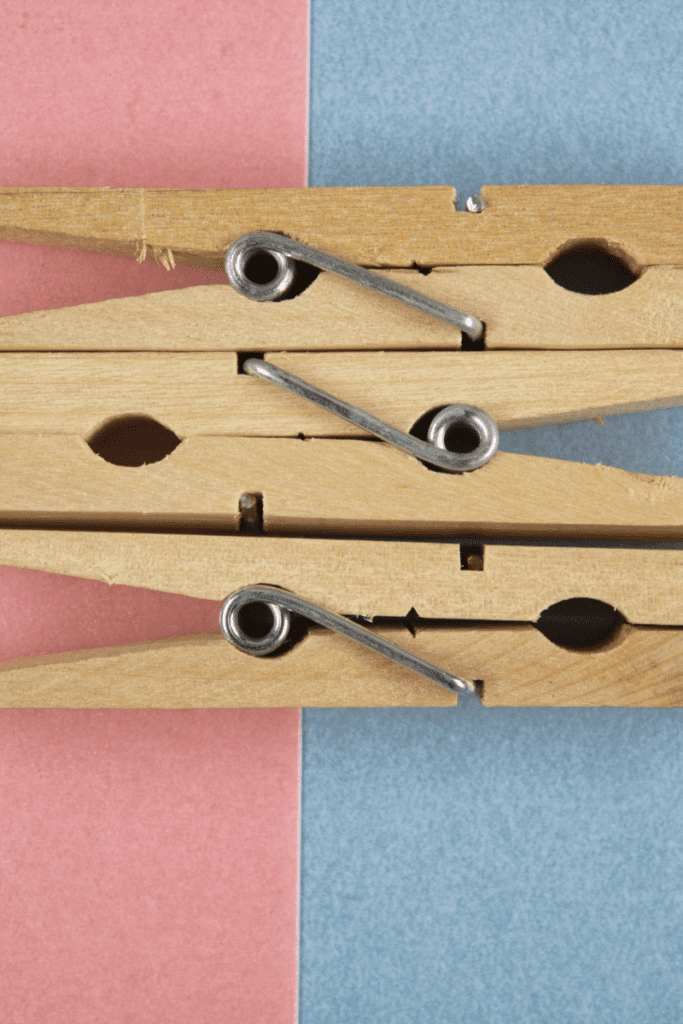
  • Clothespins

  • Tile Samples

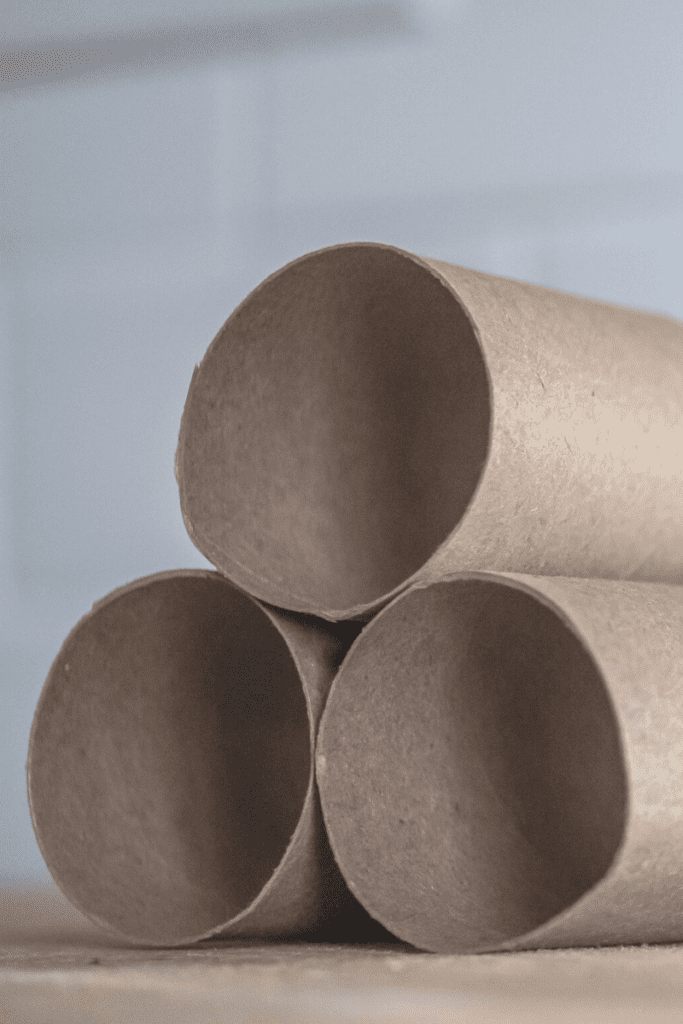
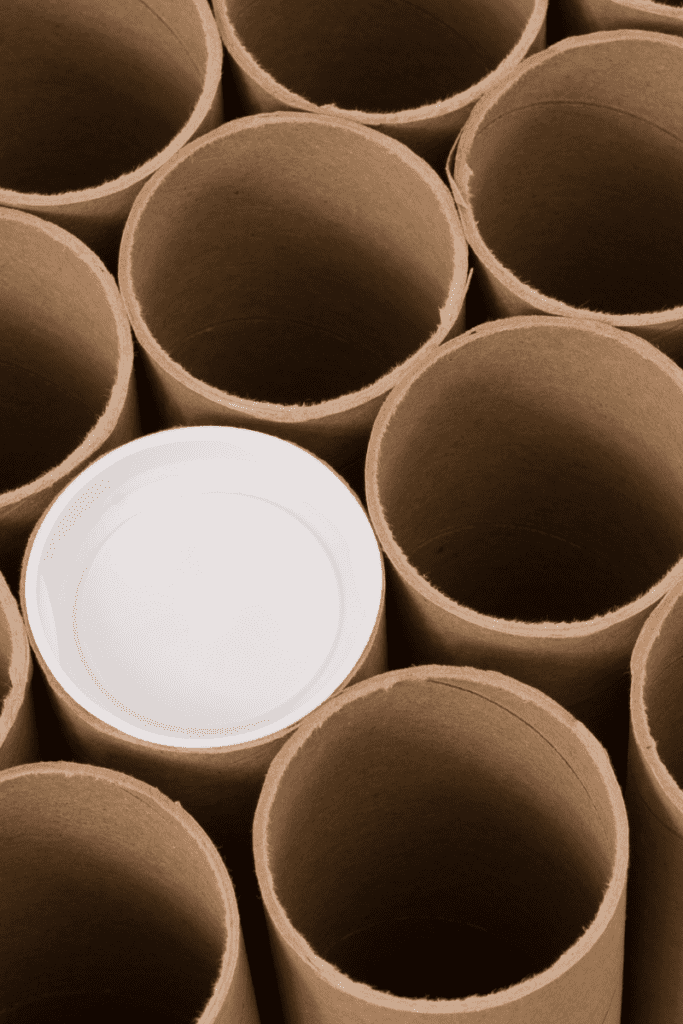
  • Cardboard Tubes

Purchase:

  • Wine Corks

  • Cork Tiles

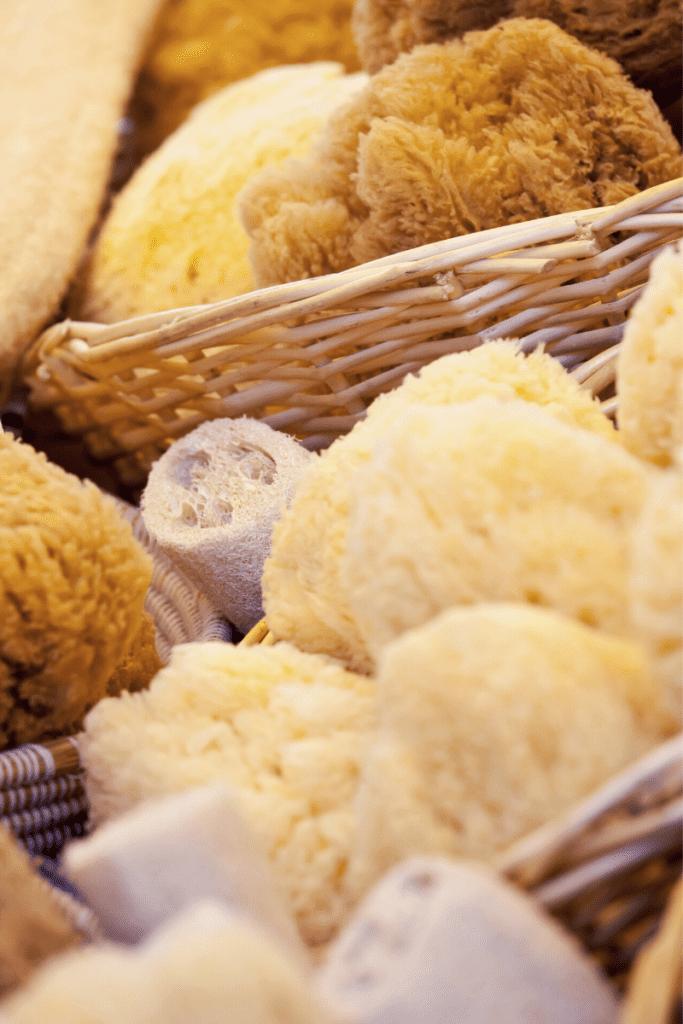
  • Natural Loofah

  • Large Wood Buttons

  • Wicker or Rope Woven Hot Pads

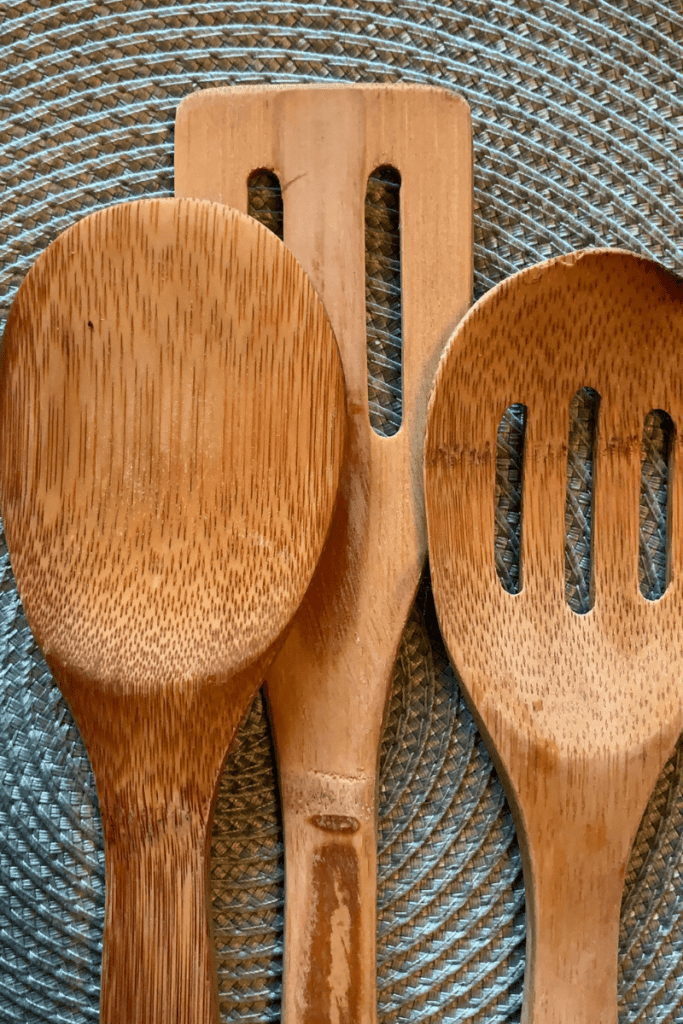
  • Bamboo Products

  • Wood-Handled Brushes

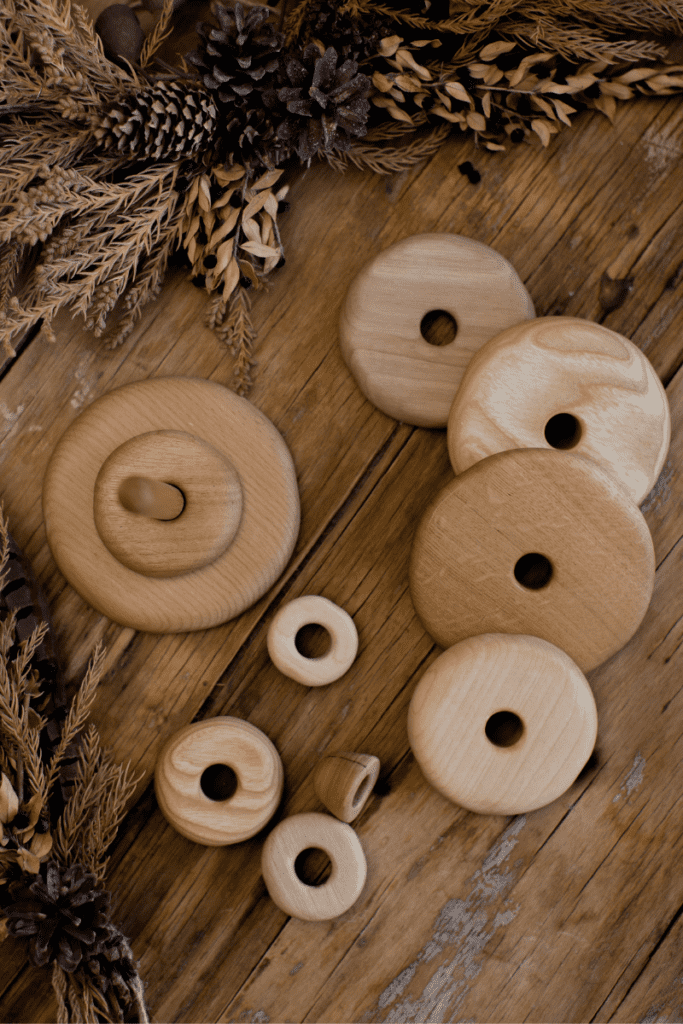
  • Wood Rings

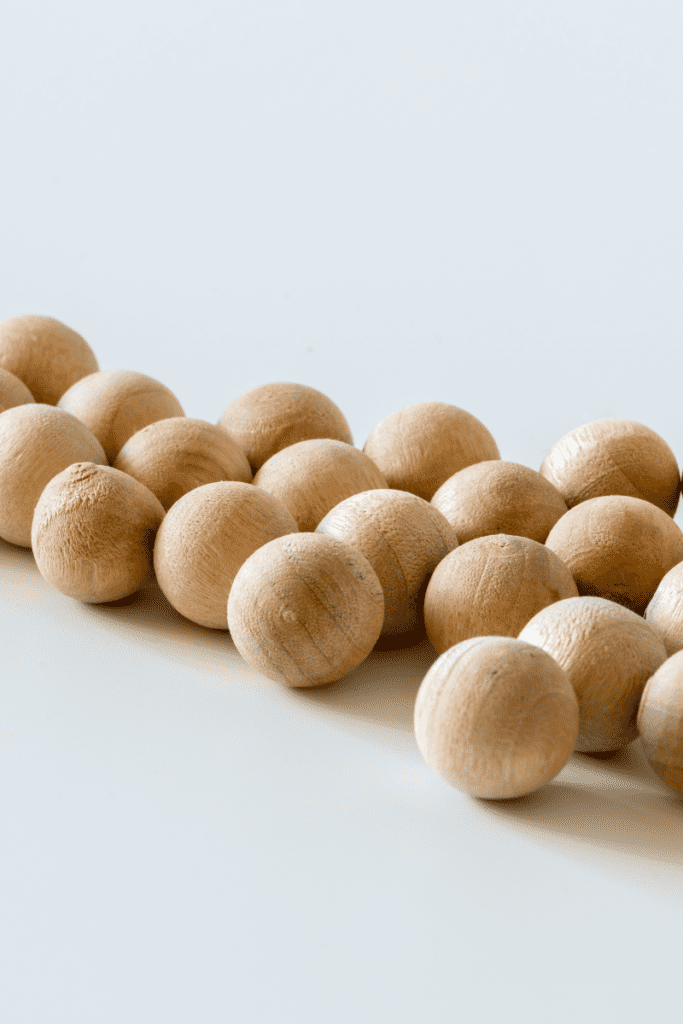
  • Wood Balls

  • Wood Candlestick Holders

MORE LOOSE PARTS

100 Ice Play Ideas

Ice cubes: the underrated natural loose part.

EXPLORE MORE

#2 Metallic + Reflective


Gather/Do It Yourself:

  • Tin Cans

  • Metal Utensils

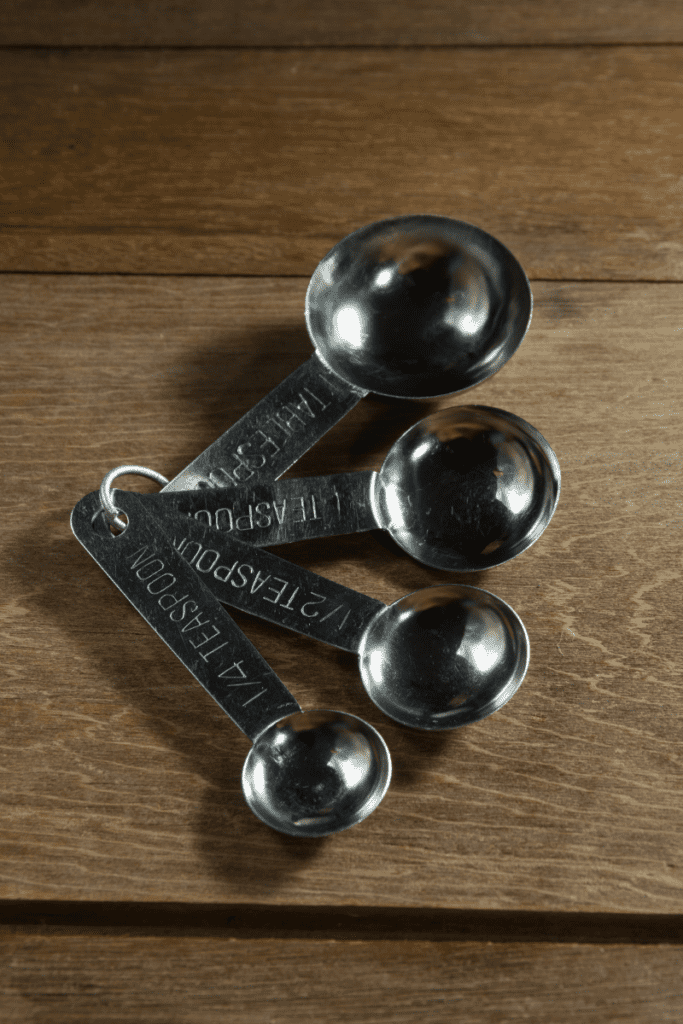
  • Measuring Spoons, Cups

  • Metal Jar Lid Rings

  • Glass Stones

  • Locks

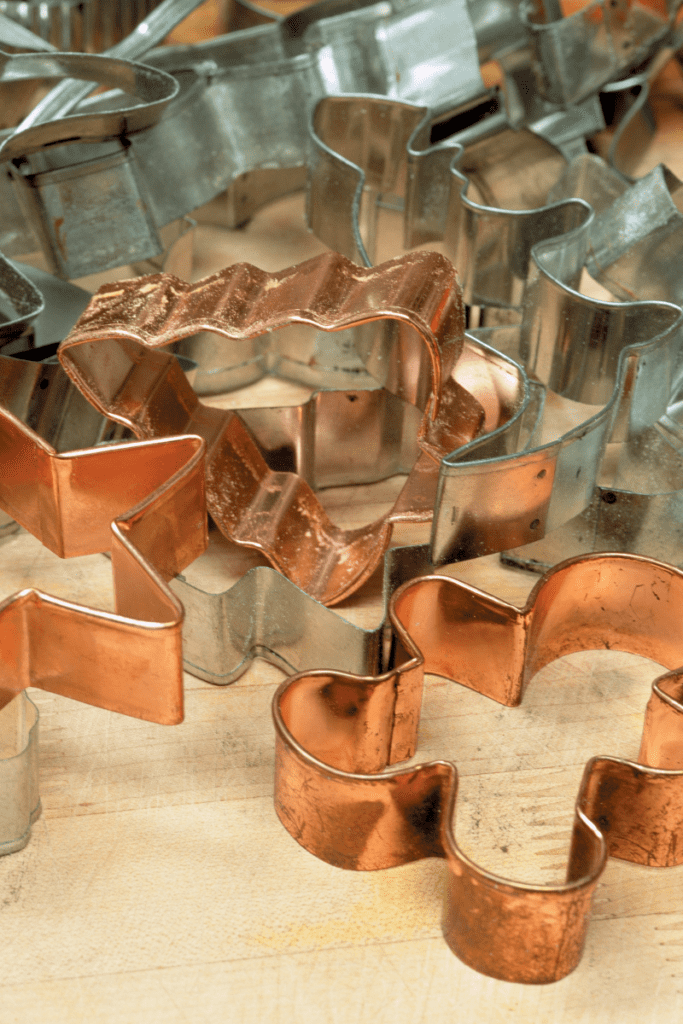
  • Cookie Cutters

  • Keys on Key Ring

Purchase:

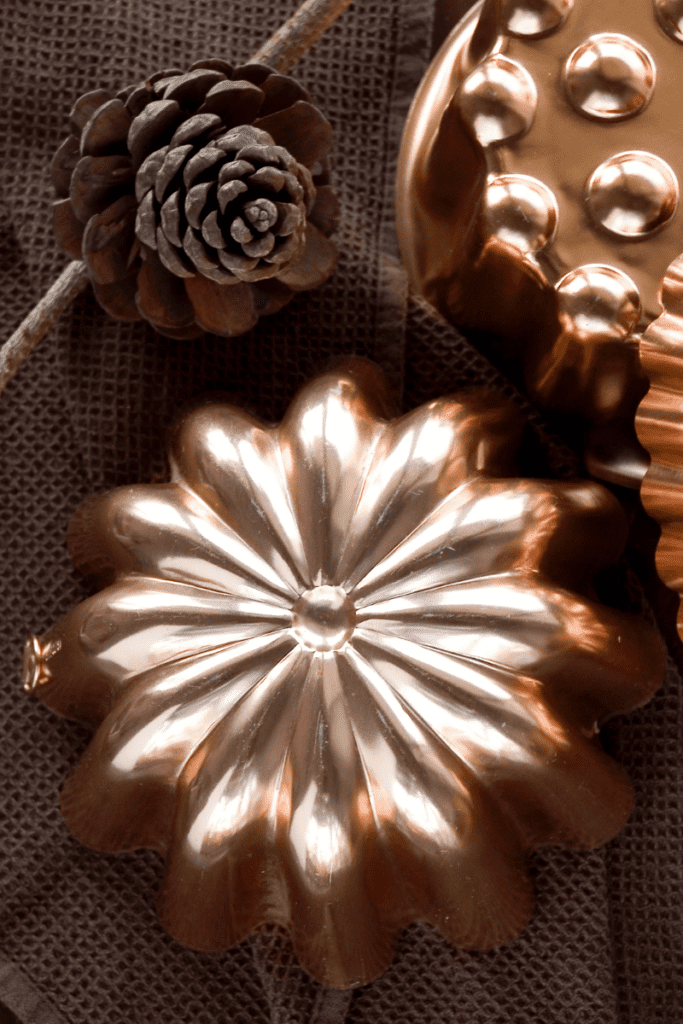
  • Large Springs

  • Mini Flute Pans

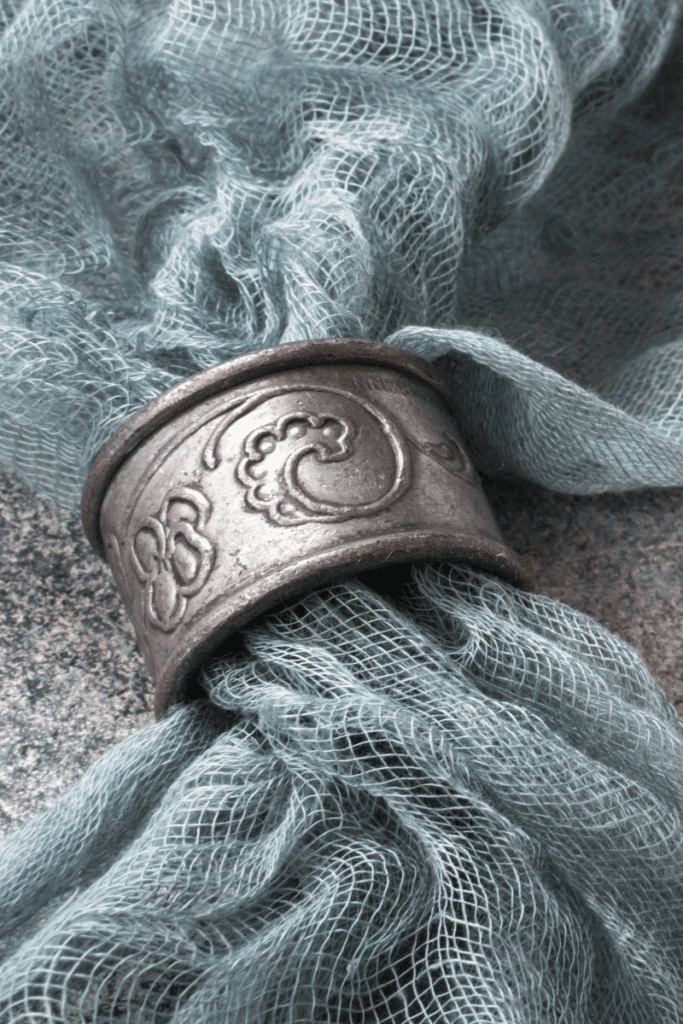
  • Napkin Rings

#3 Pops Of Color


Gather/Do It Yourself:

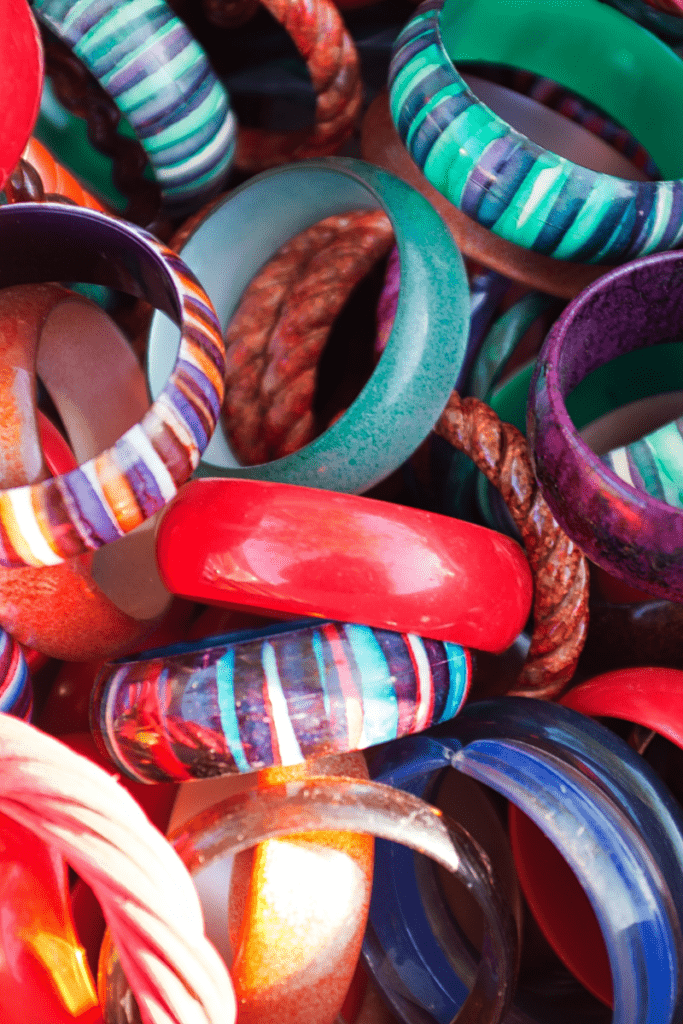
  • Bangle Bracelets

  • Large Buttons

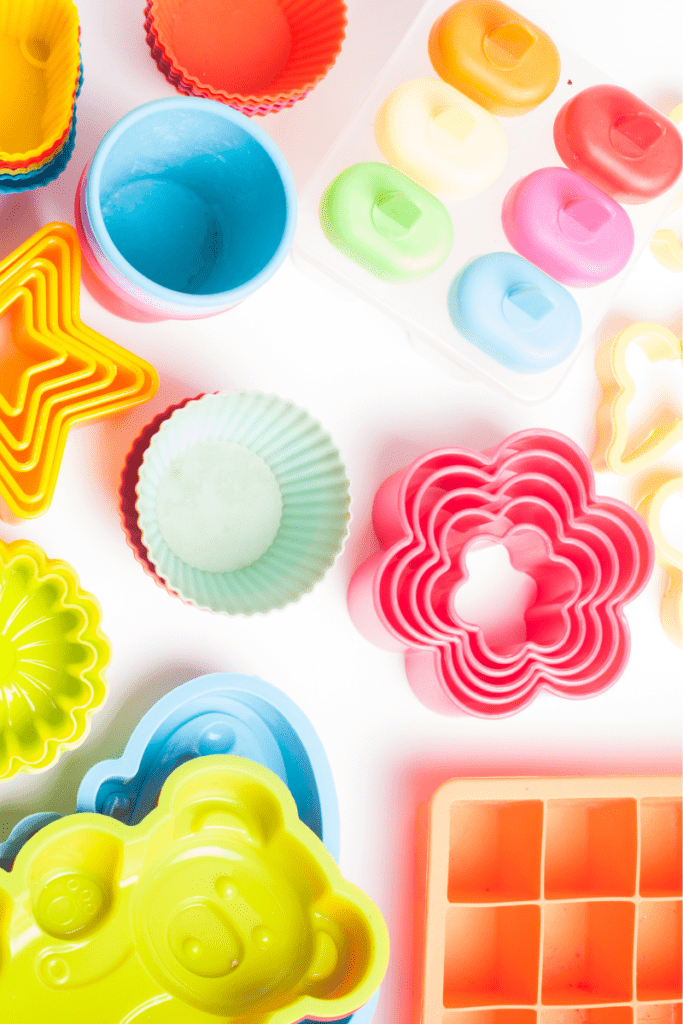
  • Silicone Muffin Liners

  • Paint Sample Cards

Purchase:

  • Shower Curtain Rings

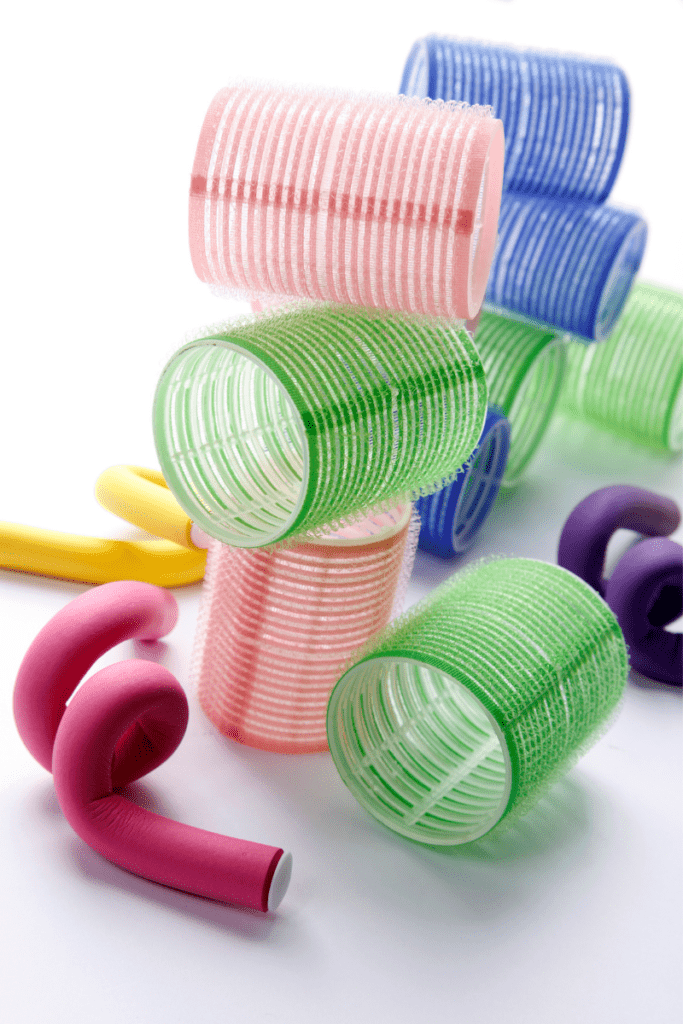
  • Hair Curlers

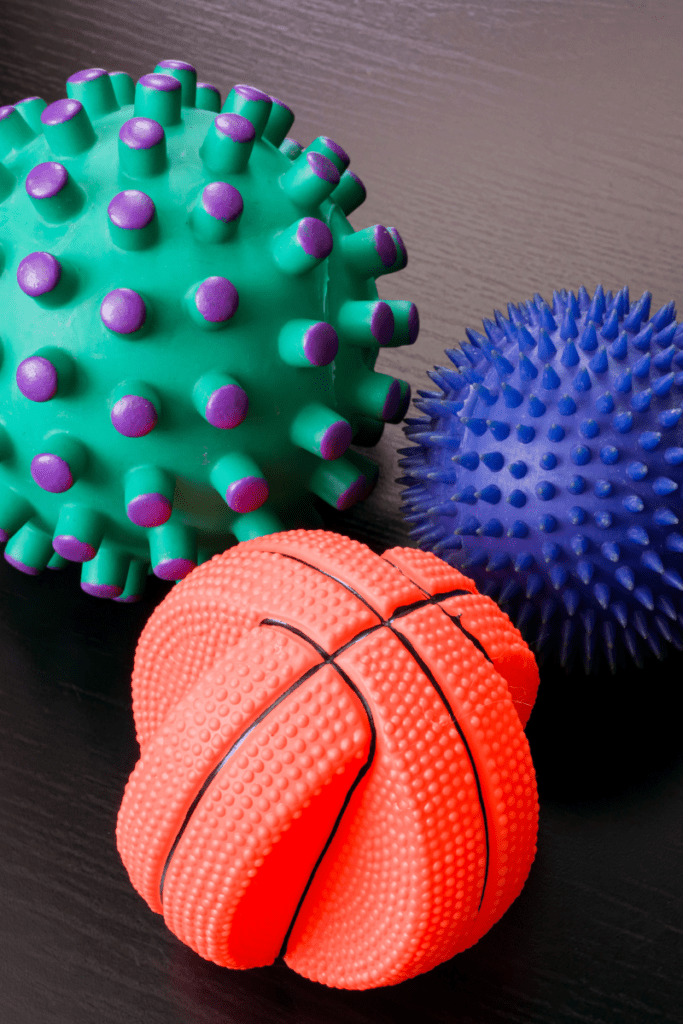
  • Pet Toys

  • Plastic Eggs

  • Sensory Balls

  • O-Balls

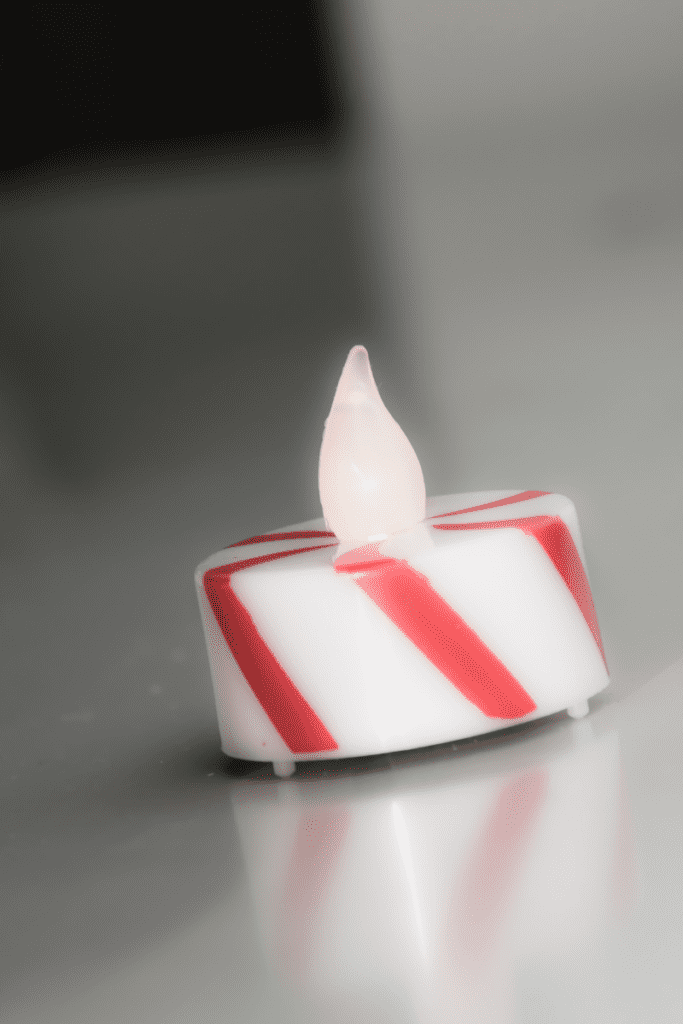
One of my favorite loose parts discoveries was a bag of brightly colored snap-on pop can covers. They looked so cool on light tables or flameless tea lights.

#4 Soft + Flexible Items


Gather/Do It Yourself:

  • Scarves

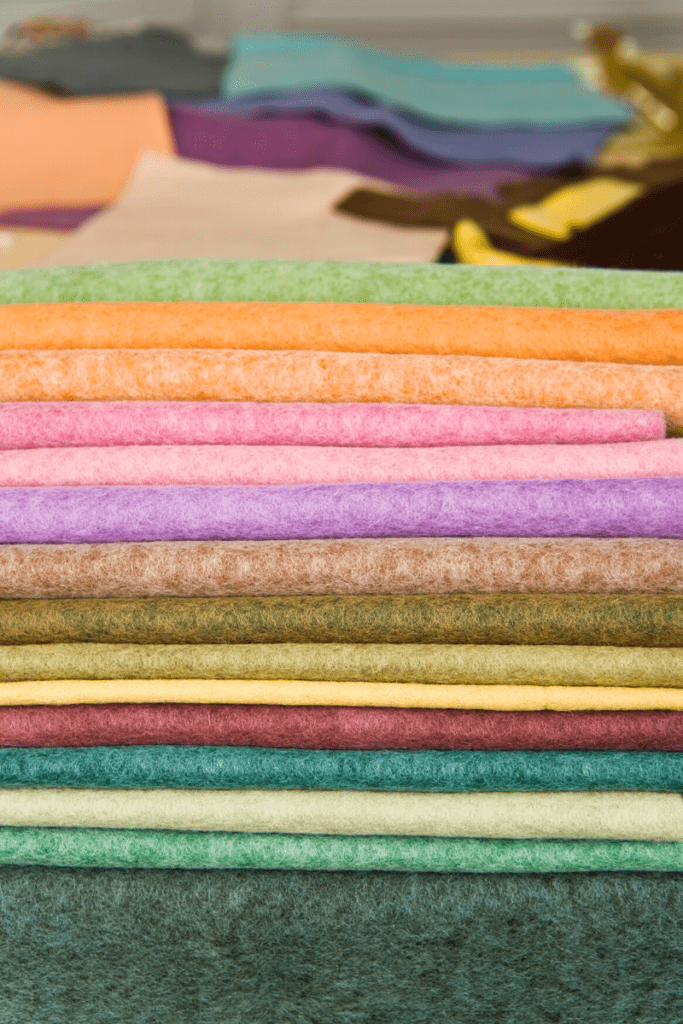
  • Felt

  • Place Mats

  • Ribbons

  • Hot Pads

  • Handkerchiefs

  • Fabric or Flt Squares

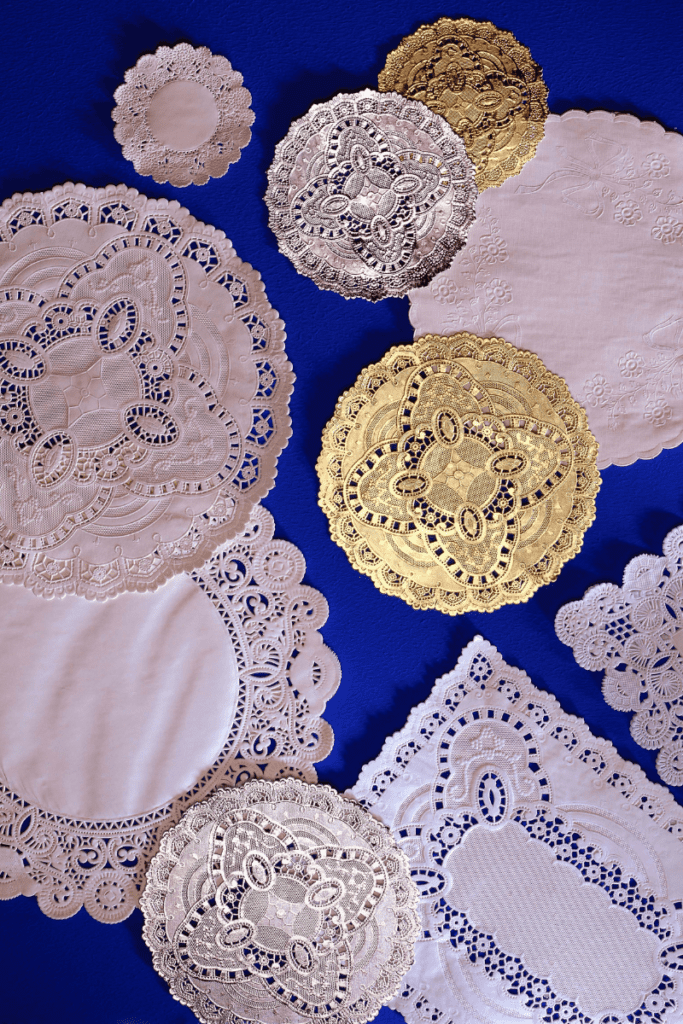
  • Doilies

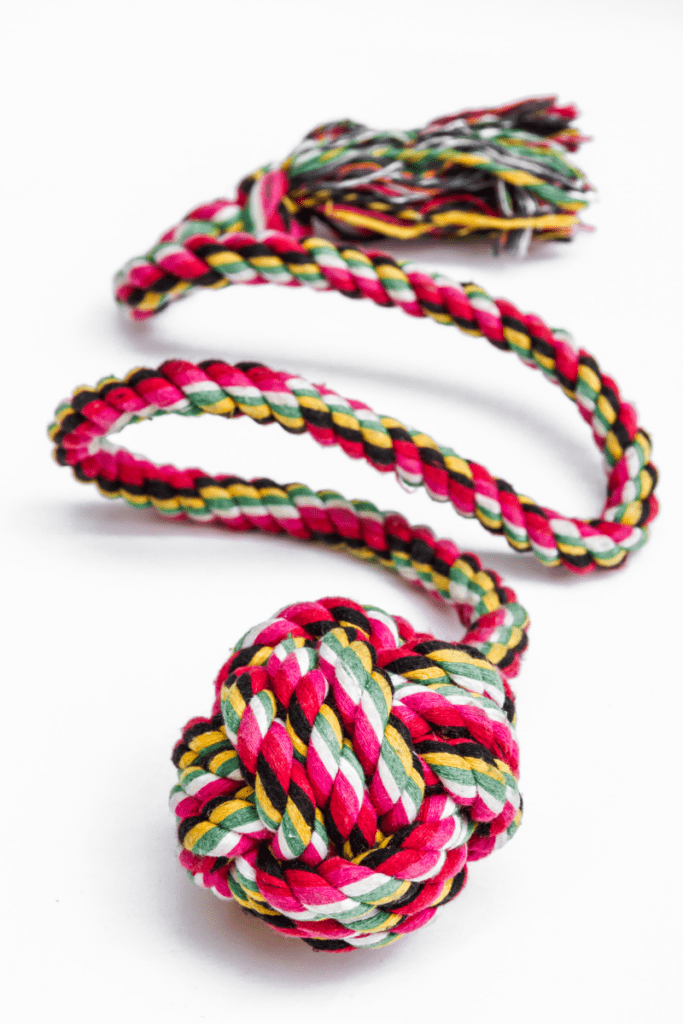
  • Knotted Rope

  • Bundt Pans

Purchase:

  • Hacky Sacks

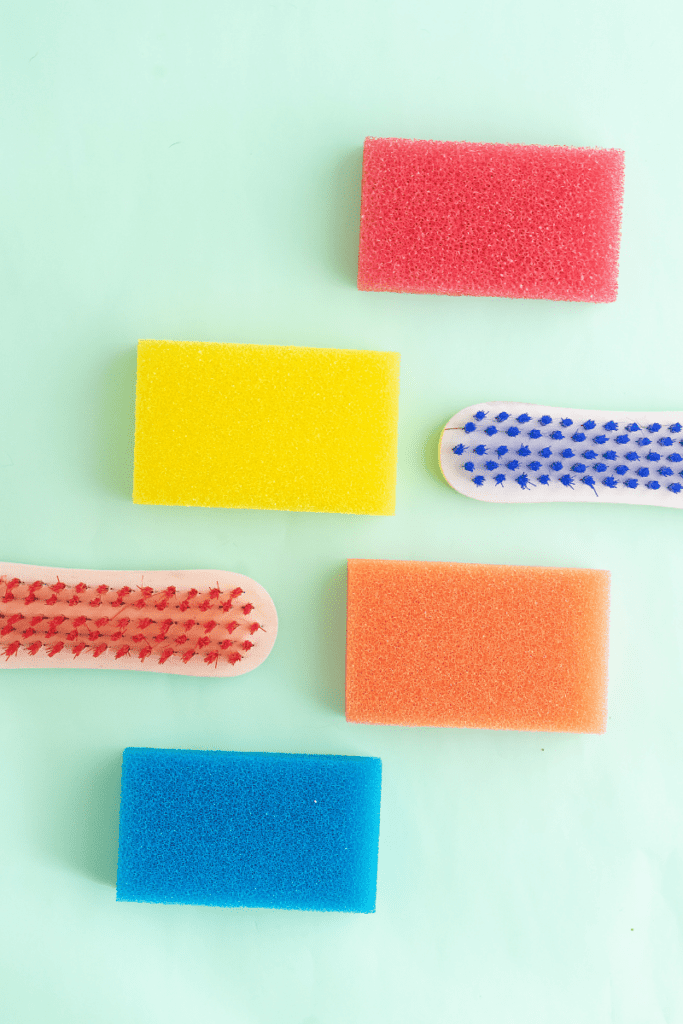
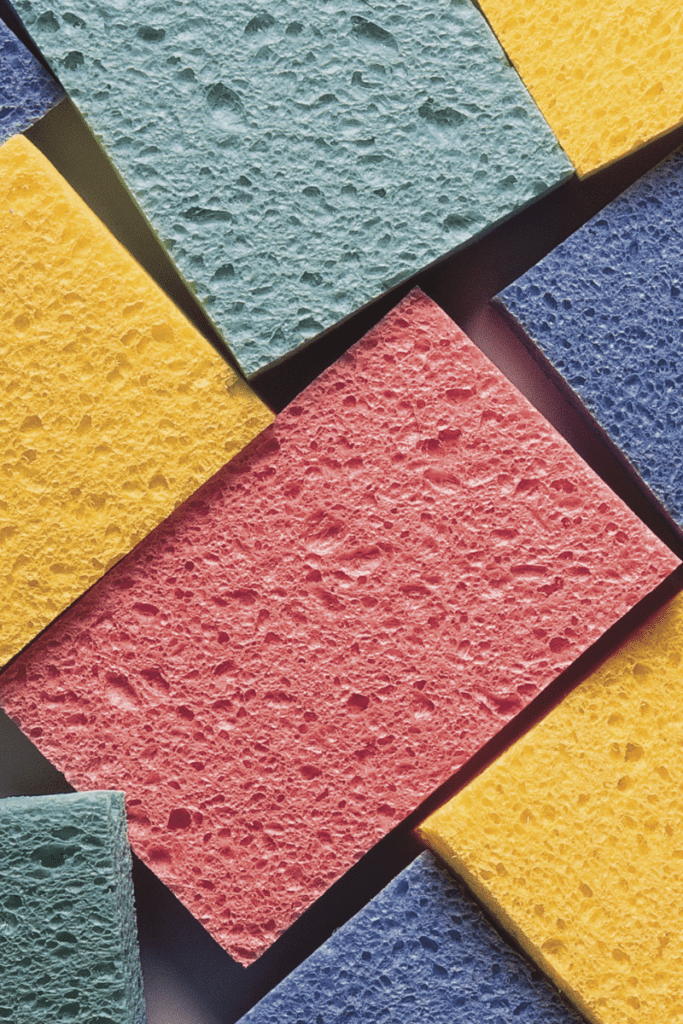
  • Sponges

  • Plastic Loofahs

MORE LOOSE PARTS

25 Ripped Paper Activities

Quick + easy ways to turn paper into play.

EXPLORE MORE

#5 Household Items


Gather/Do It Yourself:

Purchase:

  • Dip Bowls

  • Measuring Cups, Spoons

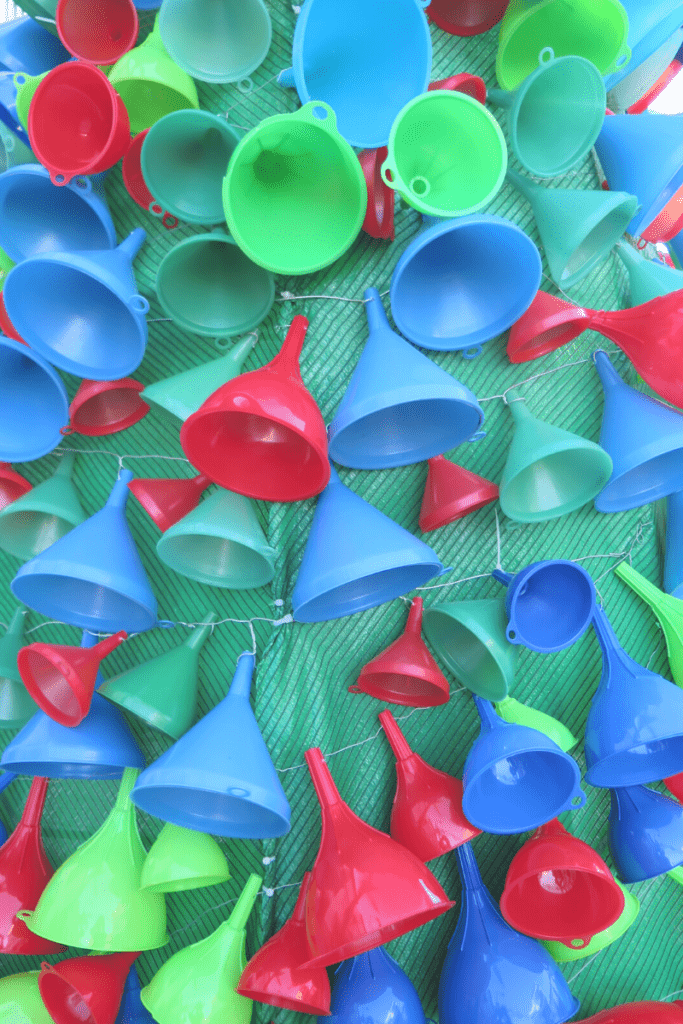
  • Funnels

  • Flour Sifters

  • Chip Clips

  • Flameless Tea Light Candles

#6 Bigger Loose Parts Materials


  • Buckets

  • Ramps

  • Gutters

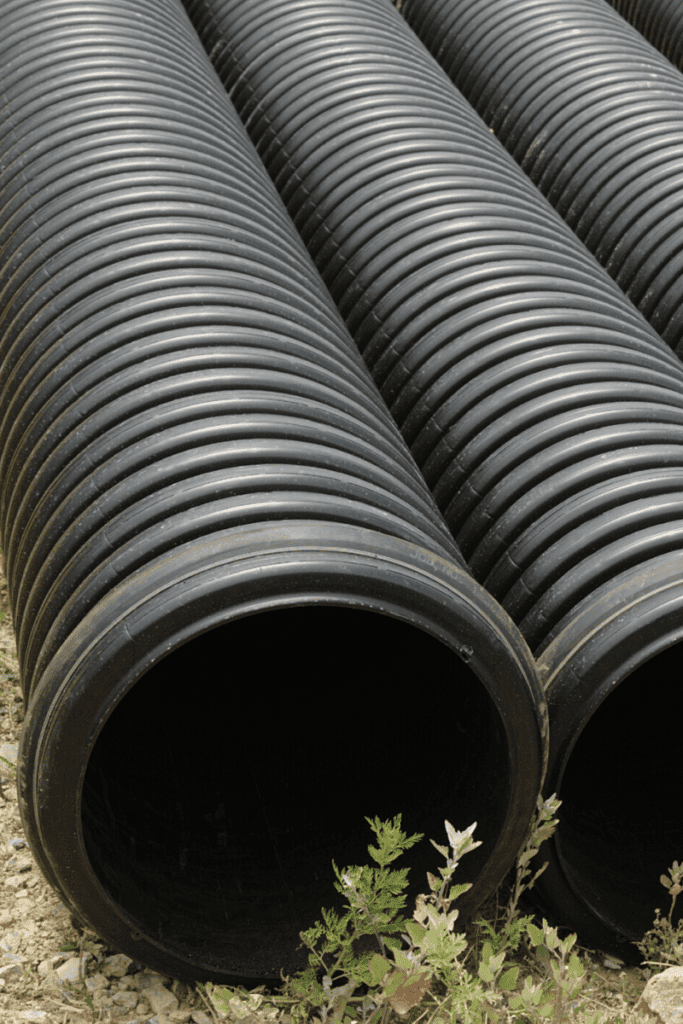
  • Corrugated Pipes + Tubing

  • Boxes

  • Jugs

  • Cardboard Mailing Tubes

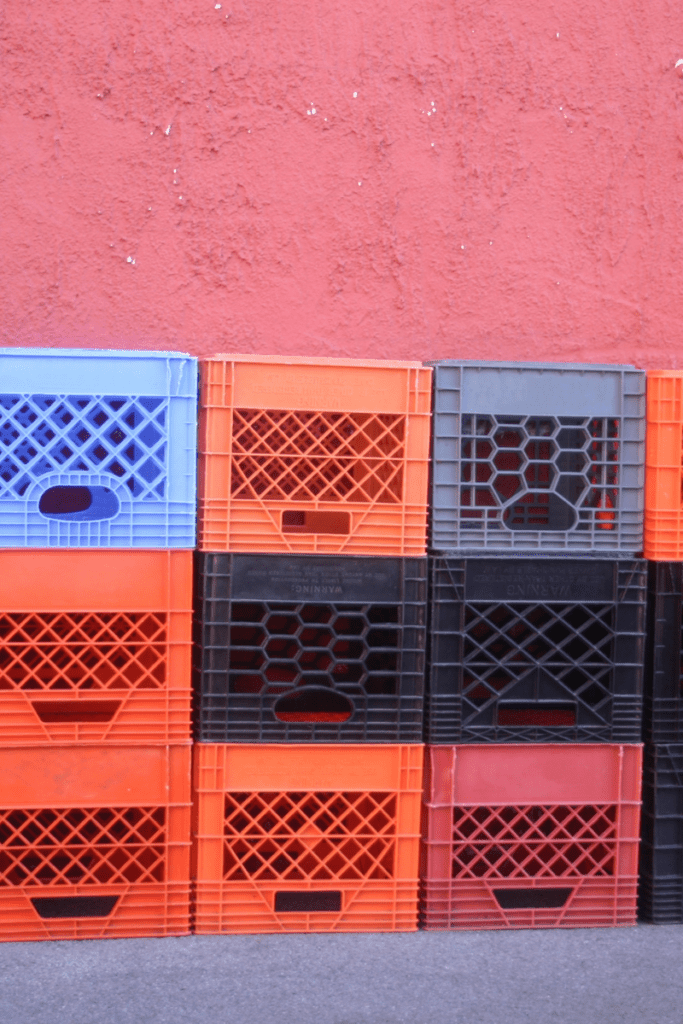
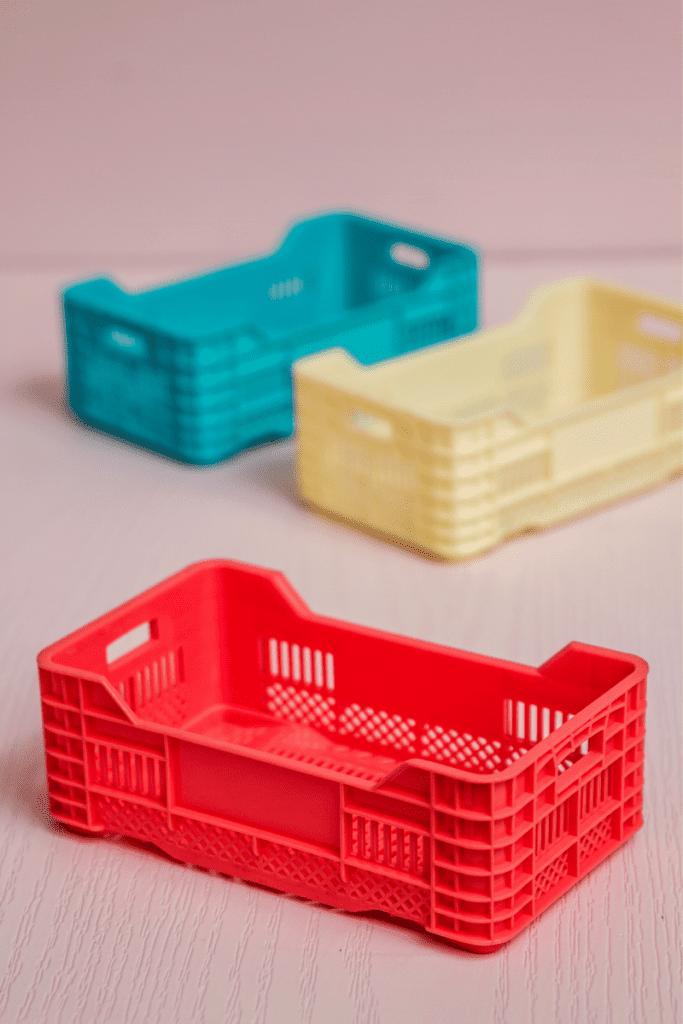
  • Plastic Crates

Creating Themed Treasure Baskets From Loose Parts

  • Black + White

  • Transluscent Items

  • Exploring Sound

  • Light + Reflection

  • Light + Shadows

  • Monochromatic (all one color)

  • Heavy + Light

  • Ramps + Rolling

  • Sorting + Classifying

  • Sink or Float

  • Filling + Dumping

  • Construction

Where To Find Or Purchase Loose Parts

  1. In-person or online garage sales

  2. Thrift stores

  3. Ask friends and family

  4. Craft stores

  5. Hardware stores

  6. Estate sales

  7. Home improvement stores

100+ Nature Play Ideas for Toddlers + Preschoolers

READ MORE

What Else Do You Need In A Loose Parts Play Space?

Part of the magic of loose parts is creating a sense of wonder. Set out the objects in a way that invites your child to play. You can simply set out the objects in an eye-catching way on trays or in baskets.

  1. Storage bins to keep the materials organized

  2. Baskets

  3. Trays or platters

  4. Sorting trays, muffin tins, or serving trays with compartments

  5. Placemats

Add mirrors or a mirrored tray to your loose parts play for a lovely aesthetic effect.

Use Open-Ended Questions To Extend Loose Parts Play:

The Resource You'll Use Over + Over

Access a FREE list of OPEN-ENDED QUESTIONS for children. Build language, critical thinking, and engagement (at home + in the classroom).

SUBMIT

Marketing by

ActiveCampaign

Tips for Safety

Loose parts offer children a variety of opportunities for exploration. However, with any type of play, there are safety concerns that caregivers need to be aware of.

  1. Make sure all materials are age and developmentally appropriate.

  2. Keep small objects out of reach of infants and toddlers.

  3. Check materials regularly for sharp edges or points that could cause injury.

  4. Discard any broken or damaged materials.

  5. Supervise children when they are playing with loose parts.

Loose Parts Books

If you are falling in love with the idea of loose parts play, I will leave you with some more resources here.

LOOSE PARTS LIST PDF VERSION

Printable created by Loredana. To work with her, contact through instagramPinterest, or email lteleguz@yahoo.com.

More recent posts

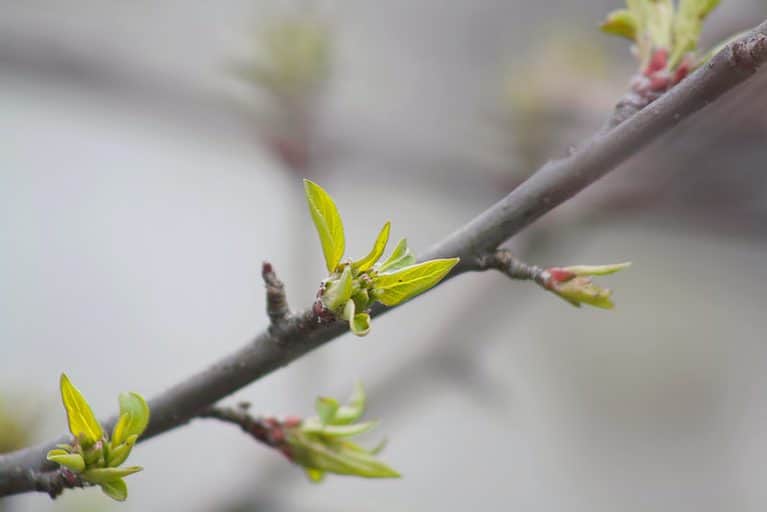
Green tree buds on a branch.

Buds & Blossoms: 10 Facts about Trees in Spring | Free PDF

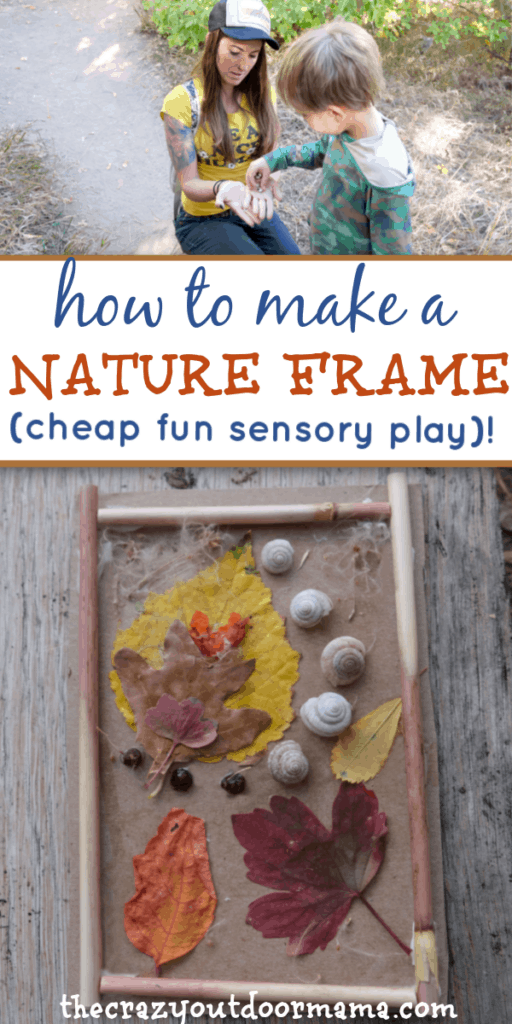
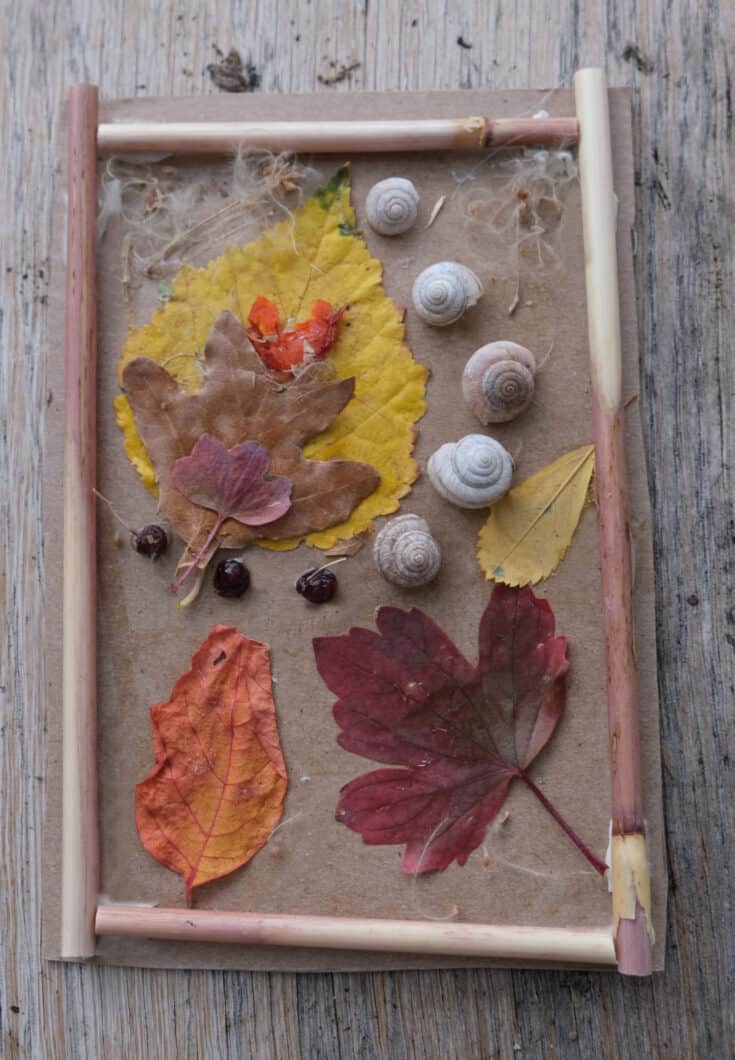
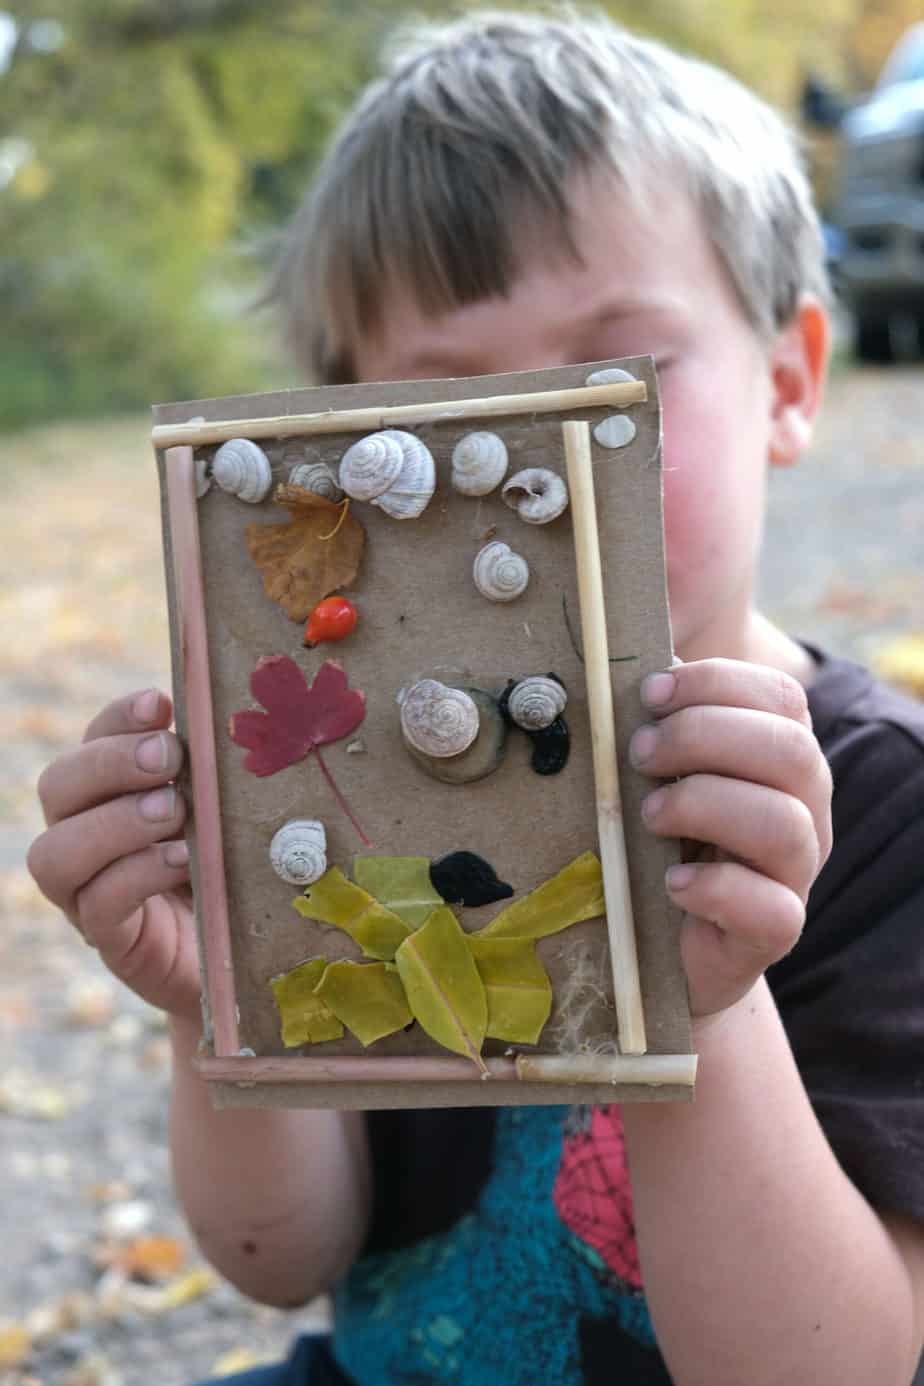
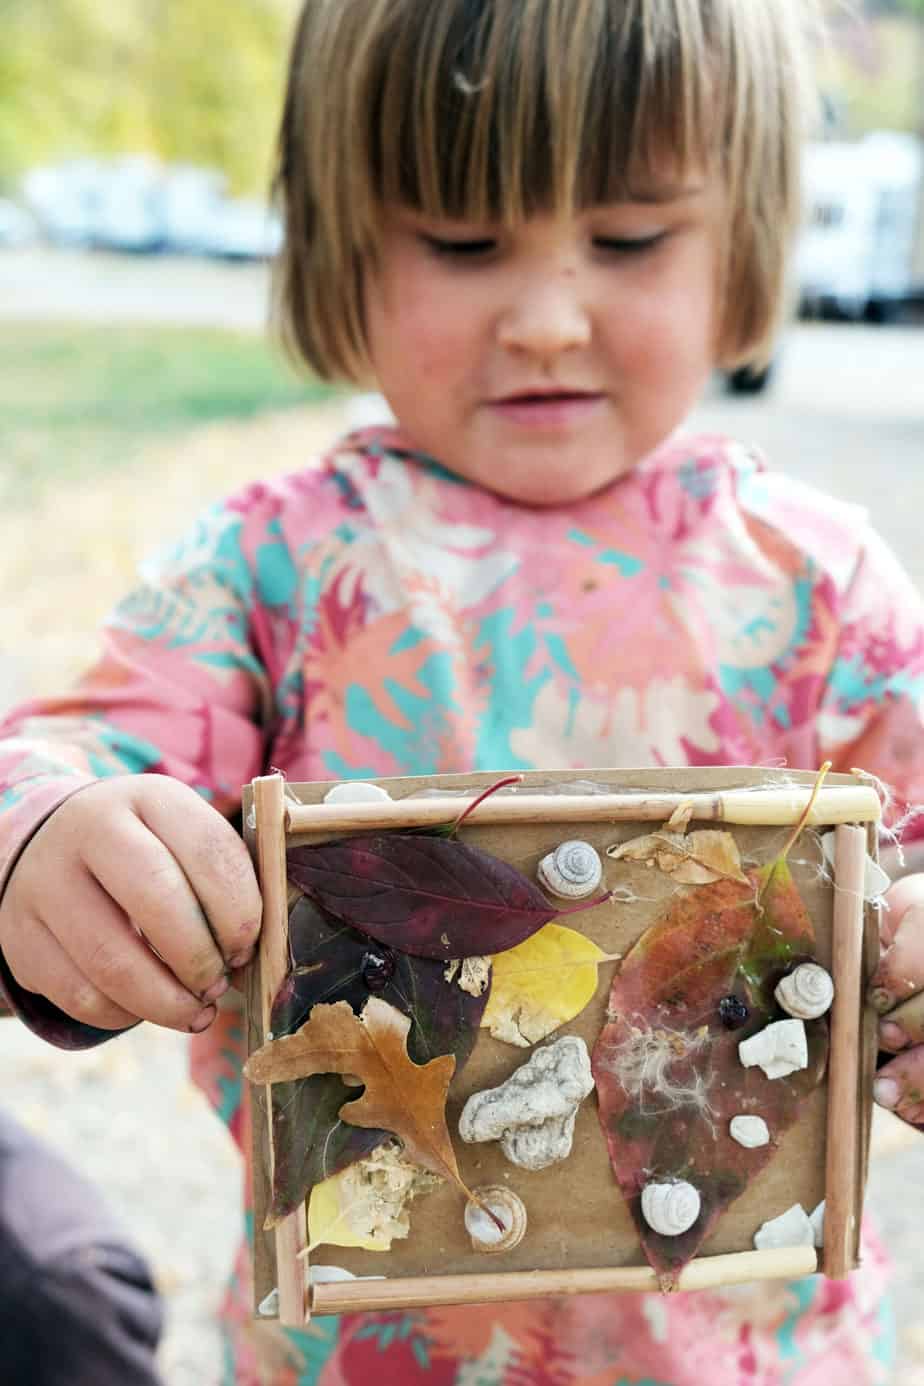
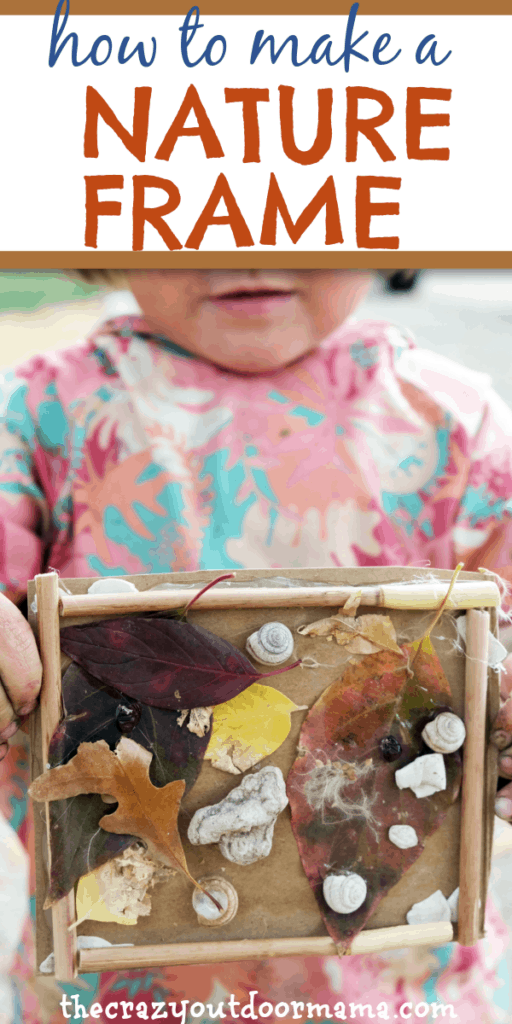
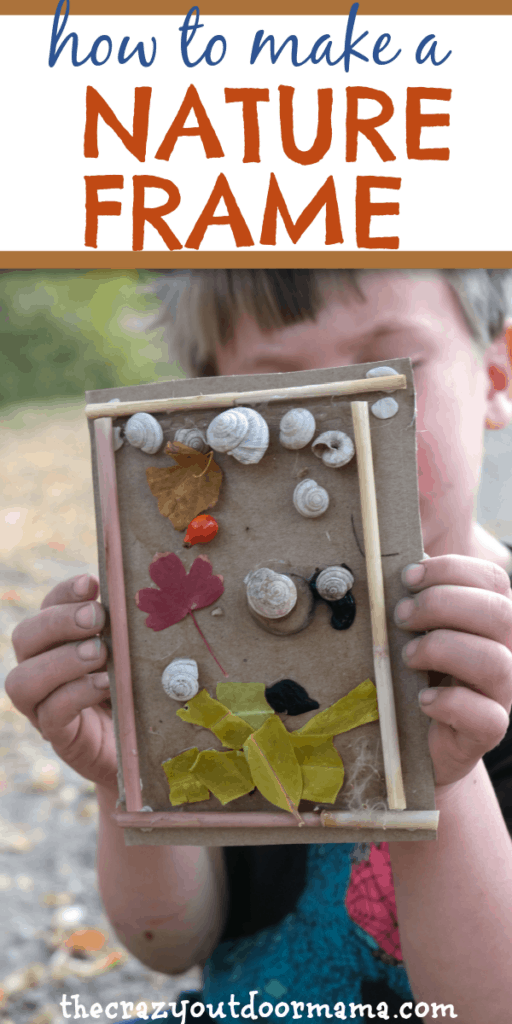
Nature frame impressions craft

(fun sensory and creative activity)

October 20, 2020 by Stacy Bressler

If you’re looking for a fun craft to do that’s just about free, then check out this “fall impressions” craft that can be enjoyed by kids (and heck… adults!)!

These are a perfect way to use all those “nature treasures” your kids get in a fun way – they can look for specific things they want for their frame, find them in nature, and lay them out just how they want!

nature craft for kids with leaves, snail shells, berries, flowers


A great way to “frame” each season

I had initially wanted to call this a fall frame, since we used alot of fall specific items, but it could really be a way to get something from each season!

I think I’m going to update this post a year with a “frame” for each season even winter!)

It might also be a fun way to remember the little things that stuck out at unique or special locations such as the beach, mountains, desert etc.

Fall Impressions Nature Frame (fall craft for kids)

nature craft thats cheap and easy for toddlers or big kids

This fun and easy fall craft is an easy way to remember the favorite parts about fall!

PREP TIME

10 minutes

ACTIVE TIME

20 minutes

TOTAL TIME

30 minutes

Materials

  • Thin paperboard (ie cereal box type stuff)

  • Glue

  • (Optional) Mounting putty to hold the frames in place

Tools

  • Scissors

  • (Optional) Hot glue gun

Instructions

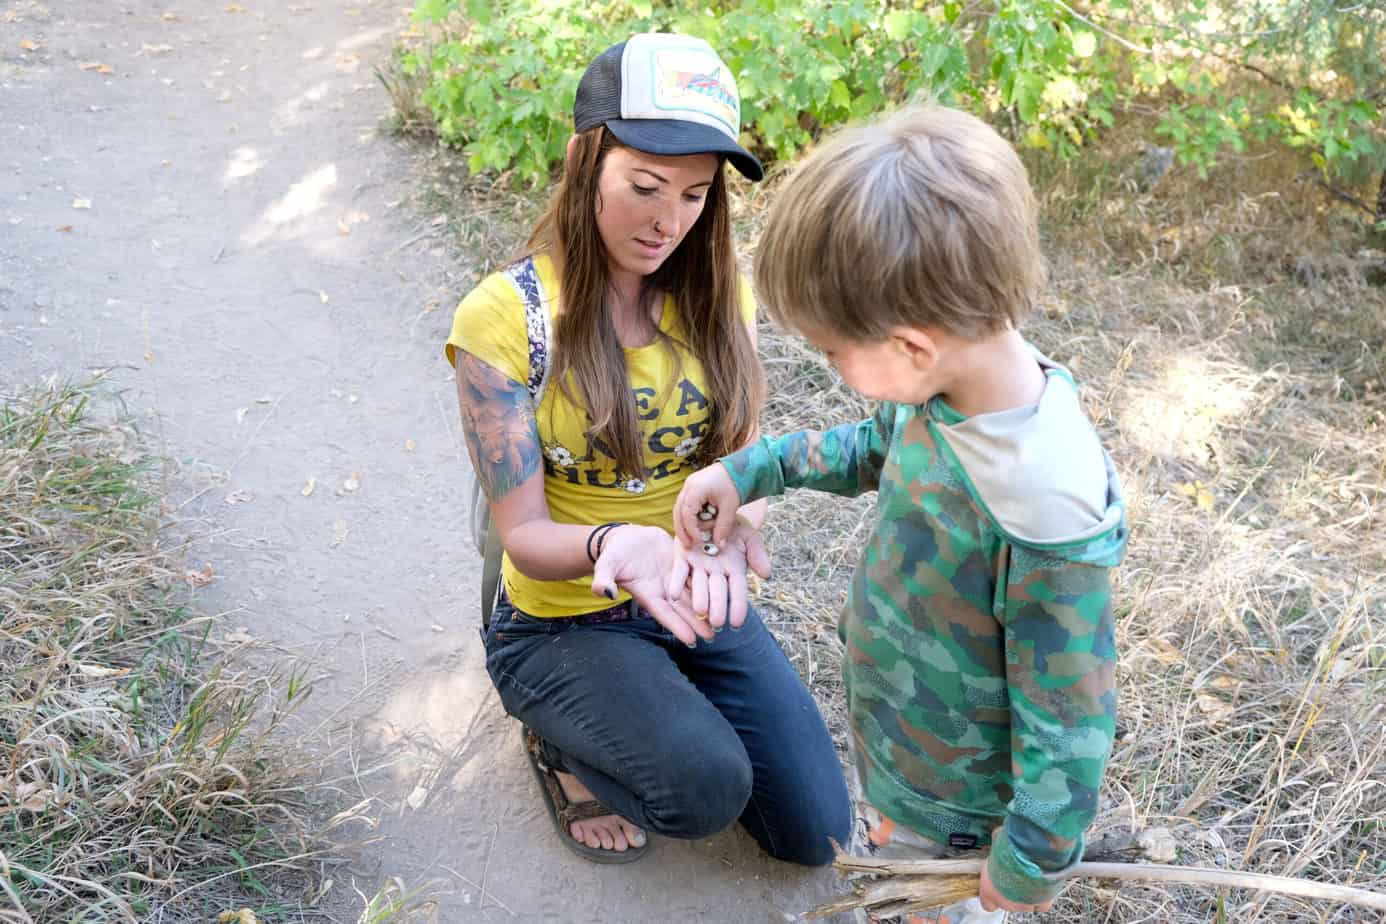
  1. Bring something for the kids to collect and store small items of interest with during a nature walk / camp trip / explore

snail shell nature craft kids cheap easy
  1. During your nature time, make sure the kids collect enough straight(ish!) items they can turn it into a frame (we used some reeds)

  2. Cut out a rectangular (or whatever shape you like) piece of the paperboard. You can optionally use mounting putty or something similar to hold the sticks in place until you can use hot glue to make the more permanent once the craft is completed.

  3. Let the kids create their fall impression art! 

fall impression art for kids


2 year old fall nature crafts for nature walk forest school cheap

See also

7 Leave No Trace Principles for Backpacking and Camping (+FREE PDF Printable for Kids)


outdoor seasonal sensory play


5 year old nature craft for forest school


Natural Places and Green Spaces for Nature Play that Rocks

Nancy Striniste

Because it is rare for a 21st century child to have the priveledge to roam free in the out-of-doors as children of past generations could do, we (educators, caregivers, designers, and parents) need to bring nature and natural materials to the places where children are likely to be spending their time: backyards, schoolyards, churchyards, parks, and early childhood settings.

Welcoming Children to Nature

Natural play spaces engage senses, soothe stress, touch spirits, and inspire children to move, explore, observe, imagine, create, and understand. Transforming traditional playgrounds into designed wild spaces for play means adding things like tree parts, stone, sculpted earth, sand, water, and plants, as well as including evidence of the seasons and cycles and the company of wildlife.

A play space can be designed to communicate a message of welcome to children from their very first glimpse into the space. An inviting entry tells children that this is a space for them. Artful gates, child-height arbors and arches, and intriguing views all invite children into the space. Every element can add to the potential for learning and play—including interesting textures underfoot and overhead and a variety of sizes of spaces and degrees of enclosure.

Varied Landscapes for Active Play

In a natural play space children learn to move and learn by moving. The irregular shapes and surfaces of natural elements like tree parts, boulders, and even earth mounds require focused attention and test coordination as children navigate the space by crawling, climbing, jumping, balancing, rolling, scooting, running, and sliding.

When there is variety in the degree of difficulty of different activities in the space it provides opportunities for children to choose or not choose to try things that are challenging and perhaps risky. This builds self-awareness, allows mastery to develop over time, and increases self-confidence. Examples might include balancing logs sized from wide to narrow and set at different heights; boulders and stumps of different heights and diameters to climb onto and jump off of; and natural or constructed hills of different steepnesses to scale and descend. Loose parts that are varied sizes and weights mean some things may be too cumbersome or heavy to move alone and require cooperation and collaboration with friends.

Loose Parts and Sensory Stations

Opportunities for active play can also come through offering objects to interact with. These loose parts can include tree cookies and stones of varied sizes, bales of hay, sticks, shells, and plant parts, along with tools and household items like baskets, wagons, blankets, and crates. Together these materials provide opportunities to push, pull, lift, dig, grasp, carry, drag, throw, and kick and also inspire industrious building, artful creating, and intricate imaginary play.

Sensory materials like sand, water, soil, and mud provide a wide range of play opportunities from inspiring imagination to exercising both large and small muscles. Sand play can be soothing and calming, especially when the sand is dry and silky. Lifting a full bucket builds muscles. When the sand pit is deep and children are provided with real metal shovels, serious digging can happen. I recommend at least 18” of sand with a layer of coarse gravel below for good drainage. Adding a little bit of water to dampen sand for sculpting, or a lot of water to flow through constructed channels allows for creativity, cooperation, and extensive engineering projects.

 Activating Children’s Imagination

Nature inspires imaginary play. Taking on roles in and among natural elements can support play around widely varied themes from exploring what it means to confront danger or to be safe, to follow or to be in charge, to care for others, and to take risks. Shelters within a cluster of shrubs or large grasses, under the branches of a weeping tree, or inside a lean-to built with sticks can be the setting for all sorts of pretending. High spots like a hill or a climbing tree that allow a different view of the space provide the fuel for imagination and give children a different perspective on their world.

Photo credit: Nancy Striniste

If you’ve ever had the experience of returning to a space where you spent time as a child and saw that it shrunk, you understand the importance of scale. A hill or a boulder doesn’t have to be big to feel that way to a child. Having child-sized spaces and materials is empowering to children.

Natural loose parts are the open-ended props that can be anything from a birthday cake to a spaceship. Real-life objects like kitchen implements and toys such as dolls, vehicles, musical instruments, and tools take on different meanings when paired with natural materials. A big pot, some muffin tins, a ladle, and a slotted spoon combined with soil, water, and plant parts become a mud kitchen for whipping up potions and canning some flowers or stone soup and baking goods like decorated mud pies.

All of these props allow children to try on roles, to imagine themselves as grown-ups doing important grown-up things, or as animals or superheroes or fantasy characters. Imaginary play with peers allows children opportunities to practice social interactions and conversations and to develop empathy and skills like negotiation and conflict resolution.

Miniatures such as little figures, vehicles, or animals from the block corner paired with sand, rocks, and plants from nature can inspire elaborate storytelling and complex scenarios. Creating a miniature world and orchestrating what happens there gives a child a sense of power and control that is not usually part of their
lives.

All of these elements can comprise a natural play space. Providing places that allow children to play deeply in nature is essential but it’s not enough. The other key component to meaningful play is time. Children need large blocks of unstructured time to allow themes to unfold, projects to advance, and to just be in the out-of-doors.

Backyard Truck Garden

Backyard Truck Garden | Mama Papa Bubba

It feels like we’ve had a slow start this year, but summer seems to be here in the Okanagan and Sam’s been enjoying his little backyard truck garden again!

Backyard Truck Garden

Here’s what inspired us creating a truck garden… This hilly corner of our yard filled with dirt, rocks, and loads of debris discarded by our big old tree.  Now if we knew that this home was our forever home, we’d probably do something different, but without wanting to invest a whole lot of time, energy, or money, a truck garden turned out to be a fantastic solution.

Of course every yard is going to be different, but I do think the truck garden concept could be adapted to many different spaces, hilled or flat.

Backyard Truck Garden | Mama.Papa.Bubba.

Another fun part of this project?  Other than the little orange pilons and some paint, we only used things we already had on hand to put it together.

Backyard Truck Garden | Mama.Papa.Bubba.

First up were these road bricks…  They started out as regular old bricks left in the yard by the previous home owners, so I painted them grey with a sample of outdoor paint I picked up and then added some little yellow dashes freehand using some acrylic craft paint from the art cupboard.  More than a year later, these have held up super well. What I love about them is that they can be moved and configured how ever Sam likes, and they give him an opportunity to do some heavy lifting.

Backyard Truck Garden | Mama.Papa.Bubba.

The other little upcycle / repurpose project we did was turning some wood and flooring scraps into these road planks.

Backyard Truck Garden | Mama.Papa.Bubba.

I had previously seen this idea on my friend Chelsey’s site, Buggy and Buddy, and when I found a bunch of wood scraps left in one of the sheds, I knew it would be perfect.

Backyard Truck Garden | Mama.Papa.Bubba.

I just painted the boards a charcoal-y black colour using an outdoor paint we already had, then freehanded the white dashes using a small paintbrush, some acrylic craft paint, and an old metre stick as a guide.  And voila – wooden roads and ramps!!
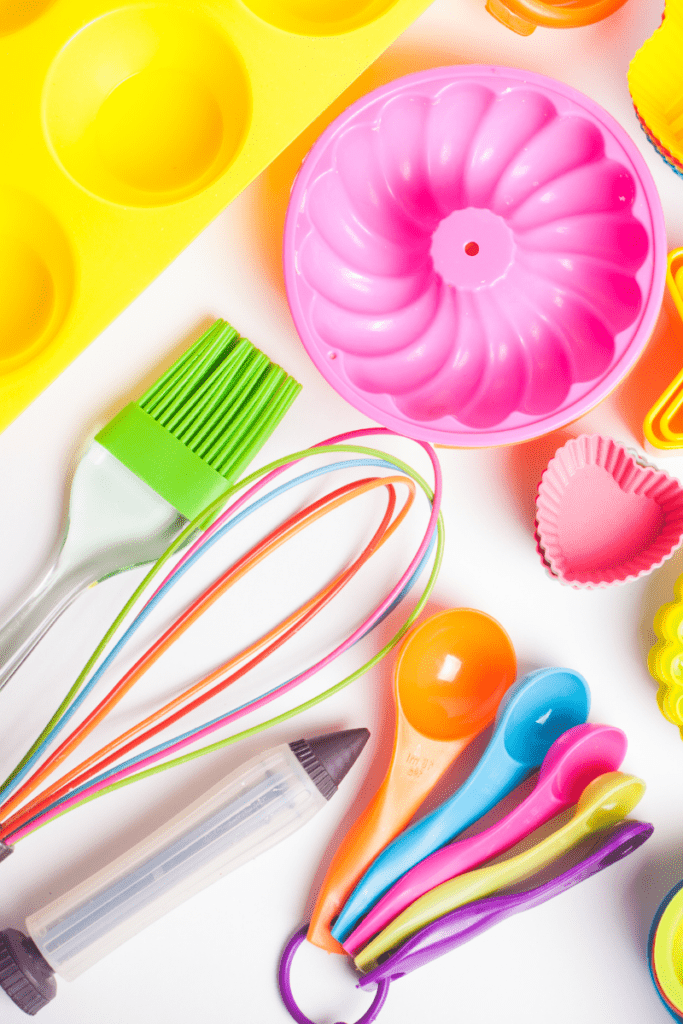
Backyard Truck Garden | Mama.Papa.Bubba.
{this post contains affiliate links}

Then we added all of the fun stuff…  Our kids’ garden tool set for raking up branches, creating dirt mounds, etc., a big bin of DIY blocks Brad and his dad made using some 2×4 and 2×8 scraps that were also left in our yard, and Sam’s collection of Green Toys and Wonder Wheels trucks.  All of these have been gifted to him over the years and they’ve seen endless hours of play.  They’re big, sturdy, and made from recycled plastic. These are the ones he has currently:

dump truck

recycling truck

fire engine

tow truck

cement mixer

Backyard Truck Garden | Mama.Papa.Bubba.

I also created a little picnic space at the top of the truck garden using our kids’ picnic table from Ikea and a little black and white striped umbrella, but I didn’t find that it got used a whole lot last summer, so I skipped it this summer and kept those items on our patio below instead.

Backyard Truck Garden | Mama.Papa.Bubba.

It was a cute little set up though!

Backyard Truck Garden | Mama.Papa.Bubba.

Possibly the biggest hit of the space?  This little sit-on excavator we got during a campaign I did with Canadian Tire.  Sam just LOVES it and could spend ages scooping up loose dirt and moving it to a different space or filling a bucket.
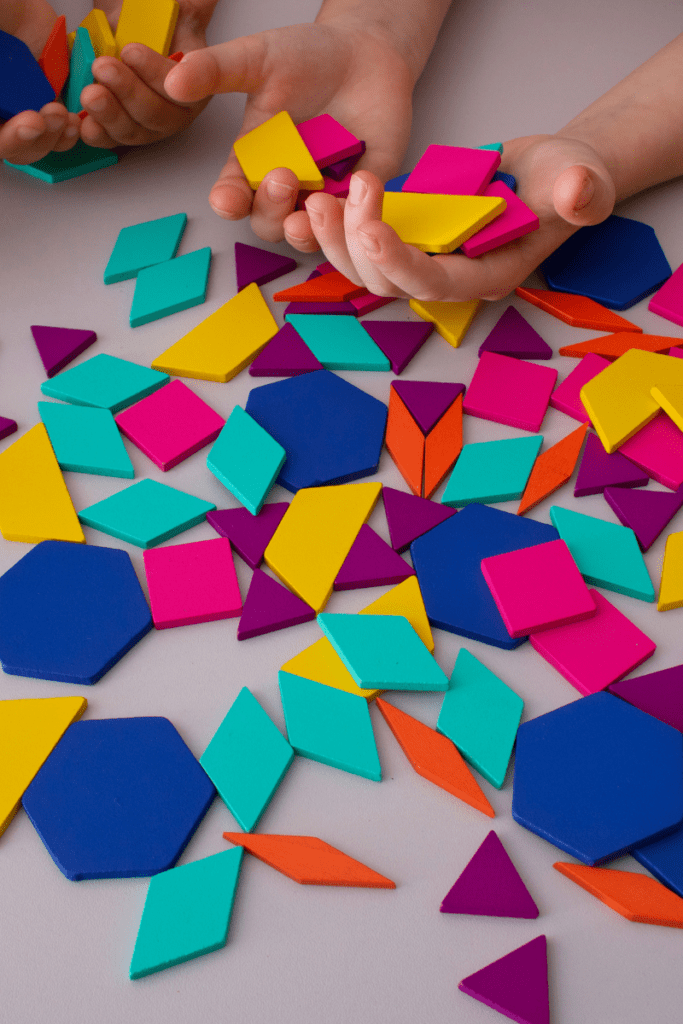
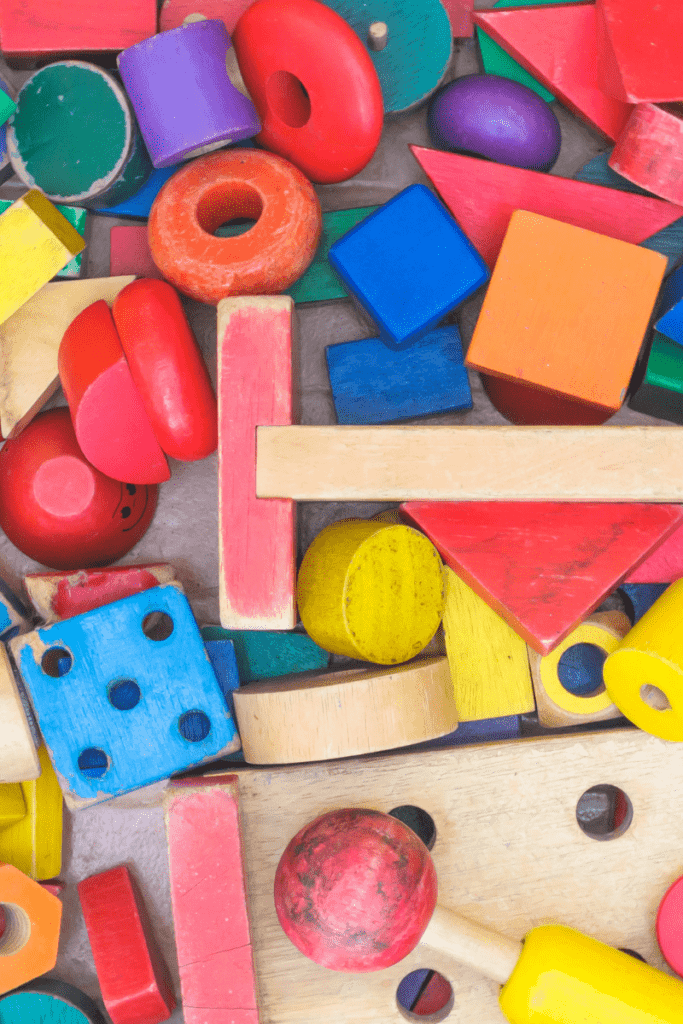
Backyard Truck Garden | Mama.Papa.Bubba.

I can’t tell you how much play this little space has seen!

Backyard Truck Garden | Mama.Papa.Bubba.

Here’s a look at the whole thing…  It’s certainly not the prettiest thing, but it’s such a great spot for playing in the dirt, getting filthy, and enjoying trucks.

Backyard Truck Garden | Mama.Papa.Bubba.

One final addition that’s also been a favourite?  These PVC pipe ramps!  While this wasn’t something I felt comfortable taking on myself, I took advantage of my brother being in town and he helped me pick up the largest piece of PVC pipe Home Depot carried and then cut it in half vertically.  We sanded the edges and created these ramps that smaller cars can ZOOM down!

Nature Play By Califf Life

Here is one of my favorite nature series because it's designed to help parents teach their children using nature, bonding in the process. There are fun activities and ideas to spark conversation and exploration. Every month there is a new Ela Wild blog post and a new #ElaWildChallenge to help you get outside and have fun as a family! Check out Califf Life Creations on Instagram for inspiration.

Indoor Nature - bringing nature indoors for kids

Fall Leave and Fall Play Ela Wilds What Nature Can Teach Us

Stick play etiquette and benefits

We're Going on a Bug Hunt!

Composting with Kids: Ela Wild's What Nature Can Teach Us

Learning through Play: Creeks

Learning From Clouds

Ela Wild's What Nature Can Teach Us: Kindness


Snow Play Benefits and Ideas for Playing in the Snow

Ela Wild's What Nature Can Teach Us: Winter

Nature Craft Ela Wild What Nature Can Teach Us

Ela Wild's What Nature Can Teach Us: Earthworms

How to Practice Child-Led Exploration

Ela Wild's What Nature Can Teach Us

DIY Projects for Picnics and Nature Walks

When we lived in Bailey Colorado, our property butted up to national forest. My two boys were explorers by hature. One loved to collect nature's treasure for art and building materials. The other loved to discover evidence of animals and their homes. As you know I loved to discover why the animals lived where they did. Looking for clues like shade, sunshine, food, water, packs or herds and families. So there was always a chance of wandering off, alittle too far and literally going down a rabbit trail. So these necklaces hung by the door, to be grabbed on the way outside.
You can choose different supplies according to your childs interests. The boys liked leather laces, larger wood beads and plastic bear claws.

DIY KID’S OUTDOOR SAFETY NECKLACE CRAFT

Our family camps and hikes on a regular basis, both for personal trips, and with our Camp Fire clubs.  Since it is important to teach kids some basic outdoor safety and survival skills, our Camp Fire club just had a lesson on this topic.  Part of the lesson was a craft to create their own outdoor safety necklace. 

If you do this craft with your kids, I recommend also watching this YouTube video , which has some great,simple survival skills for children.

The necklace is a great accessory for hikes, picnics and camping.

It includes a flashlight to help see in the dark, or to flash at a beacon…

… a whistle to help get attention to your location…


… and a compass carabineer to help with direction

DIY Kid’s Outdoor Safety Necklace Craft

What you need:


Instructions:

  • Remove the ring from the whistle, and string the whistle back onto the necklace cord.  You can prep this in advance if you are doing this with a group of kids.

  • String beads on either side of the whistle.


  • Remove the keychain from the flashlight, leaving just the small ring that’s attached to the flashlight, and string the flashlight onto the necklace.  You can prep this in advance if you are doing this with a group of kids.

  • On the opposite side of the necklace from the flashlight, tie a knot in the necklace cord to make a small loop.


  • Clip the compass carabineer onto the cord loop you just created. 


  • Tie the necklace together, and that’s it!


Make sure to incorporate other outdoor safety tips for kids with this lesson, like the importance of staying hydrated, protecting yourself from the sun, and finding shelter. 


Have fun out there!


A Face lift for the Sit Upon


An easier version of the Sit Upon occurred to me when I was in the check out at our local grocery store and saw plastic tote bags. I thought "genius!" Turns out I didn't invent that one. Of course on Pinterest there was a tutorial that looked like someone had plucked it right out of my head. Although I was a little deflated at not having invented the modern Sit Upon, it was nice to see how someone else did it. 
 Now all I had to do was find the perfect sized bag. The last day of school I walked into Michael's and found these large lovely tote bags and bought every one they had. They were a $1.99 each but with my Michael's teacher discount and school tax exemption, they cost about $1.50 each. Here's what you need to make these cute sit upons:

Sit Upon Supplies:

  • Vinyl Tote Bag-these are about 18"X18" (perfect size for kinder behinds)

  • Color or patterned duct tape

  • Newspapers

  • Masking tape

  • Scissors

  • Poly-fil quilt batting

 Because the Gazette is a small sized paper, I used masking tape to put them in the shape I wanted. The newspaper gives the sit upon support. After they were taped in the shape I wanted, I opened the bag slightly (you want it to stay in a folded position) and slid the taped newspapers in.


The original sit upon I made as a Girl Scout only had newspaper but Seth tried out my modern sit upon and said it was too hard. Hmmm. To hard or have today's kiddos become too soft? Oh well. I knew if he thought that, probably the kinders would too. So I looked through my class storage room and found the perfect solution: Poly-fil quilt batting. It comes in a huge roll. You roll it out and cut out the size you need. I put an 18"X18" square layer in each totebag on top of the newspaper for a little cushioning and Seth gave it a thumbs up.

Once I had all the sit upons "stuffed" it was time for the real work. Sealing them closed with the blue duct tape I had chosen.

I'm a bit of a perfectionist so I probably duct taped too much. I laid an 18 inch strip of duct tape along one edge of the bag. I centered it so that the edge of the duct tape length was hanging off the bag by 1 inch. Once I pressed the tape onto the front of the bag, I flipped it over, folded the duct tape and pressed it along the edge on the back side. This sealed the edges. For cosmetic reasons, I did this on all four sides. Next, I put another layer of duct tape on each edge so that the tape was flush with the edge of tote bag. This gave it a neat and tidy look and hid any imperfections such as wrinkles in the tape I had folded over. For the handles, I just duct taped the tote bag on either side of each handle and then put a  strip flush with the edge all the way across.

Cool Tip: When your scissors start to get gunky from cutting the duct tape, wipe the blades down with baby wipes and it comes right off!

 When all the bags were stuffed and sealed it was time to decorate. You could get really over the top and use patterned duct tape or washi tape. For my first one I accented it with some owl Washi tape. It is the new craze and there are so many cool things you can do with it. Pinterest it and you will see. I picked this up at Hobby Lobby for $2: And here is the finished project:


ave discovered an added benefit to the sit upons: the handles. This epiphany came to me after I attended a teacher's conference in Oklahoma City in August. One of the merchant booths there was selling "Fidgets." It was a little tube of material with balls sewn inside that children can fidget with to keep them calm and able to focus. Although they are intended for children with Autism or ADHD, they help other kiddos too. Similar in texture, I figured why couldn't the tote bag handles serve the same purpose? It worked. Observe my class during lessons and you'll see some of my little ones fiddling with those handles and listening to my lesson!

Traditional Laced Sit Upon